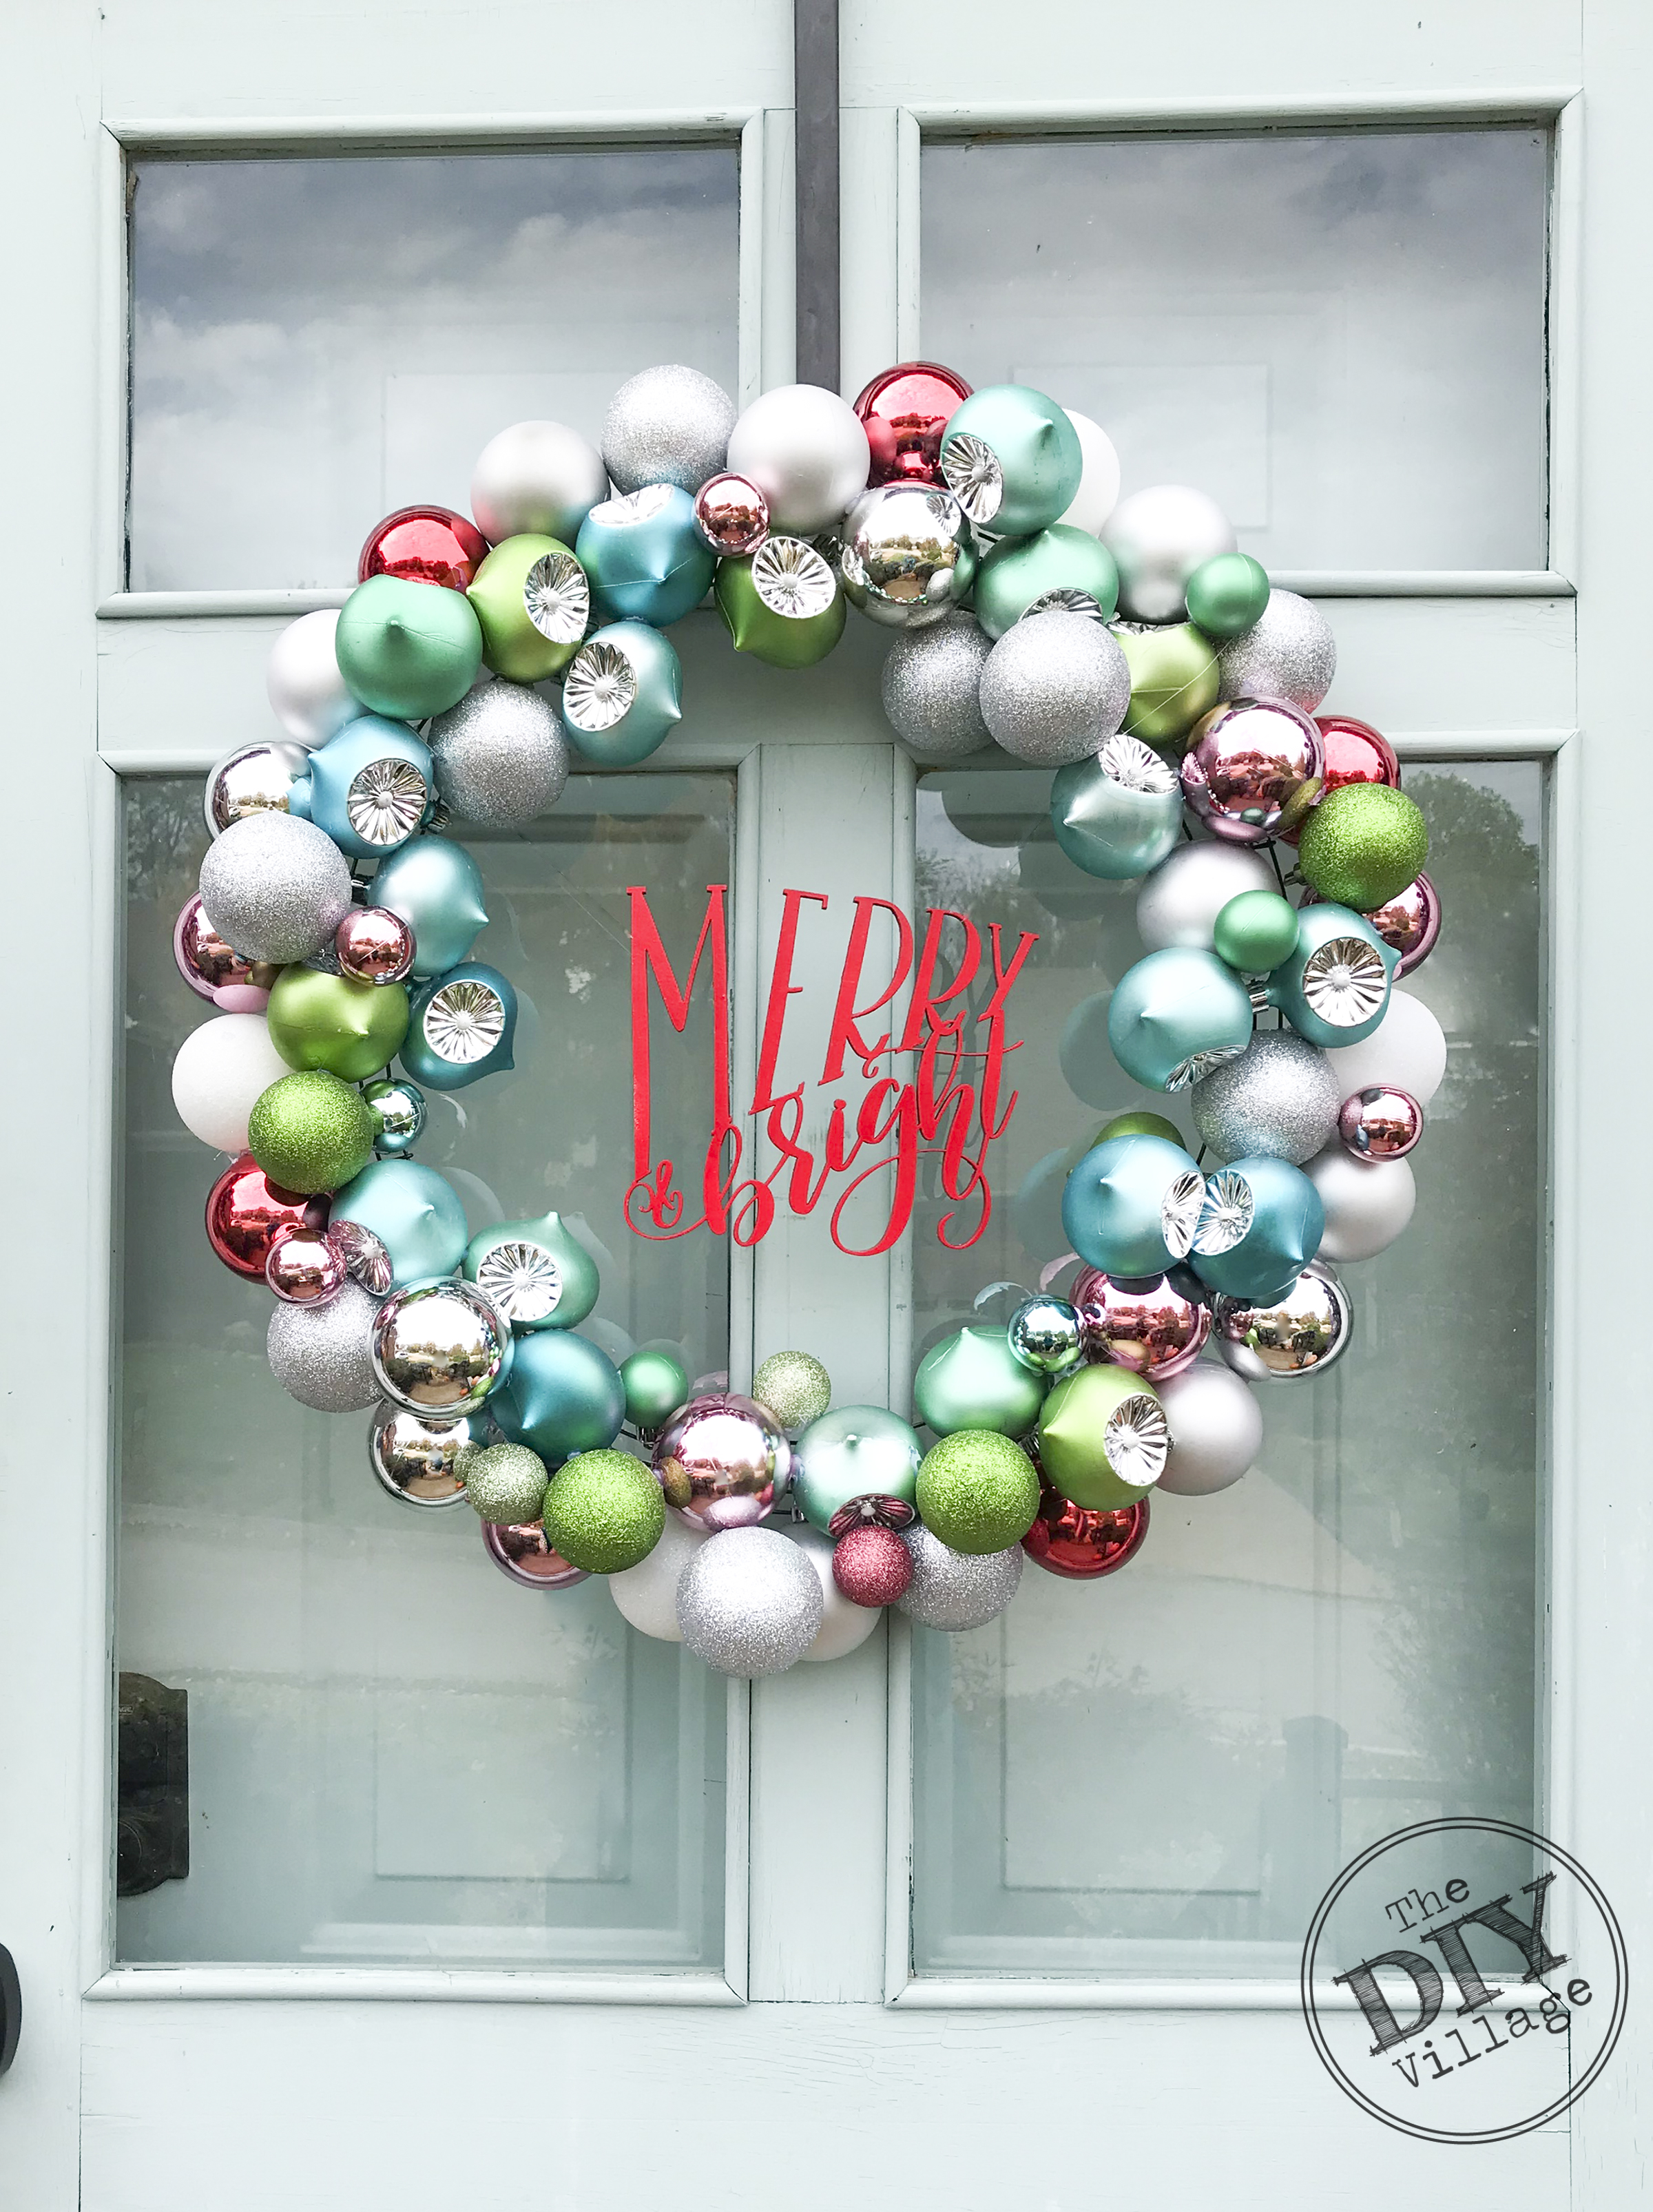
 It’s time for the DECK THE HOME HOLIDAY CHALLENGE! I know you all have been on bended knee waiting for this day to come, but the wait is over, it is here! Up first in this weekly challenge series – Door Decor. Sweet mercy do I love a wreath. They have literally been banned from my home. Well, not the ones I have but I have sworn to never make another wreath. Good thing my toes were crossed when I made that promise.
I know ornament wreaths have been done in the past the first one I ever saw was by Virginia of Live Love DIY. Girlfriend knocked it out of the park. I have been dying to make one for years. No seriously YEARS. In fact I’ve had a mini hoard of ornaments I wanted to use hiding in the attic for about 5 years now. My husband keeps finding them and announcing they need to be used or go. To be fair he started all of this with his Ornament decor from our dining room chandelier wayyy back in 2012. The one year he let me decorate the stairs with fun glass ornaments. Lucky for him. I finally used them and have made the cutest colorful ornament wreath. Since we have a laser cutter I added a little bit of “us” to it with the Merry & Bright cut out (design by One Project Closer, available HERE). You guys aren’t going to believe how easy this colorful ornament wreath is to make. You are going to have to make your own.
MATERIALS:
Ornaments – Standard Size 3 dozen – shatterproof various colors
Ornaments – Medium Size 3 dozen – shatterproof various colors
Ornaments – Small Size 1 dozen – shatterproof various colors
Hot Glue Gun & Glue Sticks
Wreath Form – 18″
Clear Thread
Wood Cut Out
Spray paint
INSTRUCTIONS:
Before you get started on the actual wreath begin by painting your wood cut out. You want this to be dry by the time your wreath is done so you can hang it with the wreath.
Place all of your standard sized ornaments out. Being gluing them to the outside of the ring. Continue gluing them until the entire outside of the circle is completed. I ended up with a slight gap. We will fill that in on the other layers later, no need to stress if you have a gap.
Next start filling in the rest of the wreath. If you have more than 3 dozen standard you can also glue them side by side on the inside of the ring. Since I did not, and my husband would kill me if I purchased more ornaments, I went with filling them in.
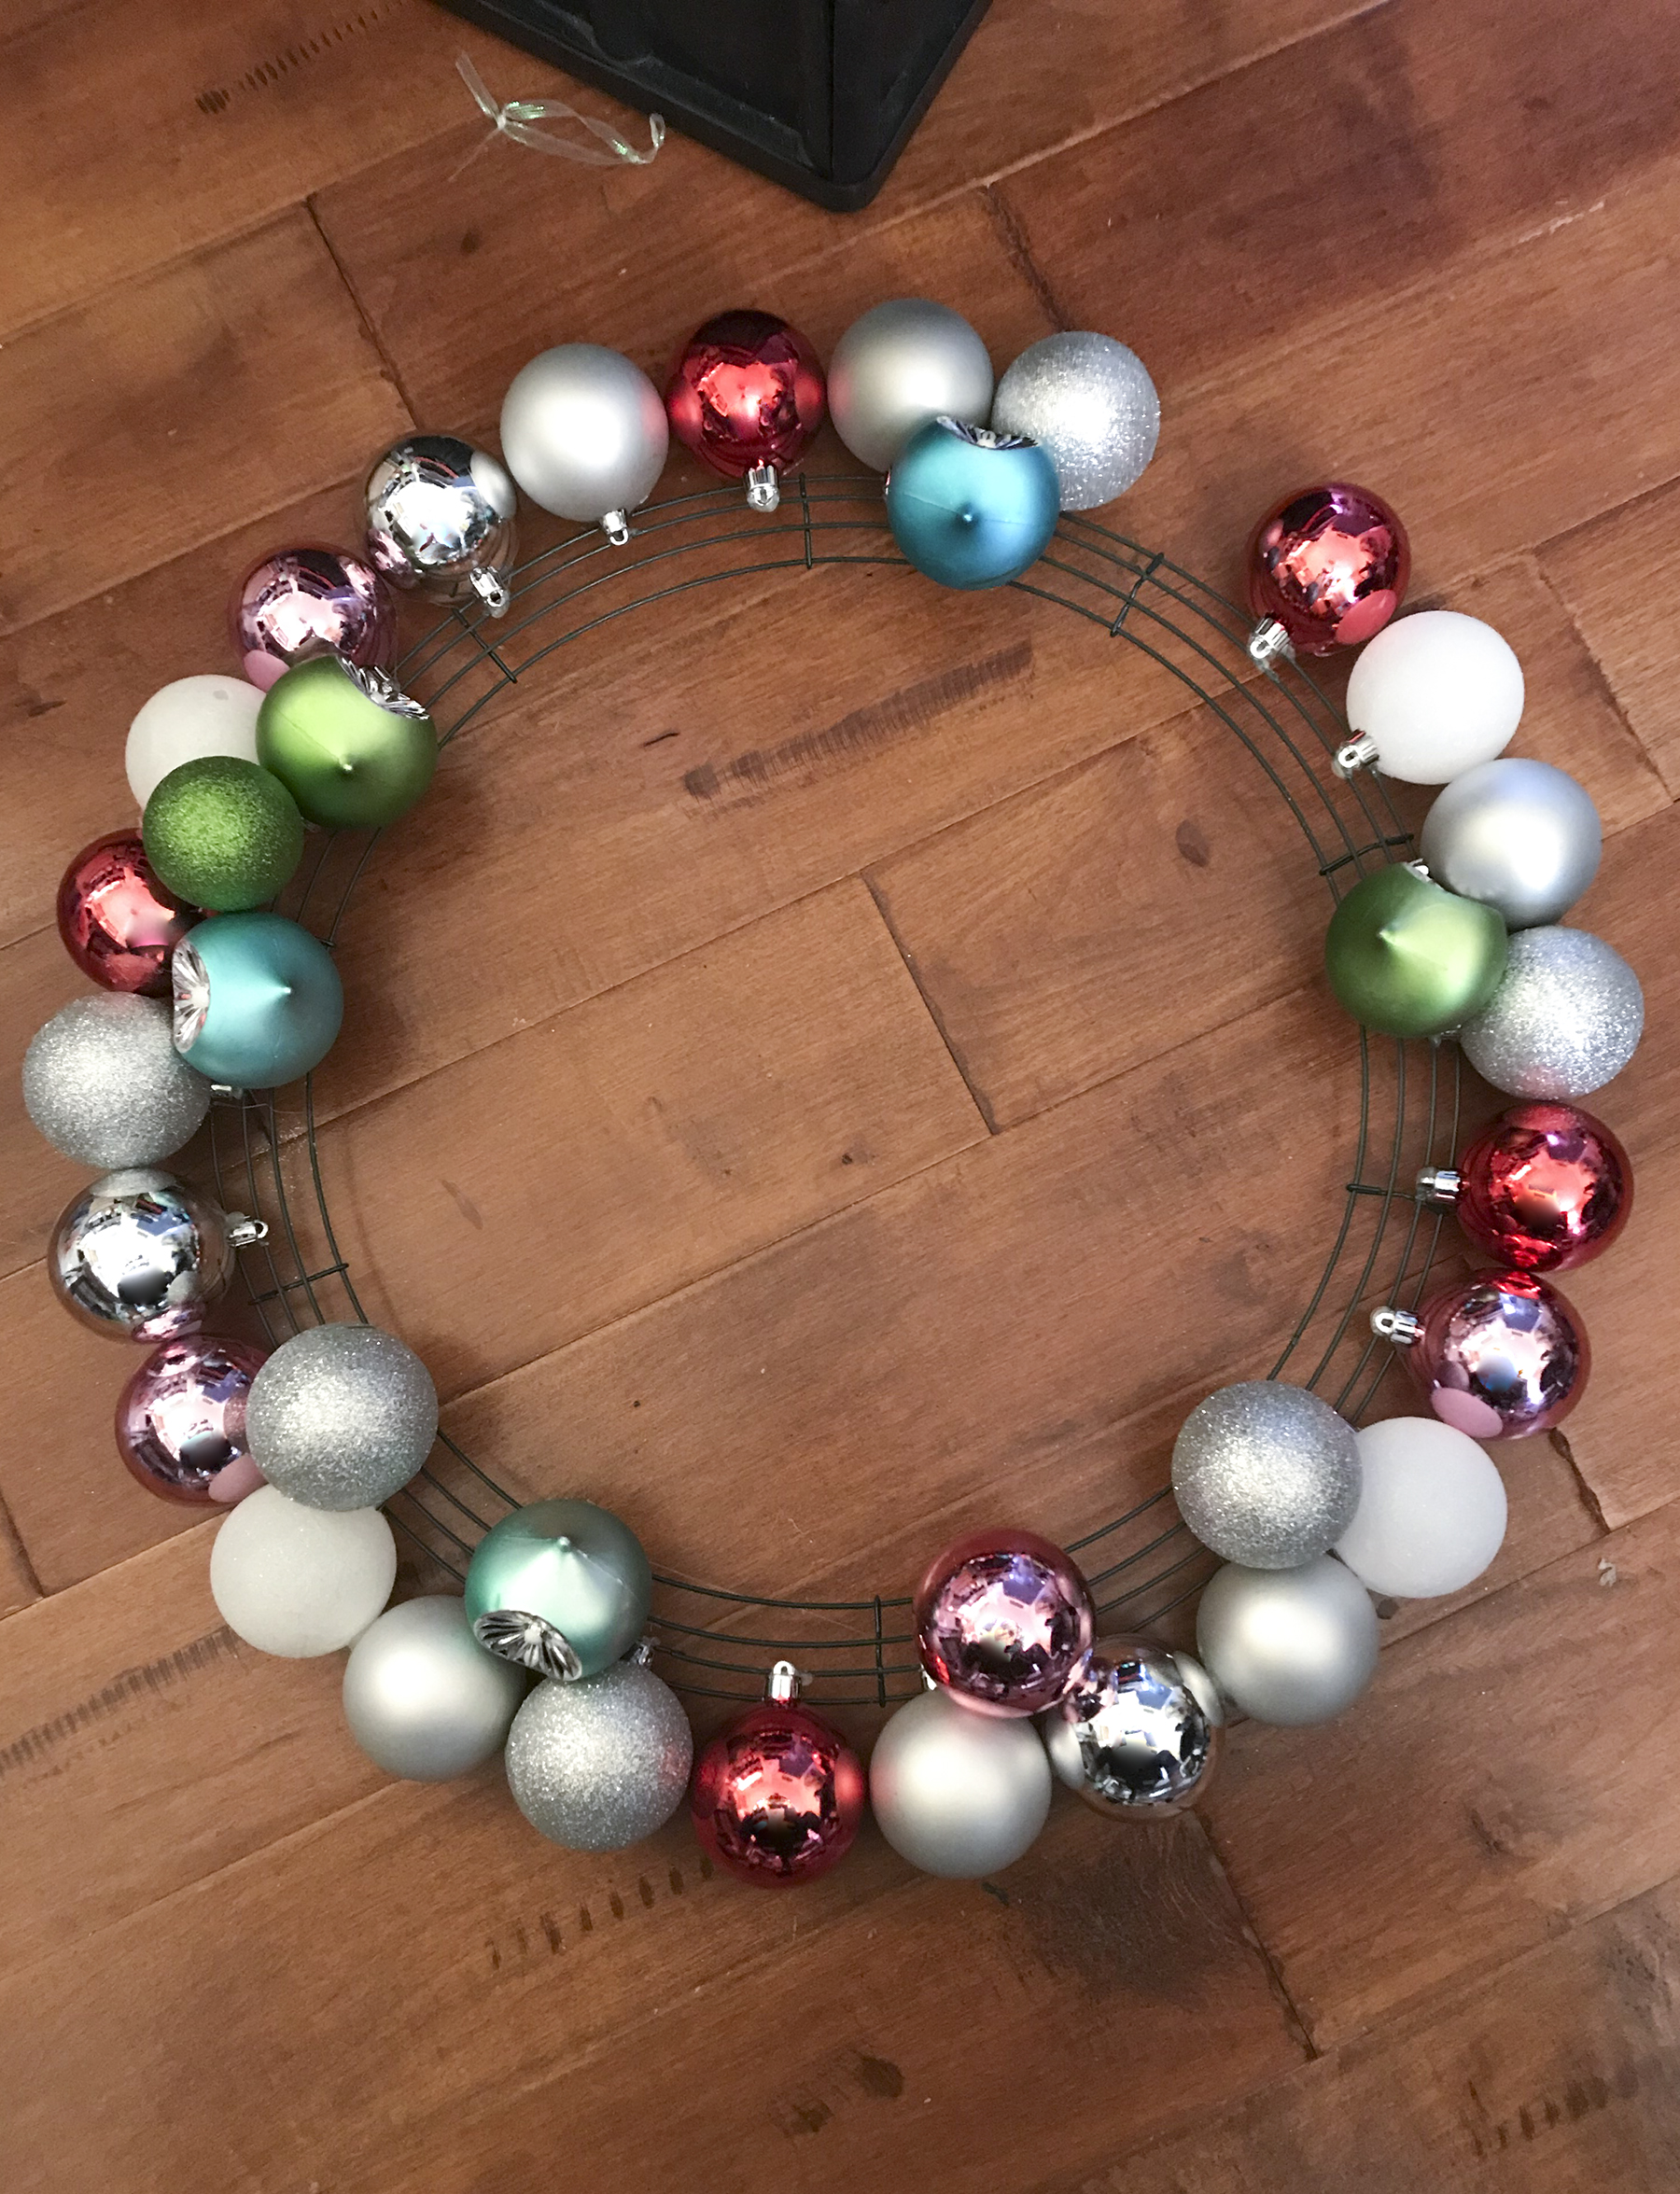
Some of the ornaments have a vintage detail to them so I chose to turn them at different angles so they don’t all look the same. Lay all of your ornaments out so you can see how many of what color you have. Make sure to adjust the placement so that you are completely covering the wire form with ornaments.
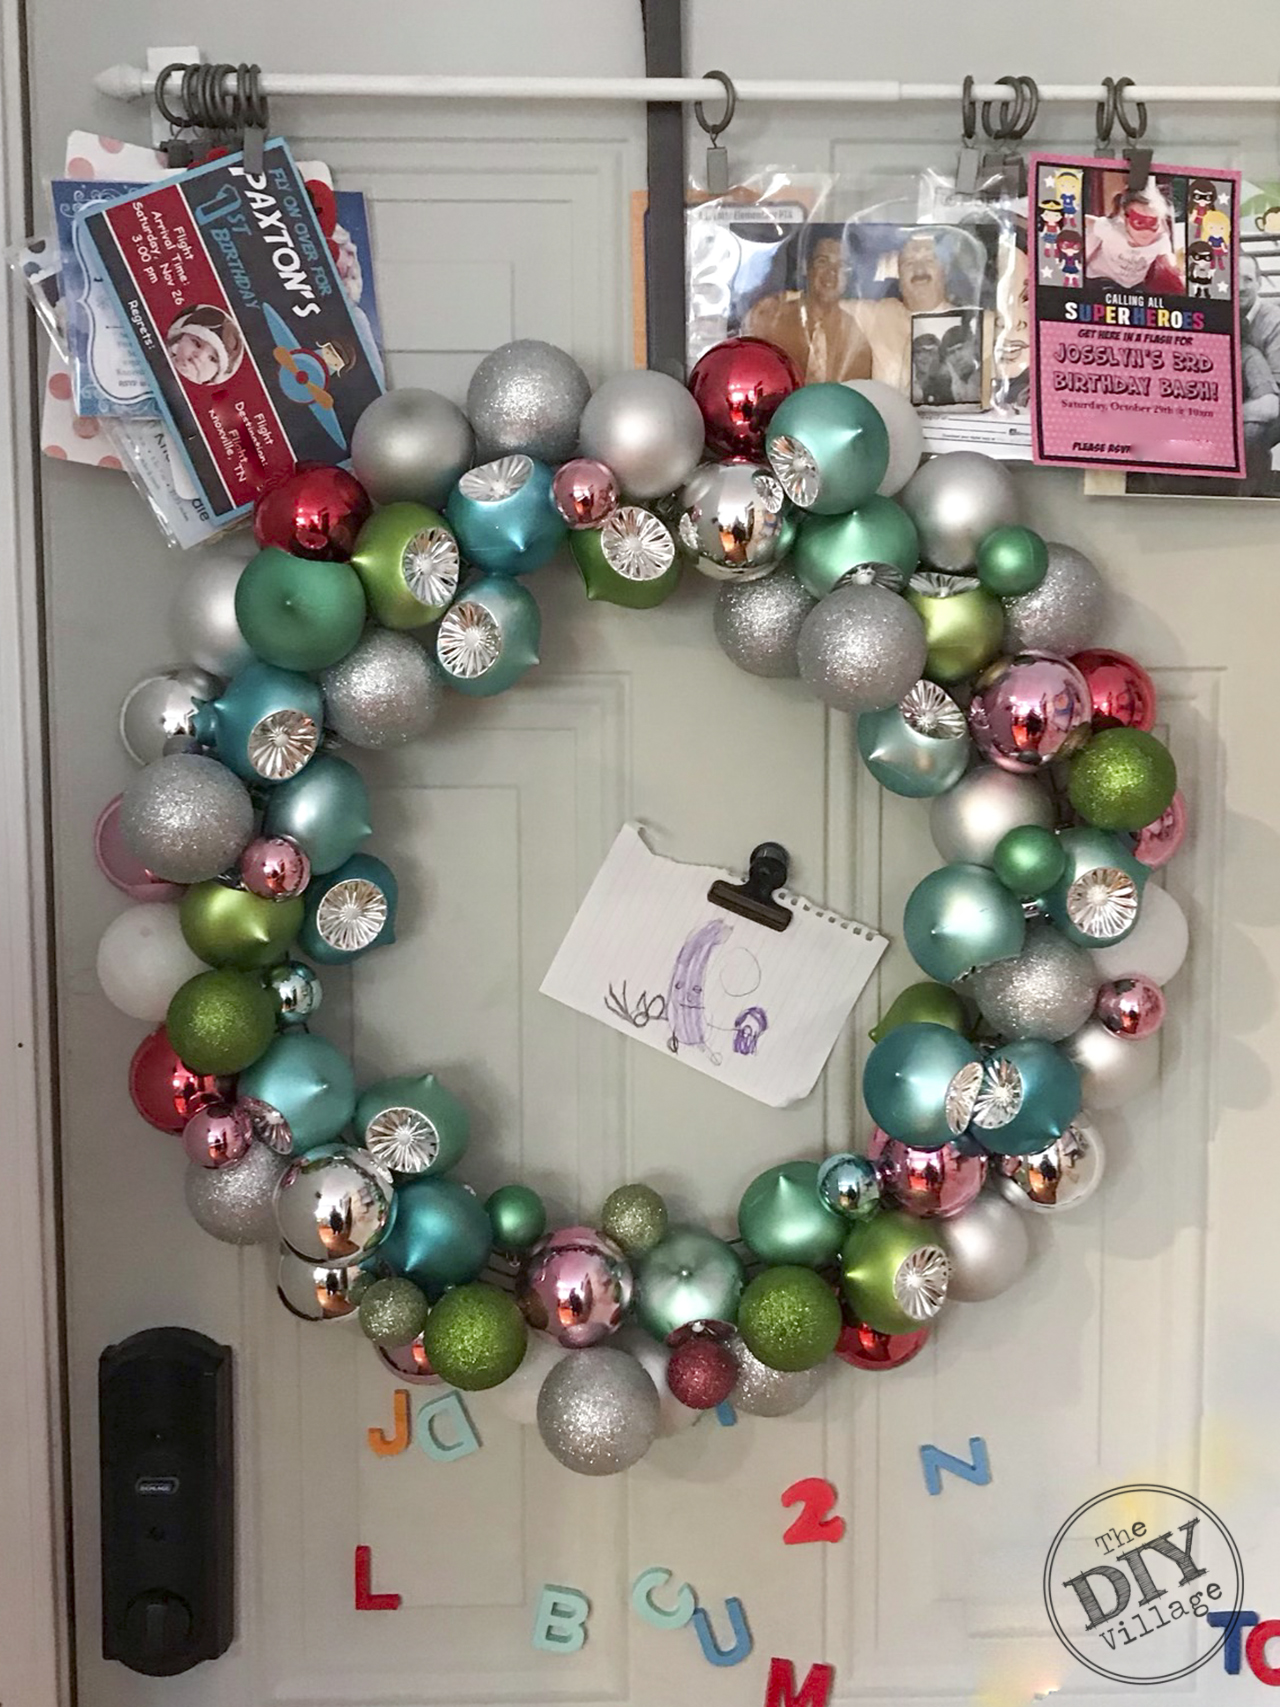 When I got to the last dozen small ornaments I hung the wreath on a door so I could find the best placement. Play with their locations. Don’t be afraid to have two glitter ornaments next to each other. You have so many shapes and colors going on, no one will ever notice!
Once your colorful ornament wreath is completed it’s time to attach your wood cut out. You can glue your cut out onto the ornaments or feature it, like I did, by hanging the cut out from clear thread in the center of the wreath.
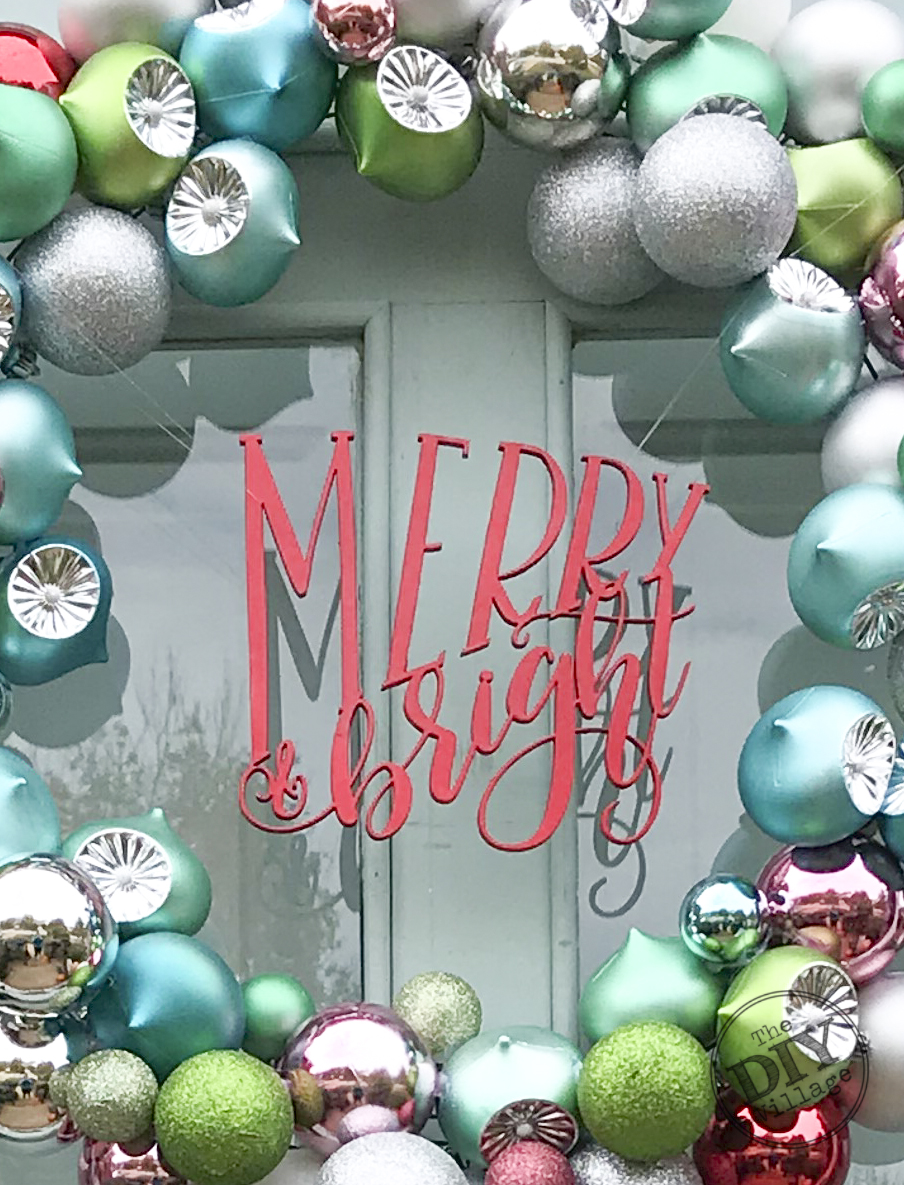 At this point you can add a ribbon hanger if you like or just hang the wreath as it is. It’s entirely up to you, this is your creation after all.
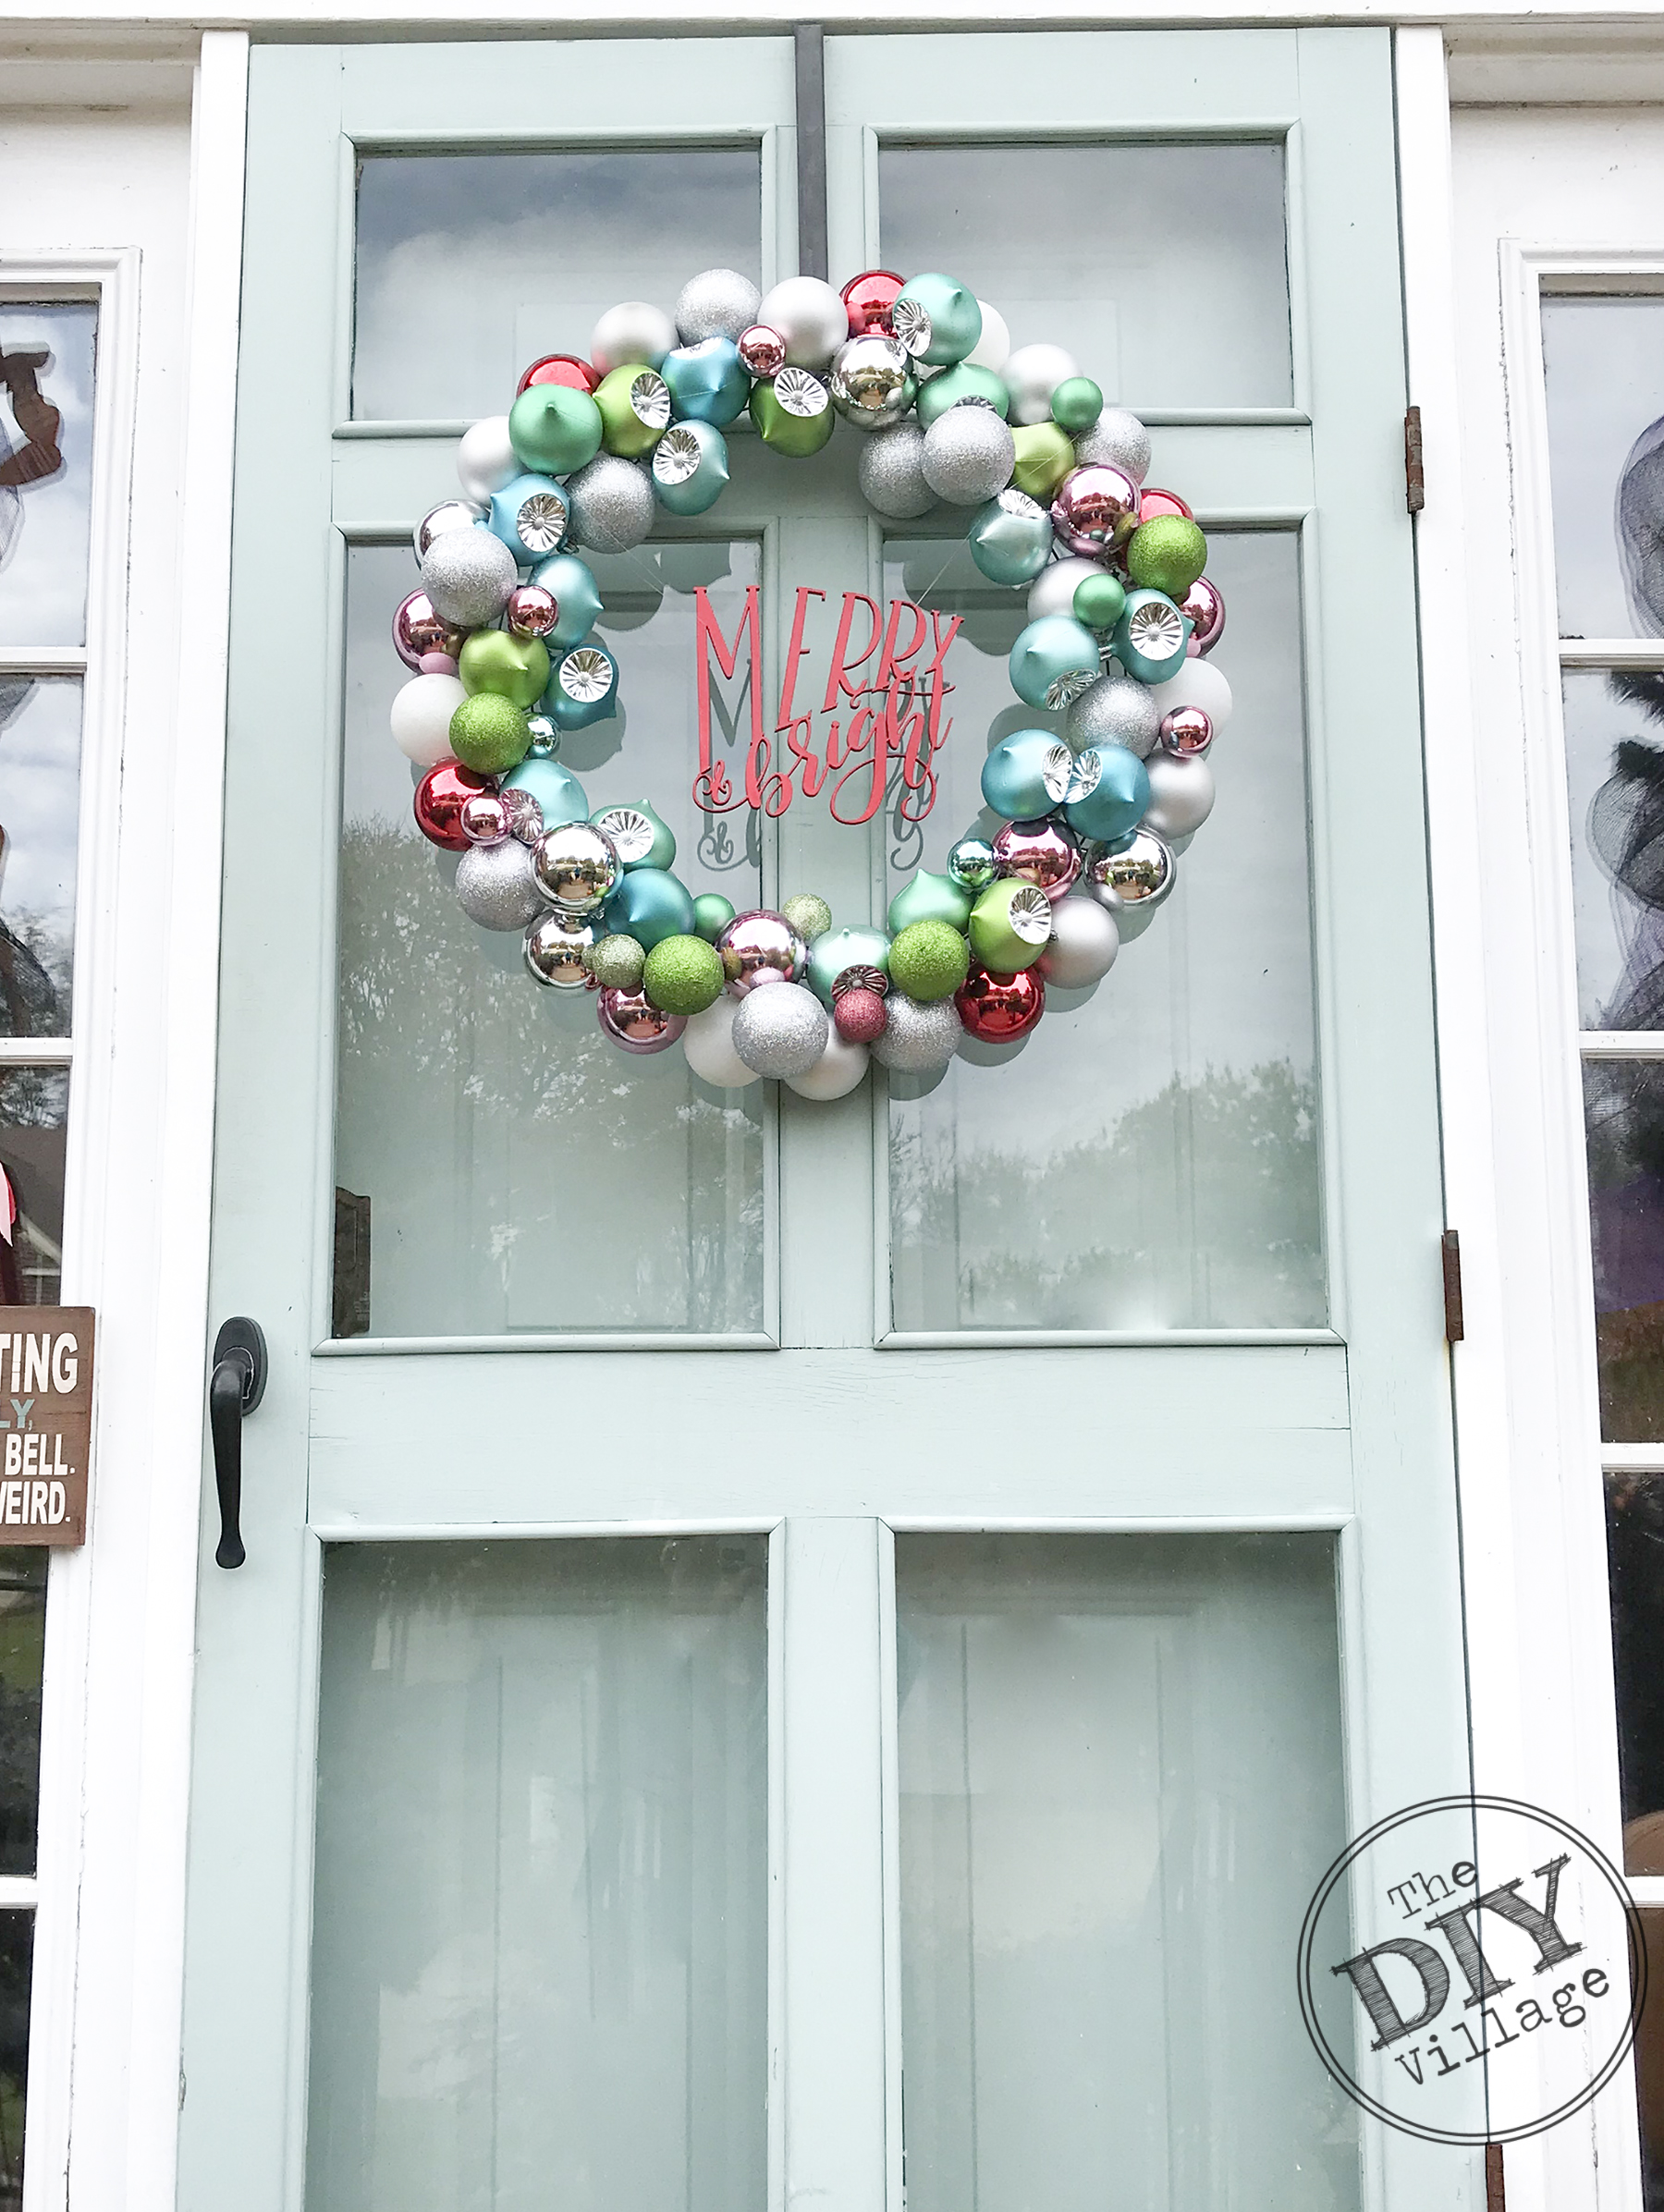 I am so happy that I finally was able to make this wreath, it has been a LONG time coming. The results were totally worth every side eye glance from my husband when we load and unload Christmas decor!
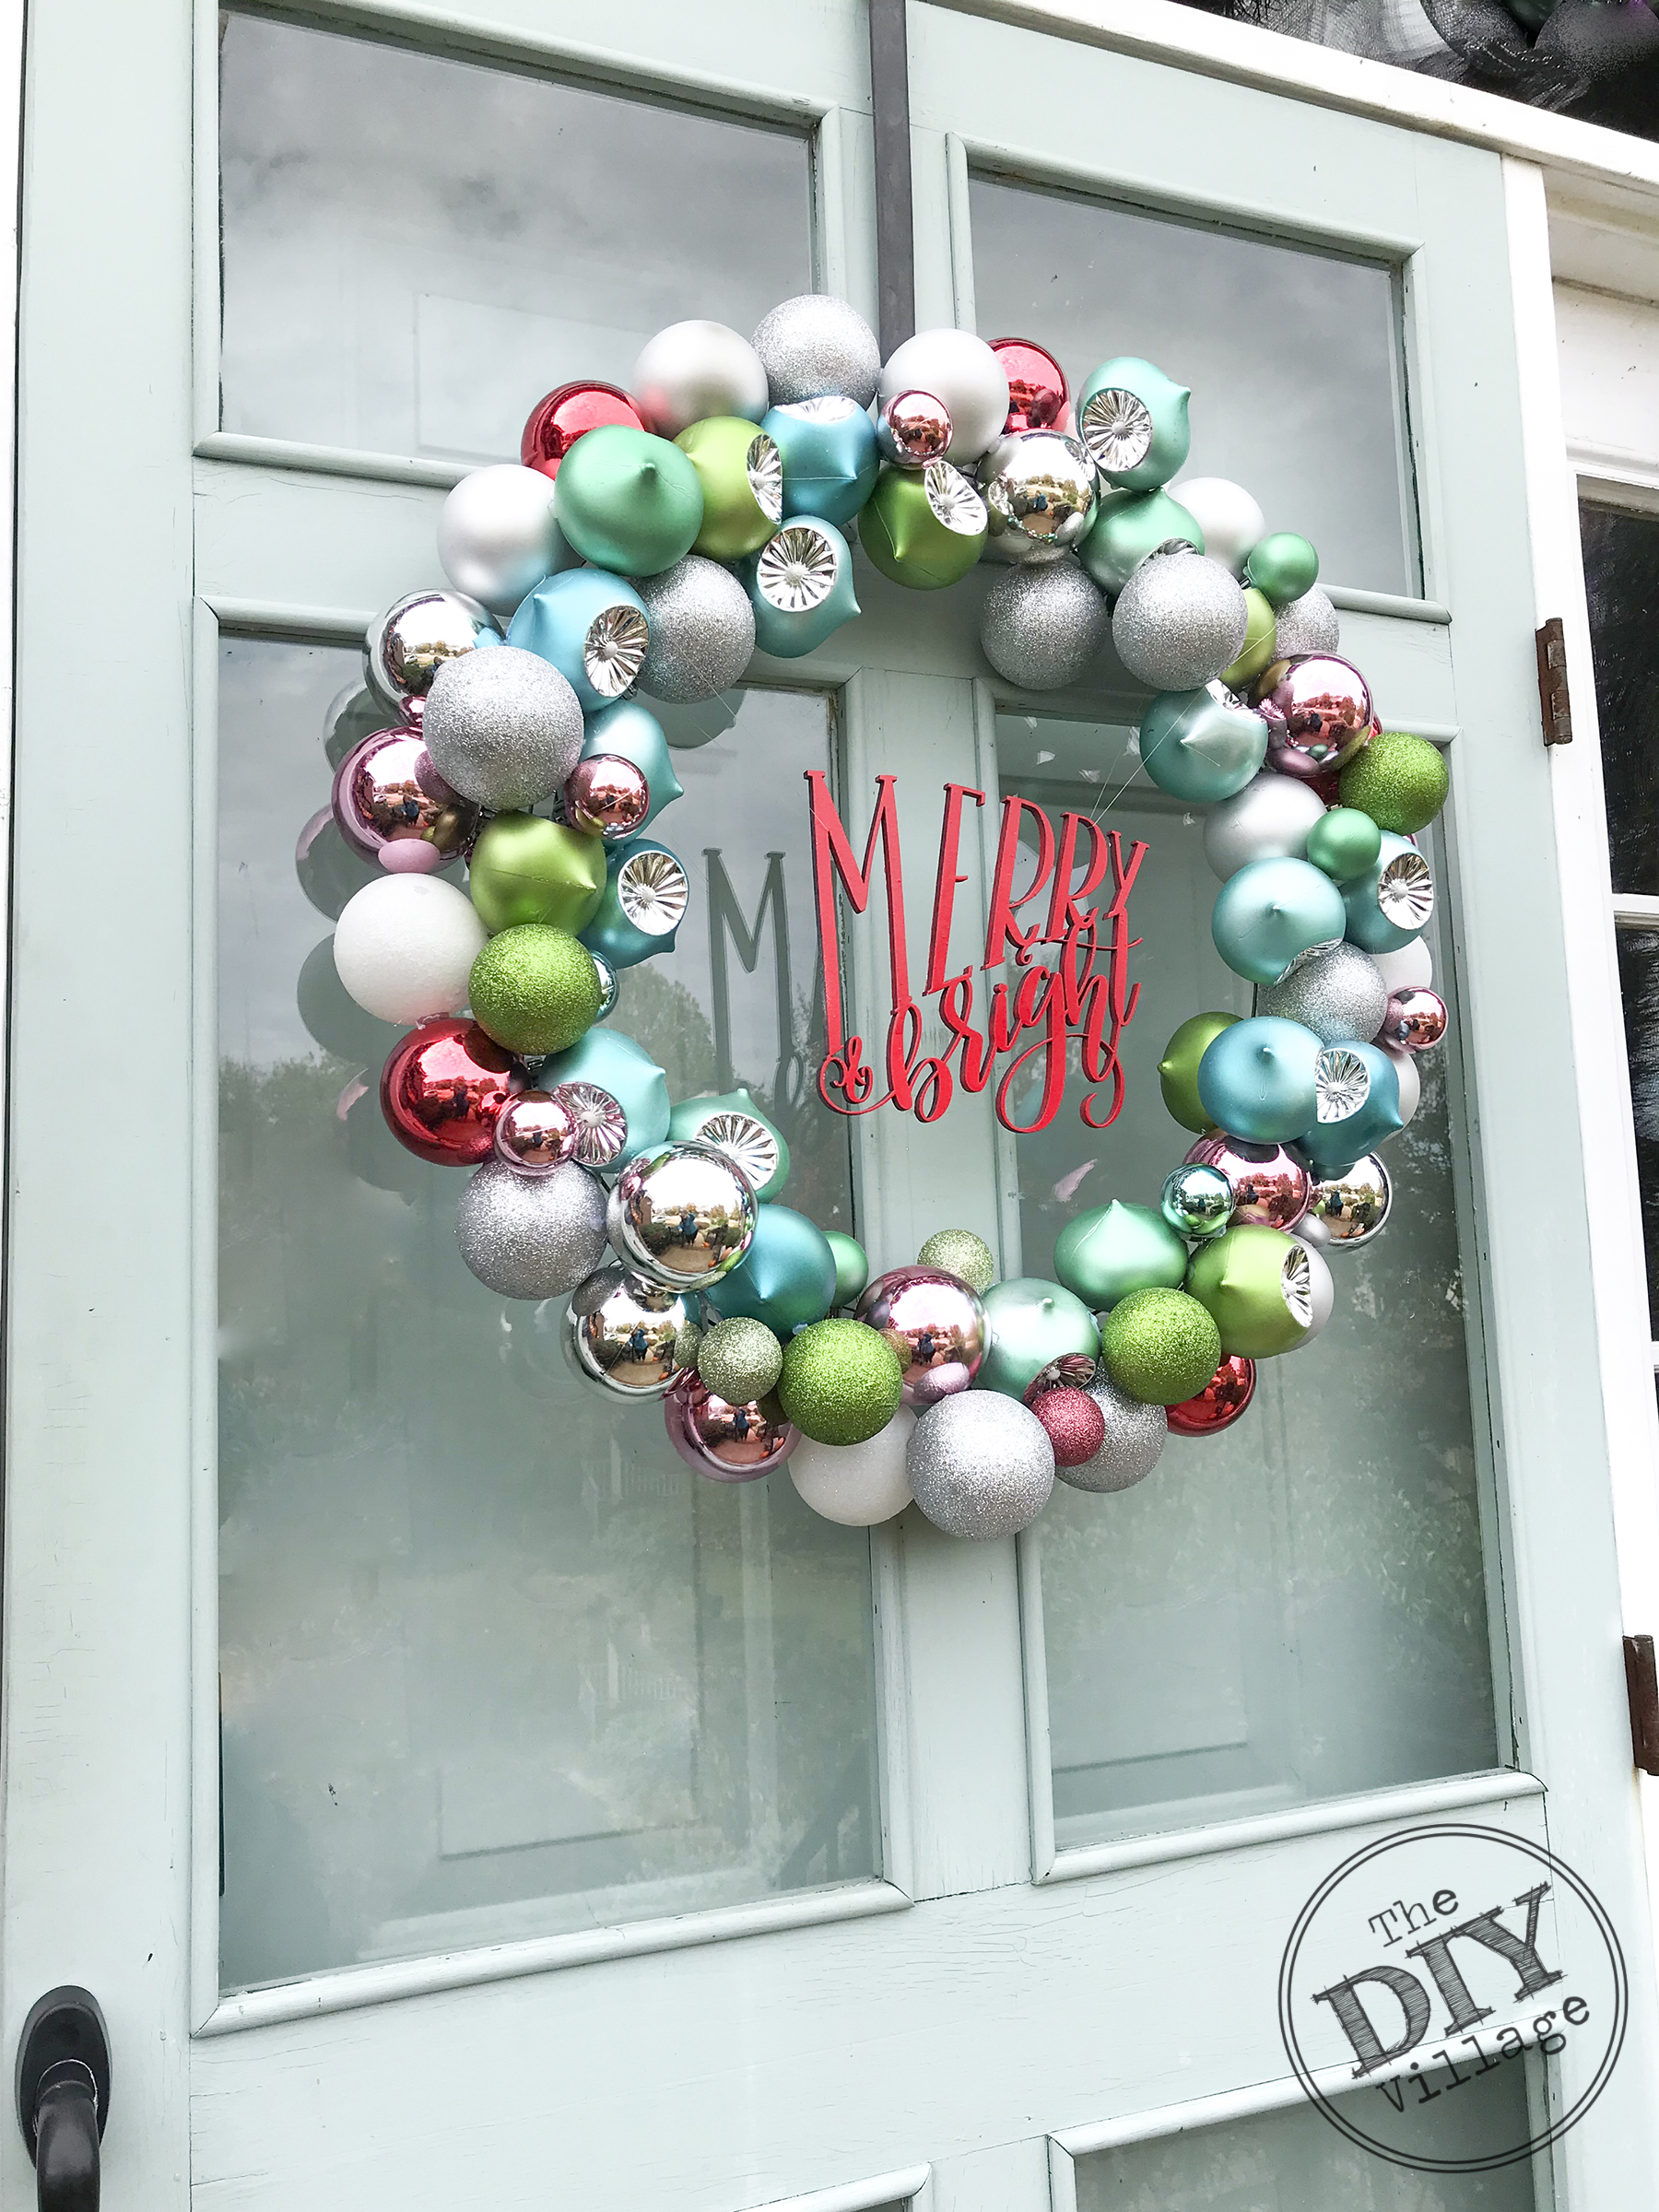 I’ll be the first to admit the glue gun and I are NOT friends. But all of the glue burns were worth this little beauty. ALL of them!
Now it’s time to see the REST of the amazing projects from this weeks challenge.


I Love all of the variety of colors together! Beautiful!
I just love the colors you chose for your ornament wreath. Pastels are always a nice change from bold and vibrant colors.
Thanks for the step by step tutorial, too!
So lovely, Jacque
This turned out super cute! Glad you finally got to use your ornament hoard!! 😉