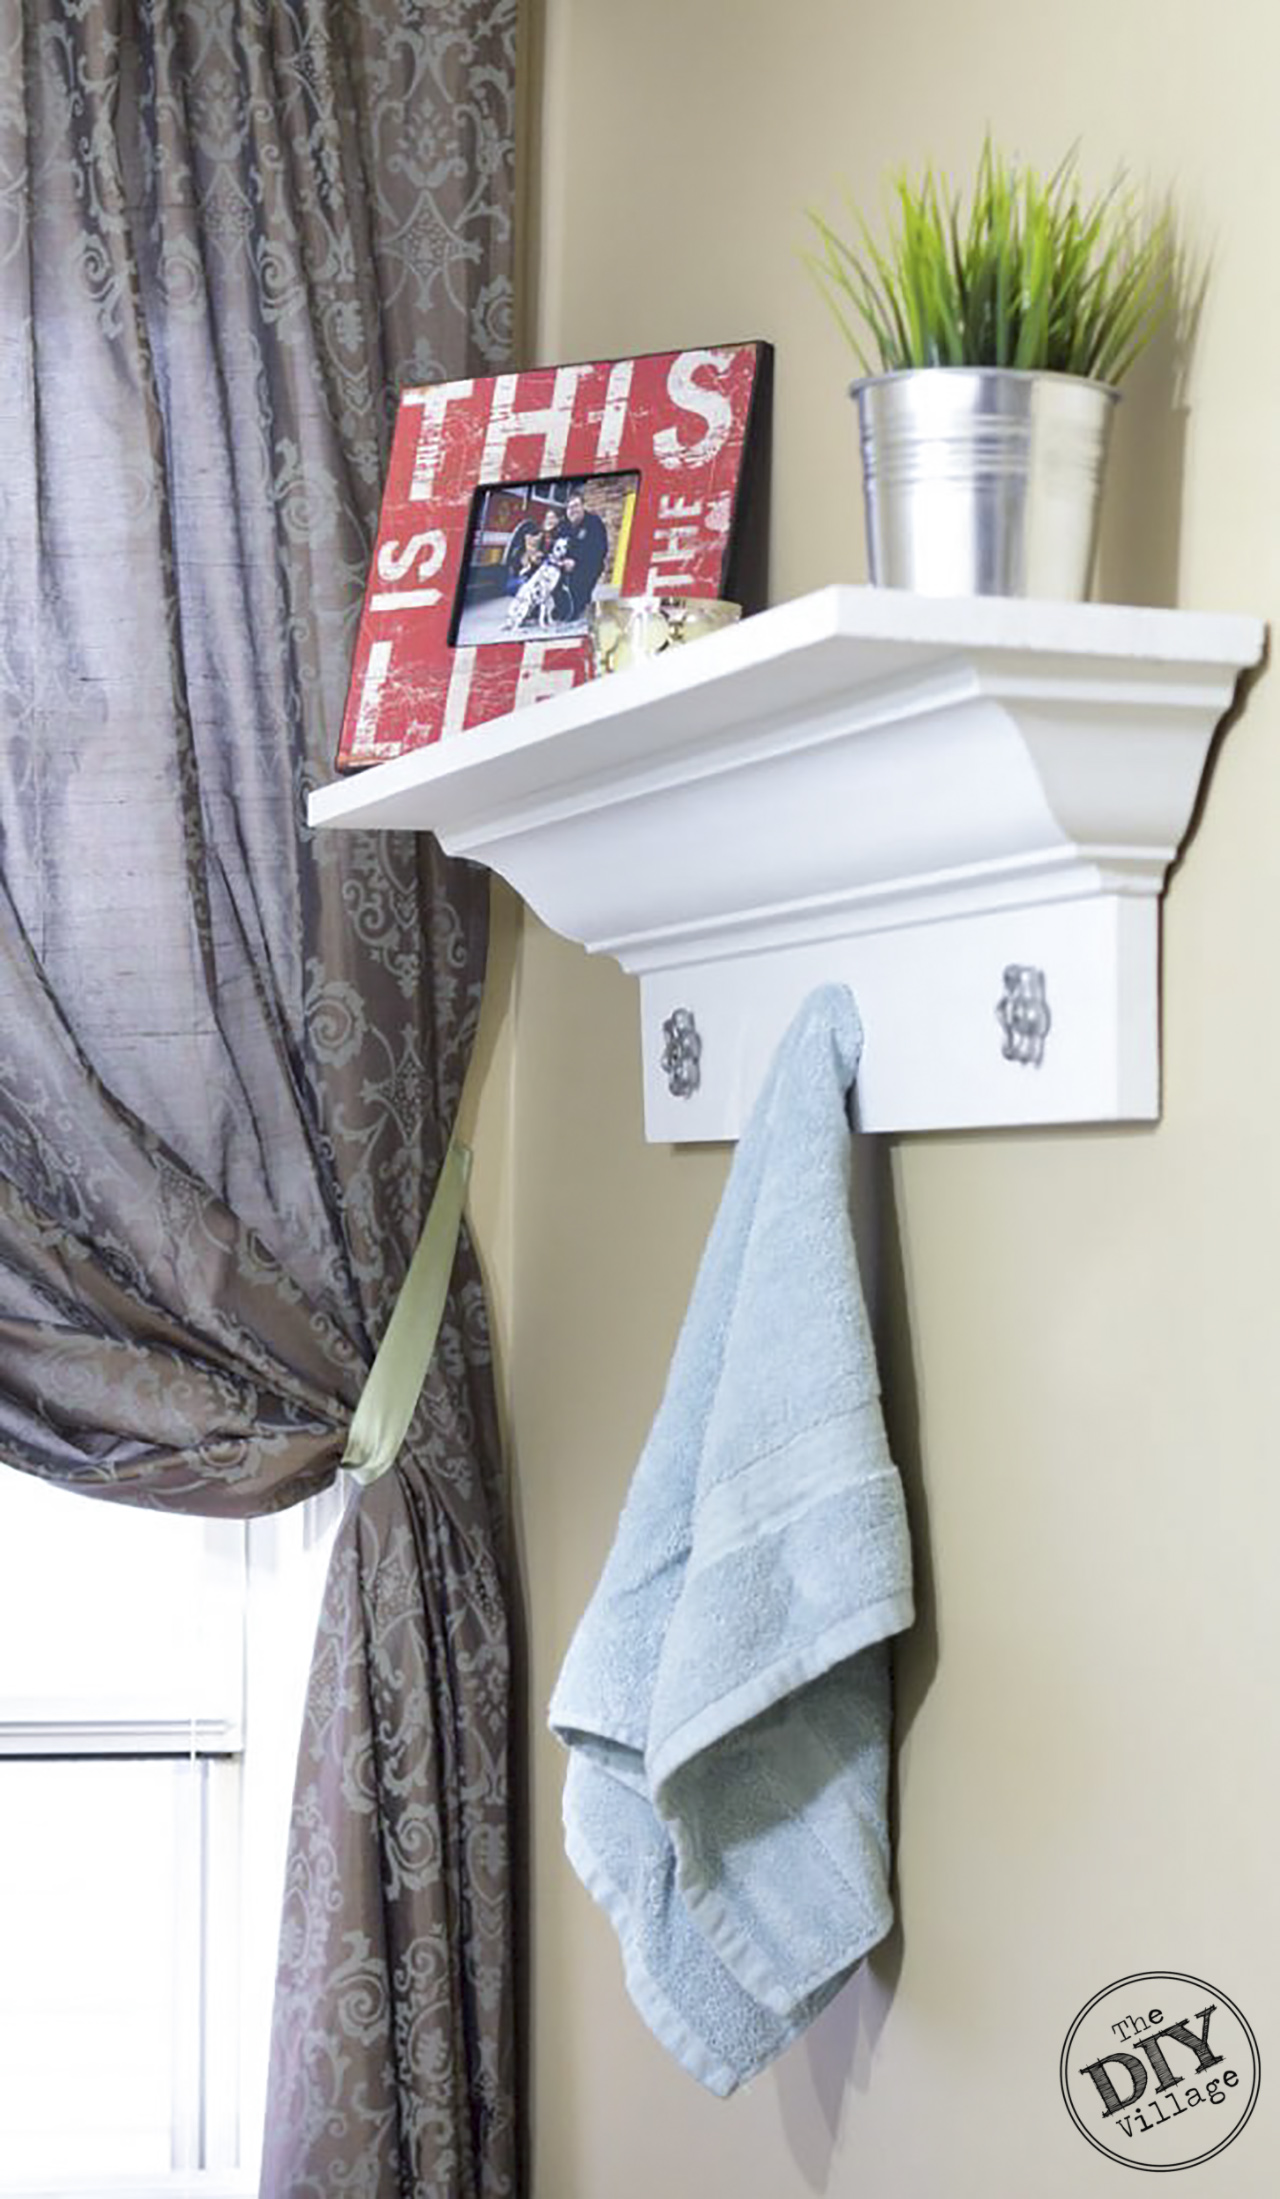

I have forever wanted a shelf for our bathroom wall. It is a very long wall so it needed something to fill the space. After some discussion we decided on decorative crown molding shelf. The shelf construction is fairly simple and gives a very rich look to any space.
MATERIALS:
- Safety Glasses
- Hearing Protection
- Miter Saw
- Kreg Crown Pro
- Drill
- Kreg Jig
- Kreg 1-1/4″ Coarse Thread Screws
- Compressor
- Finish Nailer
- 1-1/4″ Finish Nails
- Construction Adhesive
- Caulk Gun
- Latex Caulk
- Clamps
- Pencil
- Tape Measure
- 2- 1x6x4 Pine Boards
- 1- 5′ Piece of Crown Molding
- 3- Wheel Handles
- 1″ Wood Screws
- Primer and Paint
INSTRUCTIONS:
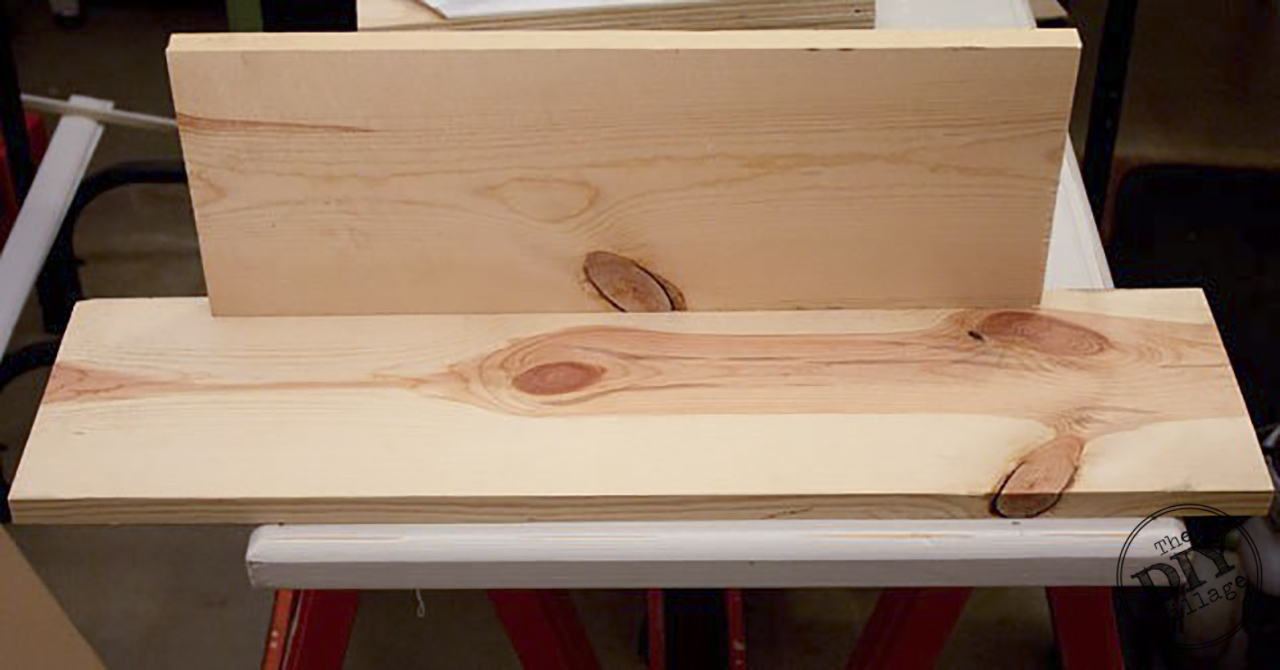 To create the shelf, I took two scrap pieces of 1×6, cut them to length, and attached them together using pocket hole screws. I set those aside and began working on the crown molding. For more on pocket holes and how to create them, make sure to check out our tutorial on How to use a Kreg Jig Jr. HERE.
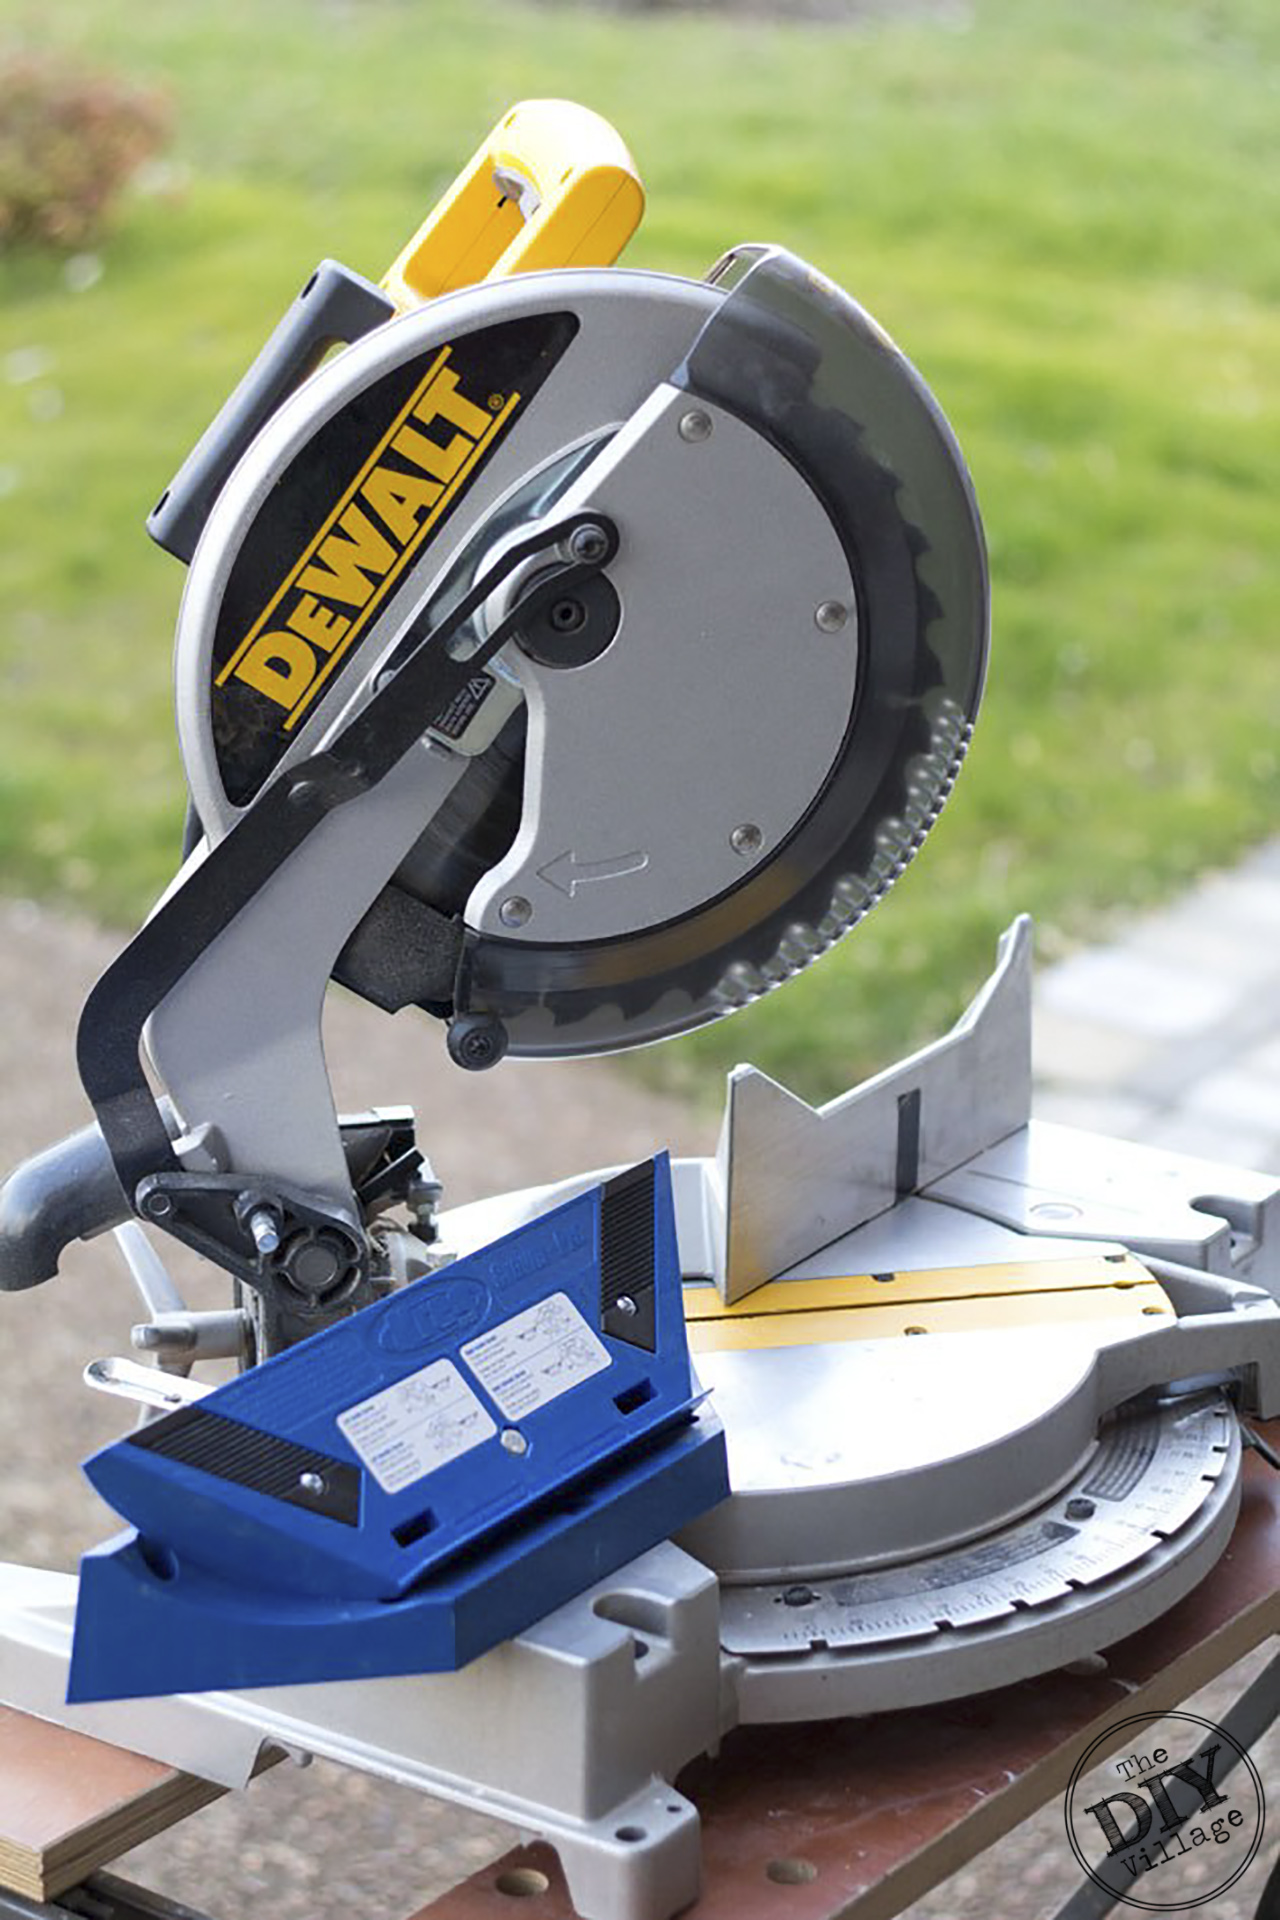
If you’re anything like I used to be, the idea of using crown molding for a project was an intimidating task! But, I recently had a change of heart when I added the Kreg Crown Pro to my arsenal of workshop tools!
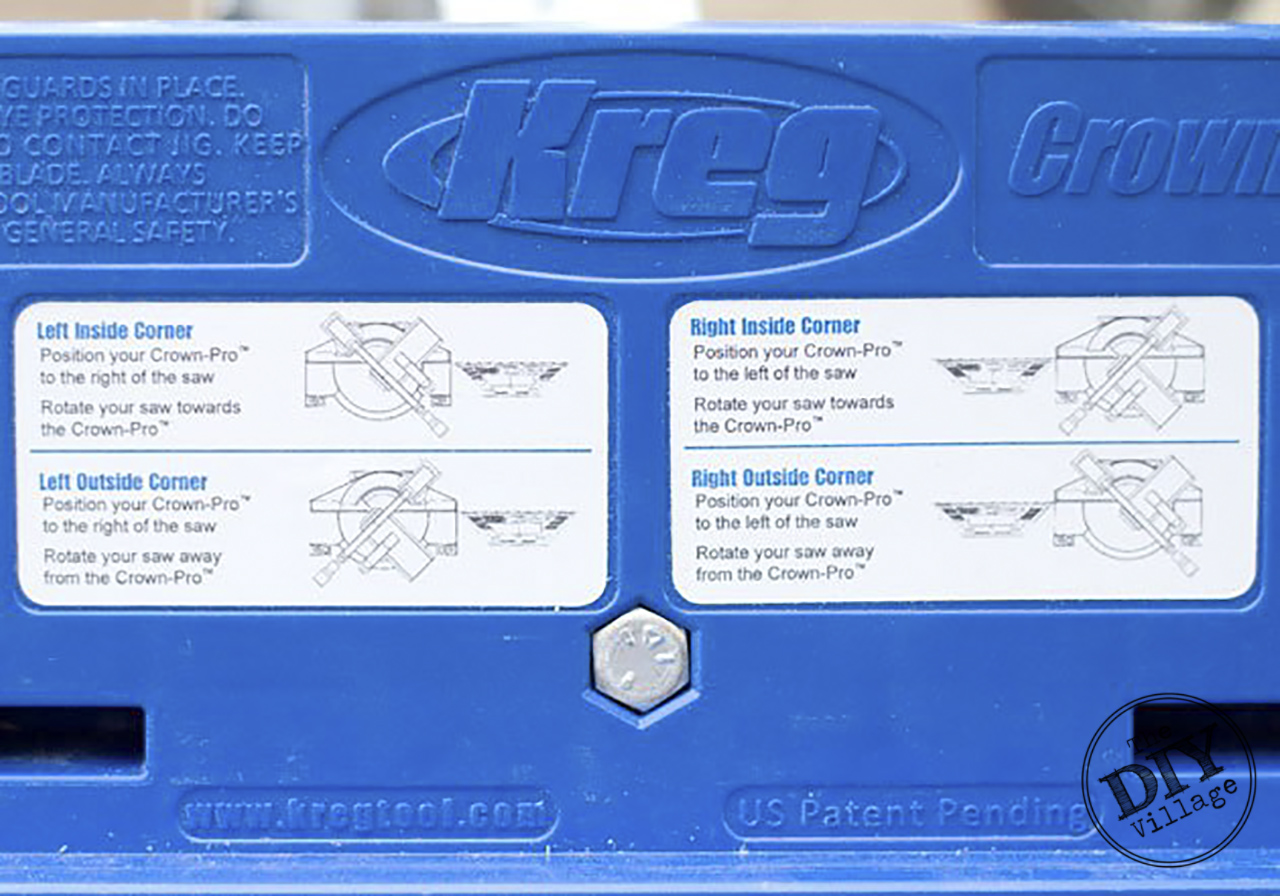
There’s a diagram on it’s front face that shows the proper set up for cutting inside and outside crown molding. For the purposes of building this shelf, I needed three separate pieces of crown molding, a piece long enough to span the length of my shelving boards, and two pieces that are called return stops.
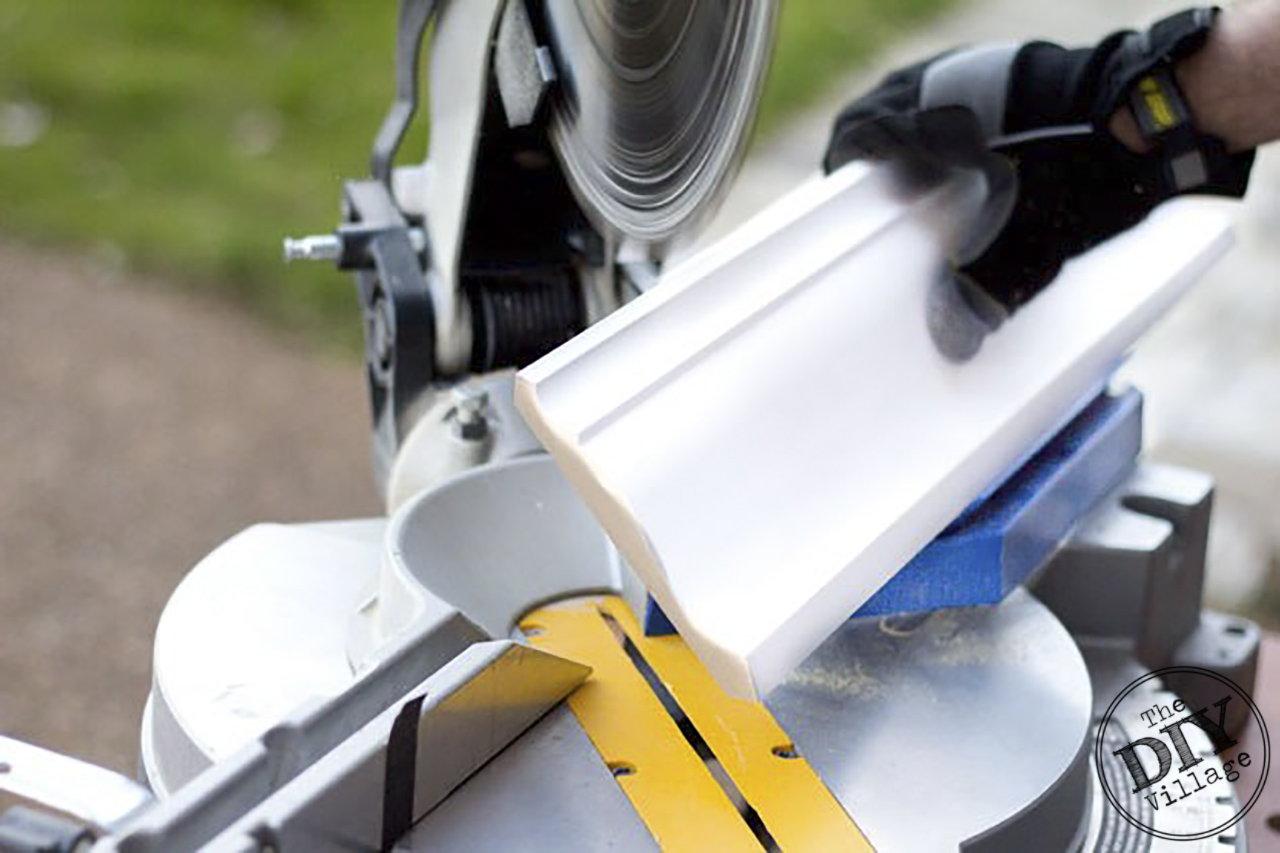 To cut a left outside corner, I placed the crown molding upside down onto the Kreg Crown Pro and positioned it on the right side of the saw blade. Then I rotated the blade 45 degrees away from the Crown Pro. (To cut a right outside corner, just mirror the set up)
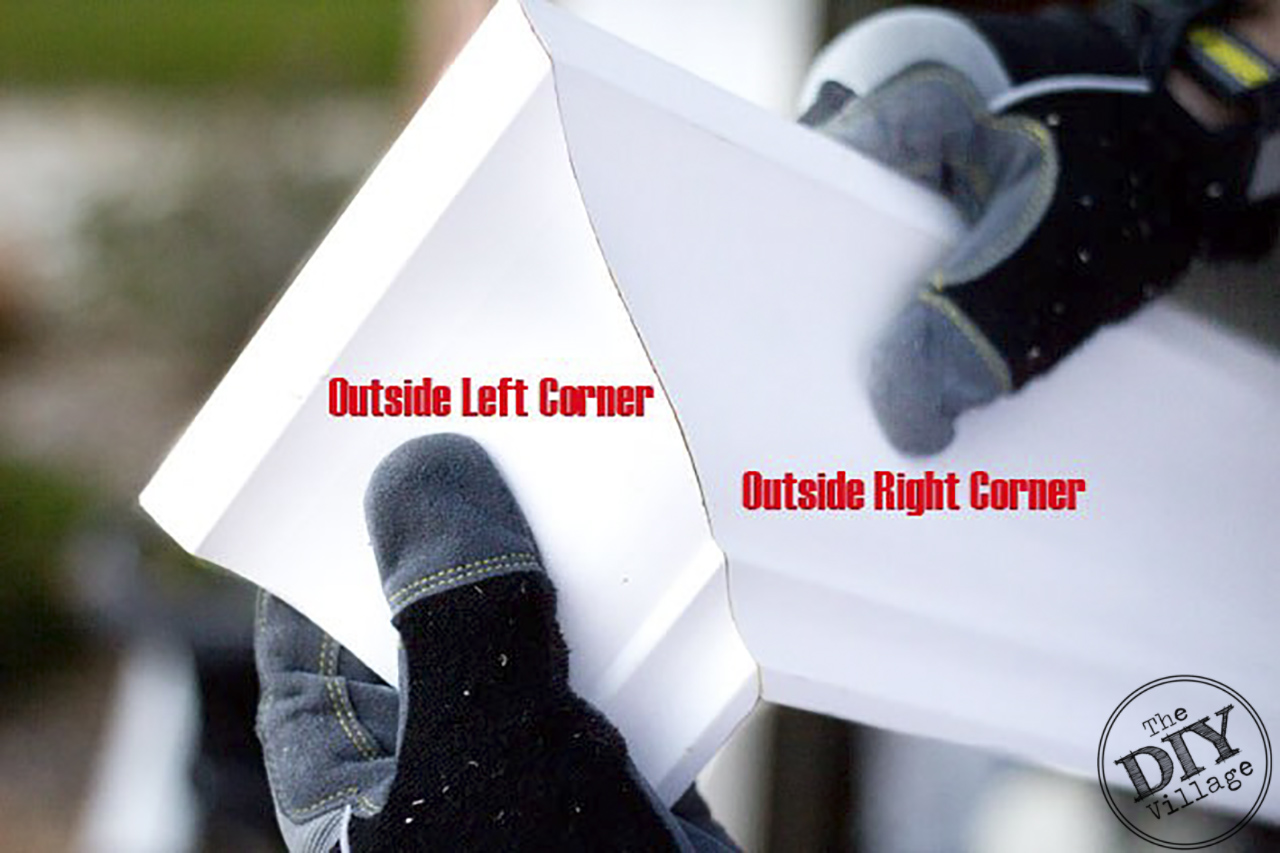 One of the return stops can be seen on the left and has a left outside corner cut. The piece on the right is the molding that spans the length of the shelf and has a right outside corner cut.
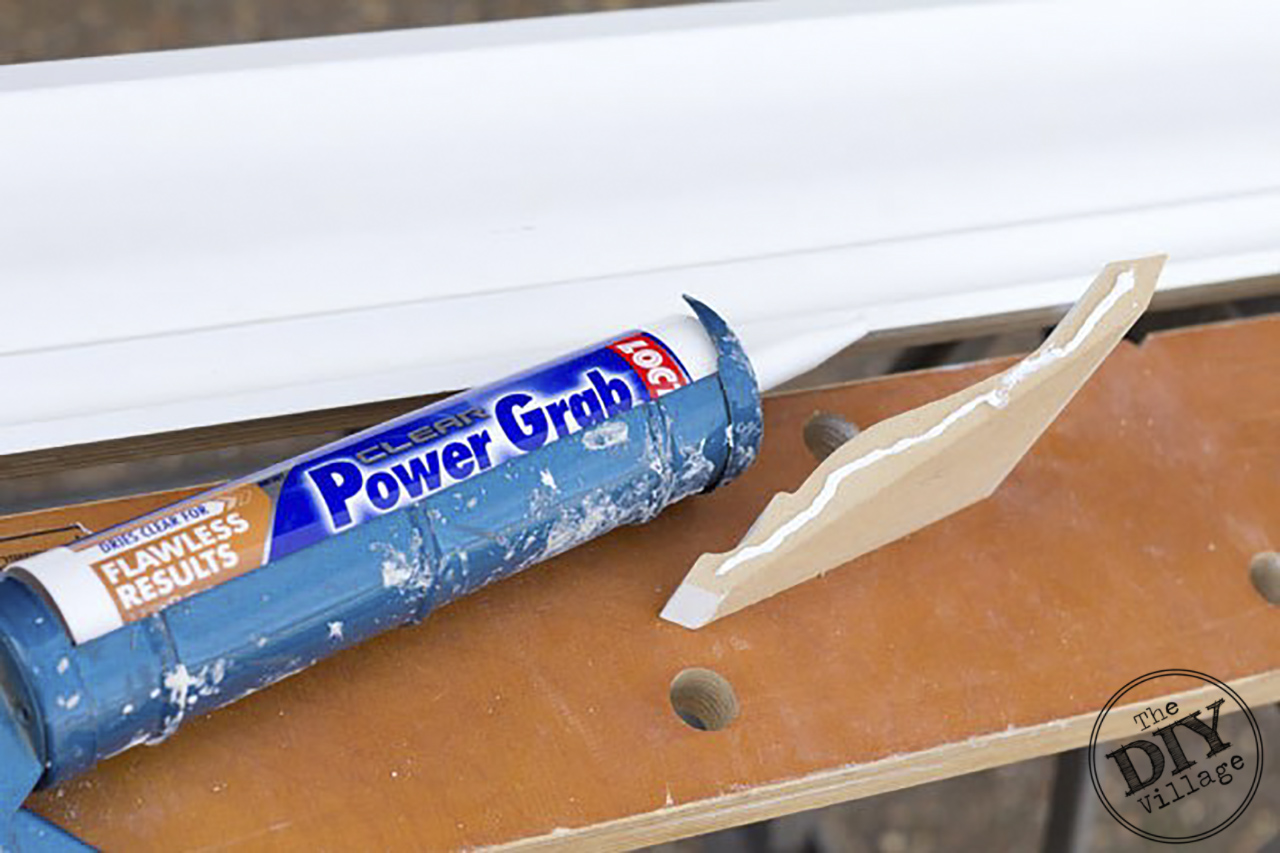 I attached the return stops to the front piece of crown molding with a quick drying construction adhesive.
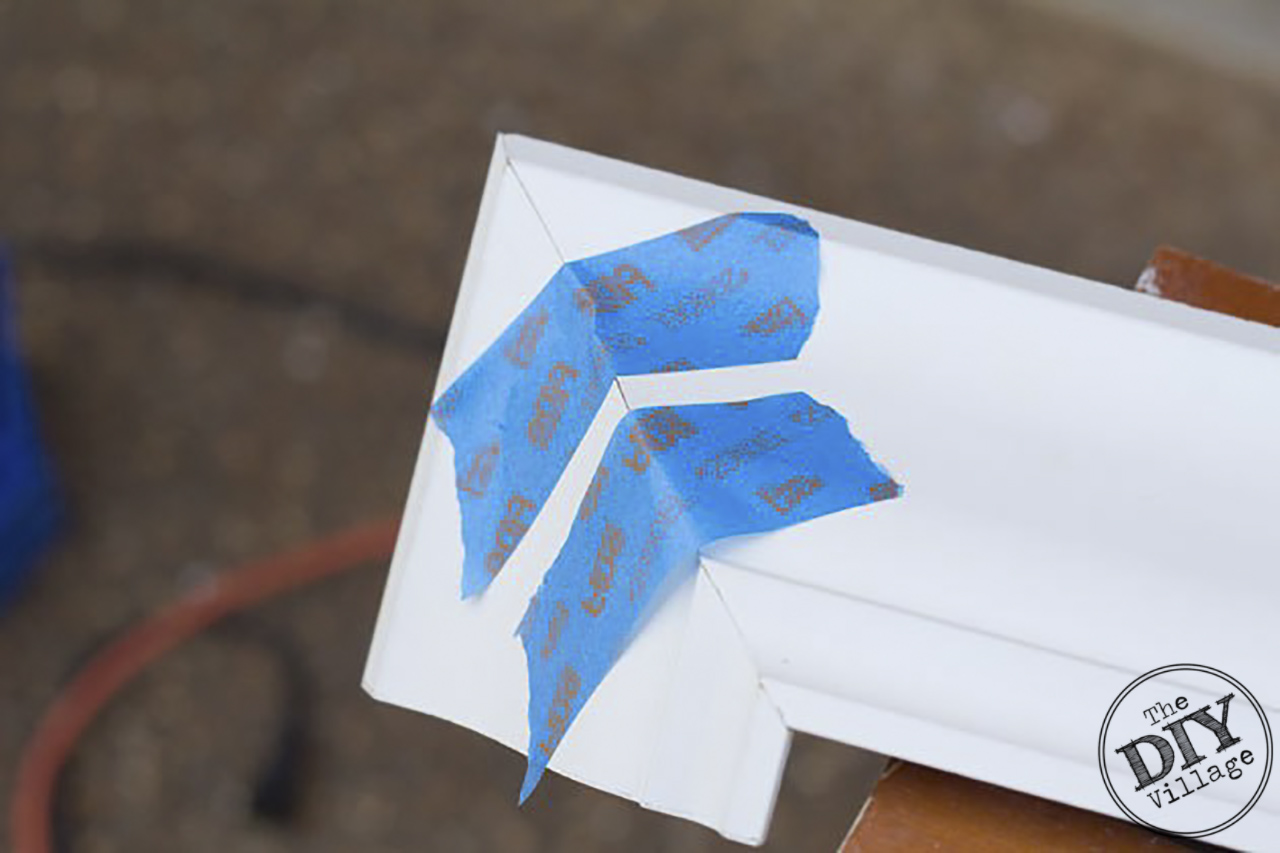 The adhesive dries pretty quickly, but as an added safety, I applied some tape to help keep the crown pieces from shifting.
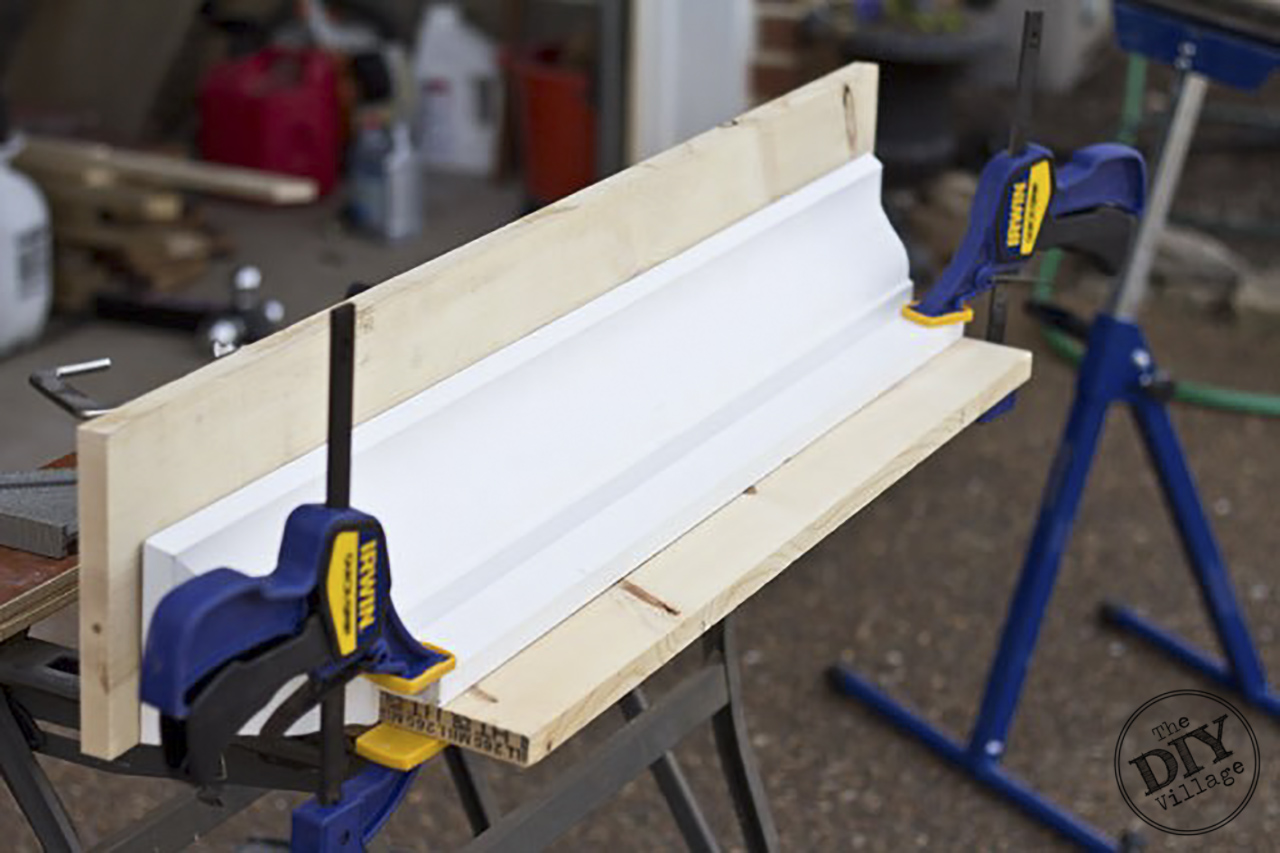 Once the adhesive had dried on the crown molding, it was time to fit them onto the shelving boards. To hold the crown molding at the correct angle, I clamped a straight edge onto the shelving board that acted as a stop for the molding pieces. Then I secured the crown pieces to the rest of the shelf with a few 18g finishing nails.
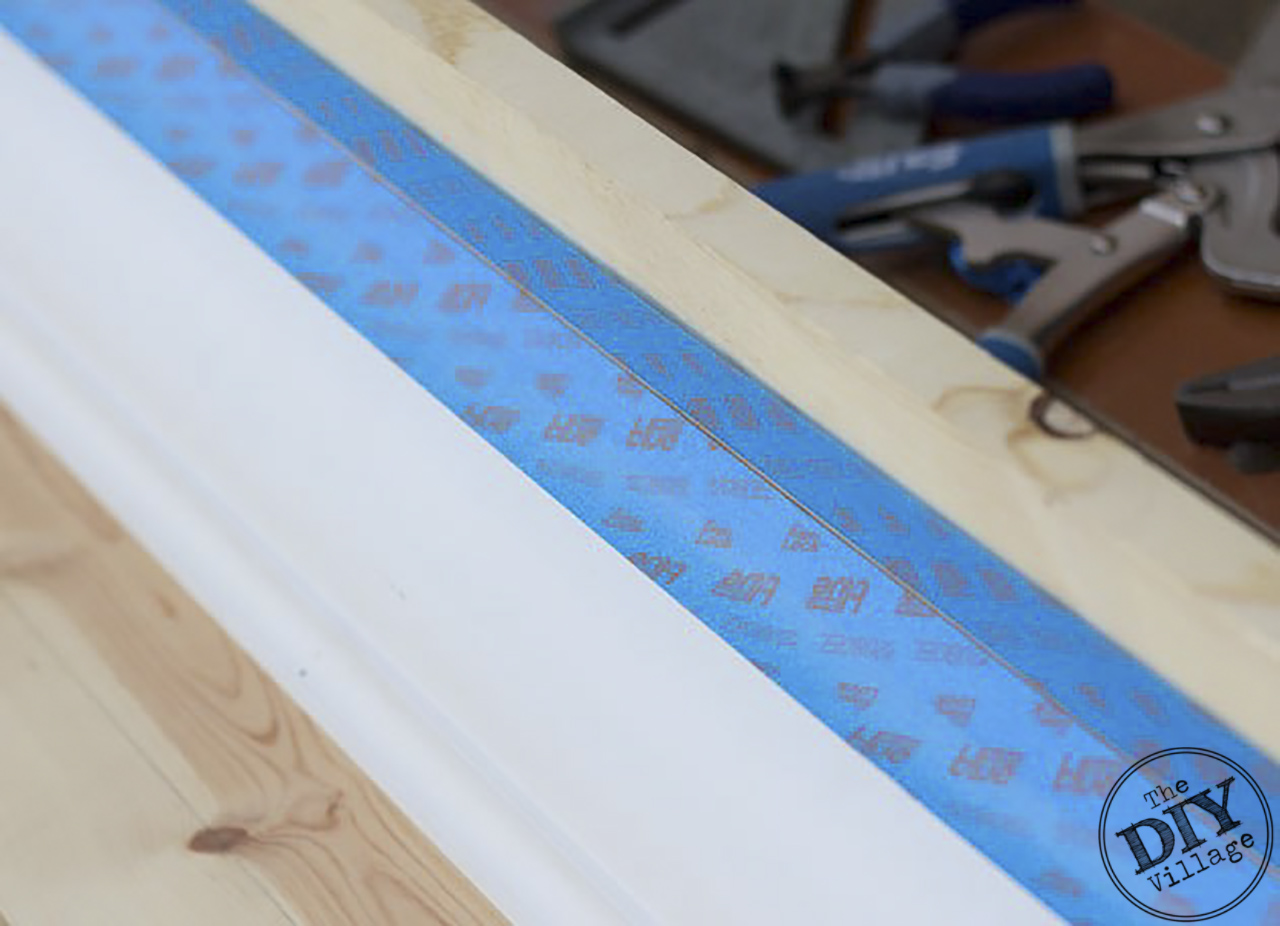 The only thing left to finish up before painting was to caulk all of the joints on the shelf. To get a nice even caulking line, I taped off right up to the joints before applying the caulk.
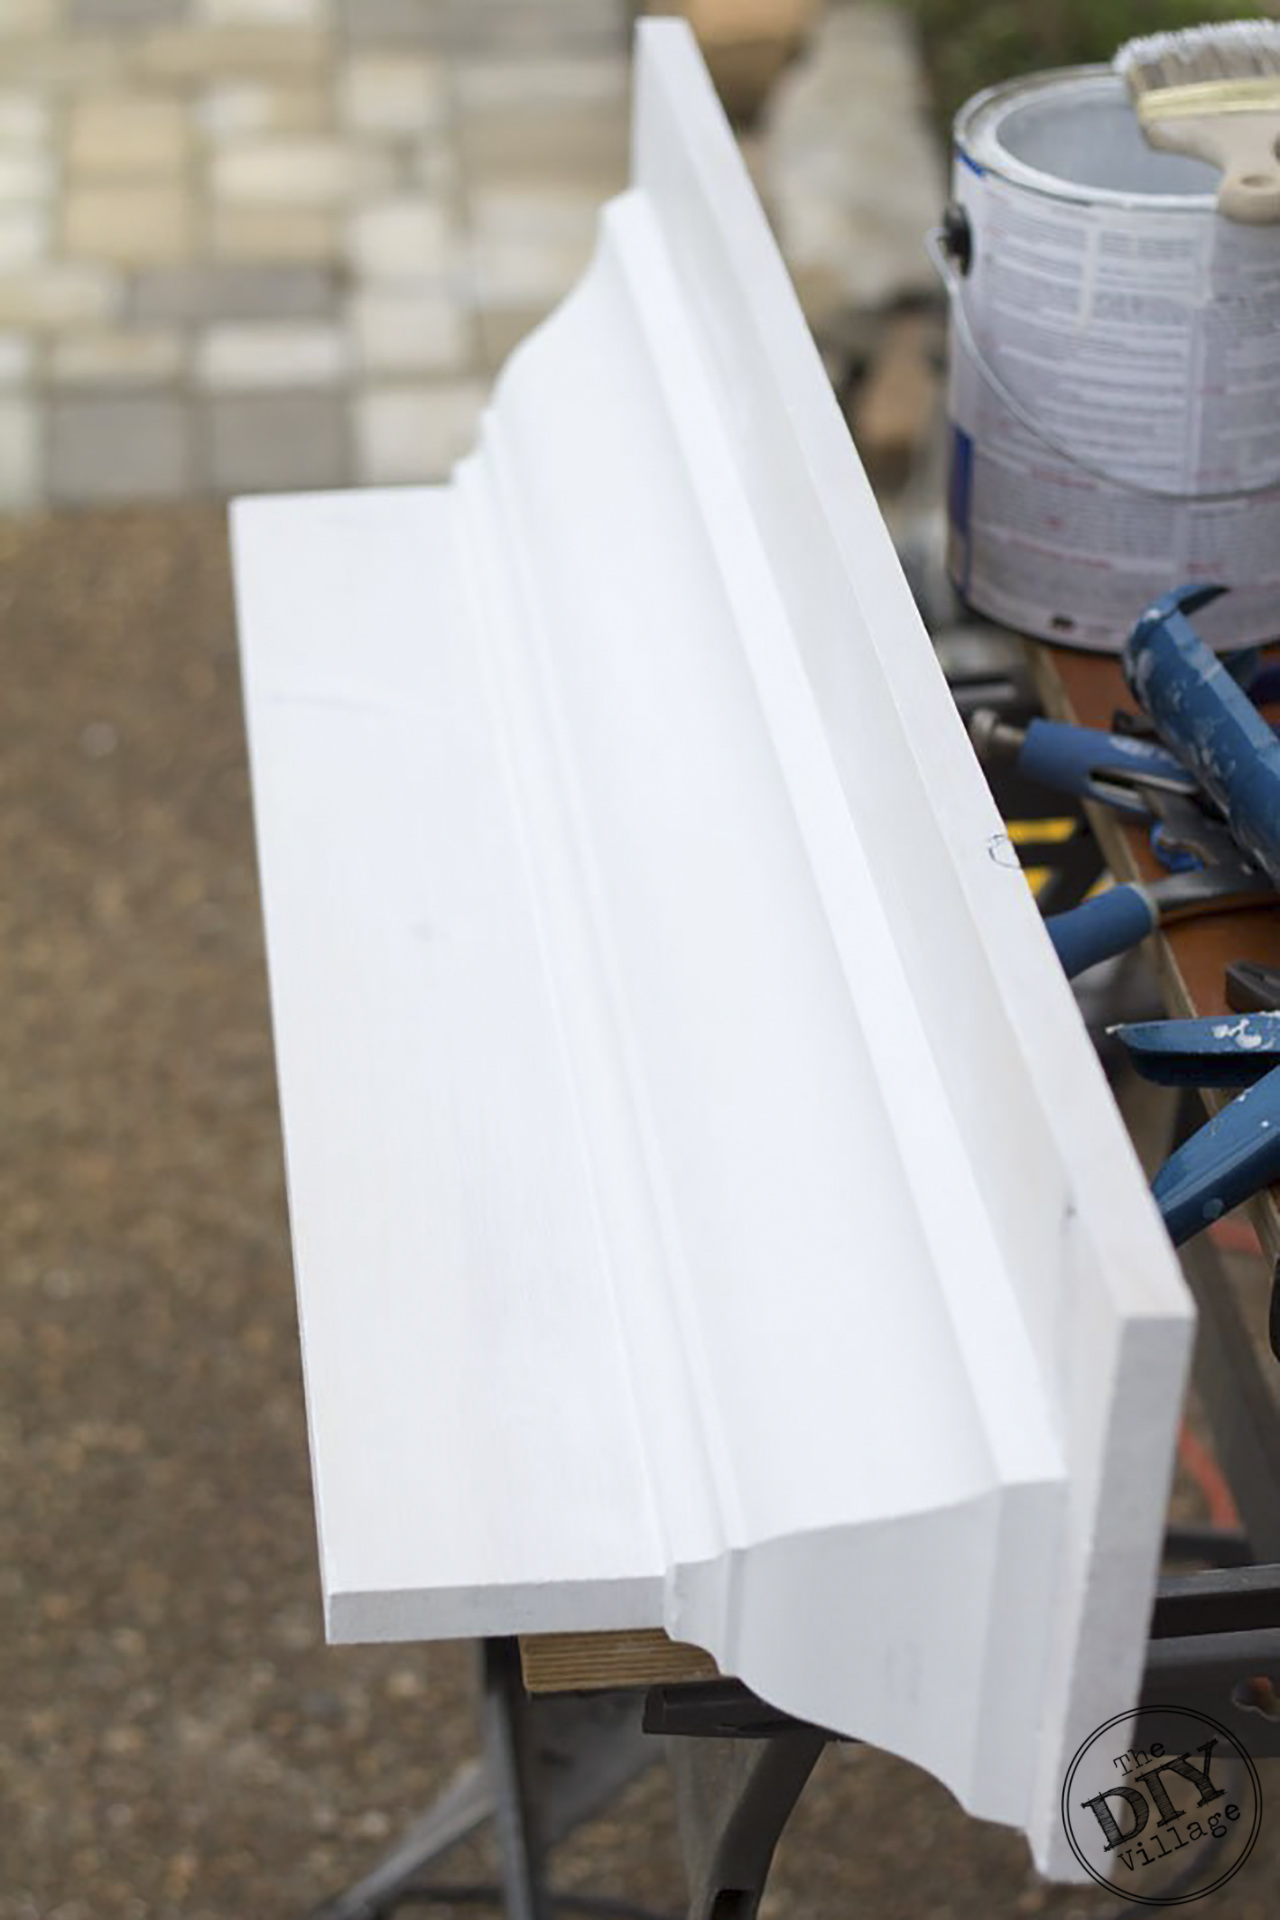
To keep from distracting from the aesthetic of the shelf I chose to keep the paint white. Just like our last project, keeping it simple!
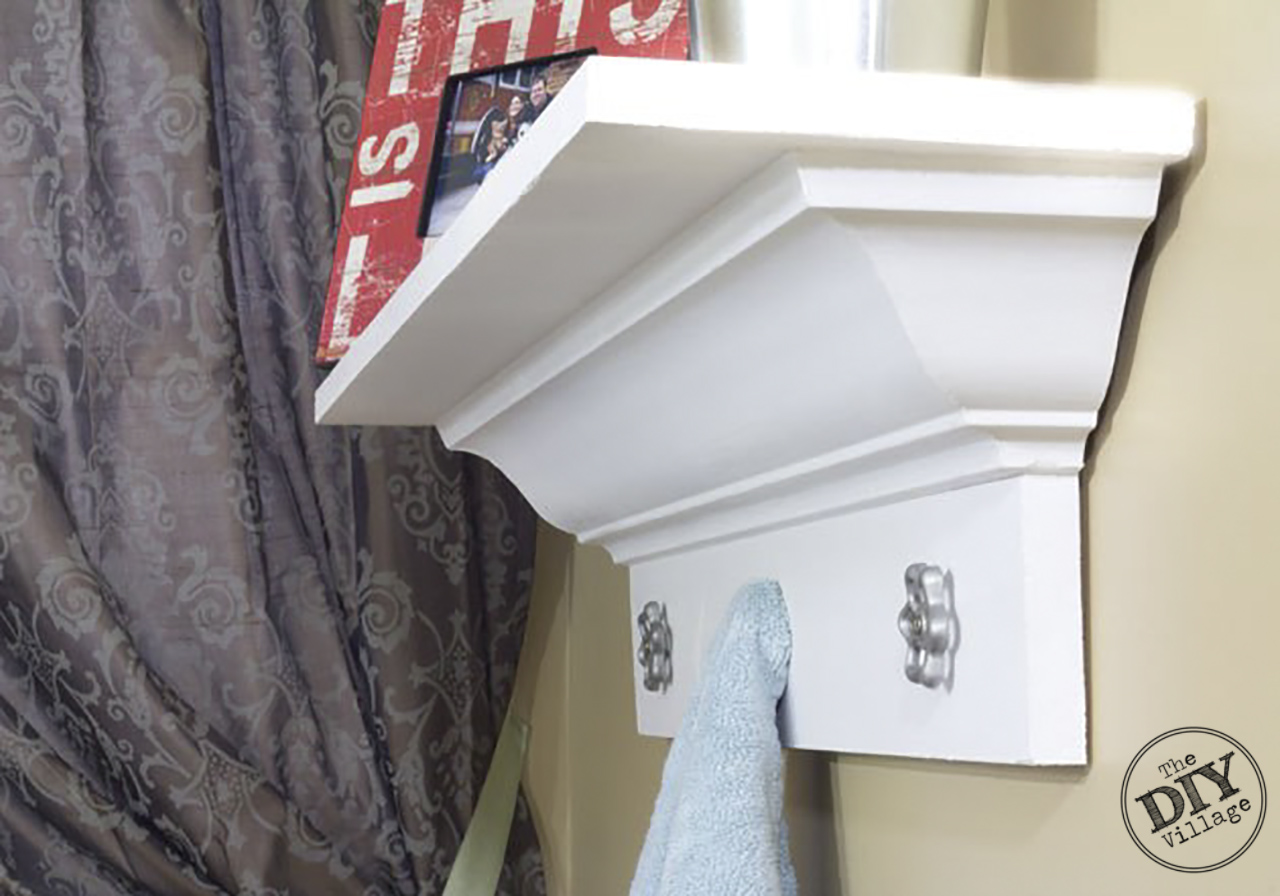 We found some need hose spigot handles to use as towel hangers.
This project was in collaboration with 40 other bloggers as part of a AT HOME DIY Challenge. This months topic, “Home Improvement” Please make sure to check out all the other amazing projects linked up in this challenge!


I really need to try the Crown Pro, you made that look so easy. Thanks for sharing a decorative way to add a shelf to a space.
You two come up with the best ideas! I love visiting your blog to get my creative juices flowing.
Oh! What a beautiful shelf!! I didn’t know about the Kreg Crown Pro, looks awesome!!
We have that same Kreg Crown pro too!! Glad to see it in action because we tried it and it did NOT help with our crown but it was too big haha. regardless, great job!
I loved your process and it looks so easy. I am going to try the Crown Pro. I hope it would be an amazing experience for me. Thanks for a great job!