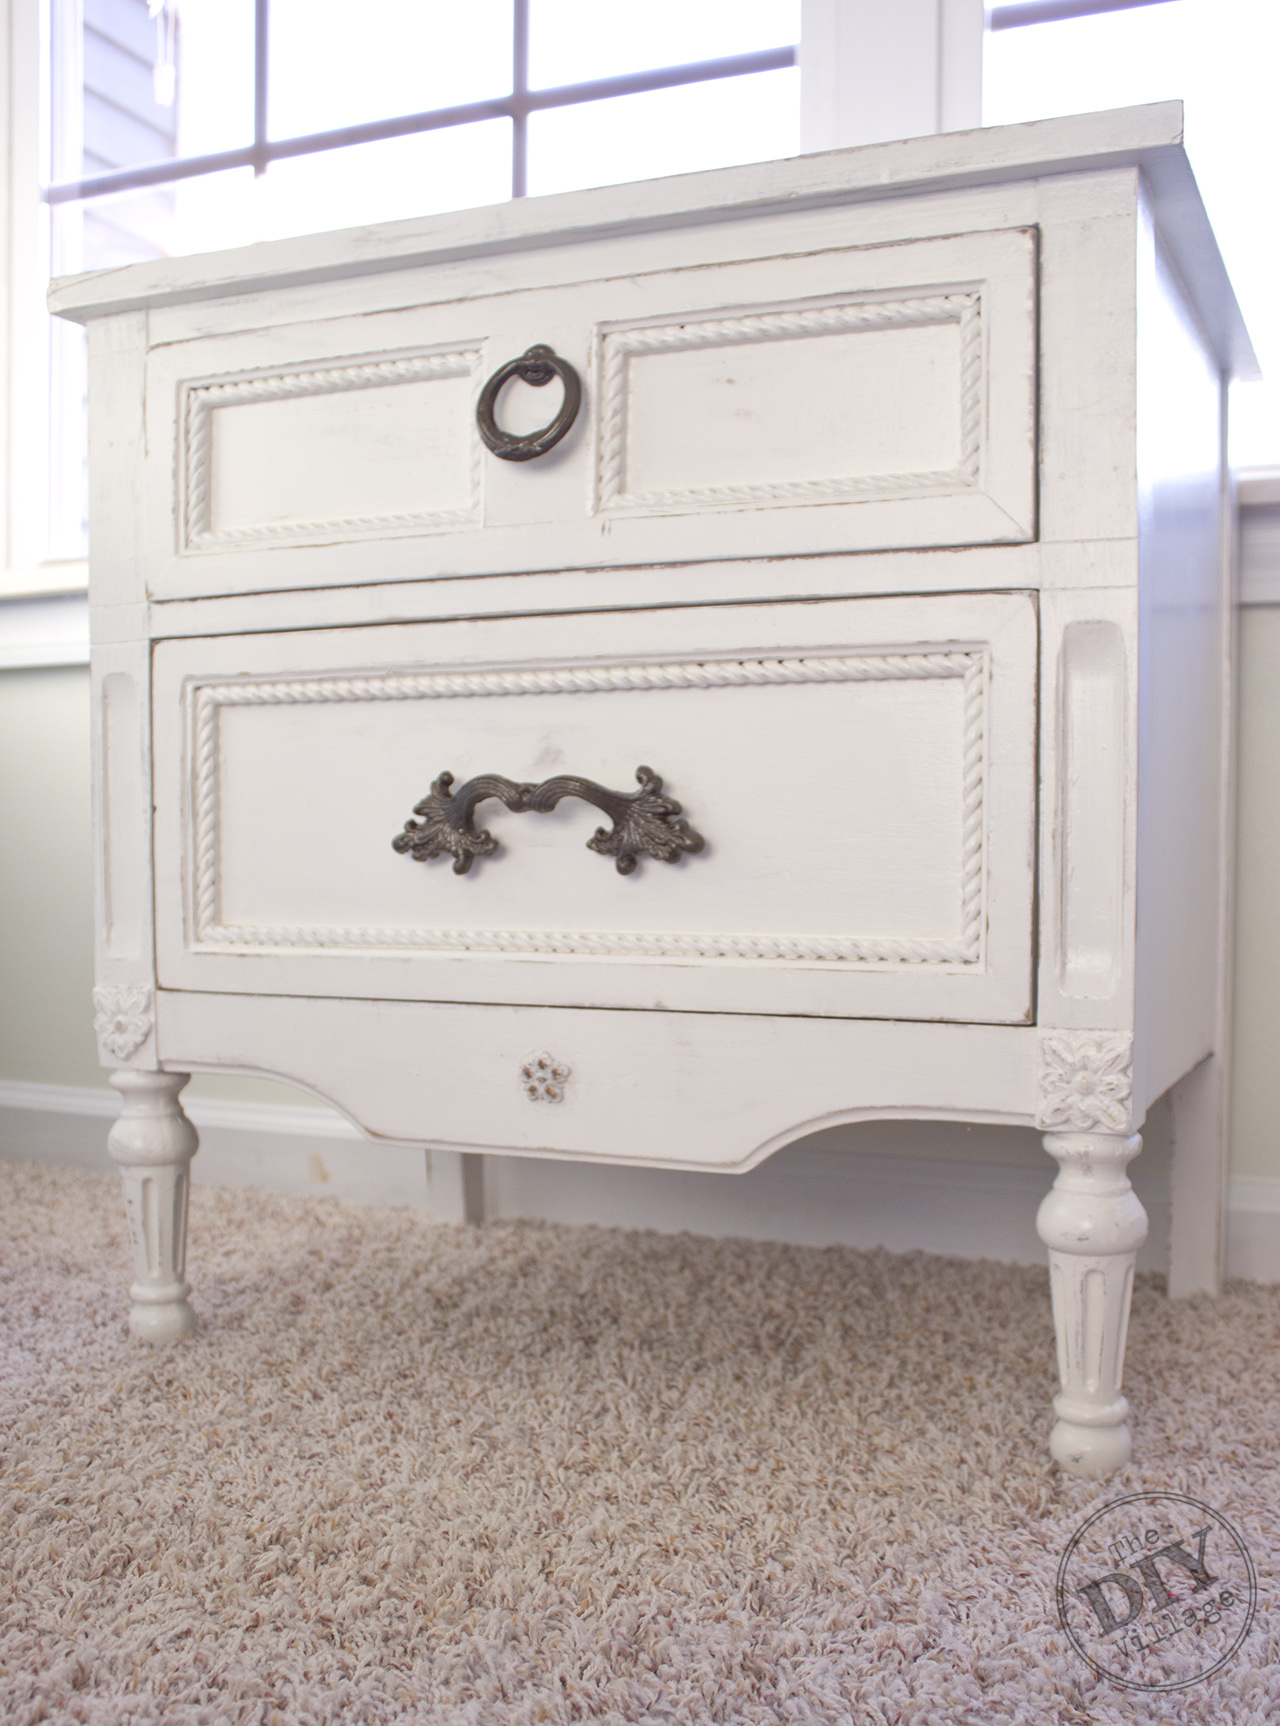

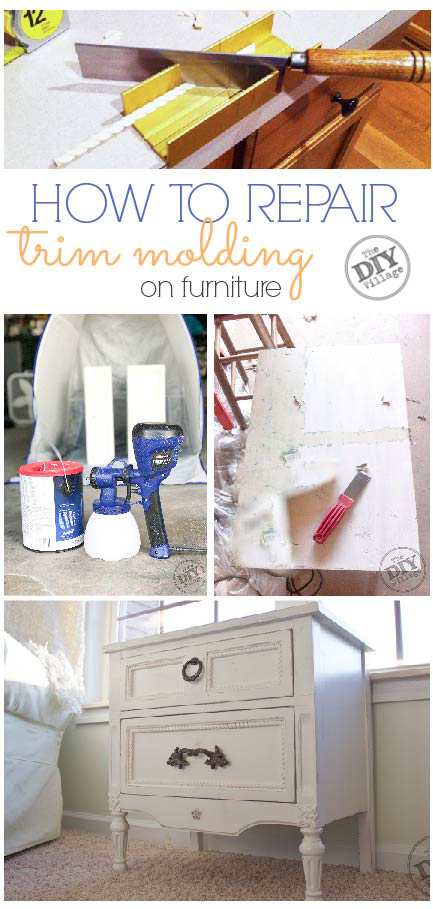
 I found a cute nightstand at an antique mall a little while back. As usual it sat in the garage for a few years. Finally I decided it was time to re-finish the piece. Including learning something new like how to repair molding on furniture.
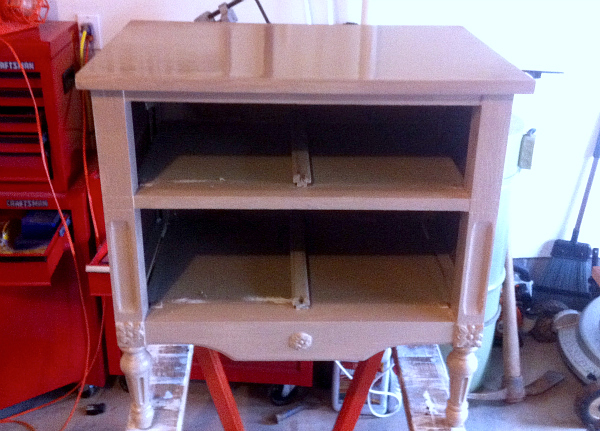 The nightstand had been painted a few times and was in need of some major paint stripping.
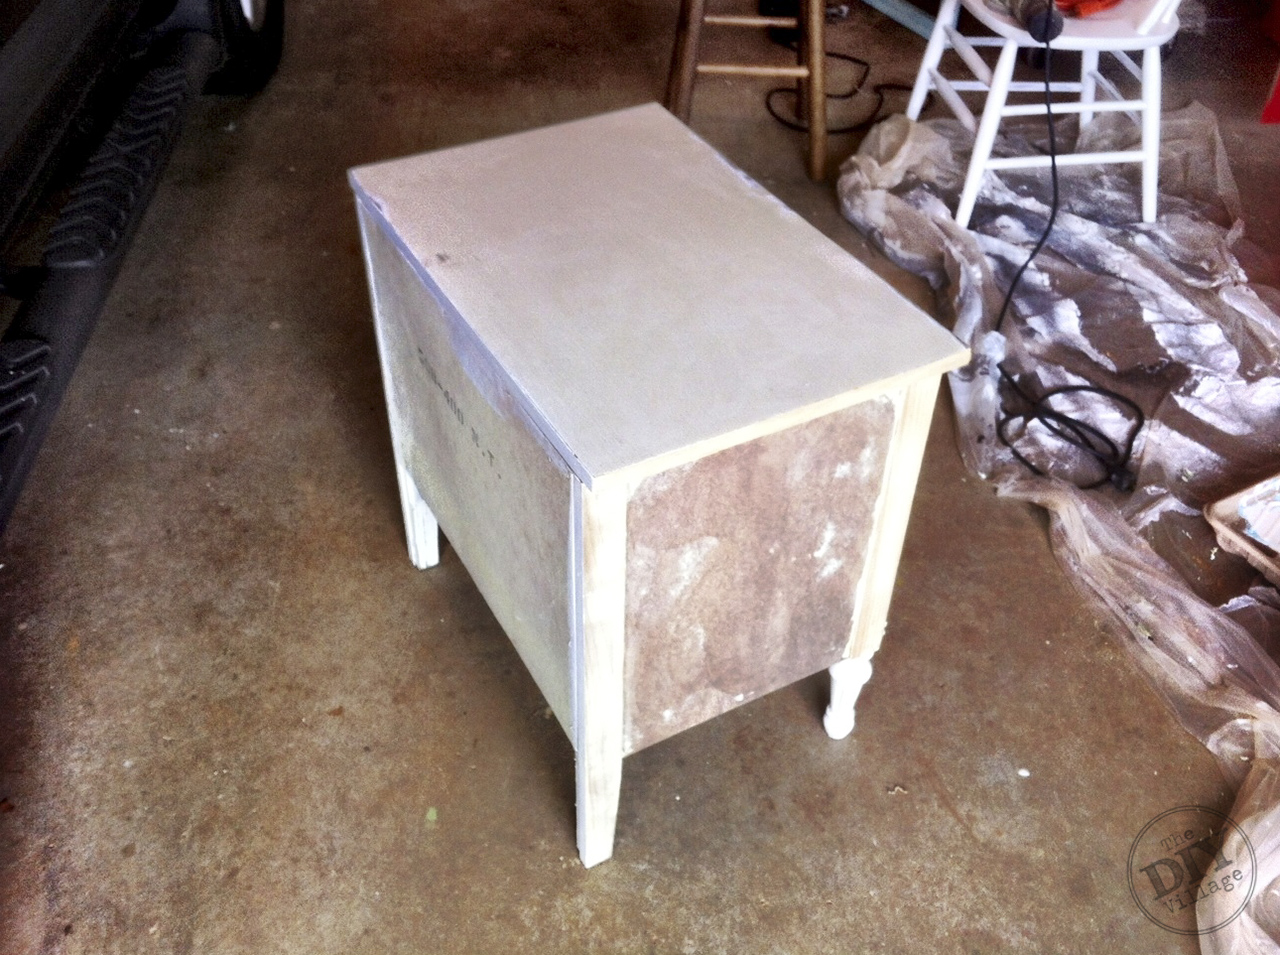
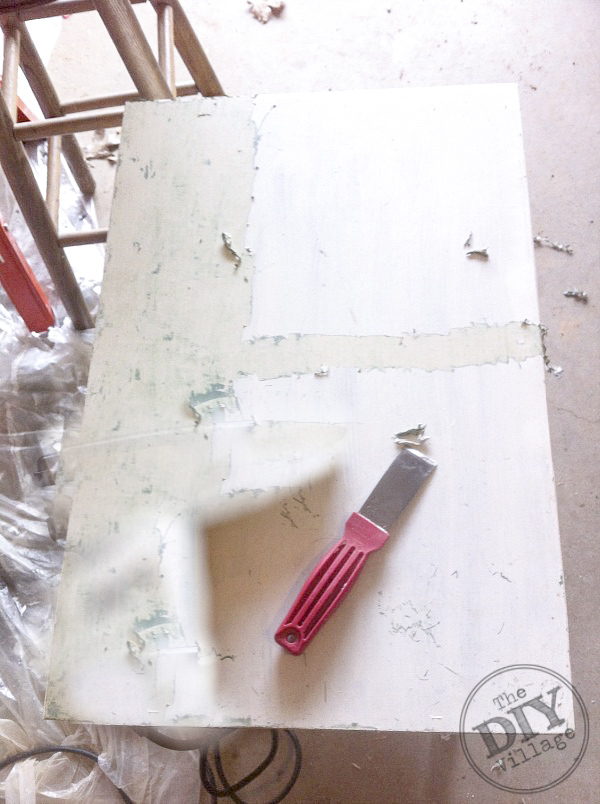 Rather than use any chemicals I opted for a heat gun (found HERE). The heat gun made light work of the paint removal and in no time the main part of the nightstand was ready for paint.
 Then it was time to strip the drawers. Everything was going well until I got to the delicate trim molding on the front of the drawers. Every time I would try and get the paint off it would gouge the soft wood on the trim. I knew that I had two options try and repair the damage or replace the molding with new molding that wasn’t caked with 40 years of paint. I had a few trial runs with various moldings, and various cutting methods but rather than dwell on wasted time, I’ll just tell you all about what worked best for me!
MATERIALS:
– Decorative Molding (found HERE)
– Mini Miter Box & Saw (found HERE)
– Wood Glue (found HERE)
– Wood Clamps (found HERE)
– Flathead Screwdriver (found HERE)
– Pliers
– Rubber Mallet (found HERE)
– HomeRight Super Finish Max Extra (found HERE)
– HomeRight Spray Shelter (Medium or Small)
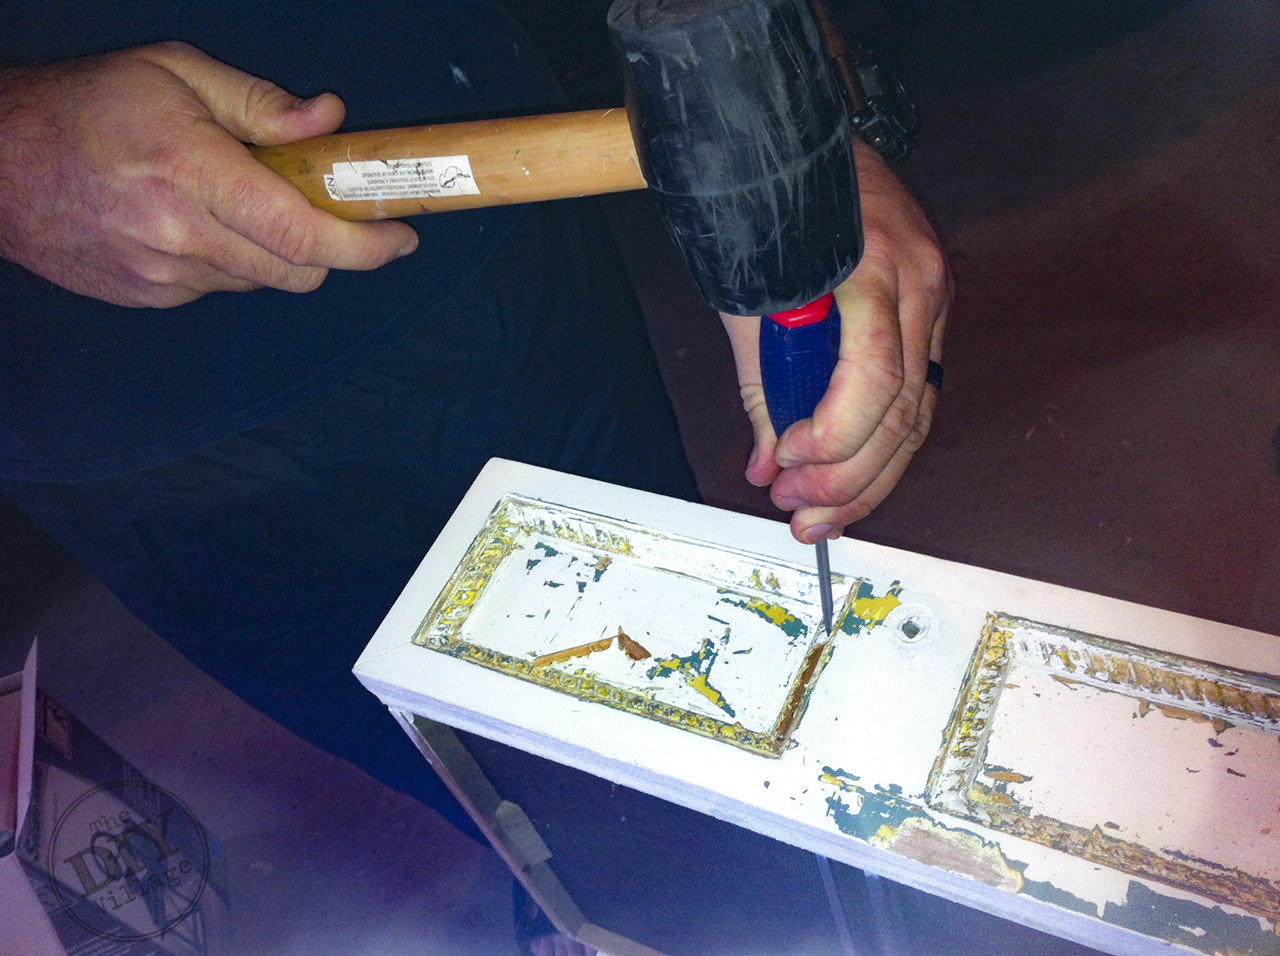 Use a flathead screwdriver to pry up any old pieces of molding. If any nails are present use the pliers to remove the nails. At this point you should have already decided what kind of molding works best for your furniture.
 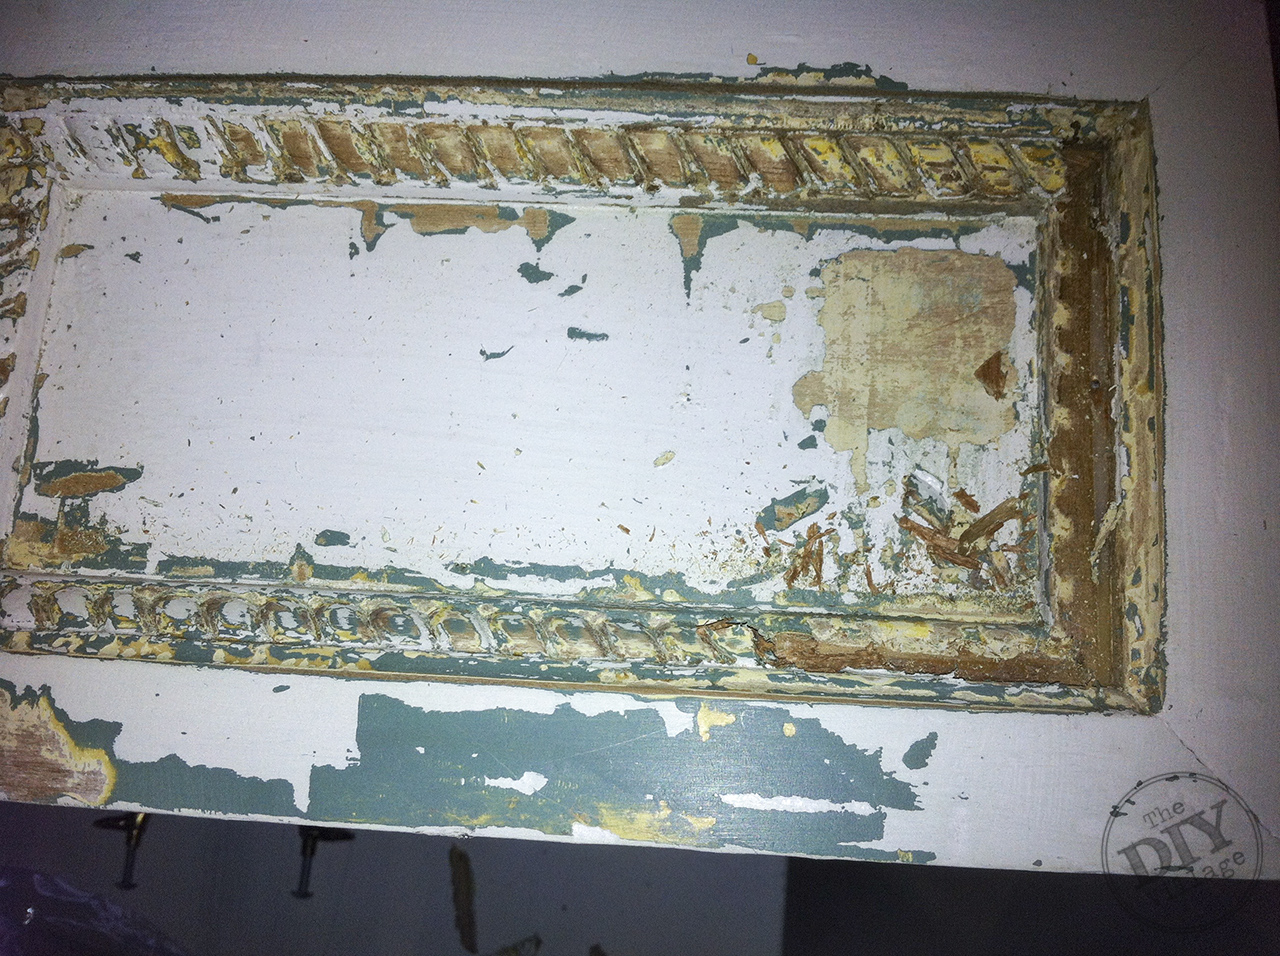 In my case it was the dollhouse molding was from a hobby store but they no longer carry it so you can find it HERE. A tad pricier than the type you can get at the hardware store but it was the exact width I needed.
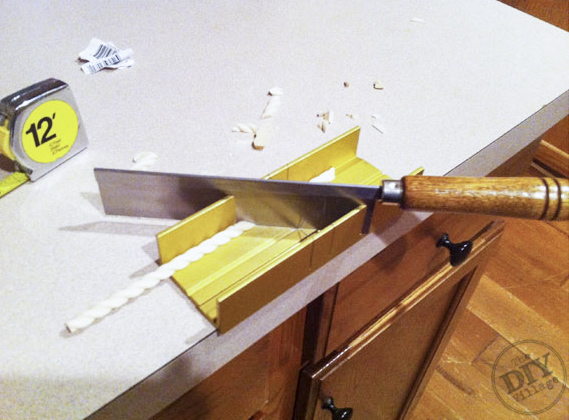 Measure from corner to corner on one side where the trim molding will be replaced. The outer most point of the molding will be the outside corner of your 45 degree angle cut. You will want to make the same cut in reverse on the opposite end of your molding. The angles will resemble a V shape.
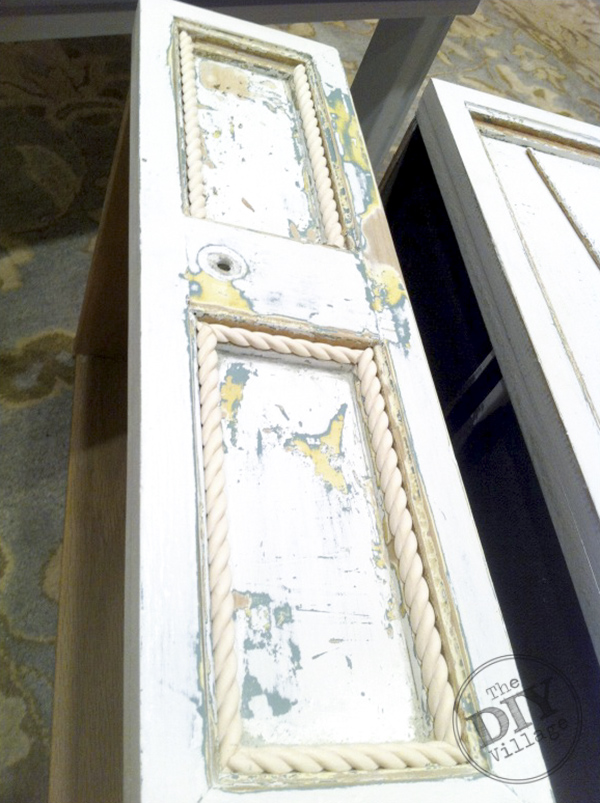 Place the molding inside the drawer front to check for accurate length. Continue this process until all 4 sides are completed.
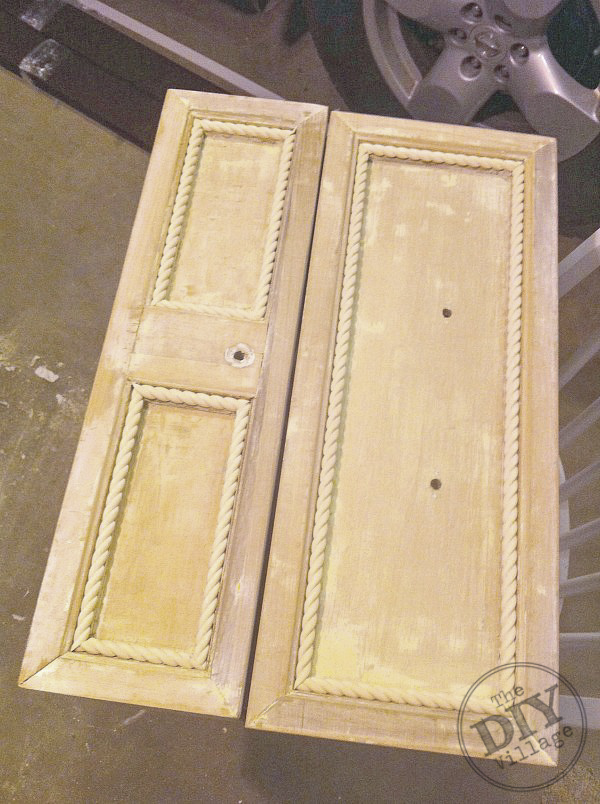 If you have not completed stripping the paint from the drawers do so at this time. Place your trim pieces onto the furniture checking once again that they all fit flush against each other. (If there are some spaces you can fill that in later with wood filler if you like.) Apply a small bead of wood glue to the back of each piece of trim, place it on the piece and clamp it into place. Let the glue set the required time by the manufacturer.
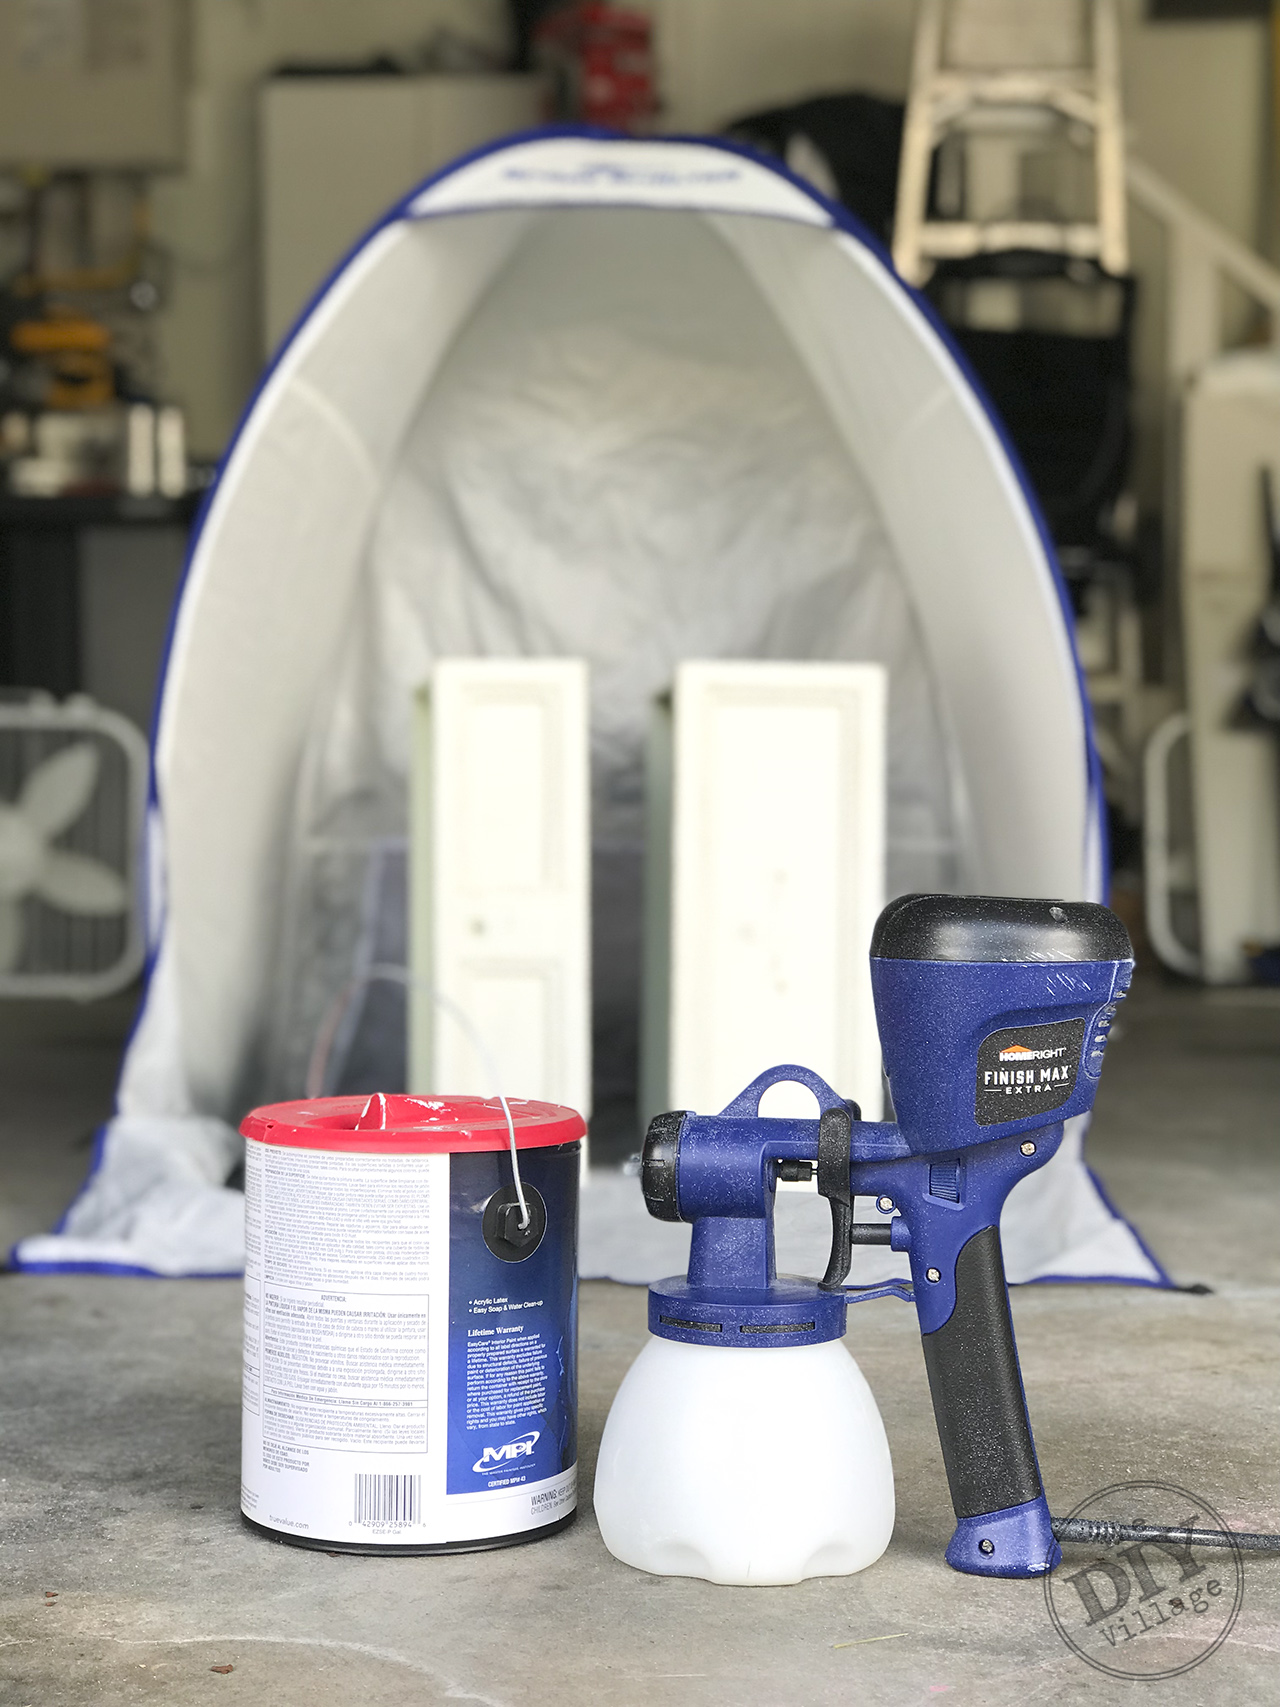 After the glue is set you are ready for paint. The best way to paint a piece with detailed trim is to use an HVLP sprayer, like my favorite HomeRight Finish Max (found HERE).
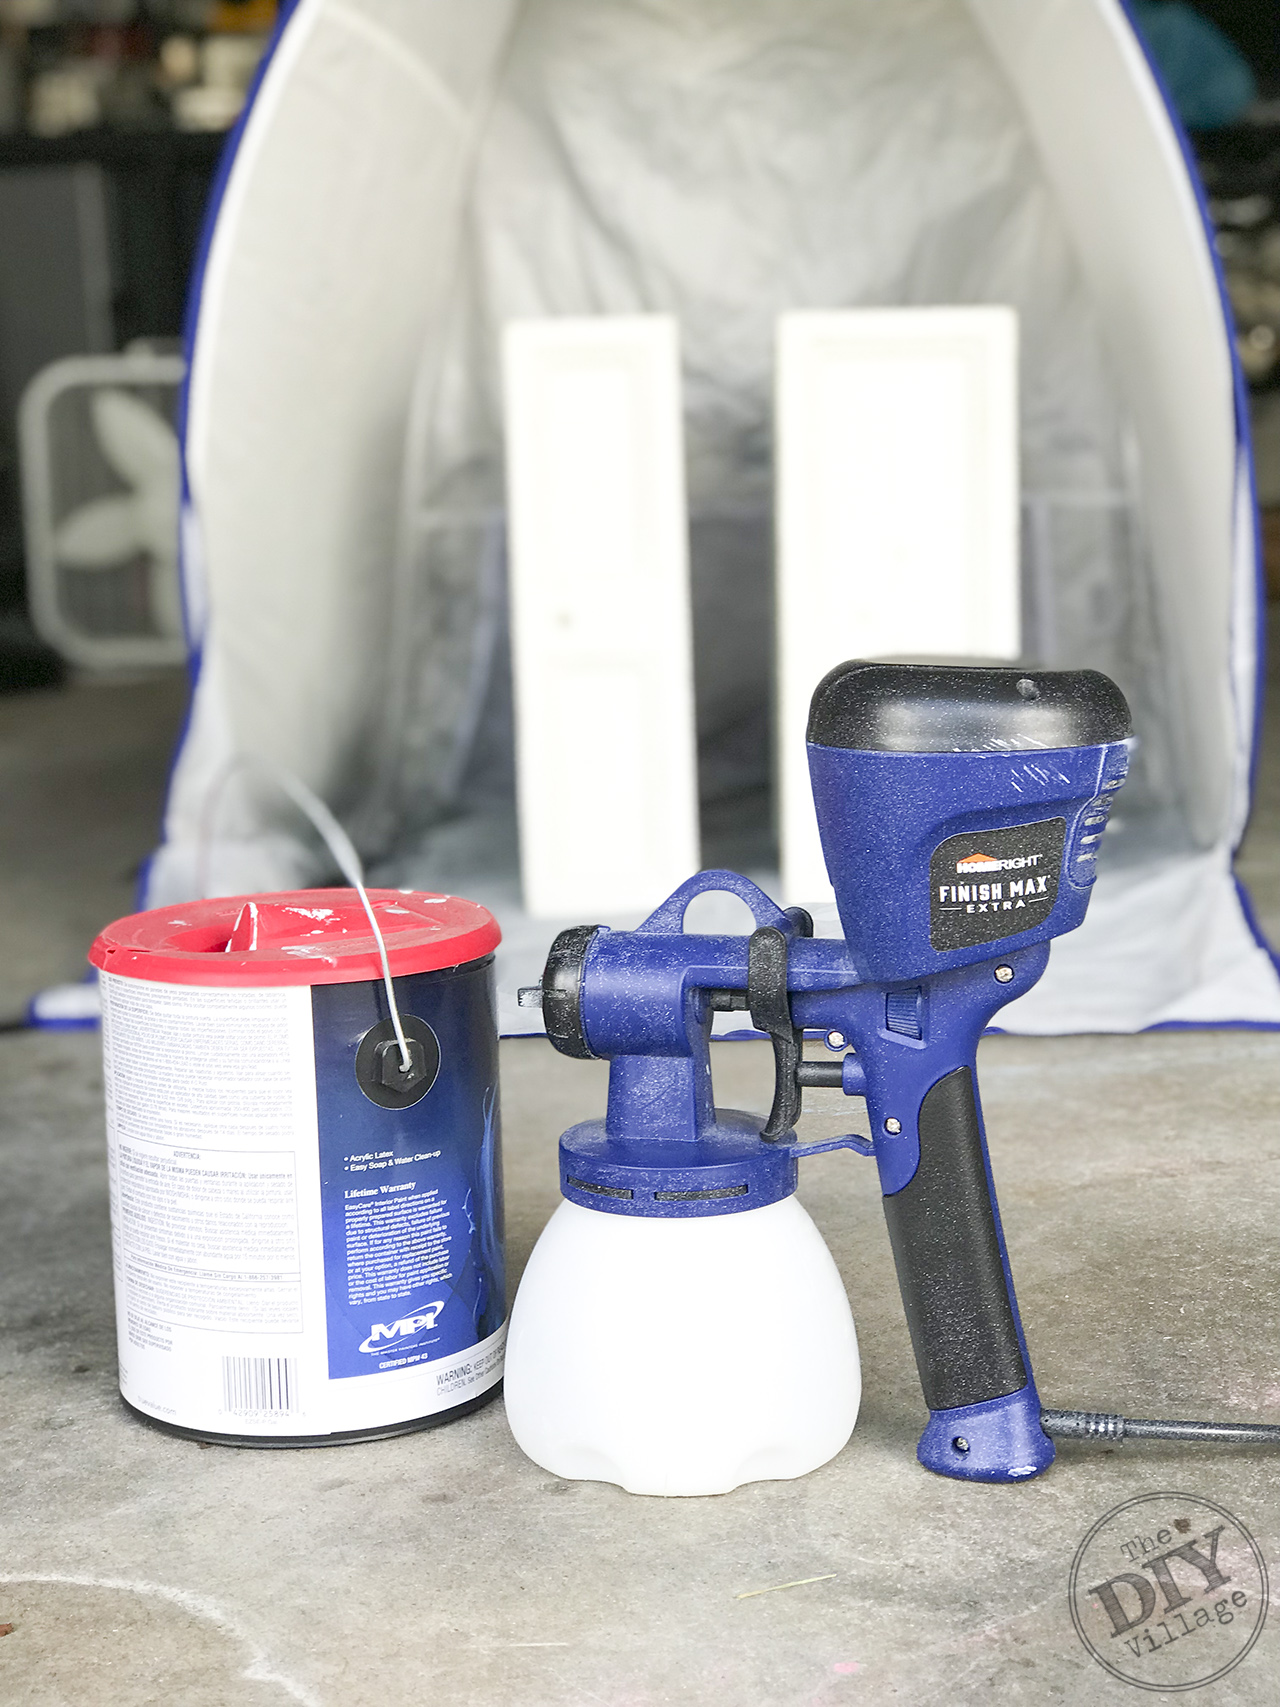 Set up your Spray Shelter (found HERE). Now it’s time to prep the paint. Because the Finish Max Super sprayer requires less thinning than other sprayers the prep is very quick and the sprayer was ready in less than 5 min.
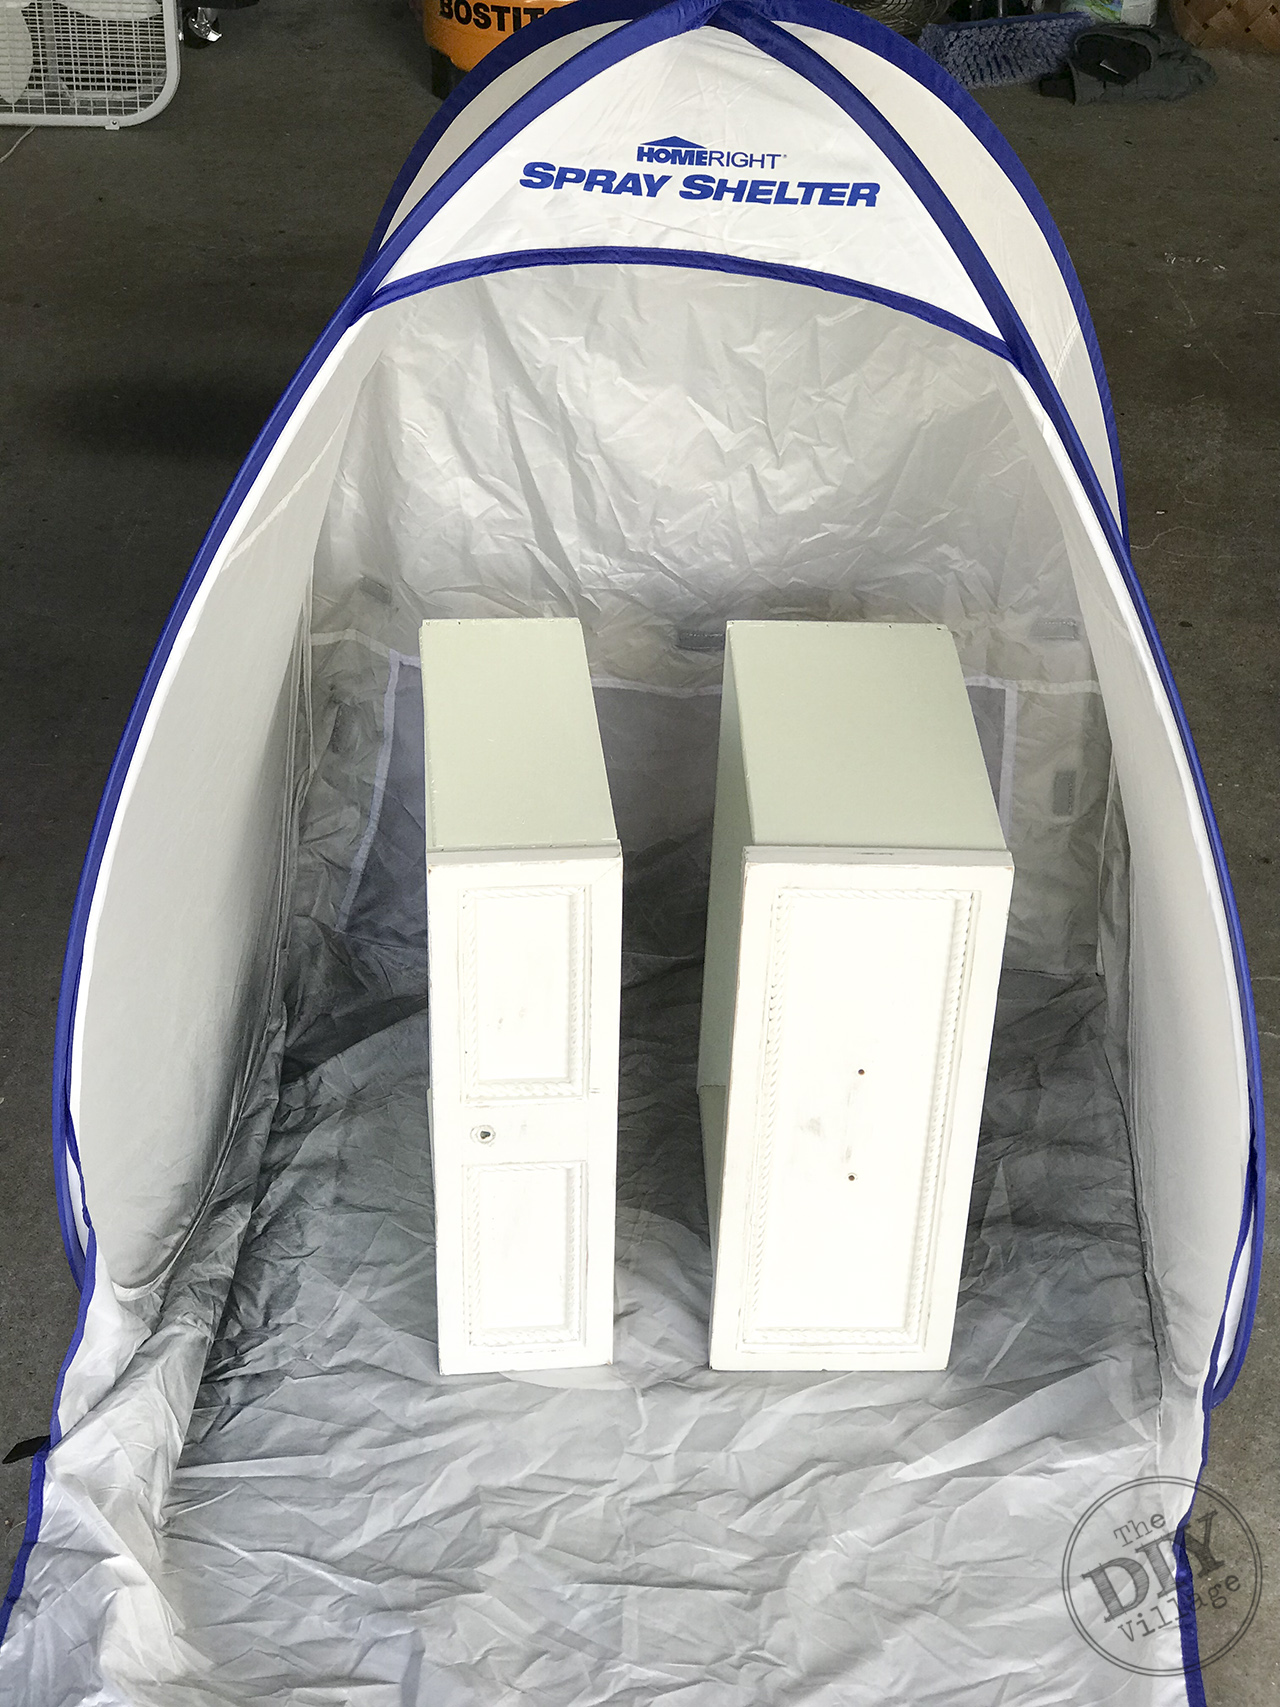 The finish on the trim came out perfect a little too perfect. In the end I opted to distress the piece so that it would match the look I was going for in the nursery. For durability purposes I added a coat of polycrylic to the nightstand. It was not a necessary step but I want the piece to last a long while.
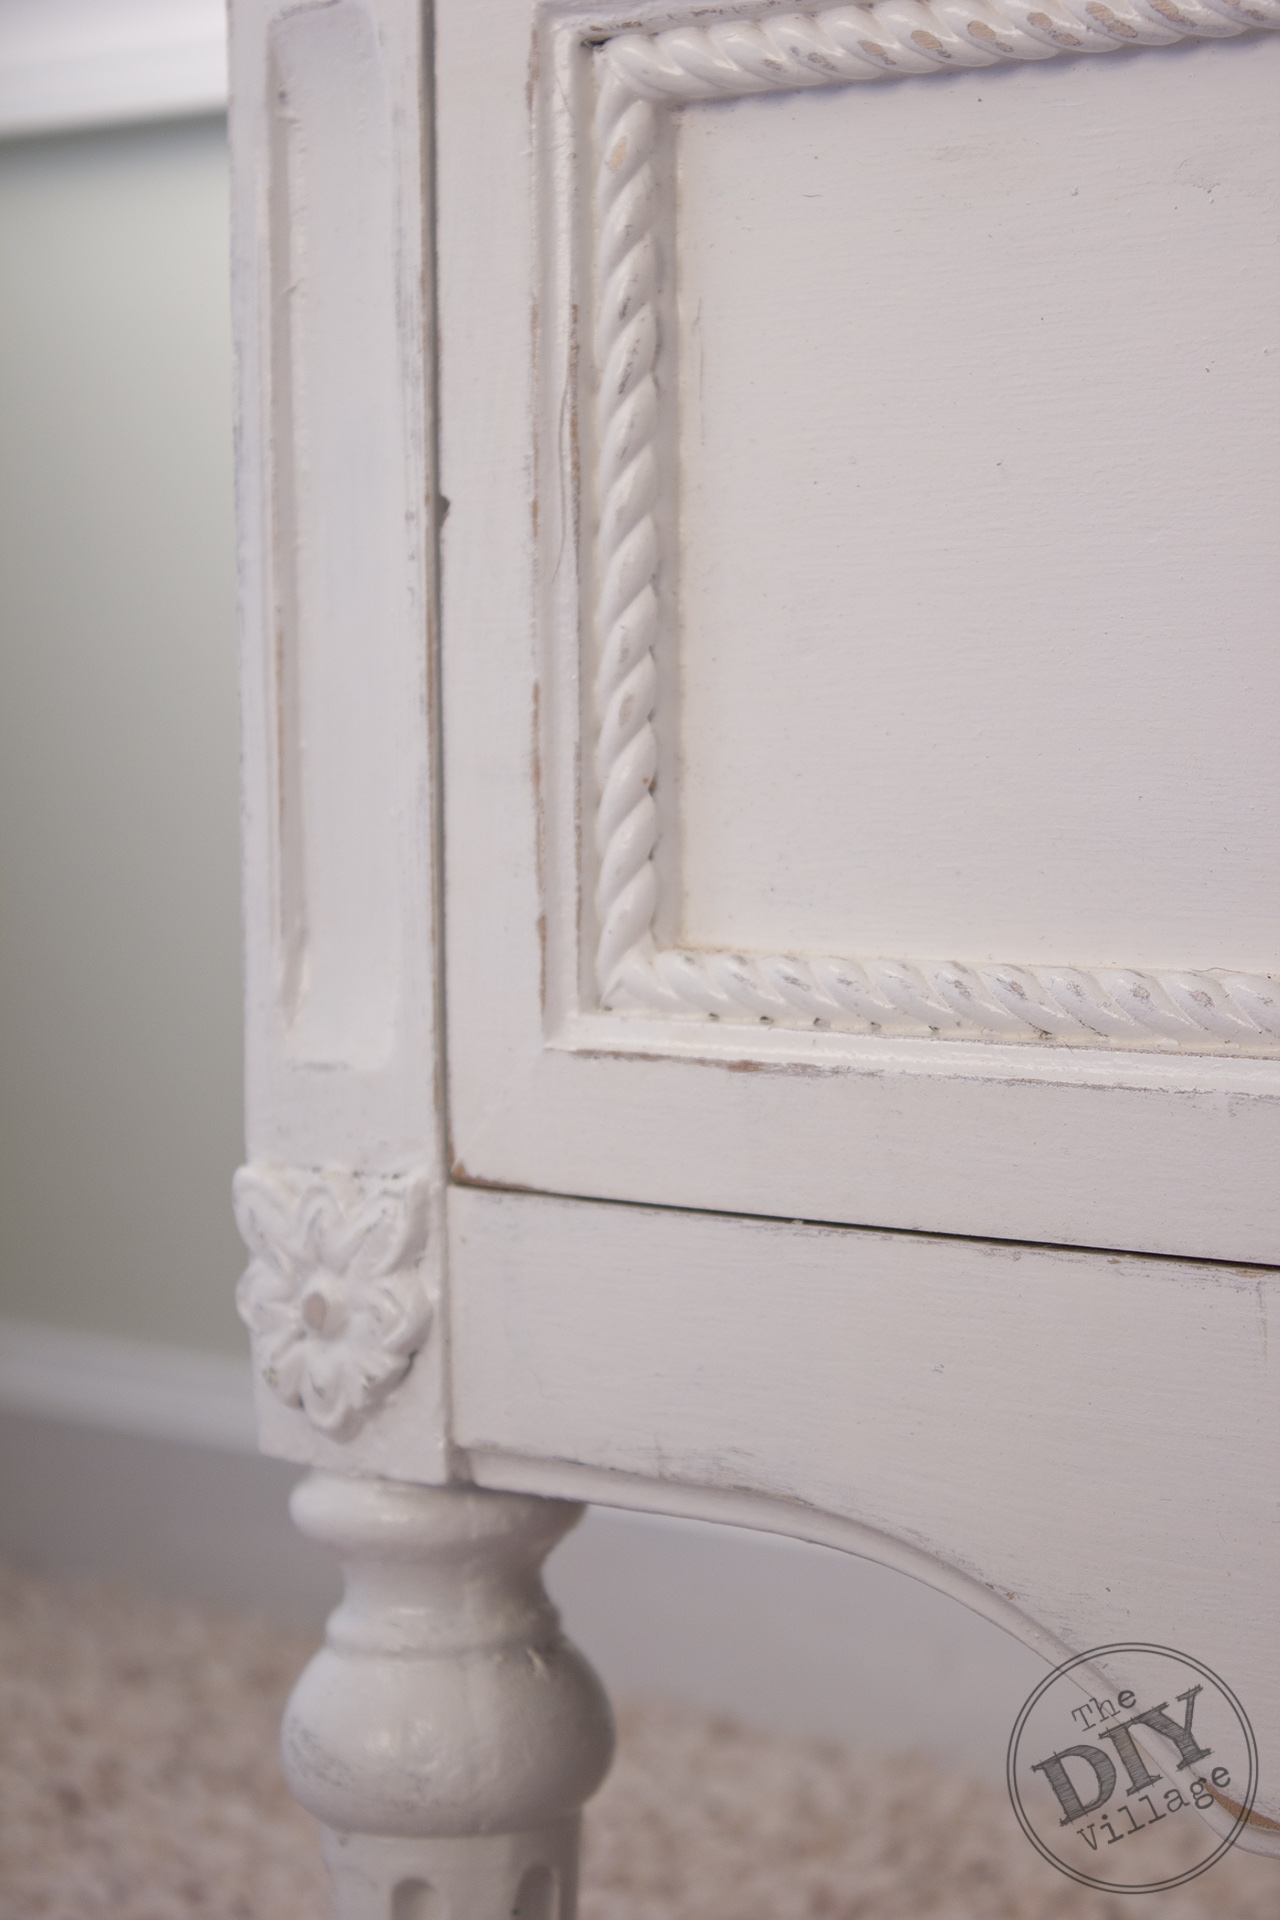
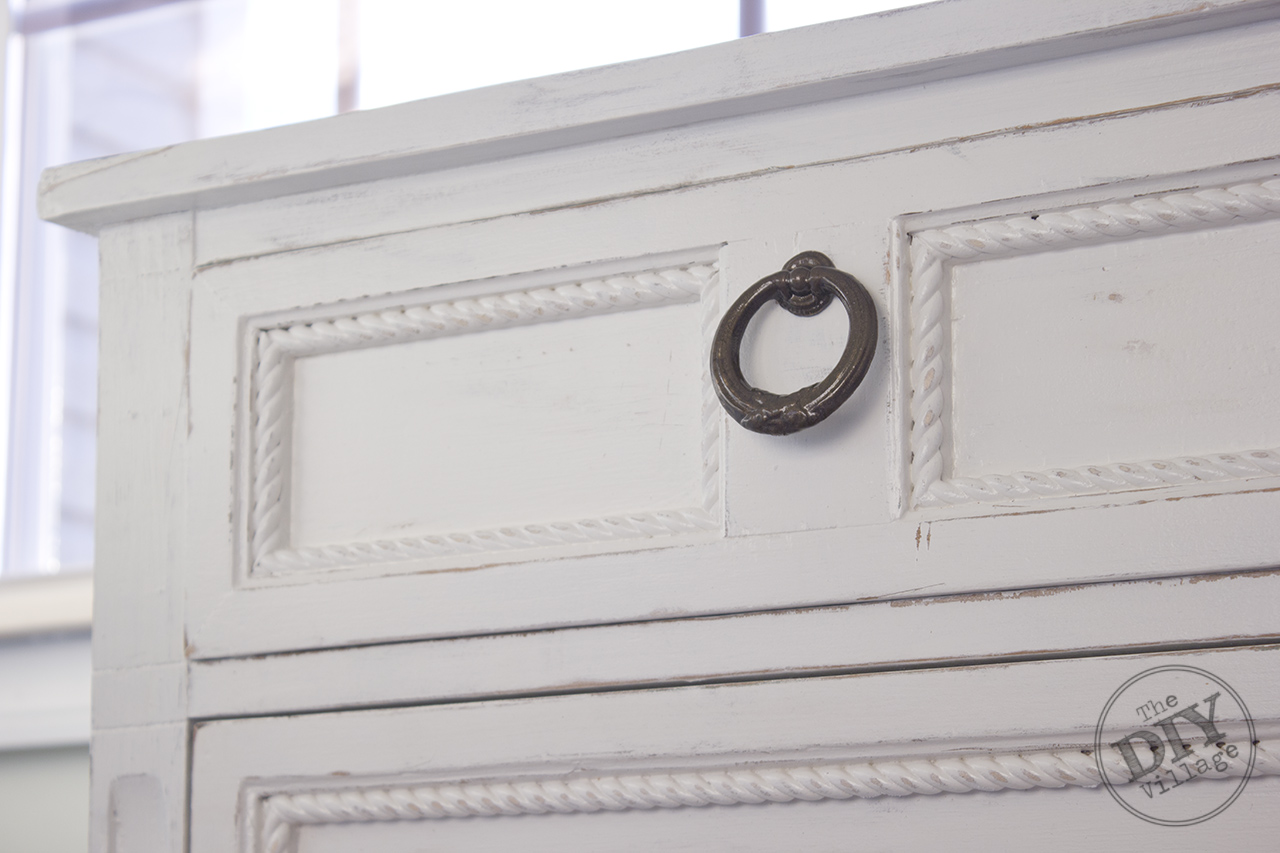
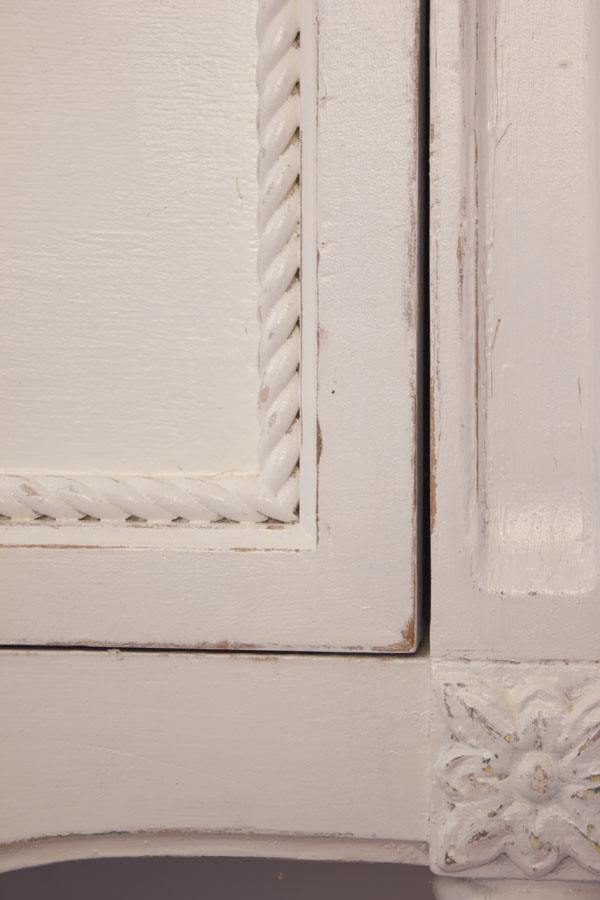 A lot of the original detail trim on the piece stayed in tact and just added to the character of the nightstand.
 If your looking to add a little fun to your furniture try painting the inside of the drawer the same color as your wall. It is a subtle but a nice surprise all in the same.
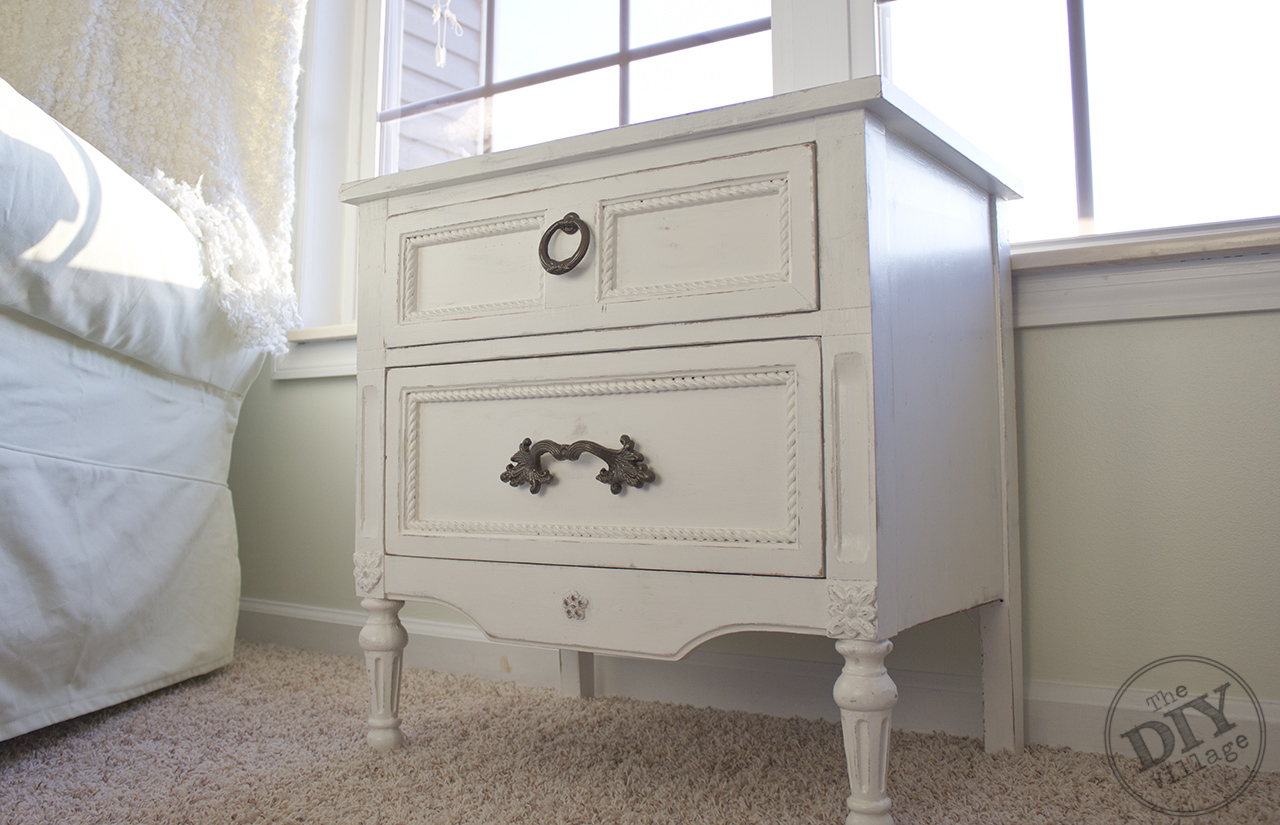
 The nightstand is a perfect accent to our little girl’s shabby chic nursery. I am so happy I decided to learn how to repair molding on furniture.
Leave a Reply