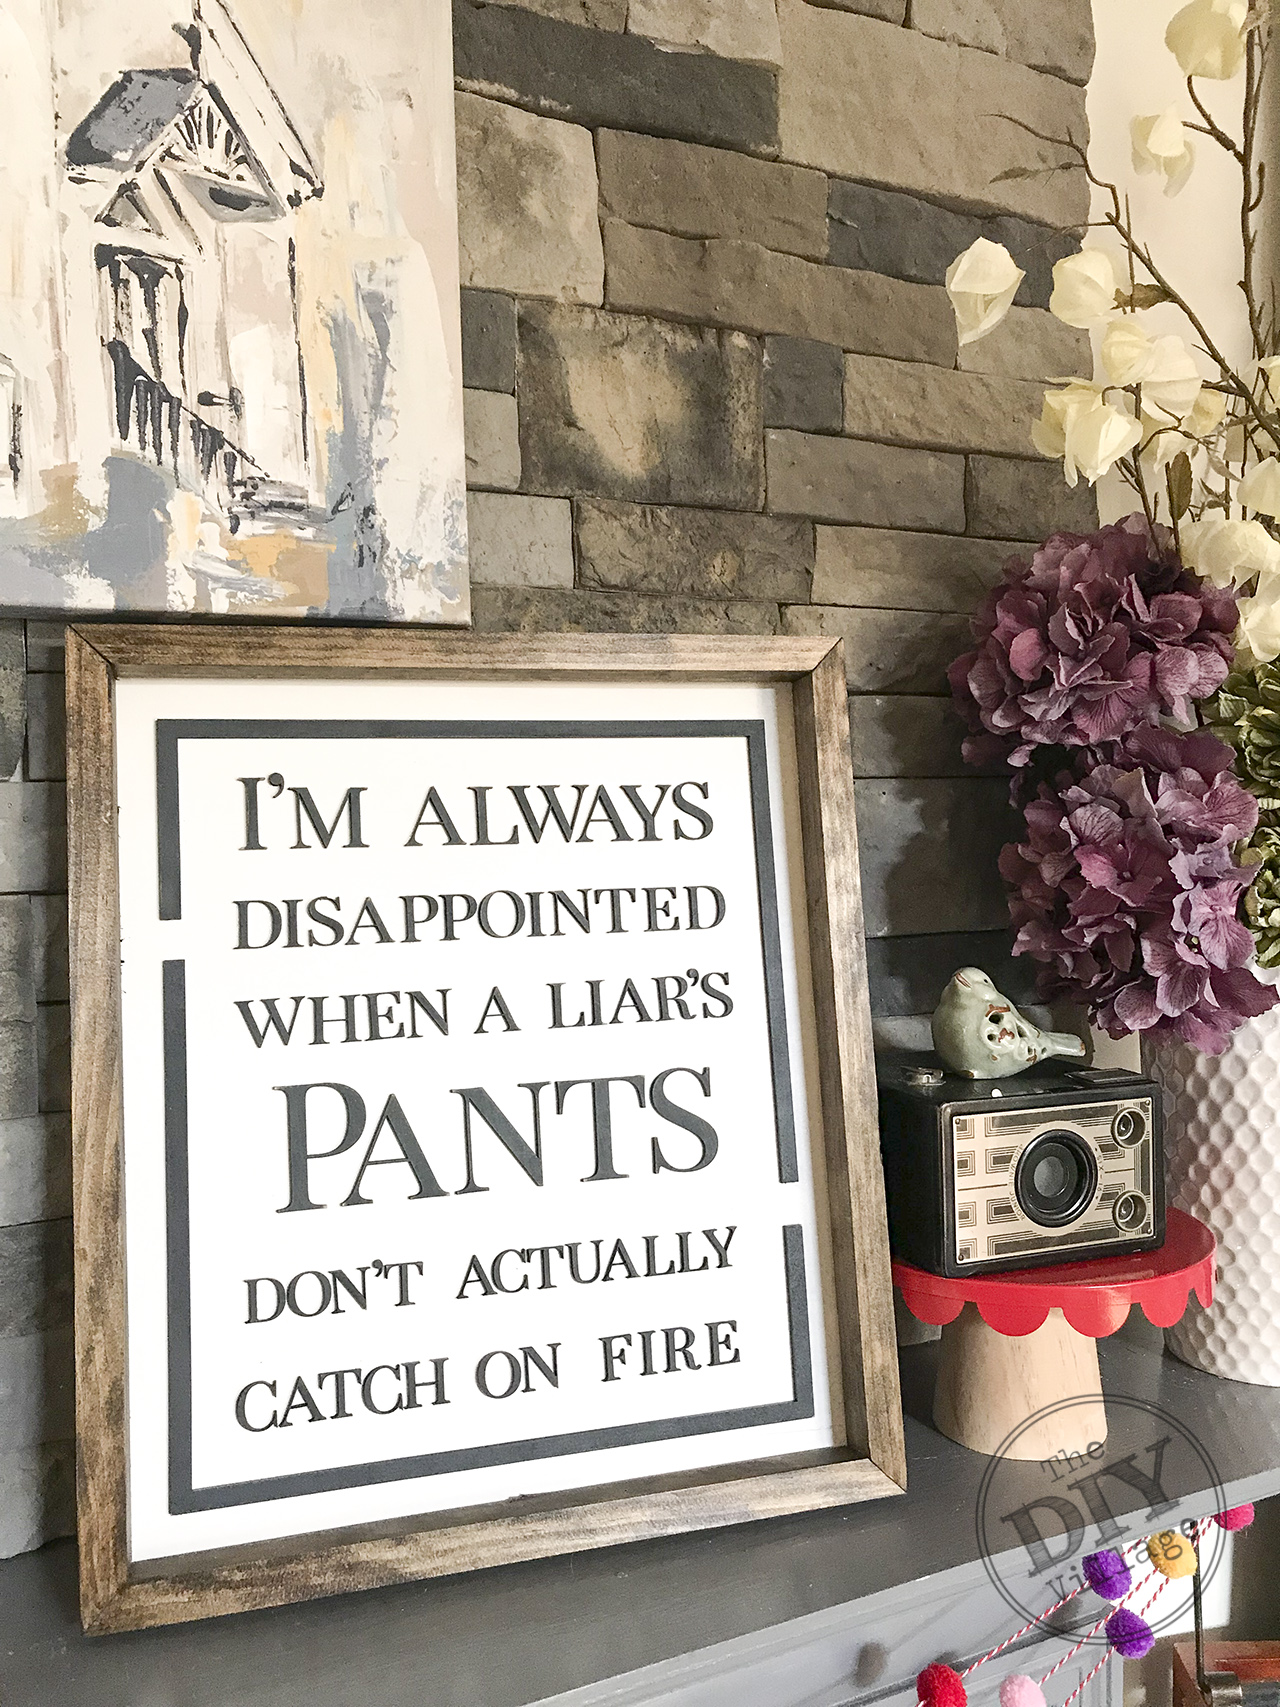
 It’s always fun to create new projects and get to learn how to use new power tools in the process. With the recent purchase of our Glowforge© Laser Cutter we have been doing a lot of new projects. One of my favorite’s to make is a raised wood lettered sign. One the design is made in Adobe Illustrator (found HERE) the signs are super easy to cut out with our Glowforge©. The most tedious part is hand laying out the letters. That’s part of what makes them unique and custom, no one is exactly the same.
 MATERIALS:
1×2 lumber – 1 -6′ length
Router (found HERE)
1/4 plywood (cut 13 7/8 x 15 7.8)
Frame Clamps (found HERE)
Wood Stain (found HERE)
Wood Glue (found HERE)
Nail Gun
Glowforge Draft Board
White Paint
Chalk Spray Paint (found HERE)
Adhesive Glue (found HERE)
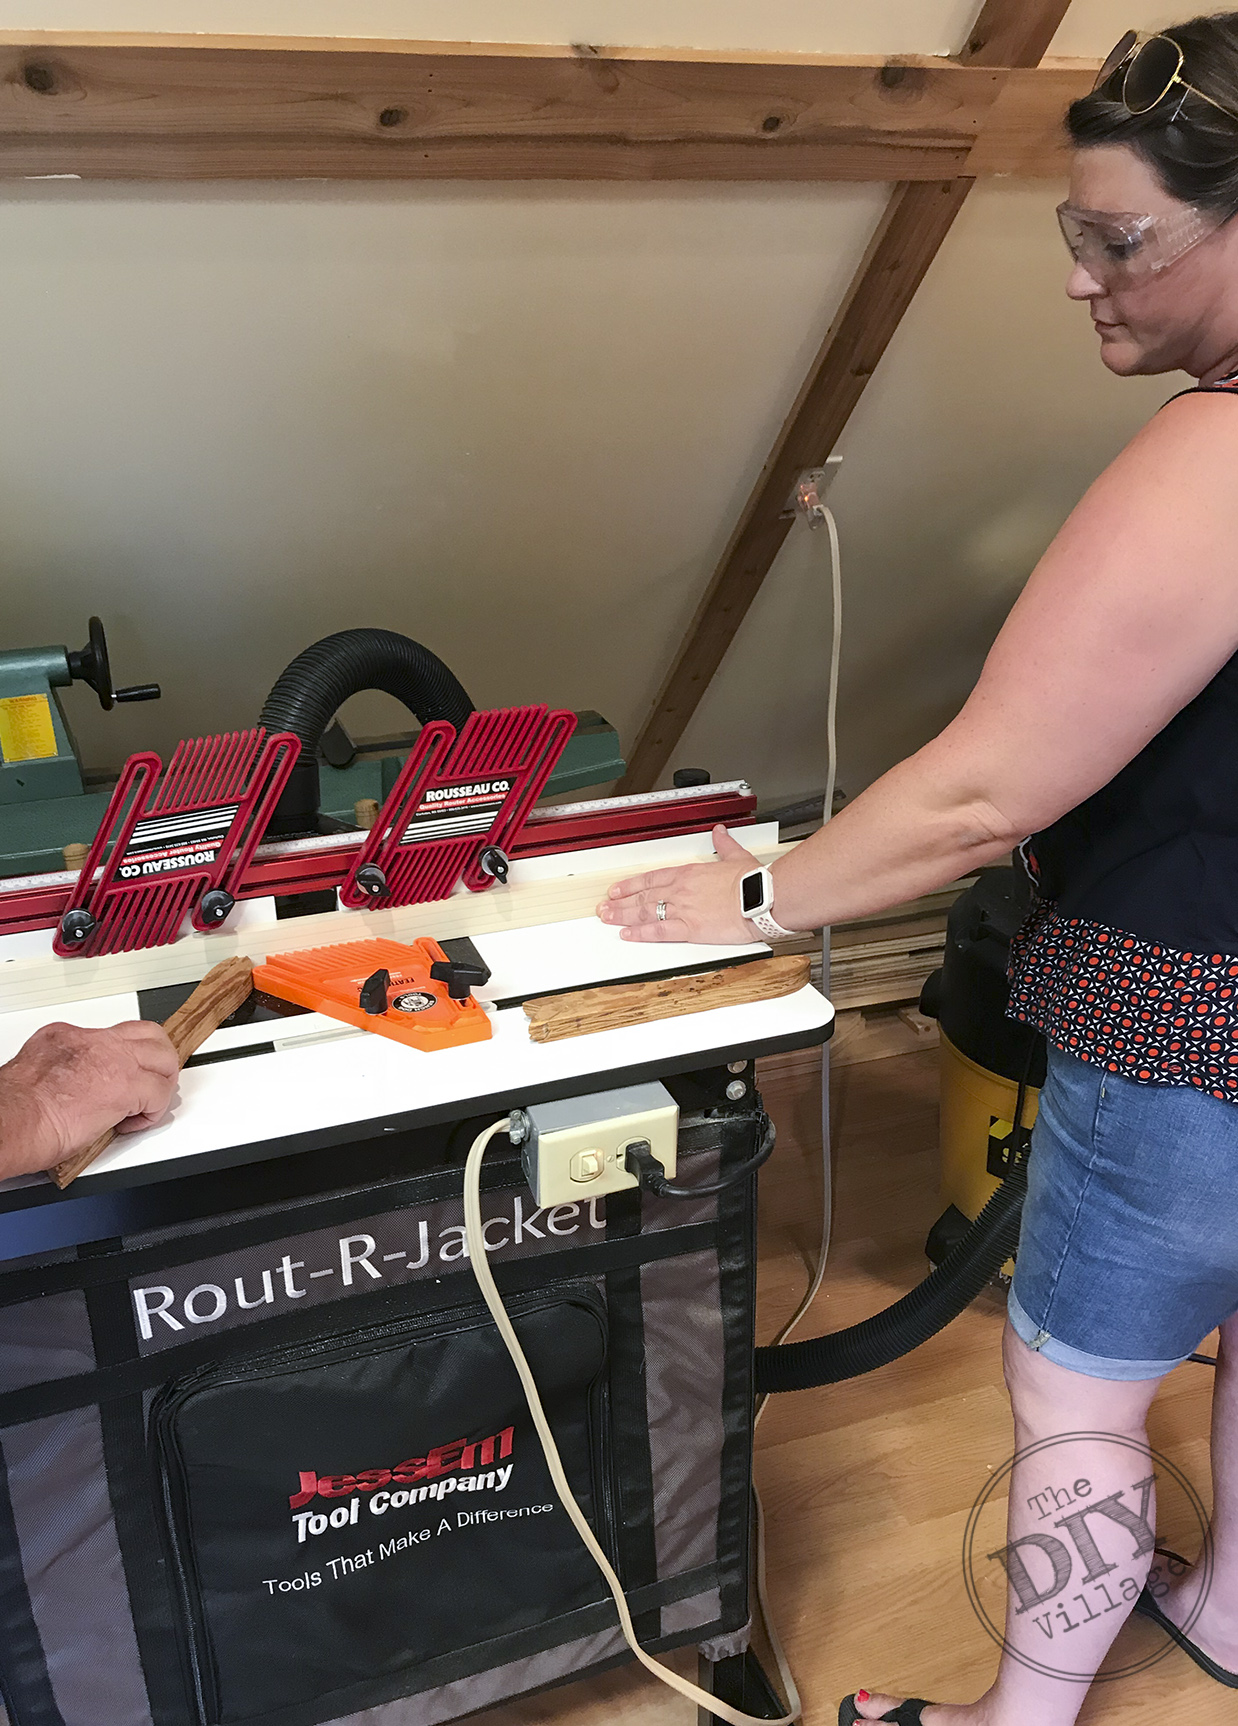 Start by routing a 1/2 grove into your 1×2 stock lumber. You can use a router table or a handheld router will work as well. Cut the 1×2 into two (2) 17″ lengths and two (2) 15″ lengths. Miter the corners. Assemble the frame using wood glue, clamps, and a nail gun making sure that all the routed edges are facing the same direction. Set aside to let the wood glue dry. Once it is dry remove from the clamps and stain.
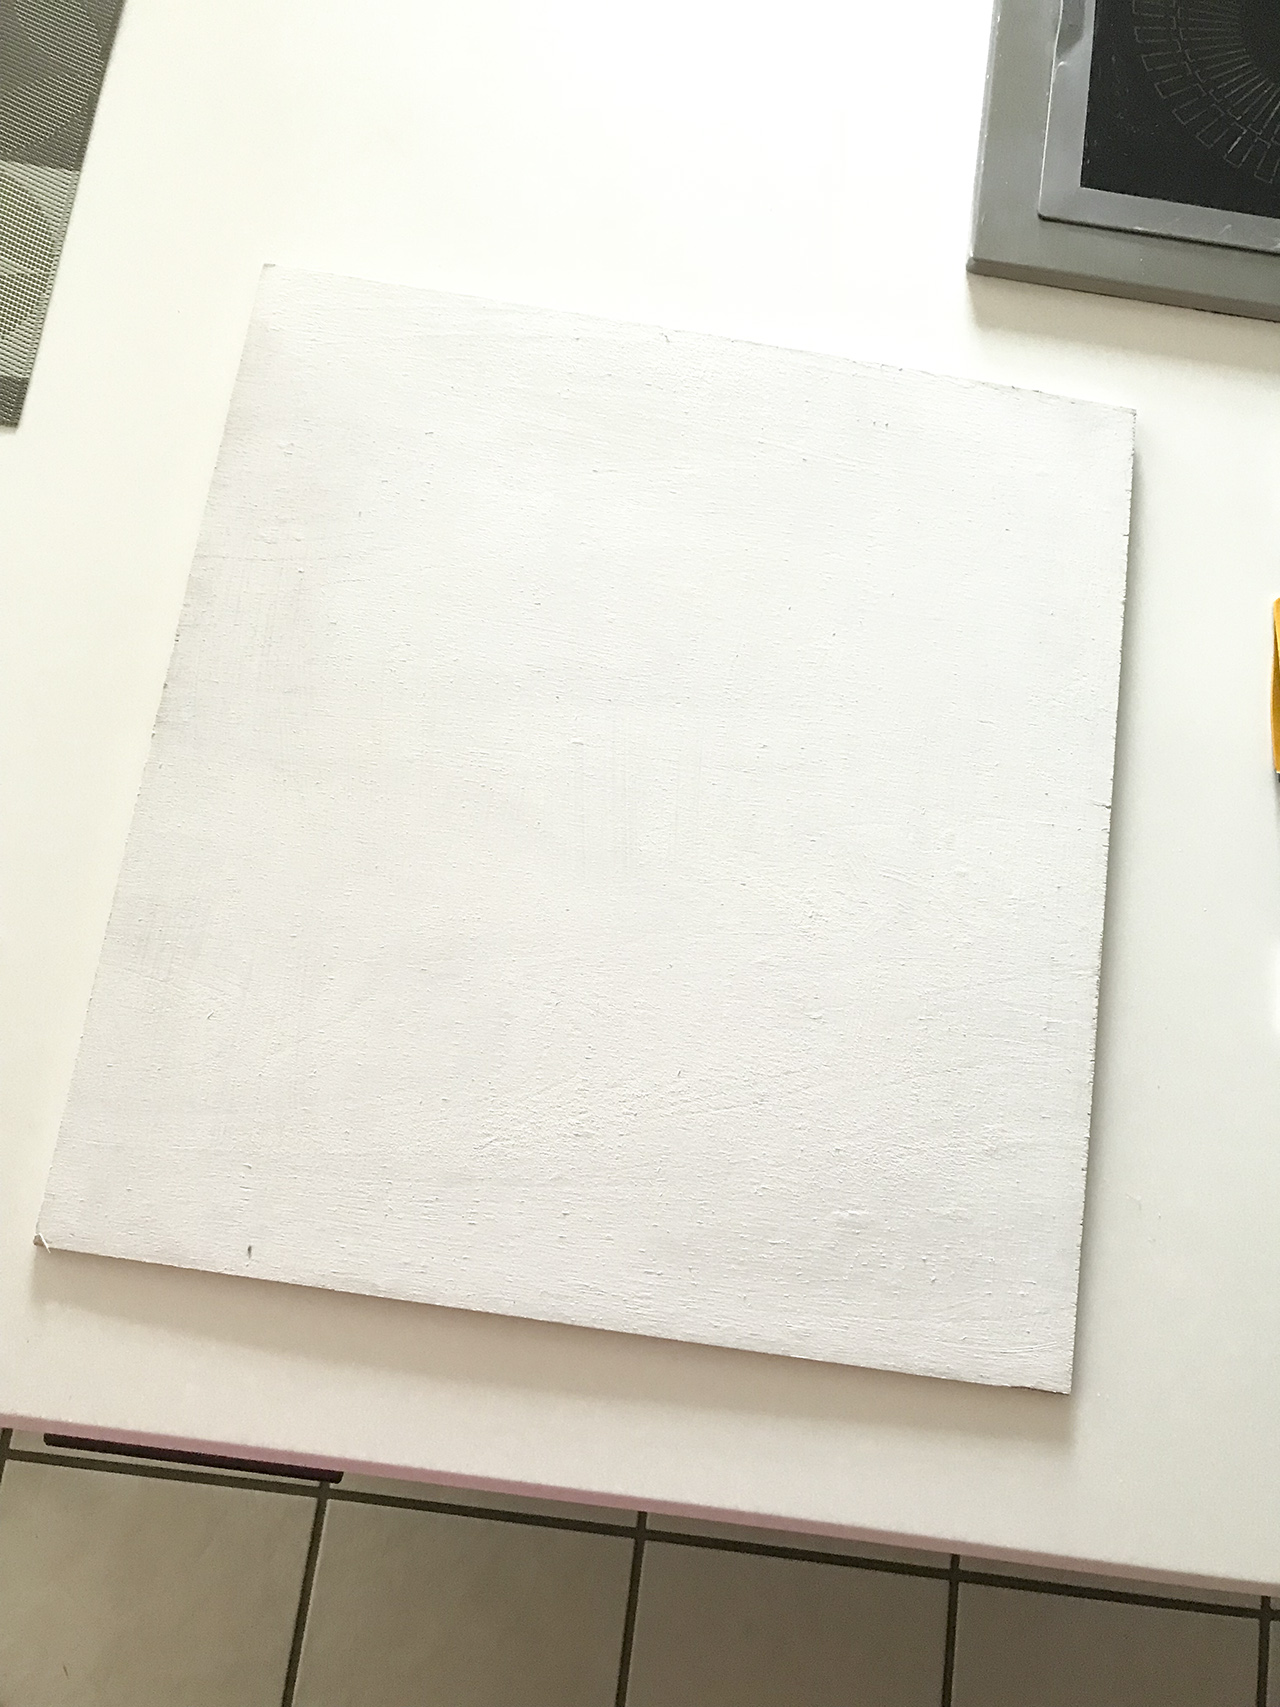 While the stain drys, paint the backer plywood. In this case I used an antique white color. Glue the backer board into your frame. The plywood will rest in the routed edge leaving a relief framed edge. Clap and set aside to dry.
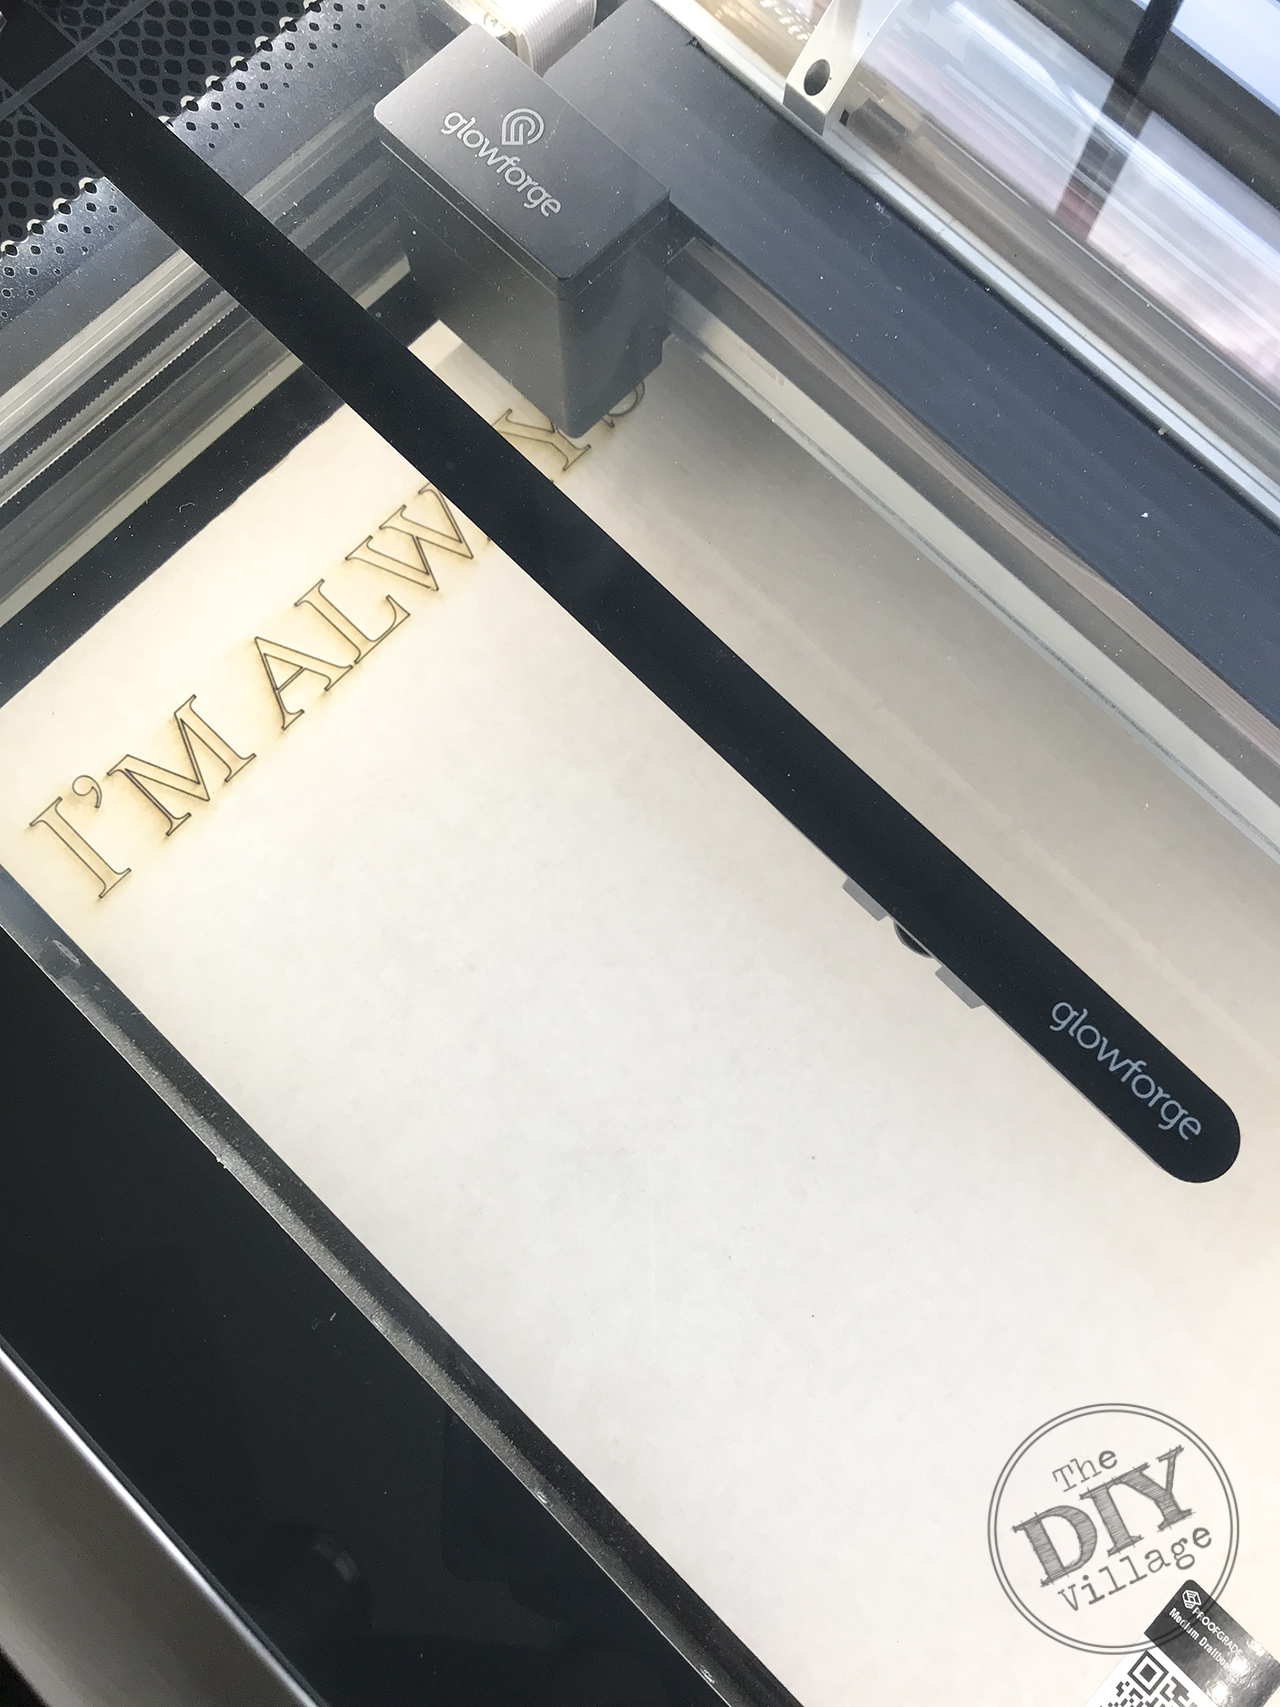 Glowforge© laser cutter. Fast custom signs. #lasercutter #diy #crafts #homedecor #funnysign #snarkysign #glowforge” width=”1280″ height=”1707″ />Now for the fun part, the laser cutter. Design your art using Adobe Illustrator (found HERE) or any similar software that a file can be saved as an SVG. Once your design is ready it can be uploaded to the Glowforge© site and sent to the machine.
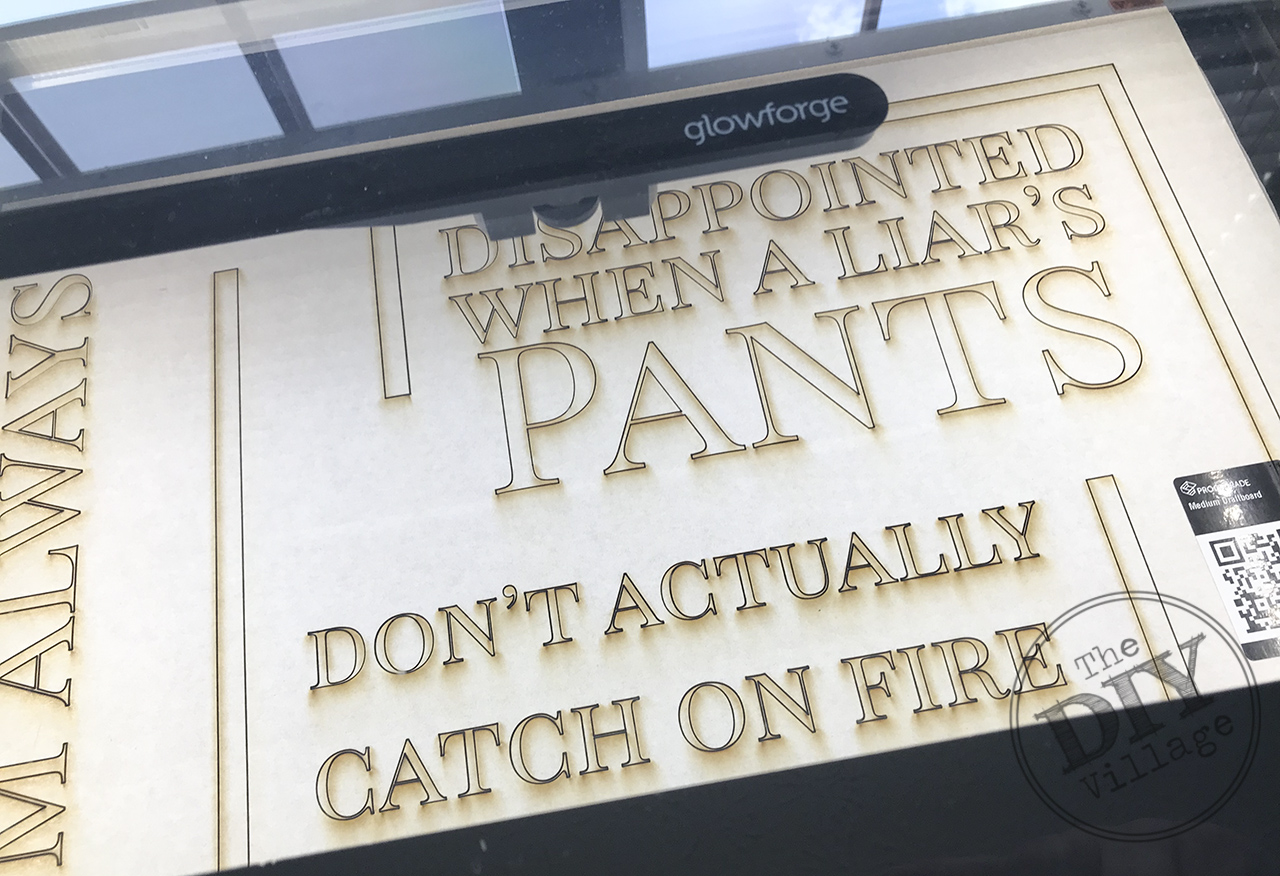 For this sign I used 1/8″ draft board but you can also use 1/8″ wood if you like. Make sure to follow all of Glowforge© directions when using the laser cutter.
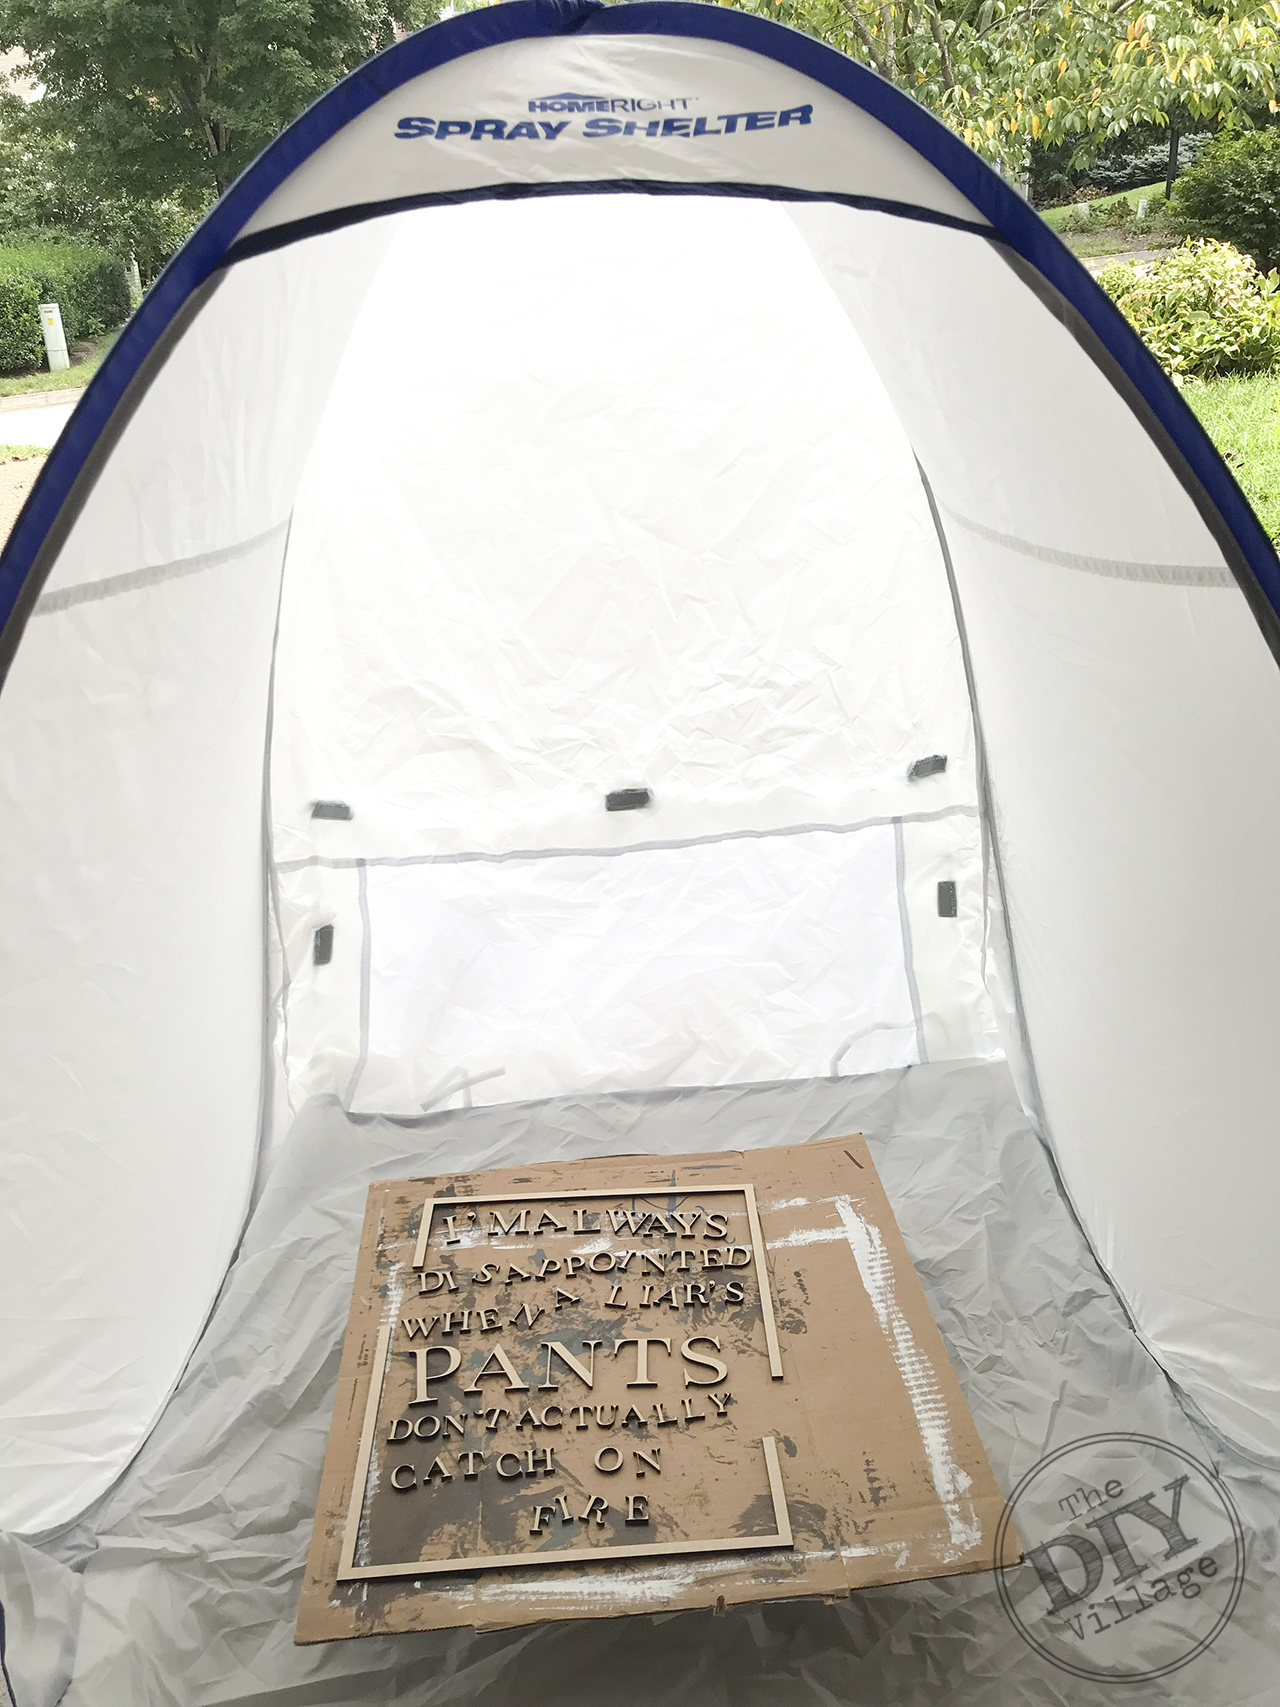 Remove the now cut letters from the remaining draft board also remembering to remove the protective transfer tape cover. Be sure to note the placement of the letters, it is easy to mix letter sizes up when using multiple sizes of the same font. The letters are ready for paint when you have finished laying them out. I prefer to use a spray shelter like this medium sized one from HomeRight (found HERE). I also like to use a turn table (found HERE) to make sure full coverage is achieved.
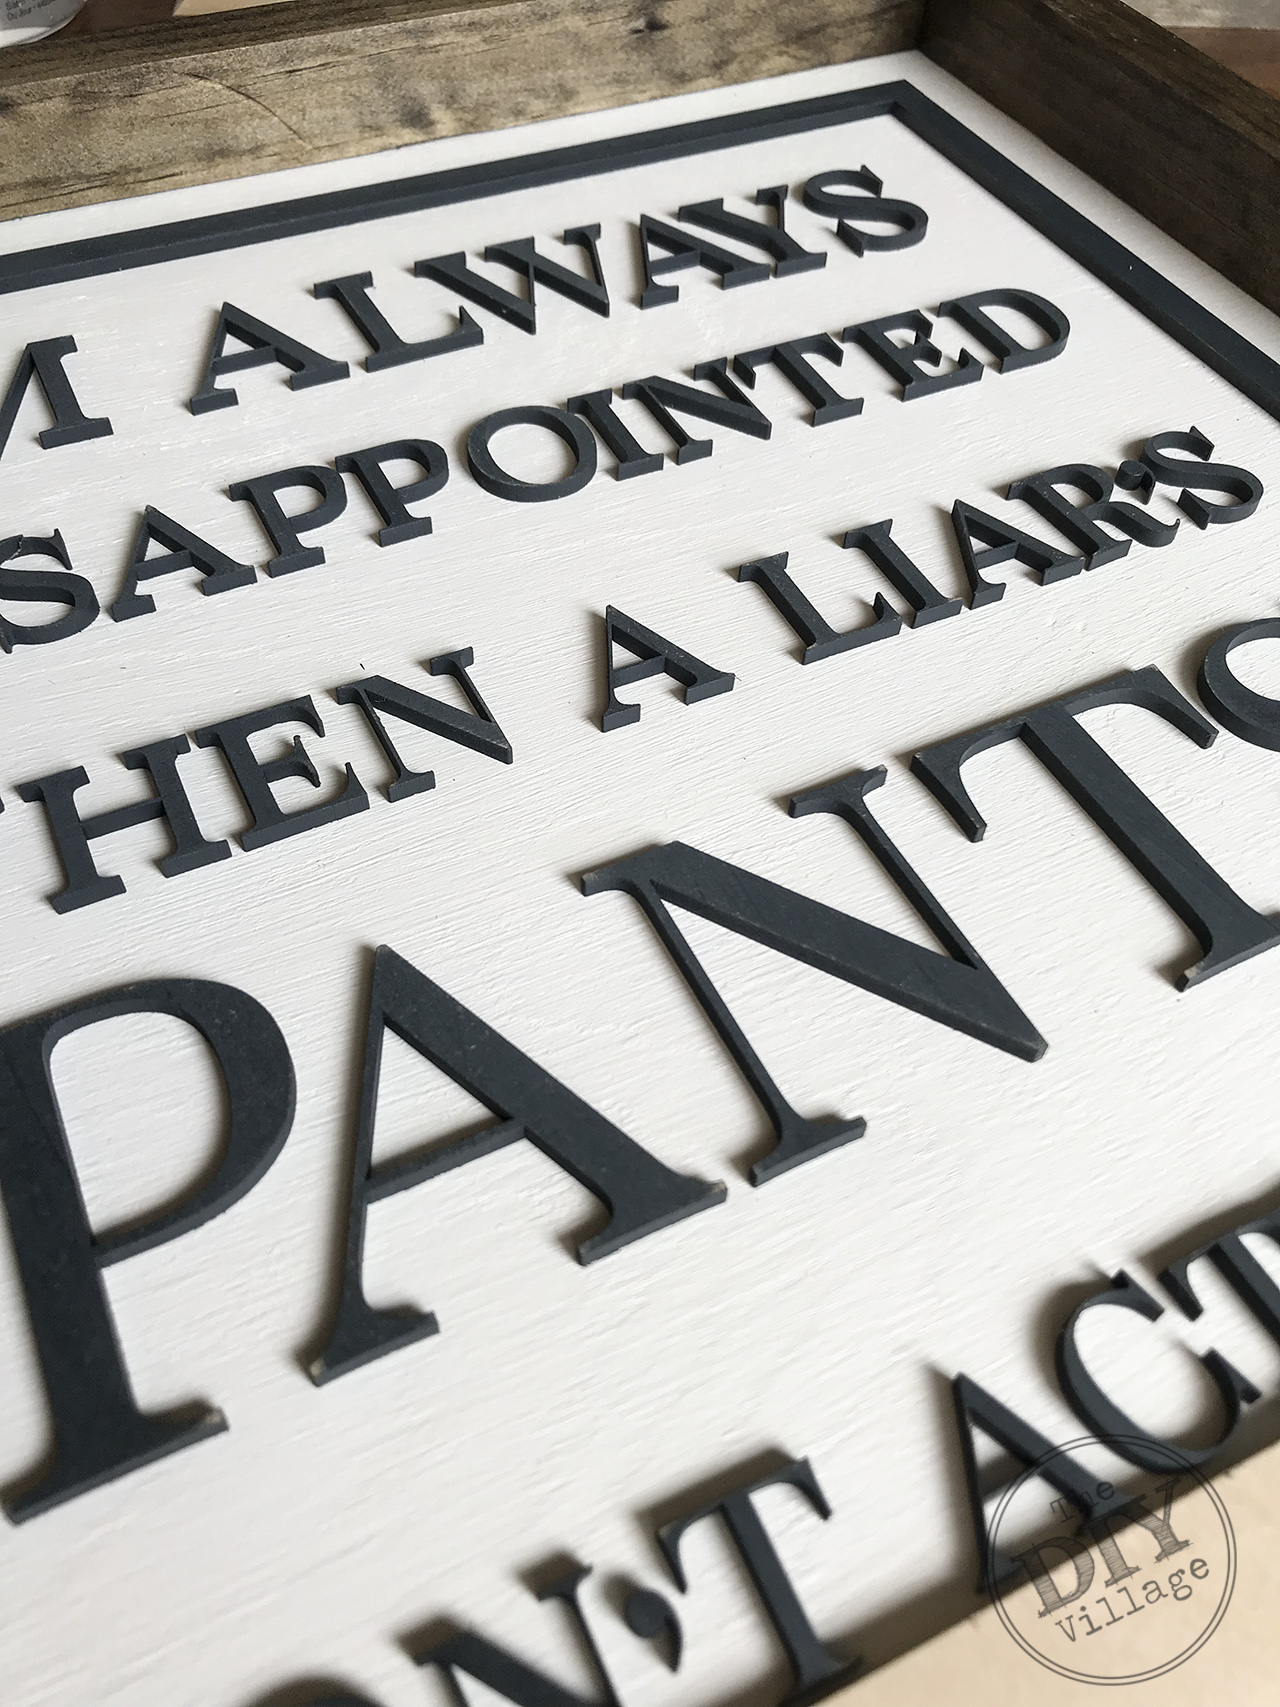 If you are using draft board you will want to lightly sand the letters using a fine grit 220 sand paper. The paint will cause the draft board to slightly raise. If you are going for the farmhouse look you don’t have to worry about going back and touching up the letters. Let your letters dry and decide on the placement of the words on your backing.
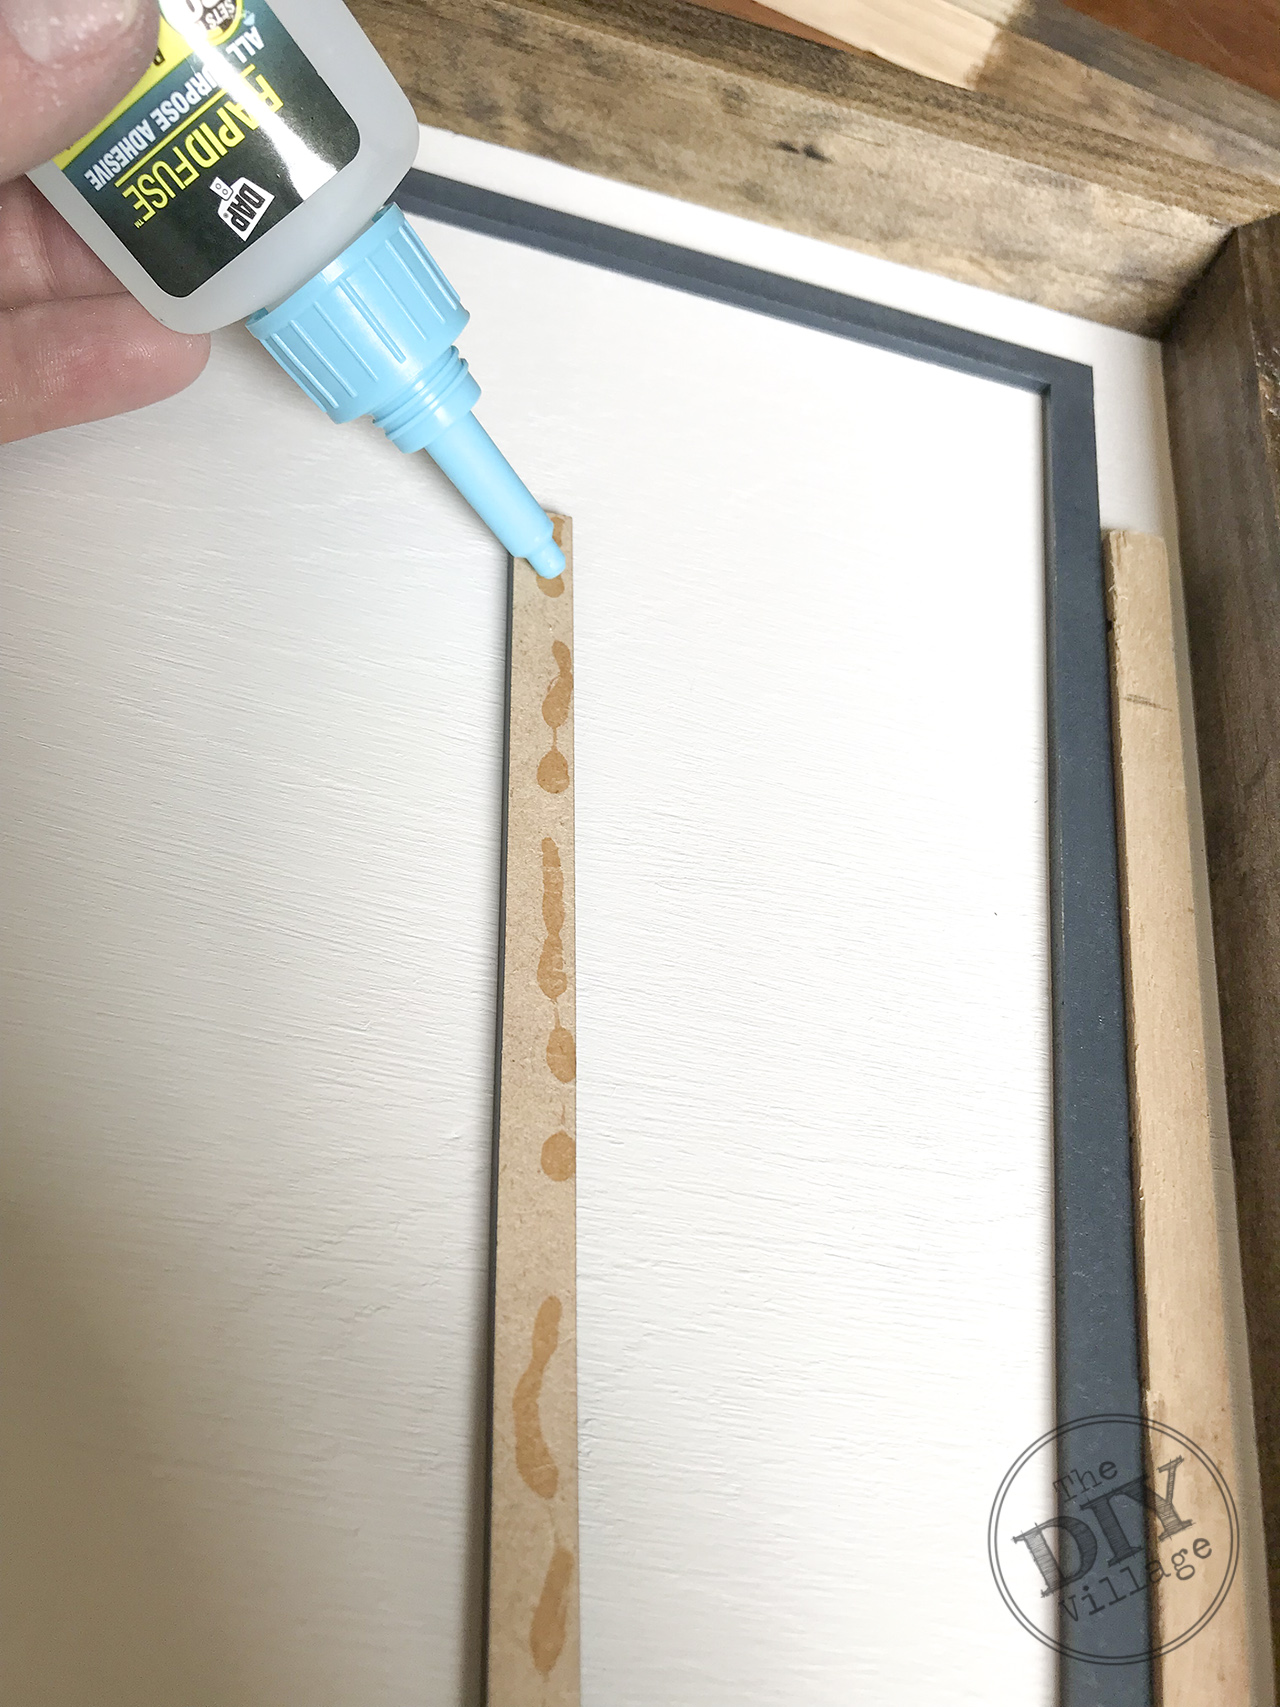 Start with the border trim and glue it into place using a strong adhesive glue (found HERE). With the frame set you can layout the letters, no glue yet, just lay them out to make sure you have the proper placement. Once the placement is done being gluing the letters to the board. Use a straight edge with a squared end to make sure your words are straight and don’t slope.
 After the glue has set up the sign is ready for display. You can add hanging hardware to the back of the raised wood lettered frame or you can just rest the frame on a shelf or mantel.
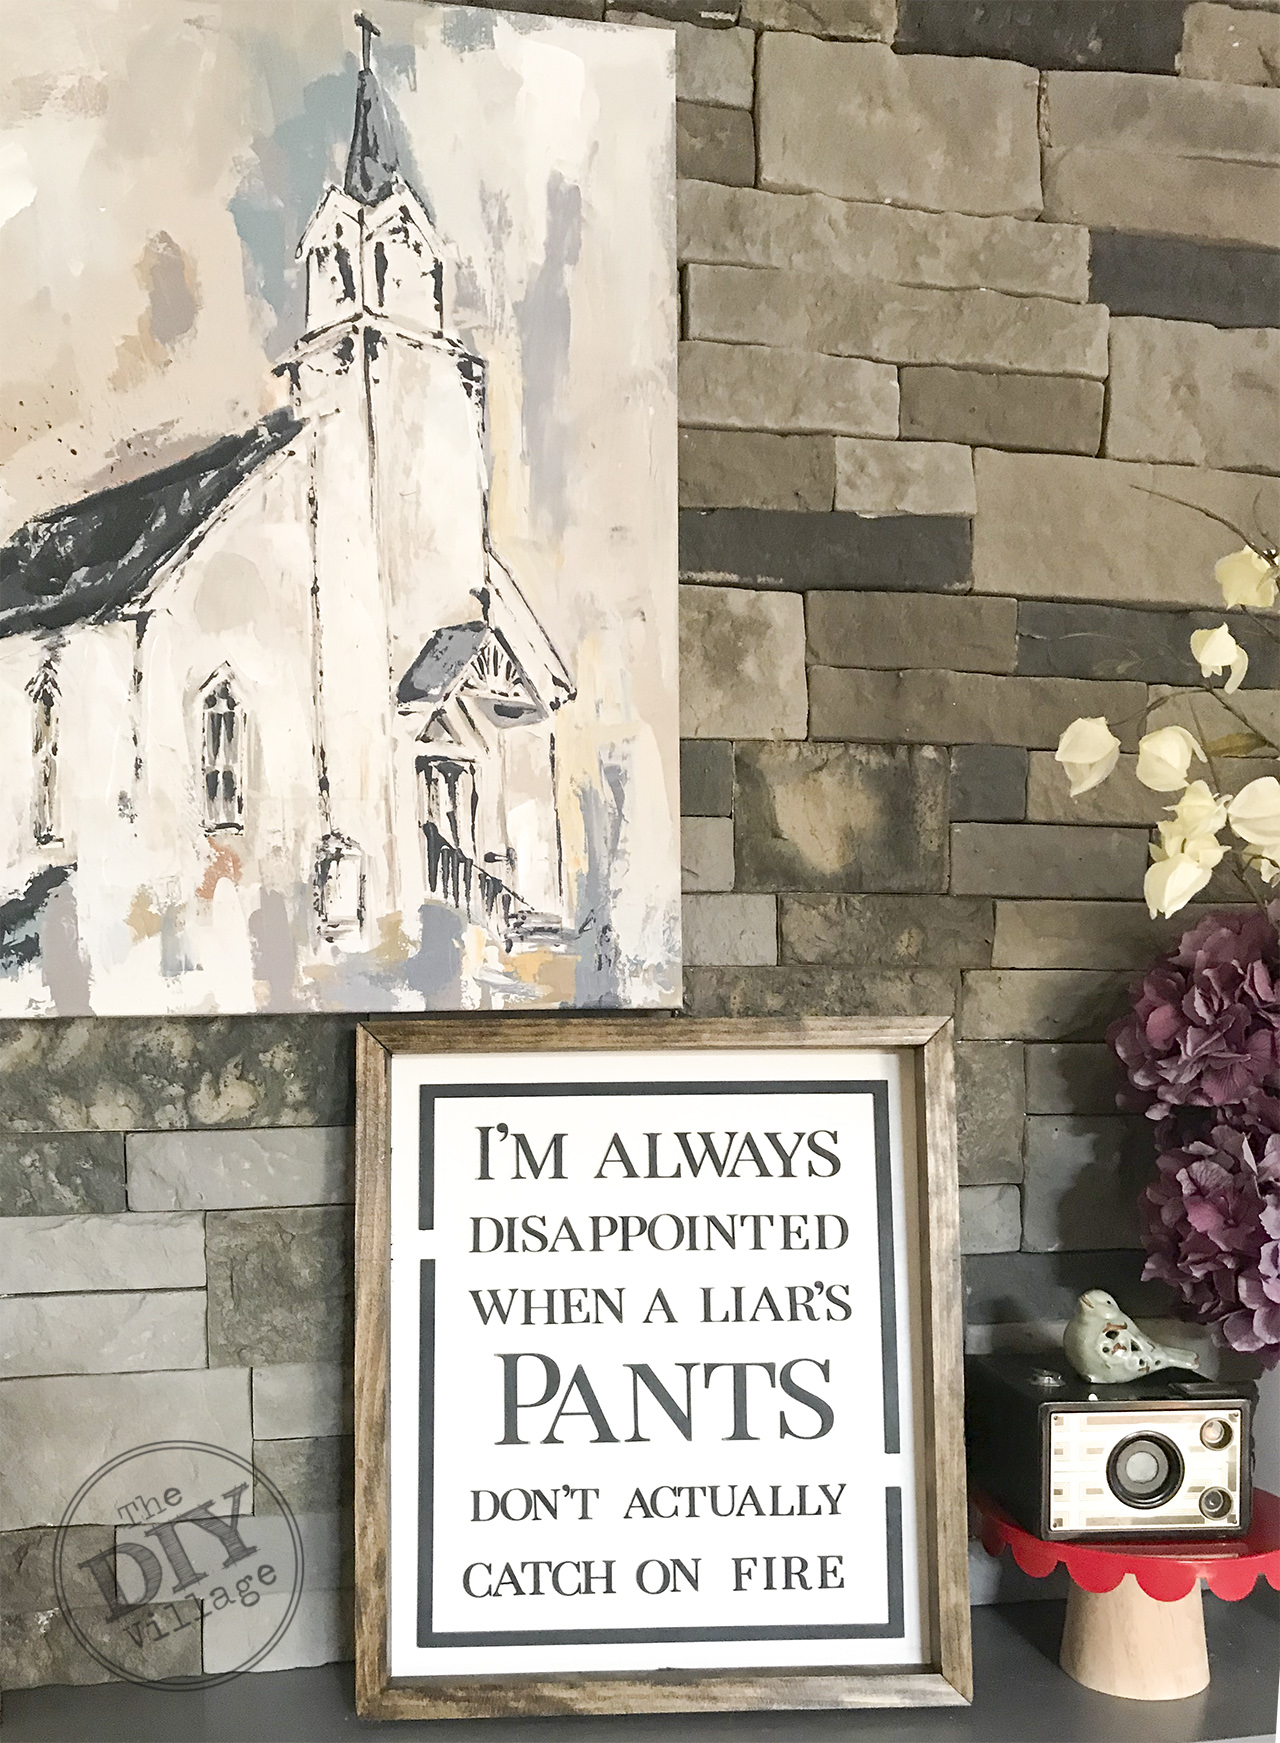 This particular sign was made for a friend with a great sense of humor. The options for raised wood lettered sign like this are only limited by your imagination. Now I just have to decide what I need to make next with our Glowforge©
If you are interested in learning more about the Glowforge© machine or interested in purchasing your own follow this link HERE. Currently Glowforge© is offering $500 off a Pro, $250 off a Plus, or $100 off a Basic. We currently have the Pro and really do love the machine.
OMG- a laser printer- how cool! Not to mention that the quote is so darn cute too!
OK! That is so cool!!!
What a fun tool to own!! I love the sign that you made and look forward to seeing what else you make with your laser cutter.
wow! that looks like a lot of work — I mean fun!
laser cutters are sooo cool. I love this phrase, too funny! just a little snarky . . . heheheh
pinning!
gail
Seriously? How cool is this! You totally made me chuckle when I read your sign! Plus, your laser is crazy awesome! I think I’d be playing with that little old machine every chance I got! LOVE!
Love the capabilities of the glowforge but I’m out off by the fact that it seems to rely on their servers to do anything. If the server is overloaded, or you are offline, or – heaven forbid – they go out of business or change their service, then the cutter is just a huge doorstop! 🙁
I have the same problem, I’m using dark shirt iron on. My second problem is I can’t get the backing off to iron it on. Ended up scraping everything. Color faded out from black to gray ????