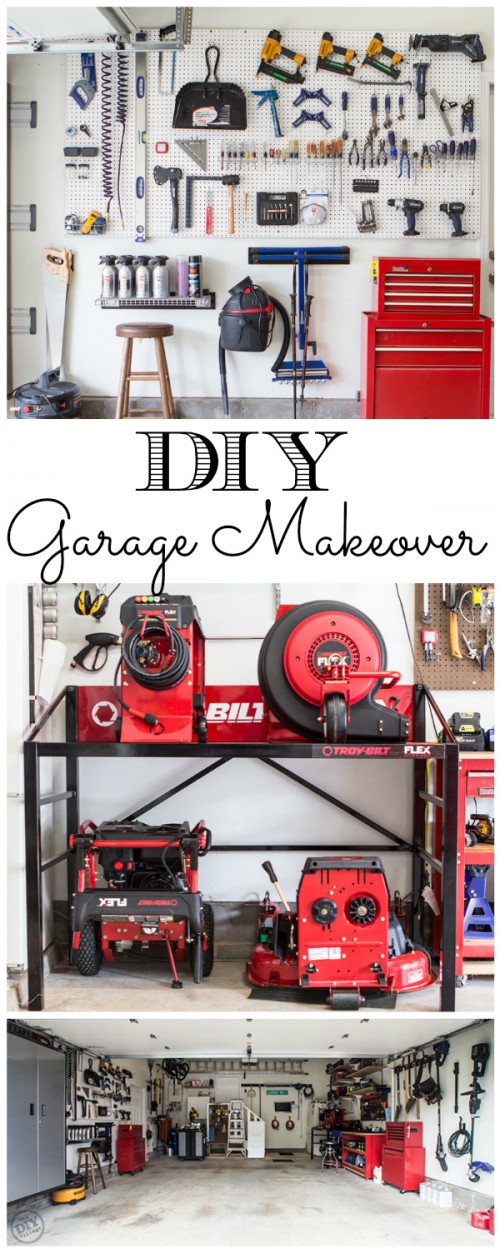
 It’s always been high on my list of priorities to have an organized garage. Unfortunately, life’s priorities haven’t always seen eye to eye with mine! Sure, there’s been a project or two where I’ve managed to clean it up a bit, but inevitably, I’d lose the battle. As luck would have it, on a day that I was out in the garage frustrated as I hunted for buried tools, I received an email about participating in a sponsored garage makeover challenge called the Flex Face-Off. My original thought was what the heck is the Flex Face-Off and what does it have to do with making over our garage. But as I continued to read, I was introduced to a not only a new product, but the inspiration that I had been missing to win back my garage, the Troybilt Flex!
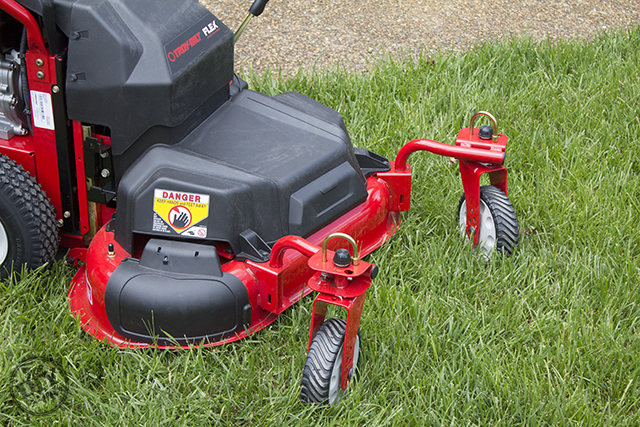
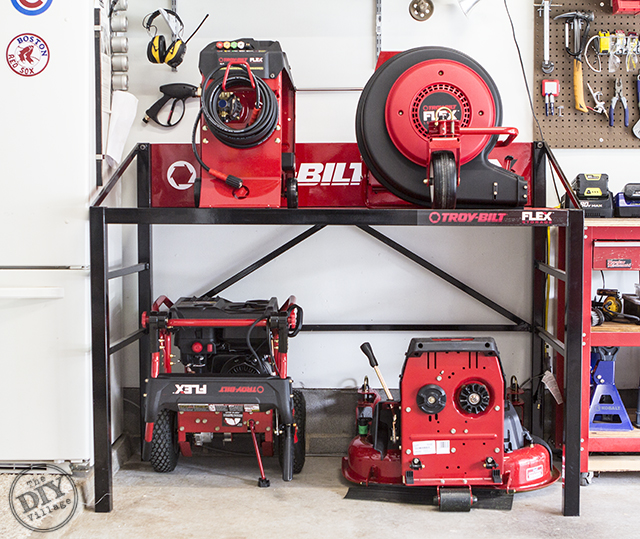
The Troy-Bilt Flex is a new way of tackling yard care! It’s a system that, at it’s foundation has one single engine. With the addition of attachments, that single engine becomes a lawn mower, a pressure washer, a leaf blower, and even a snow thrower. (And those are just what they’ve released so far, they’re team is hard at work on adding a chipper shredder and log splitter, just to name a few!)
I avidly believe that the worst thing for an engine is to not be used, so having one that serves as the power base for so many pieces of equipment means less harmful downtime for the engine. Plus, that also mean you’ll only need to maintain and service one engine, so it’s also a time saver!
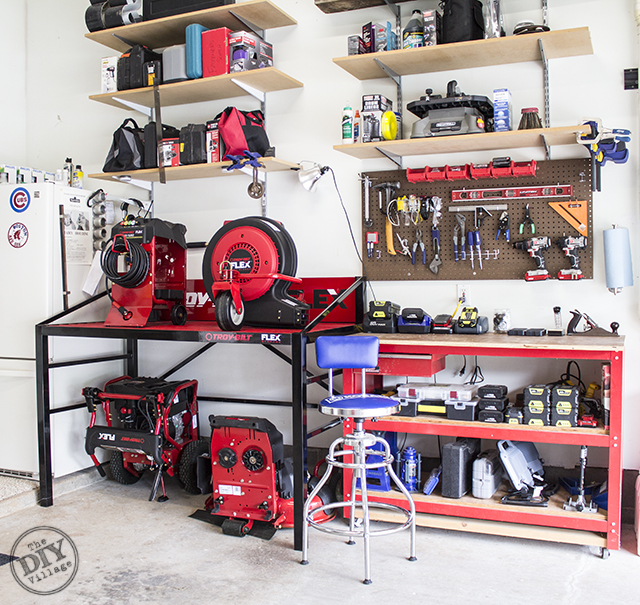
Once the Flex system arrived , I sat and looked at it for a good half hour! Sure, it’s a pretty cool looking setup, but I was drawn into how efficiently Troy-Bilt had utilized the footprint of the Flex storage rack and the Flex components. The entire Flex system fits into a space 34 inches deep x 63 inches wide.
So with the Troy-Bilt Flex as my inspiration and Lowe’s Home Improvement as my playground (And where I purchased all of my face-off necessities), I set out to maximize the footprint of my garage and finally make organization a priority.
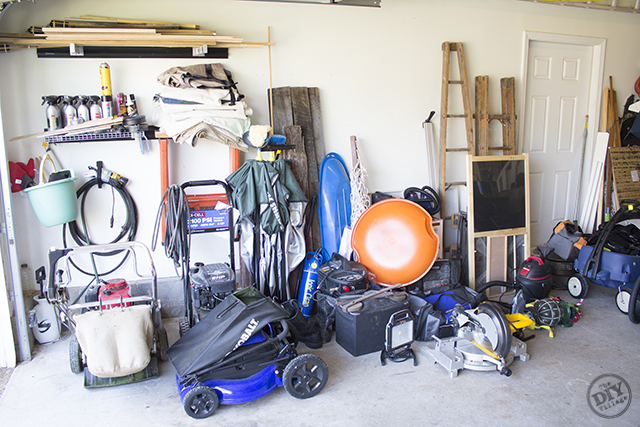
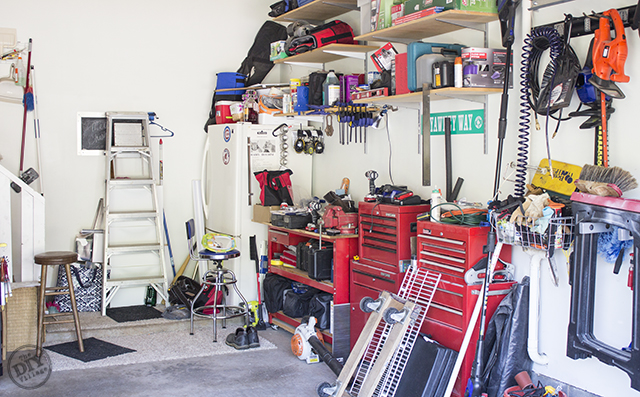
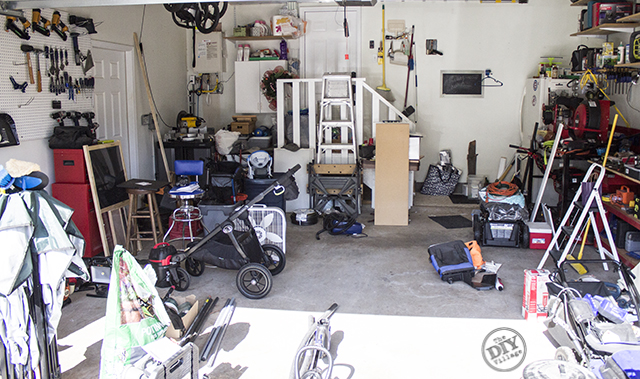
Here are a few of the not so flattering, before pictures of the garage!
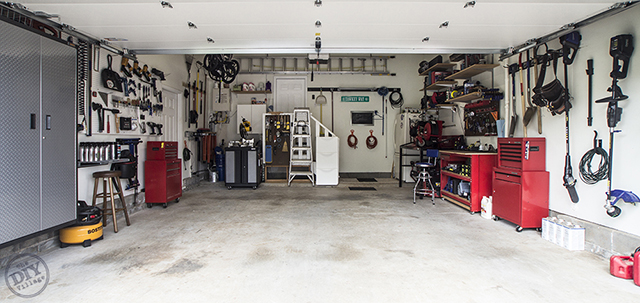
We’re really lucky in that our garage has 11′-6″ ceilings. Adding overhead storage racks was the perfect way to utilize the storage potential of the area above the garage door. The overhead storage racks we used are rated to hold up to 550 lbs and allow for 34″ of space from the rack to the ceiling, so they gave us a lot of room for additional storage!
Plus with the garage door open, the storage racks aren’t visible from outside, which helps keep all of your belongings out of sight, out of mind!
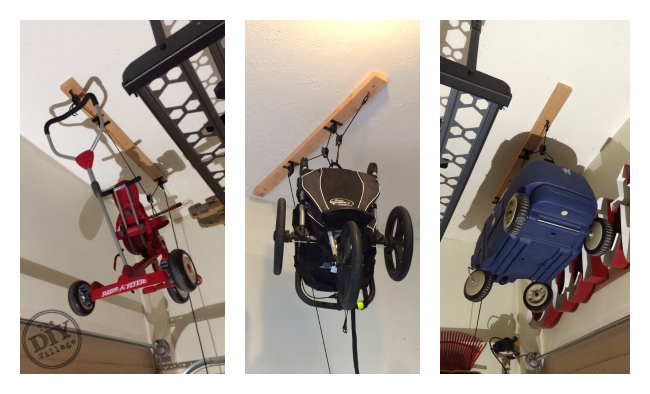
Speaking of overhead storage, with a toddler, we realized that we’ve gotten quite the collection of toys that were taking up a lot of floor space, so we added these pulley systems to the ceiling to store Josslyn’s tricycle, wagon, and even her jogging stroller.
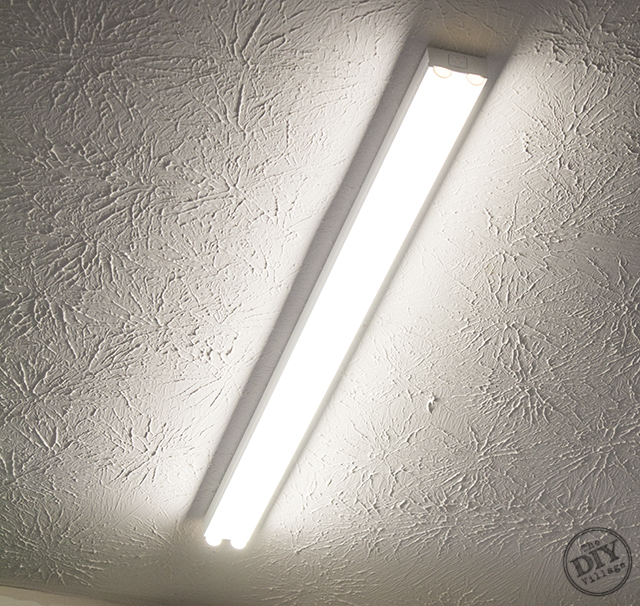
 While we’re still on the subject of things overhead, originally, the lighting we had for the garage consisted of two ceramic light fixtures, so the garage was generally a pretty dark workshop. So we replaced those old fixtures with some new LED shop lights!
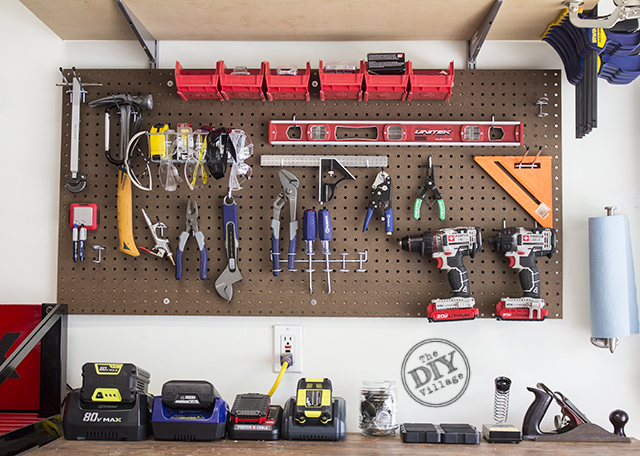
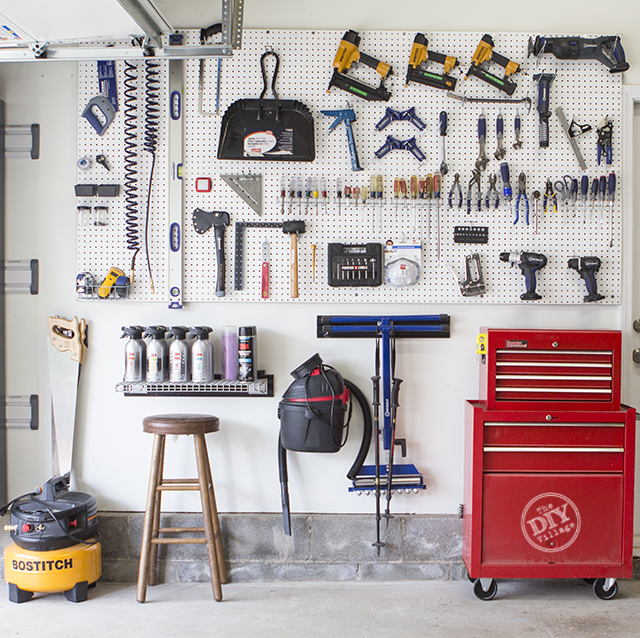
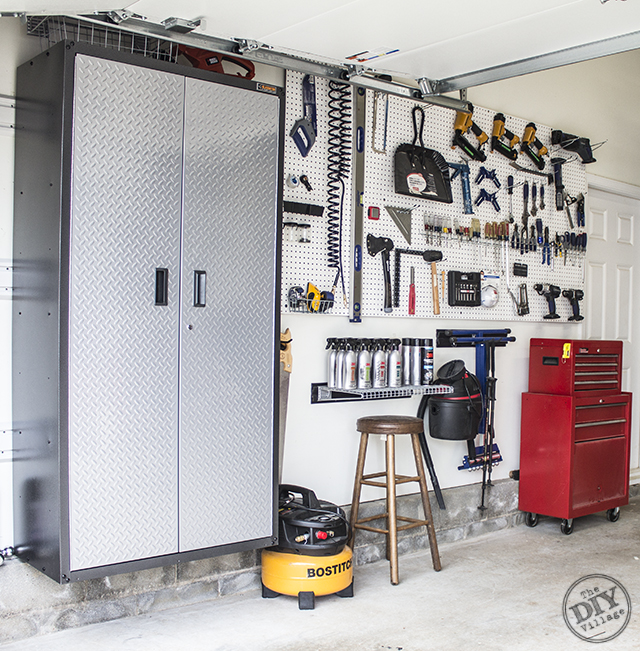
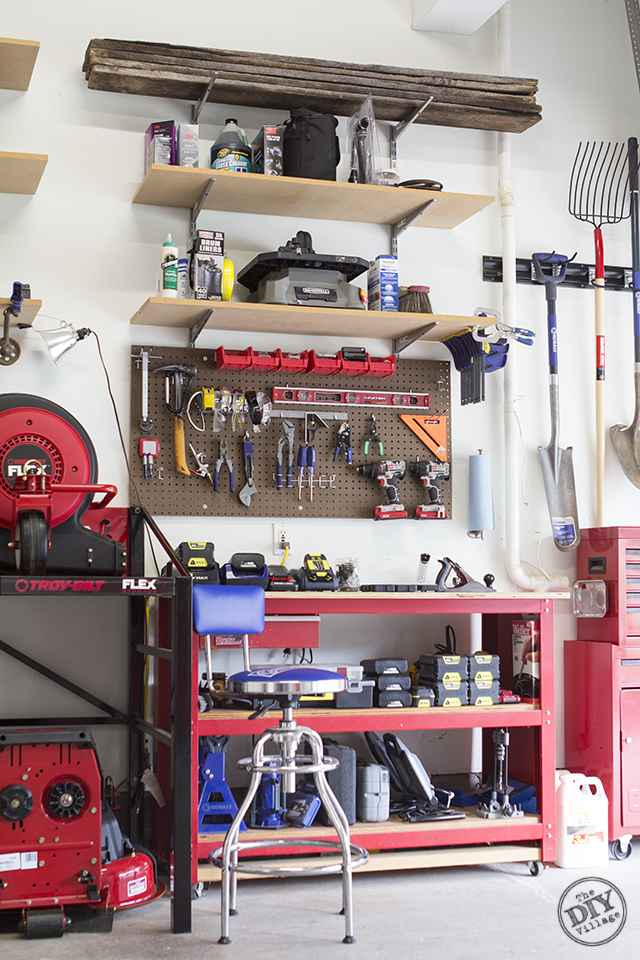
One problem that Jacque asked me to address was tool storage. In our previous state, she had a difficult time finding anything. With that in mind, we added a few different peg board tool stations.
Here’s the main tool station where we store tools that we use pretty frequently.
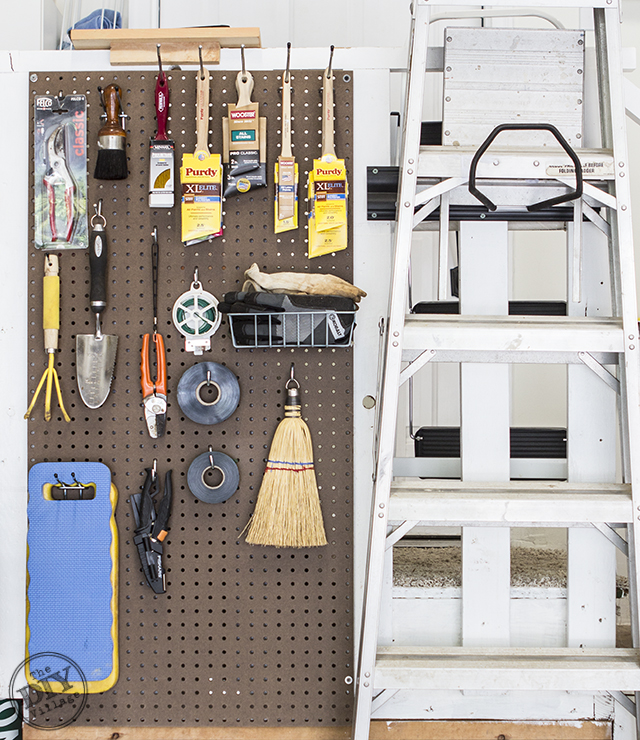
We opted to designate one tool station for our landscape hand tools and paint brushes here!
And lastly, here is the tool station above our work bench where we keep tools that we use on a daily basis! Having this pegboard above our workstation helps to keep the work surface clear of unnecessary clutter.
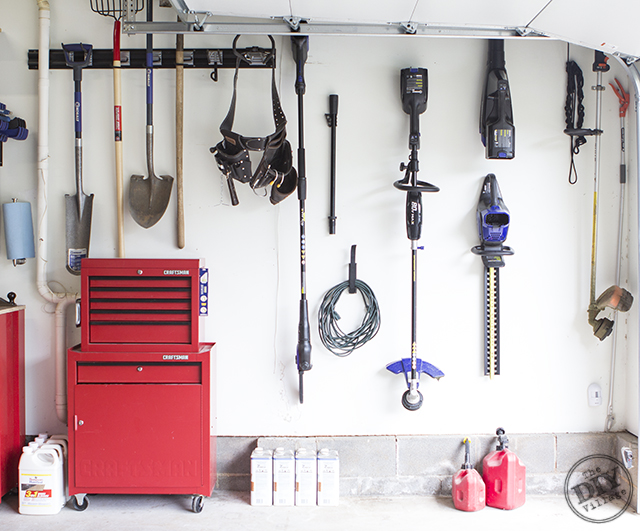
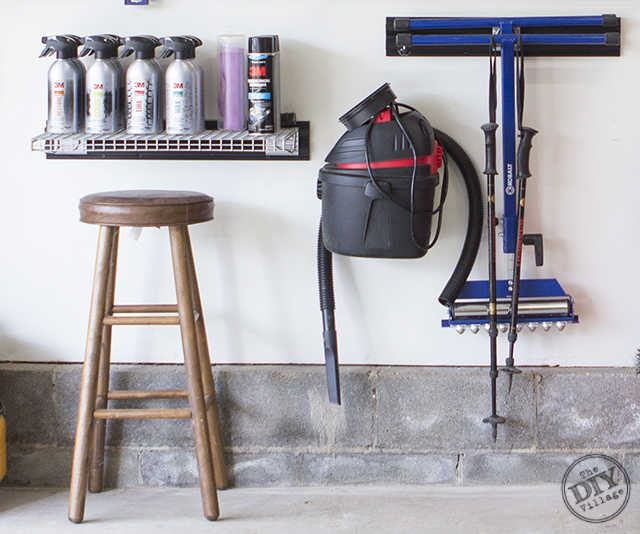
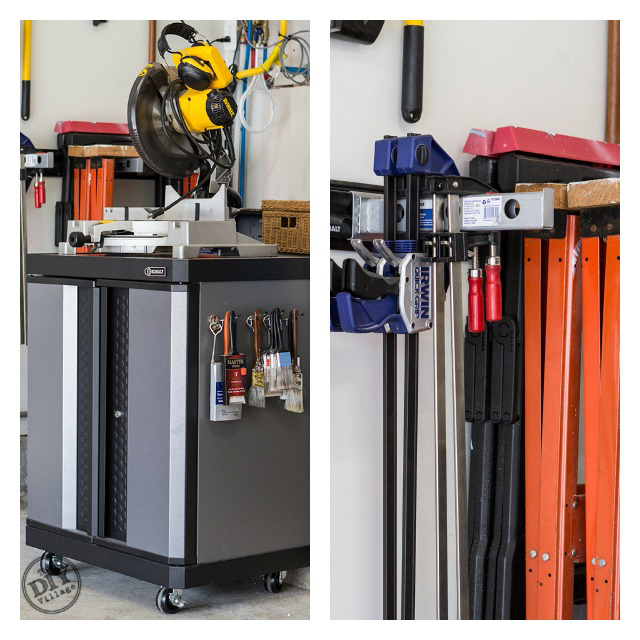
We’ve always been a big fan of the Kobalt K-rail system, so we chose to add on to our inventory with a few new accessories.
We even cut some of the K-rails down to better fit our storage needs!
I intended on building a storage cabinet that sat above the lip of the concrete block, but fate had other plans as, it just so happened that Gladiator makes a storage cabinet the exact size that I needed and they make a wall hanging unit that would allow me to keep it off the ground! So fate won!
Of course, we also sifted through the things we had been storing and took a few loads to the local Habitat for Humanity Restore and a few loads to the dumpster.
By decluttering the garage and creating realistic storage options, we’ve managed to take our garage back! Sure, things will get messy from time to time as we work on projects, but now, each item has a defined home where it will ALWAYS go back to when we are done using it!
If you’re interested in learning more about the Troy-Bilt Flex, head on over to Troybilt.com.
Disclaimer: This is a sponsored post. We were compensated return for our honest opinions. As always all thoughts and opinions are our own!


Our current garage is a massive mess. When we move, I plan on setting up the garage right from day one. Love these ideas, and might be using a few. Great job!
Can y’all come help me!! Looking great!
Debbie
The Troy-Bilt Flex system really awesome. I was able to try it out earlier this year. Your garage makeover is AMAZING! Ours is a hot mess and now you have inspired me to get it in shape!
Your garage looks amazing!
I envy your garage man! It looks fantastic! I’m particularly interested in the overhead pulley. Do you have a post on where you bought the system and how you installed them?
Hey Jason, it’s a overhead bike pulley system made by Blue Hawk. They are sold at Lowe’s for about $20. I haven’t written a tutorial on their installation yet, but may add it to my list as I could use a couple of more in there!