Okay, so when HomeRight asked me if I wanted to be part of this years IKEA Bookcase Hack challenge I took about two seconds to say yes and jumped at the chance!  Then the bookcase arrived. I had no clue what I was going to do with the bookcase, but Josslyn gave me the inspiration I needed! Mostly because after we put the bookcase together she was unable to keep from constantly playing with the bookcase. We even laid it down on the ground so she could play inside. I’m quite positive it’s her happy place! So after some additional thought, I opted for a DIY Dollhouse!
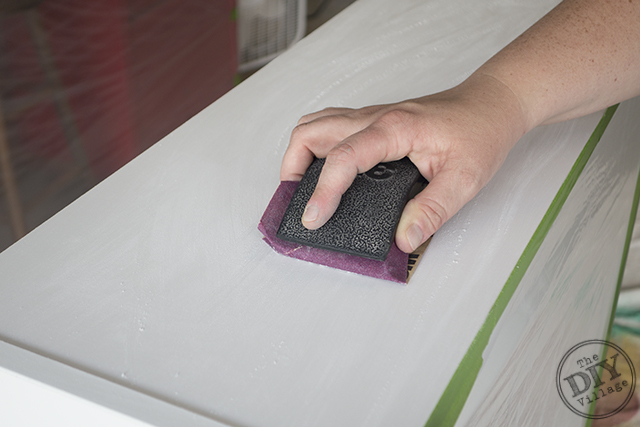 I knew I wanted to change the look of the outside of the bookcase without taking too much time, so I opted to use paint! I prepped the BILLY bookcase (found HERE) by taping of the front and insides of the bookcase and lightly sanding all of the surfaces that I was going to paint!
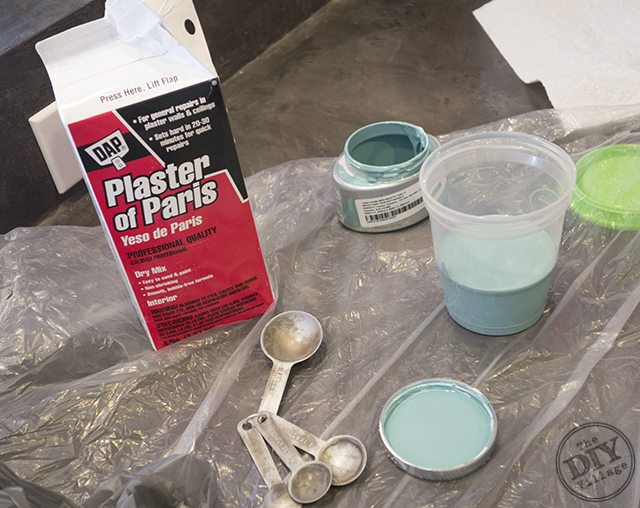 Next I prepped the paint. I have to say a huge THANK YOU! to Gail from My Repurposed Life for sharing this awesome recipe for a paint with primer on her site! If you want the exact measurements head over and check out her post!
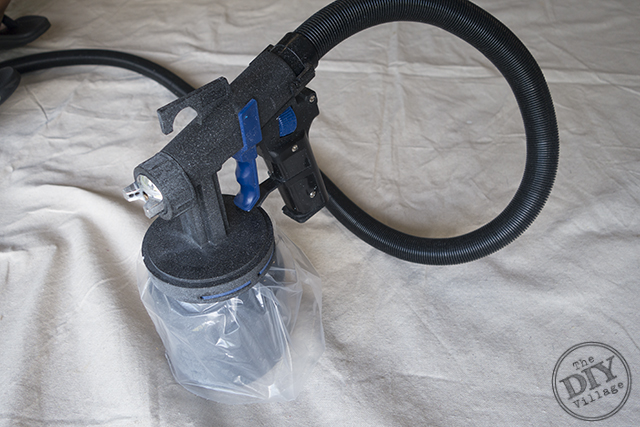 After the paint was ready I prepped my HomeRight Finish Max Pro Sprayer!
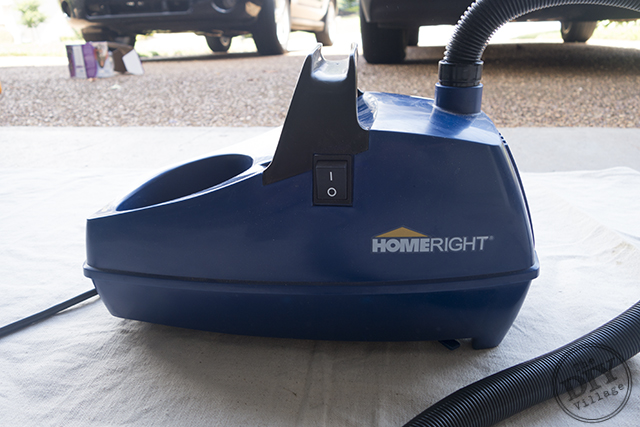 I am horrible at cleaning the reservoir that holds the paint so Matt got me some awesome baggies to shorten my cleaning time!
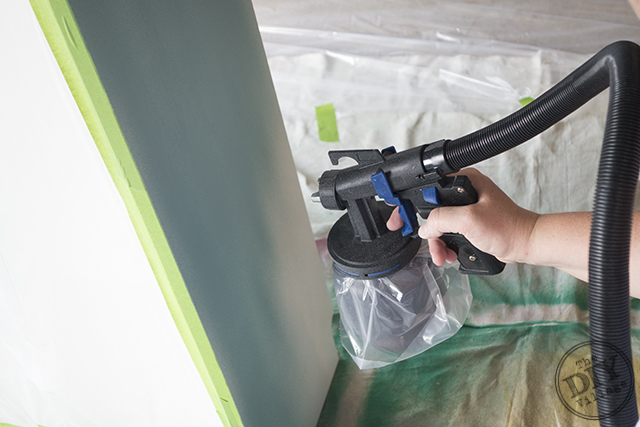 I love the Finish Max Pro Sprayer, the flow control allows me to make sure I am not getting too much paint on the piece I am painting!
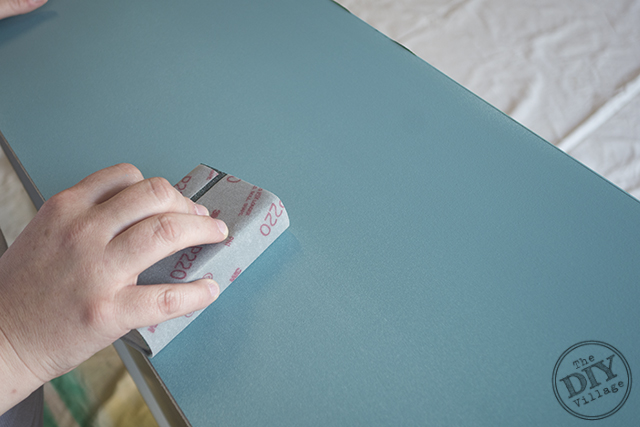 After the first coat was nice and dry I very lightly sanded the bookcase surface and wiped any dust clean.
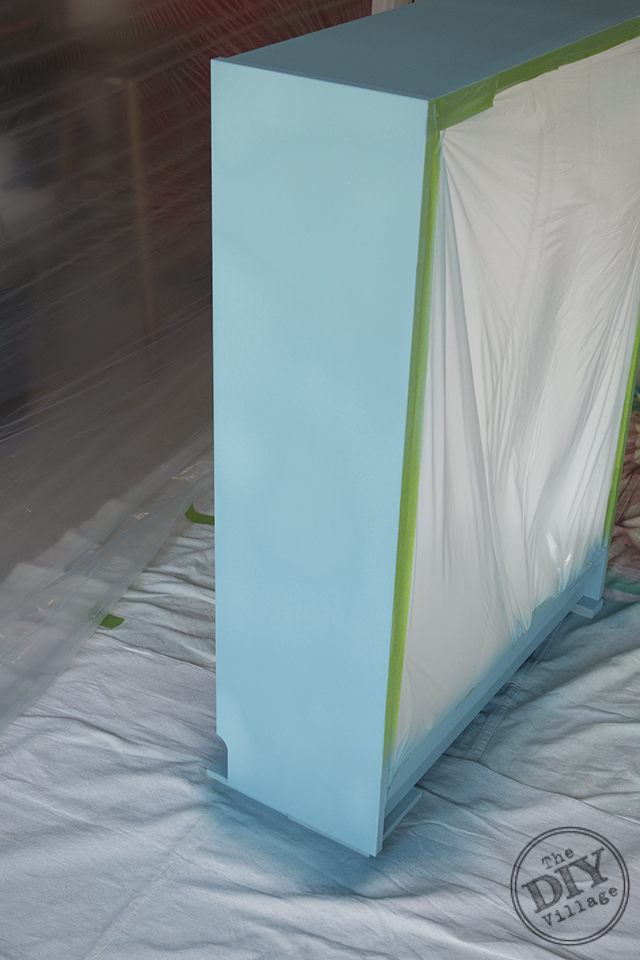 Two coats of paint was all the bookcase needed. I used the Finish Max Pro sprayer again and applied a coat of polycrylic after the paint had a chance to dry. I left the bookcase in the garage for a few days to let the paint set up and cure.
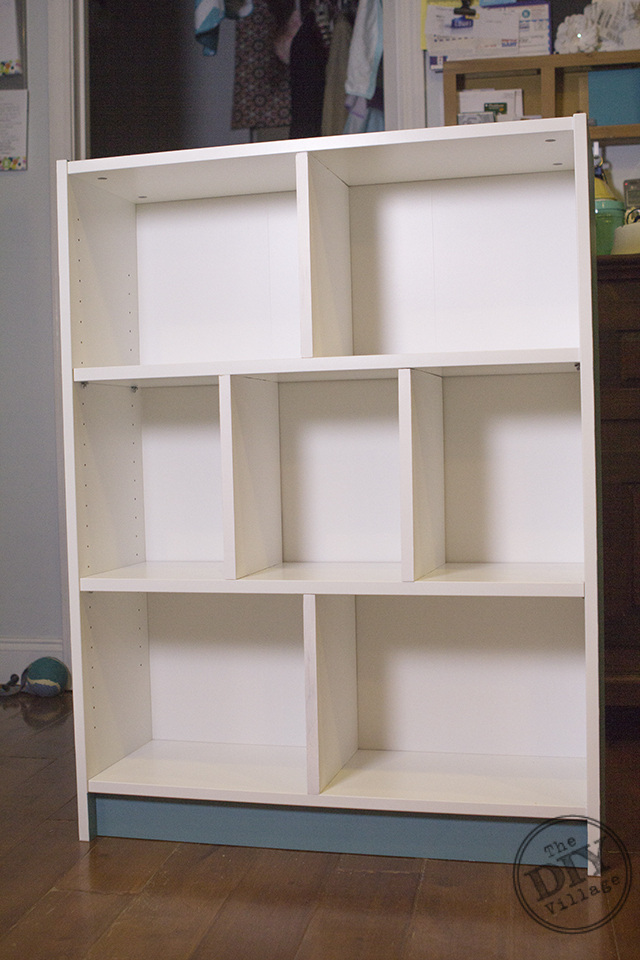 And moved on to more fun, this time inside the house & inside the dollhouse! I wanted the dollhouse to have room dividers so I picked up a piece of primed lumber at the hardware store. Since my shelves are 10″ deep I was able to use a 10″ x 8’x 1″ piece of lumber to create all my dividers. Once they were in the location I wanted them I took a pencil to mark their location and removed them.
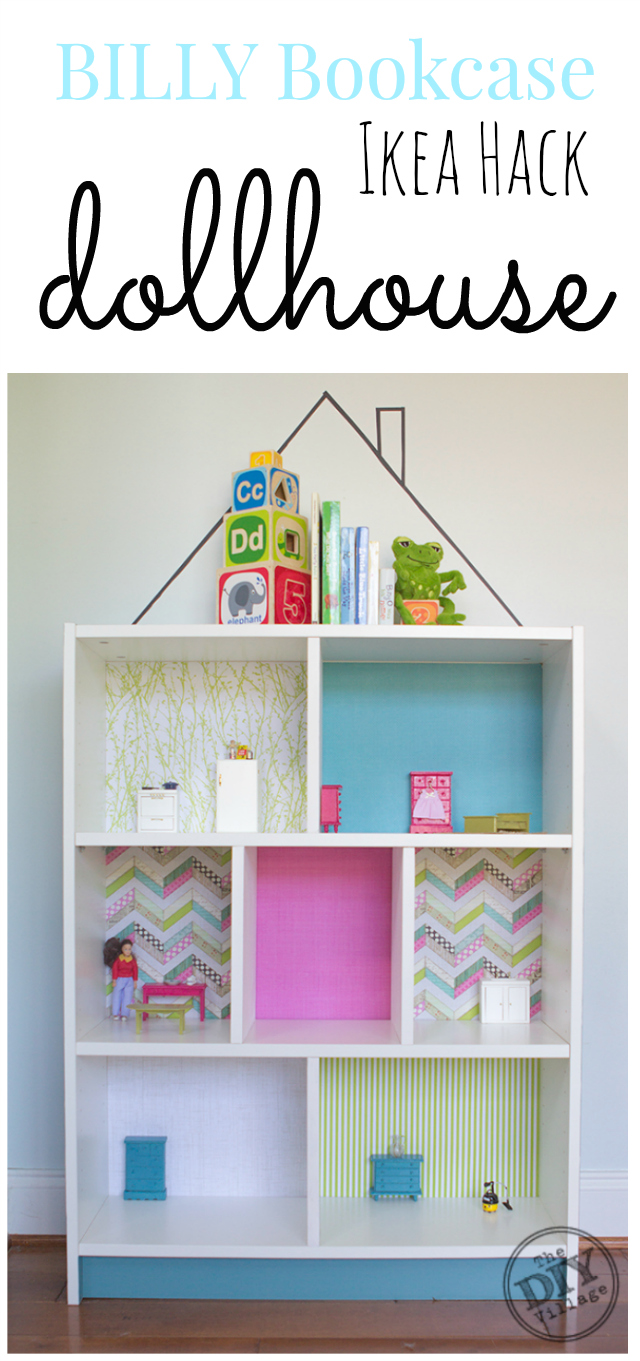
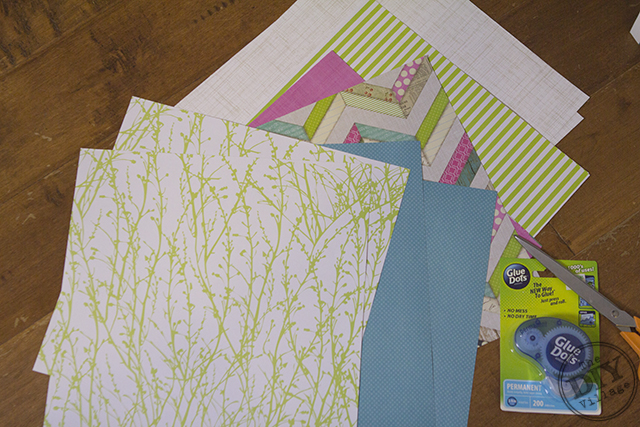 Because now it’s time to DECORATE! Wall coverings are the best way to make your dollhouse unique, I opted for some fun scrapbook papers in repeating patterns that coordinated with the color I picked for the bookcase. I cut the papers so they would fit perfectly in each section and attached them to the backing of the bookcase using Glue Dots (found HERE)! With the wallpaper in place I added back the dividers and attached them using a nail gun and glue. They won’t be going anywhere anytime soon!
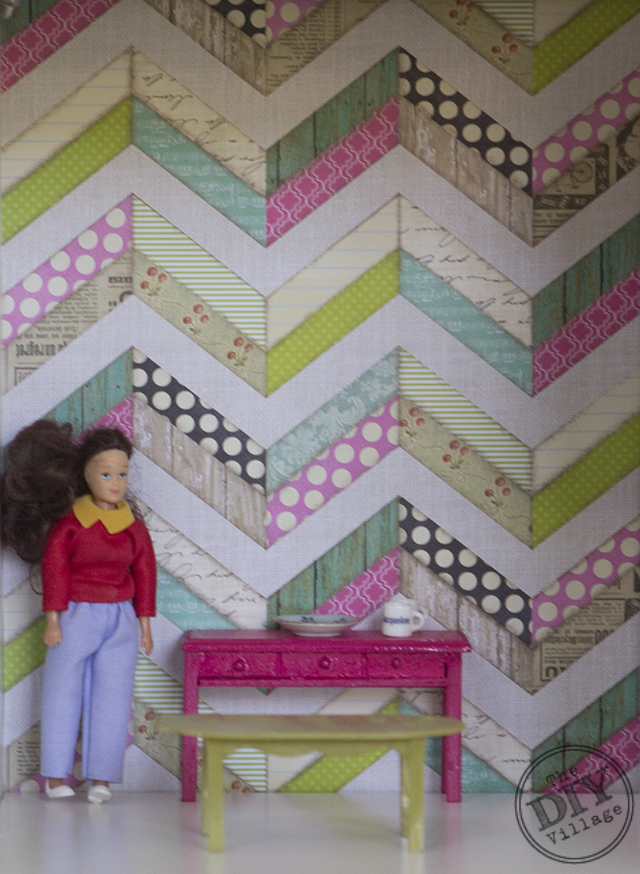 I picked up some dollhouse furniture at the Dollar Tree and once again painted them to match the wallpapers! Who doesn’t love a hot pink side bar?
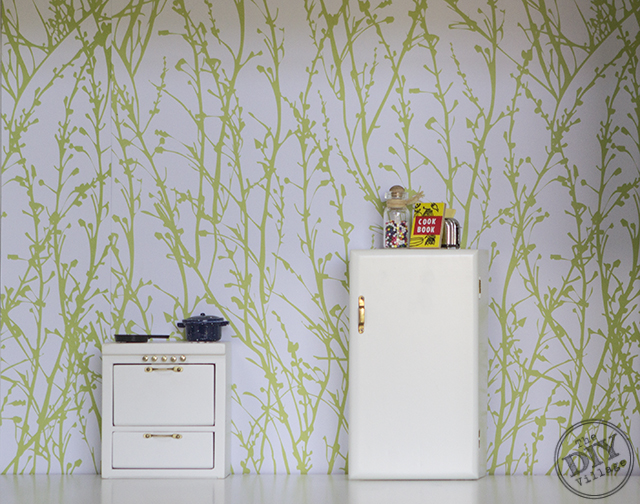 My parents were kind enough to let us borrow some furniture from their dollhouse. I felt like I was moving off on my own again, with my mom bringing pots and pants for me to use in my new pad!
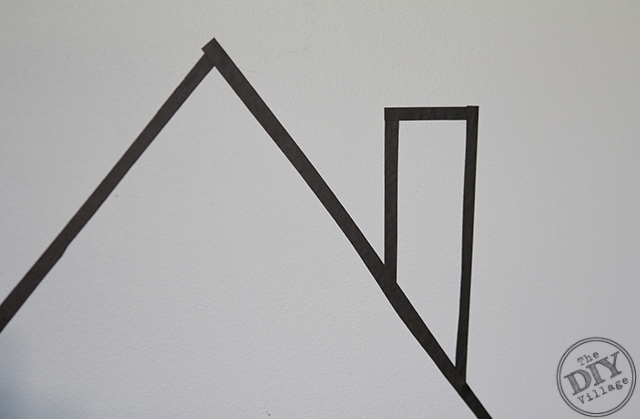 Don’t forget the most important part of a dollhouse, the ROOF and chimney! The space where Josslyn’s dollhouse is located is a tad tight. Instead of wasting space with a roof I added a vinyl roofline! The best part about this is that when she gets too old for a dollhouse (like this his humanly possibly) we can remove the vinyl and she has a fun bookcase to store her books and favorite items.
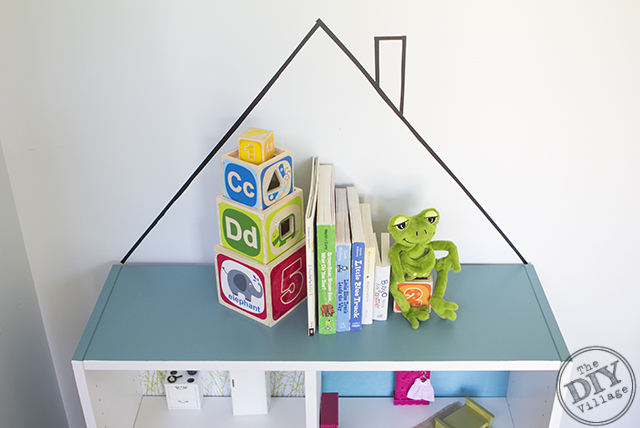 For now the “Roof” is a great place for some of her favorite books and toys!
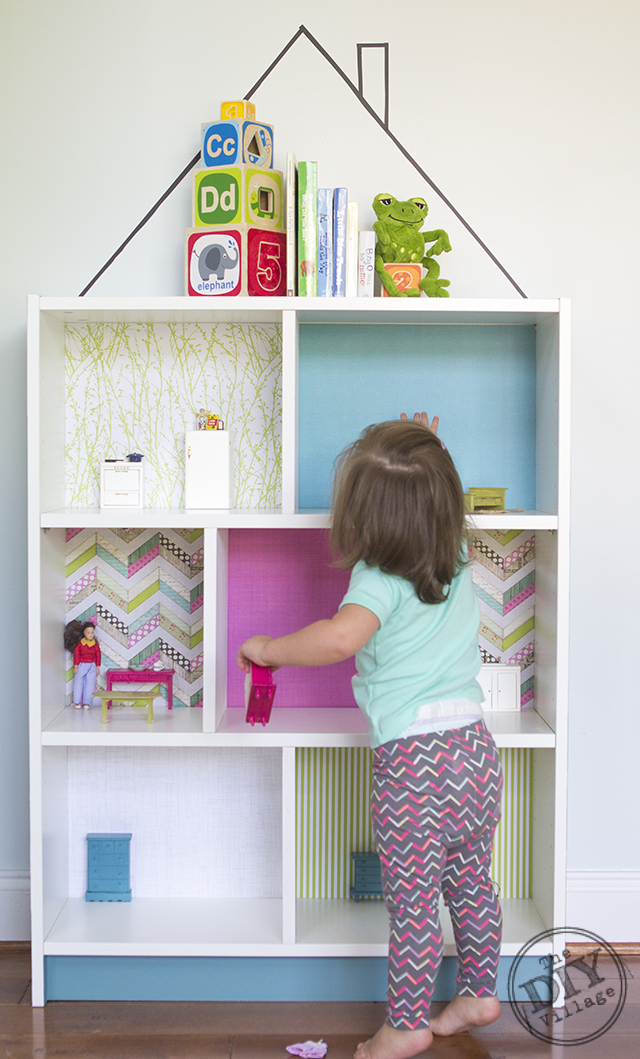 And as for Josslyn, she approves 110% of mom creating a dollhouse for her! She was so excited that she promptly removed all of the furniture in the Master Bedroom and stacked it into a tower on the floor. Girl’s got skills what can I say?!
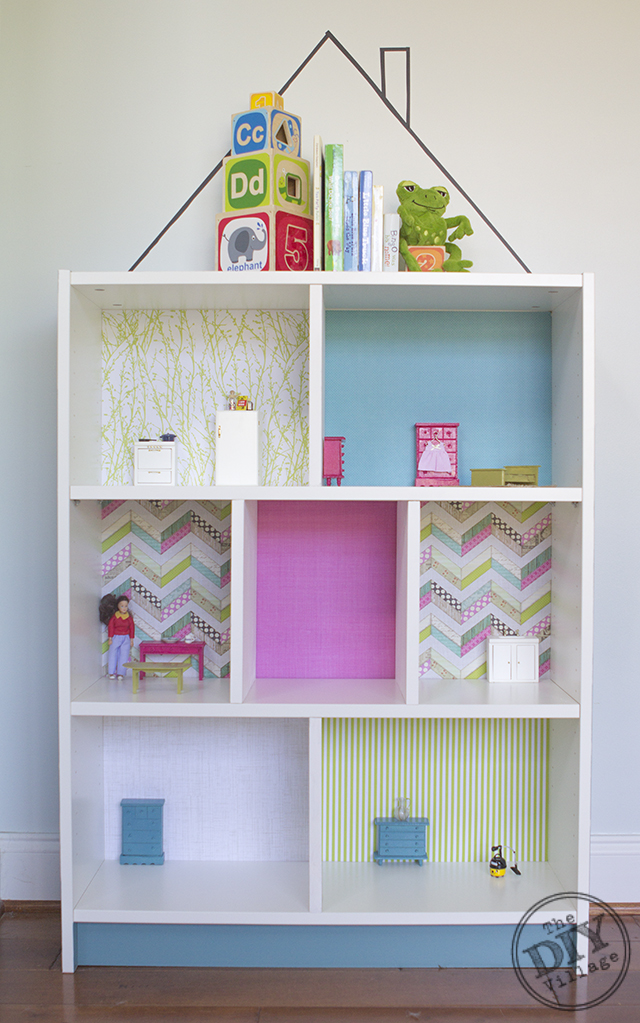 In all the HomeRight BILLY Bookcase challenge was exactly that, a real challenge for me but I loved every second of creating something for my daughter to enjoy for years to come!
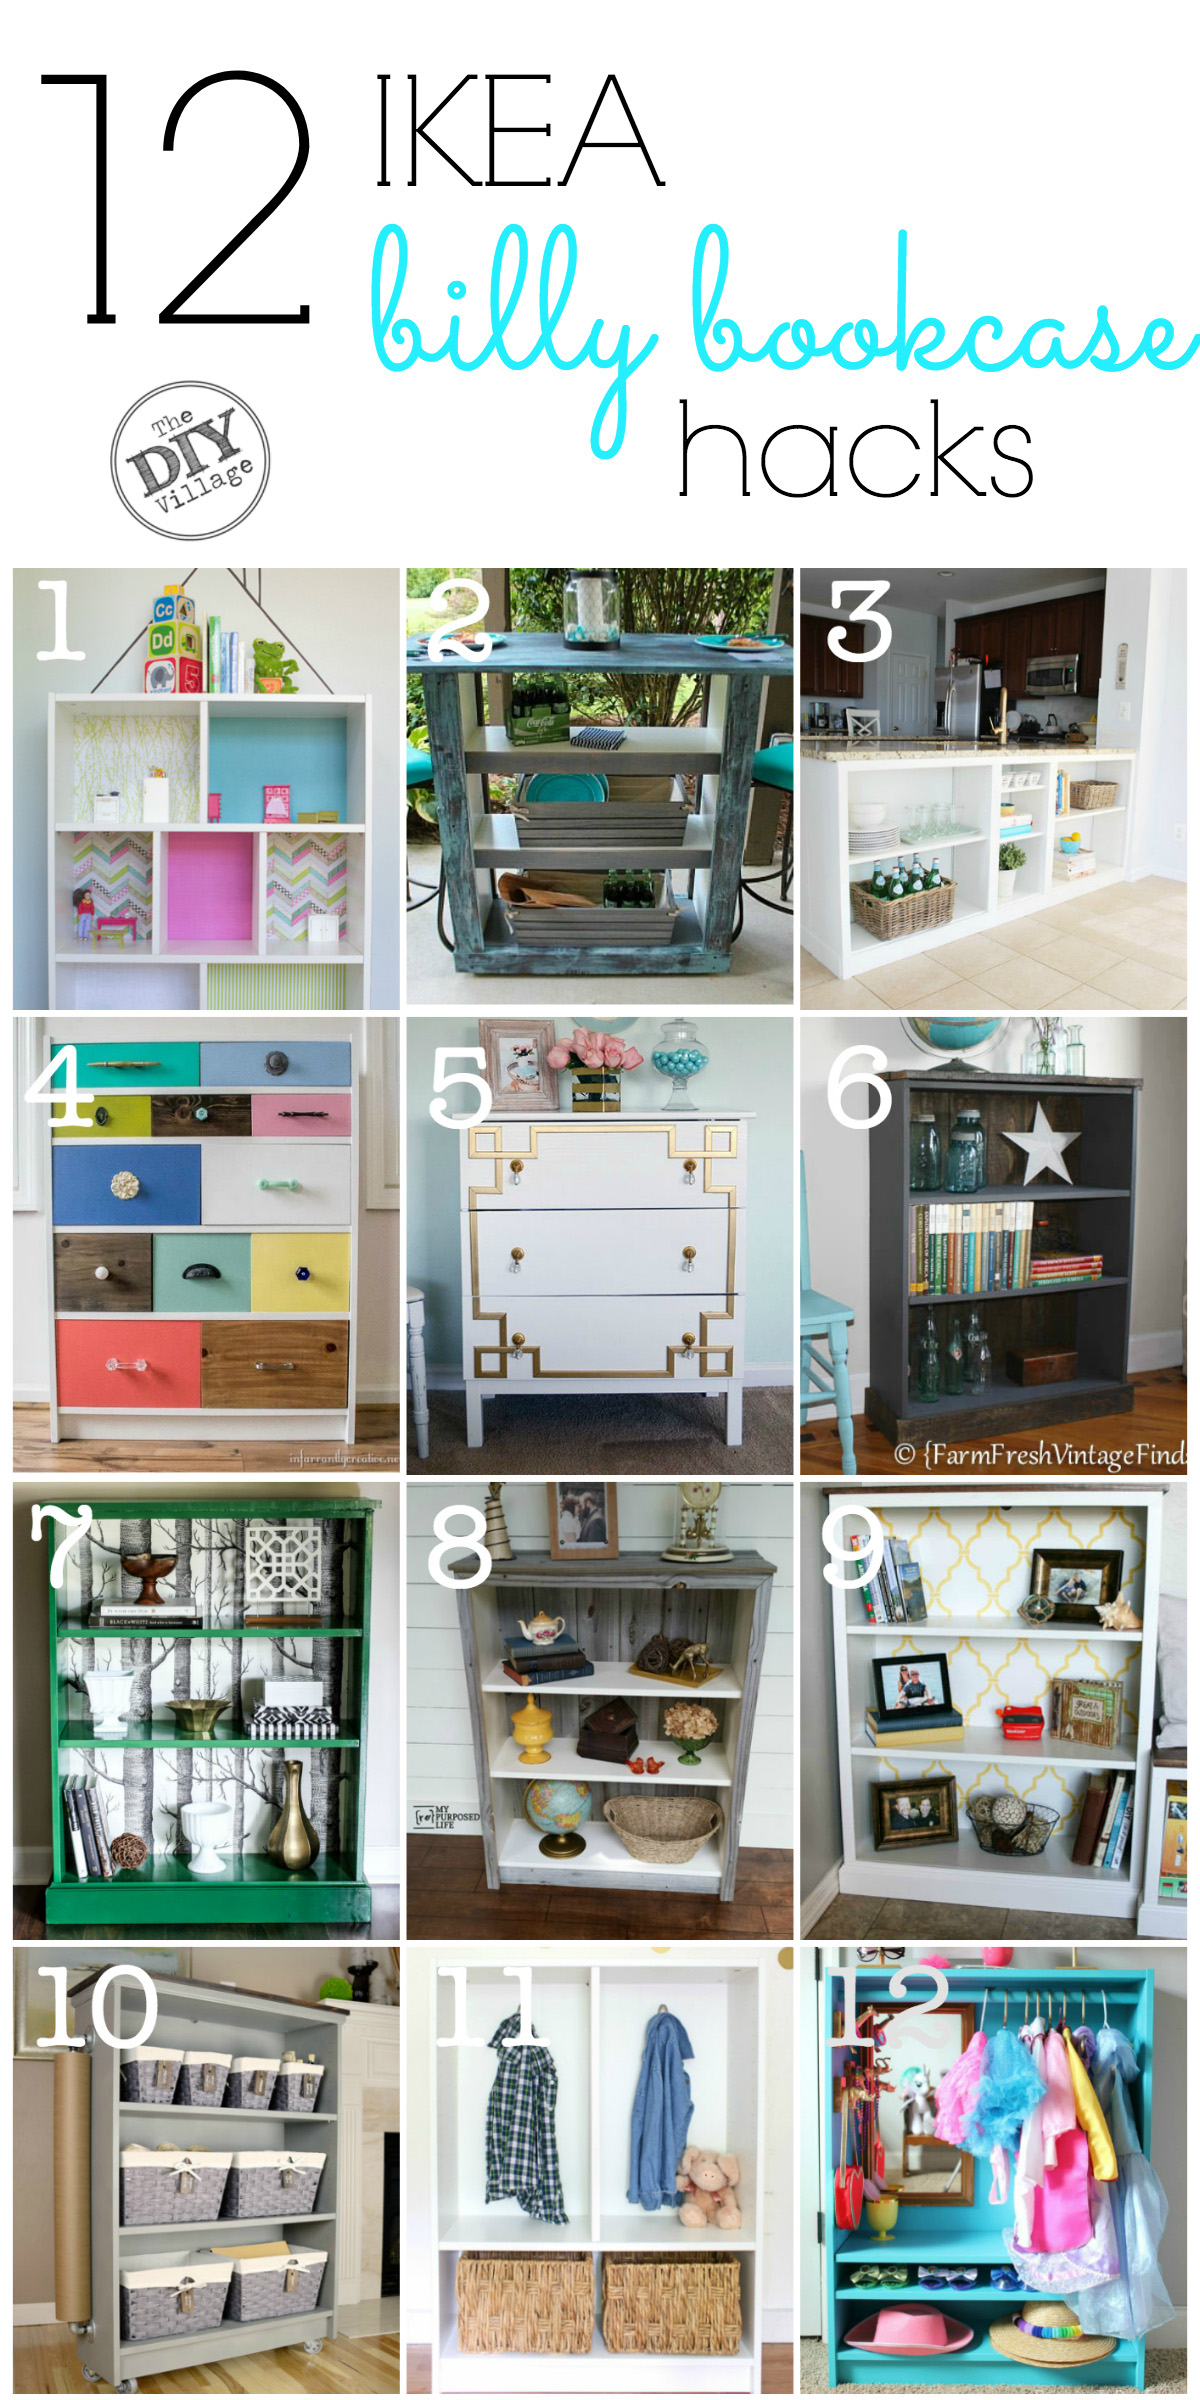
- Bookcase Dollhouse – The DIY Village
- Bar Table – Refresh Restyle
- Kitchen Bookshelf – 11 Magnolia Lane
- Colorful Dresser – Infarrantly Creative
- DIY Industrial Cabinet – Simply Designing
- Rustic Bookcase – Farm Fresh Vintage Finds
- Modern Bookcase – Erin Spain
- Barnwood Bookcase – My Repurposed Life
- DIY Bookcase Storage Unit – Addicted to DIY
- Craft Rolling Cart – Living Rich on Less
- Mini Mudroom – Shabby Creek Cottage
- DIY Dress up Closet – Rain on a Tin Roof

First – that dollhouse bookcase is so fresh and bright and Joss will play with it for years to come! And we are finally starting a house reno – new paint on the outside, an update to our textured kitchen walls, etc. Our dining room table and chairs could use makeover and the paint sprayer would be perfect!
Too bad your boys wouldn’t want a doll house! hehe
I love your book shelf/dollhouse idea.
You knocked this one out of the park. Great job!
Thanks Krista!
So darling!!!
This is so cute! I would love for you to share this at our party this Thursday at Idea Box! You can check it out at http://csc.mycreativehome.org/2015/06/idea-box-link-party-16.html Hope to see you there!
Cyndee
This is so, so sweet! I love the idea of a bookcase dollhouse, since it can be easily turned into useful storage when kids grow out of it. Also, this has a much smaller footprint than many of the dollhouse you can buy, and its openness actually makes it more functional. Saving this project for our future kiddos!
Awesome! If you ever get around to making one I’d love to see the finished product!
I love it! This is the cutest!! I would love for you to share at Idea Box link party this Thursday!
http://csc.mycreativehome.org/2015/06/idea-box-link-party-16.html
Cyndee
It looks so cute! I’m sure Little Miss Joss loves it. I’ve got some louvered closet doors and some wooden chairs that could use a paint makeover. How difficult is it to get an even coat with a sprayer? I’m so used to brushing everything.
Getting an even coat is super easy. In fact as long as the paint is thinned properly I have never had an issue with overspray, runs, or splatters like I have with other machines! No way I would paint something like a louvered closet door with anything else!
This dollhouse is so cute and the paint sprayer seems to have made painting the outside of the bookcase a smooth and professional looking job! Your idea is a fun playhouse for Josslyn now and a useful bookcase for the future! Creativity at its best!
I bet you can have fun playing with her!
I have a set of work tables i would like to stain for my hubby ….
Jacque,
I love, love, love your ikea billy bookcase hack project! Making a dollhouse was the perfect option for you.
You did a great job decking it all out with the scrapbook papers and furniture. The genius part? that ROOF! Oh my! so creative!
Super job!
gail
ps thanks for the shout out about my chalky primer recipe. I love it and use in 99% of the time for my own projects.
I’m visiting from the Creativity Unleashed Party. What a fabulous idea for an IKEA Billy Bookcase! Love the scrapbook wallpaper too. I won’t be entering the contest because I already have a HomeRight Finish Max Pro that I absolutely love. Whoever wins this contest will have so much fun with this awesome machine!
We have a spare bedroom in our house that we are converting into a playroom for our kids, and painting is a big part of that.
I would love to use this to help paint our kitchen and our hallway in our home. This would help out a lot.
I would update my old book shelf
How cute is that?! So awesome that you made the book case into that! I would definitely paint my Nana’s table in her kitchen. She would love that and has been asking to have it done!
I have a bookcase my sister gave me I would paint it.
What a cool idea! So creative!
How did you attach the vertical dividers on the shelves?
The dividers were glued and then nailed into place. The nails were through the back.