As I’ve mentioned in the past, my family loves tradition, especially around the holidays! Each year, we take part in the Knowlton Make-A-Gift. Each person is assigned another family member, who they are tasked with creating a handmade gift. This year, I had my step brother, Ryan, an avid outdoorsman, who according to legend is quite the accomplished fisherman! While racking my brain for ideas that would be a good fit for him, I was inspired by this Home Sweet Home String Art that our friend and fellow Lowe’s Creative Ideas Blogger, Beckie, from Infarrantly Creative created for her mudroom! With minimal materials and a minimal cost, take a look at how I was able to make this Gone Fishin’ String Art!
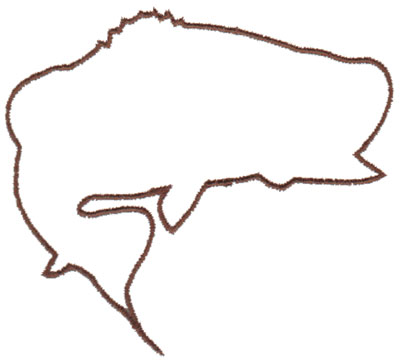
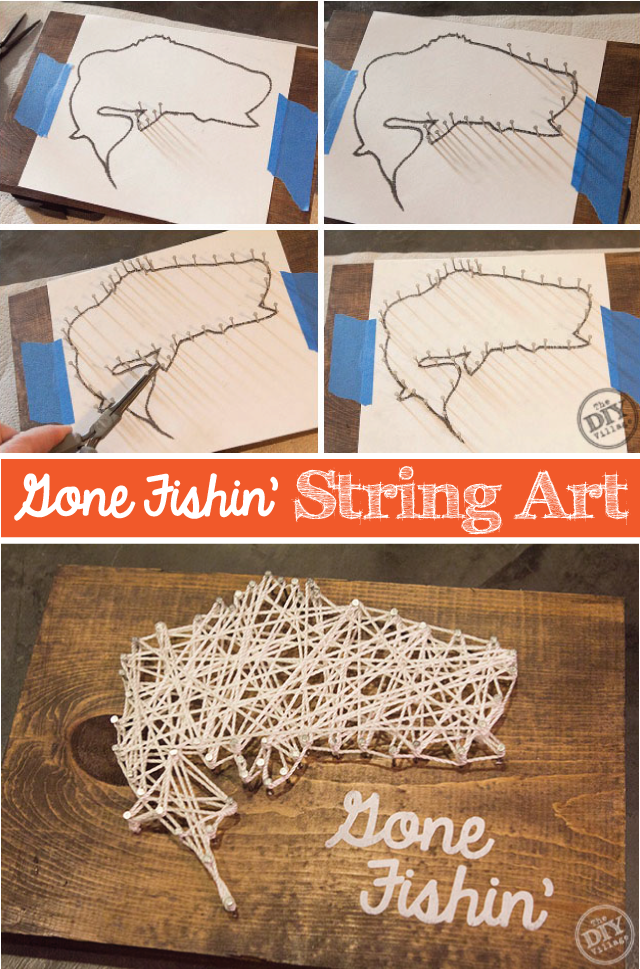
Choose a pattern! If you have a particular shape in mind, just search for that image online! I’ve found that outlines or silhouettes of shapes seem to read the best when creating a pattern for a string art project! Here’s the image I used for my fish!
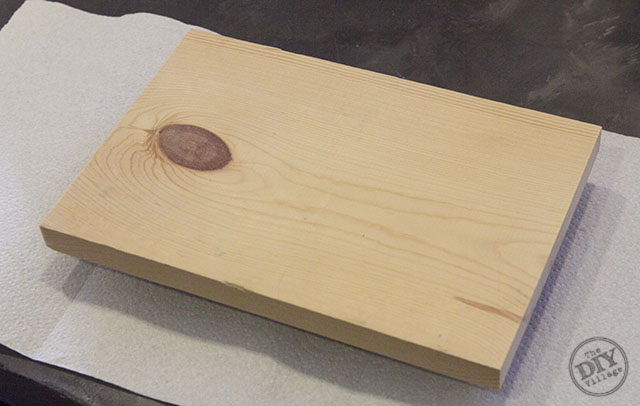
Select a piece of wood. Preferably, a wide plank cut to a size that accommodates your pattern.
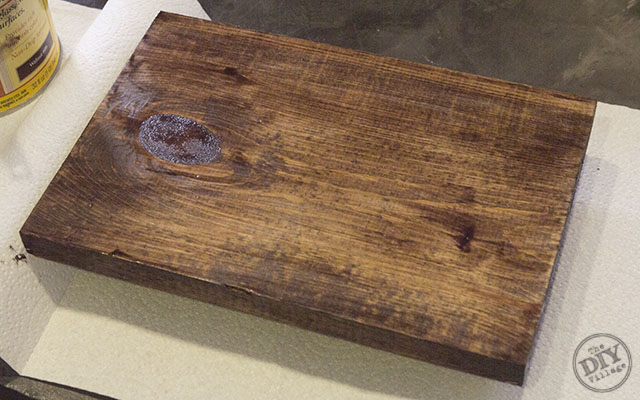
Stain the wood. (Pictured below is my board stained with a walnut gel stain by Minwax.)
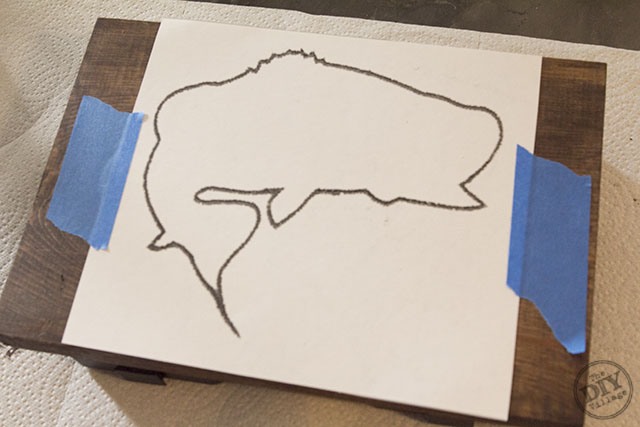
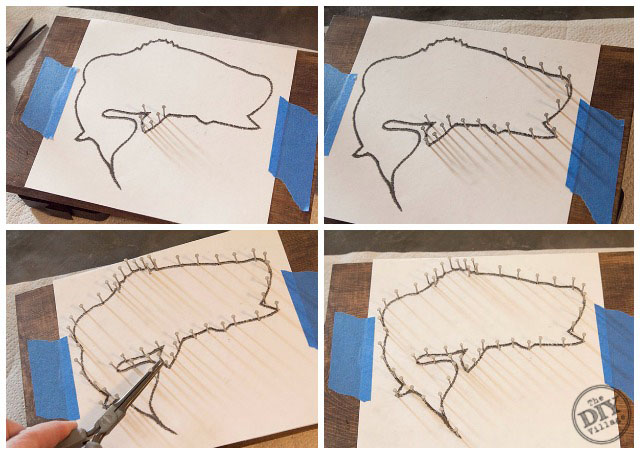
Print your pattern to fill a good portion of your wood surface, then tape it into place.
Next you’ll need a pair of needle nose pliers, a hammer, and a box of 7/8 x 17 wire nails. Using the pliers to stabilize the nails, go ahead and hammer them around the outer border of your shape. The nails should be as straight up and down as possible and should all be set roughly at the same depth.
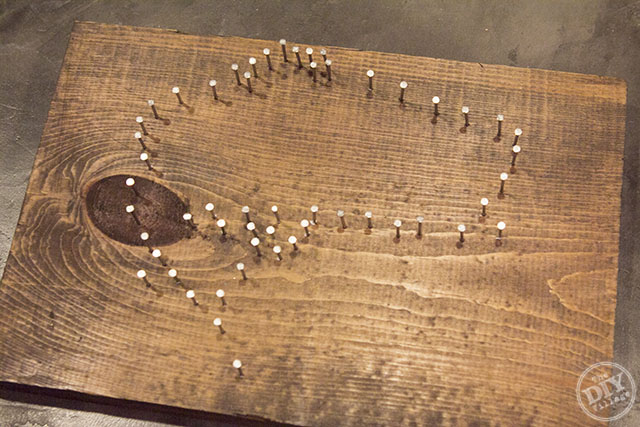
With all of the nails in place, remove the paper by pulling it straight up and off of the wood.
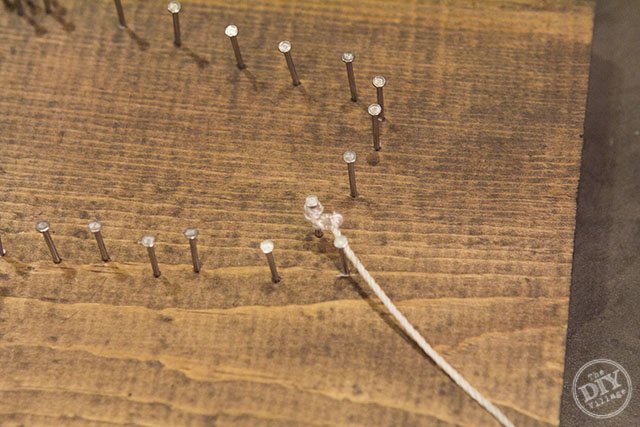
Next, you’ll a small spool of nylon string. (It doesn’t have to be any specific diameter, just something thin) You’ll need to tie a knot onto one end of the string, tying it onto one of the nails.
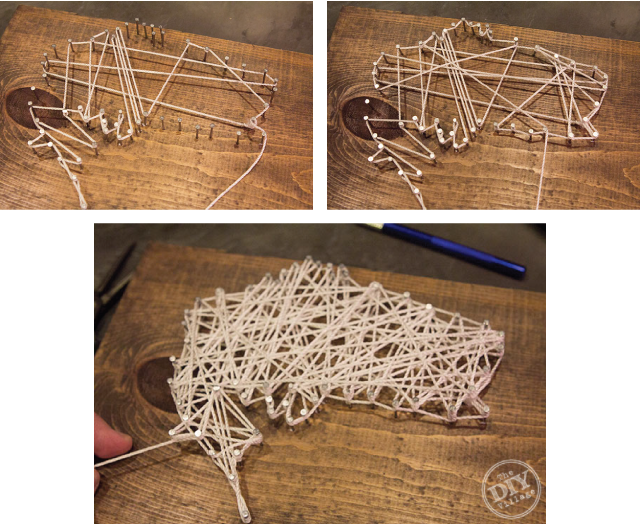
With the string secured in place, begin wrapping around the pattern. Wrap as much or as little string as you like, as long as when you are done, you can make out what your shape is supposed to be! (When you’re satisfied with your results, give yourself an inch or two of extra string, cut it loose from the spool, then tie it off to one of the nails in an inconspicuous spot!
I chose to take my string art to the next level by adding a little wordage that seemed to fit along with the shape. (I cut a stencil out of vinyl, but if you’re confident with a paint brush, consider painting in your own message!)
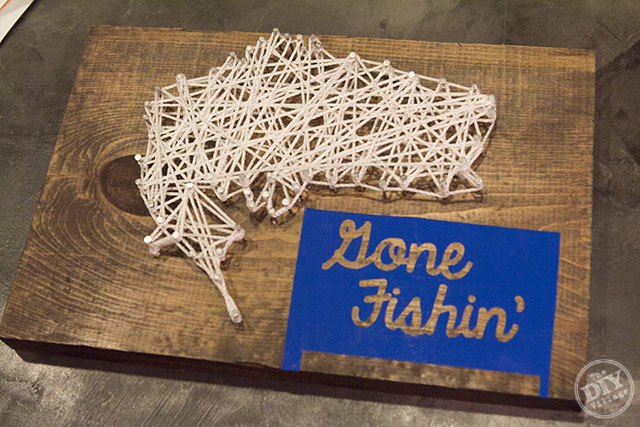
If you choose to use a vinyl stencil, be mindful as to how much paint you use. It’s best to get a little paint on the end of a thick brush, dab the excess of onto a paper towel, then using a stippling technique, add layers of paint until you’re happy with the result.
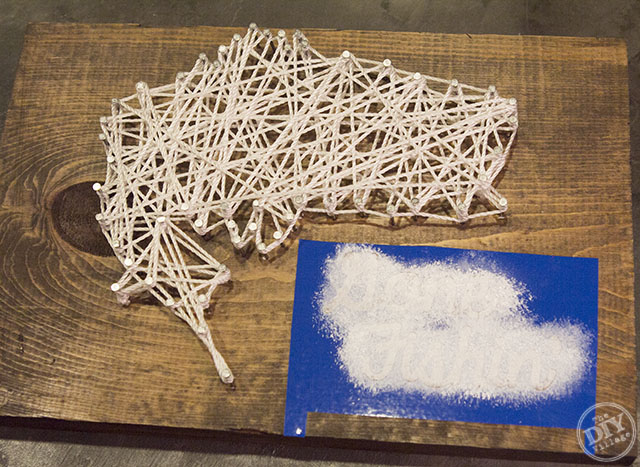
And with the vinyl removed and the paint dry, you’re left with this, your very own Gone Fishin’ String Art!
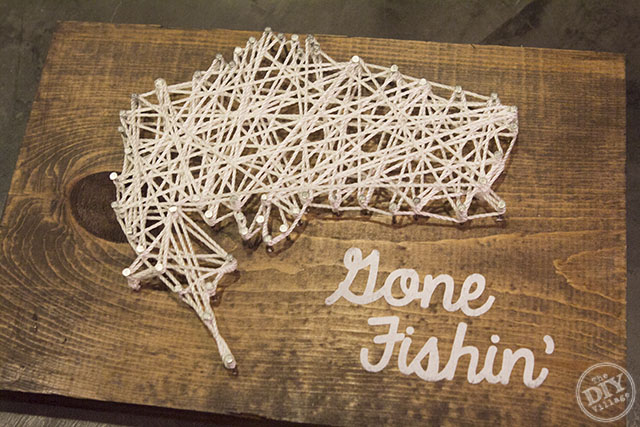
This was such an easy project with such great results, I’m eager to make something for our own home now! Have you played around with making your own string art? We’d love to hear about it! Be sure to share with us in the comments below!
Thanks to Lowe’s for their continued support in having us as members of their Lowe’s Creative Ideas bloggers! For more tips and inspiration for home projects, be sure to check out what the rest of the amazing DIY experts with the Lowe’s Creators & Influencers have come up with!
If you’re an iPad or iPhone user, be sure to download the Lowe’s Creative Ideas App to see some unique seasonal project ideas!
And if you need even more inspiration, follow Lowe’s Home Improvement on Pinterest, Facebook, and Instagram
Disclosure: As a Lowe’s Creative Ideas Handyman, I was provided a gift card to cover the cost of materials for my project, but I was not told what to write. All the ideas and words found here within are honest and my own!


Thanks for the shout out. String art is addicting right?