I am sure I am not the only person out there that LOVES to get their little ones outfits for whatever the holiday at the moment might be. Most of the time I am able to buy a year ahead of time and just buy the size I think Josslyn will be. I have done that some for Valentine’s Day but I thought it would be fun to make coordinating shirts for Josslyn and her cousin Josephine! There is 9 years age difference between the two of them but when they are together you can tell they adore each other! In fact I have been told many times that Josephine is glad Josslyn was a girl because she doesn’t want to help out of it’s a boy! Haha yes, very good indeed!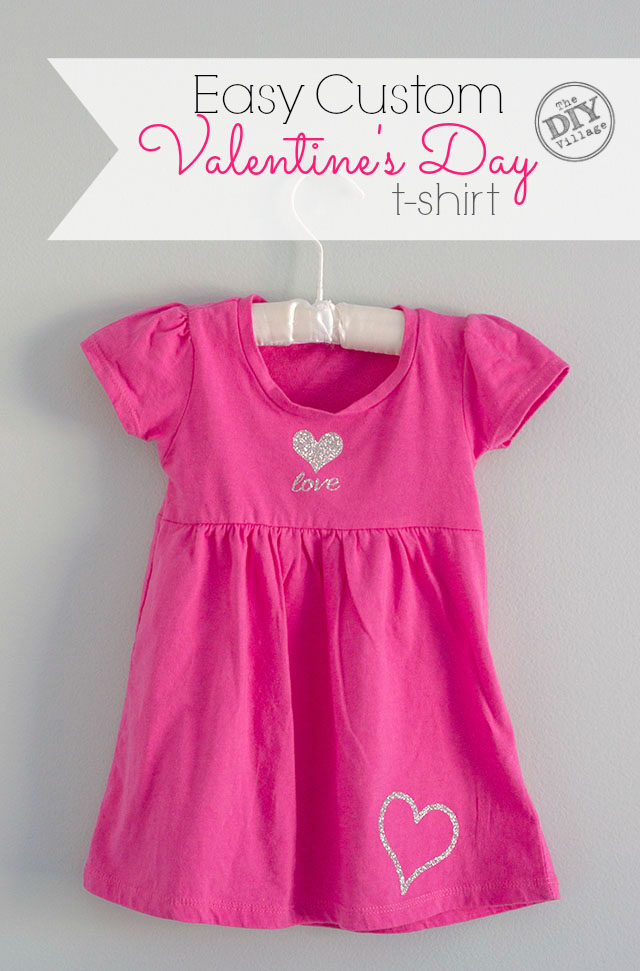
Anyway back to what I was saying before, though I have some store bought goodies for Josslyn I wanted her to have a custom Valentine’s Day t-shirt. I really can’t get over how easy it was to make!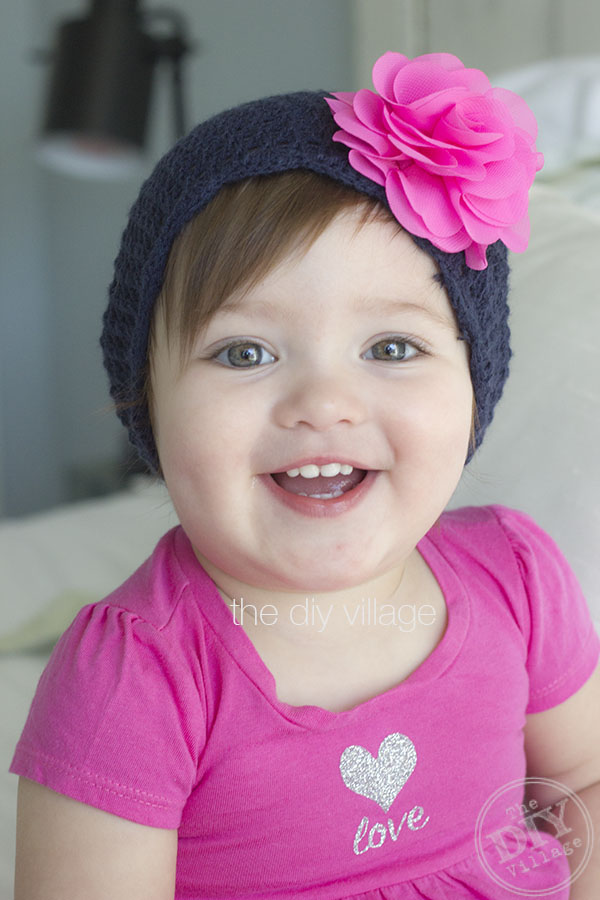
The process is pretty simple.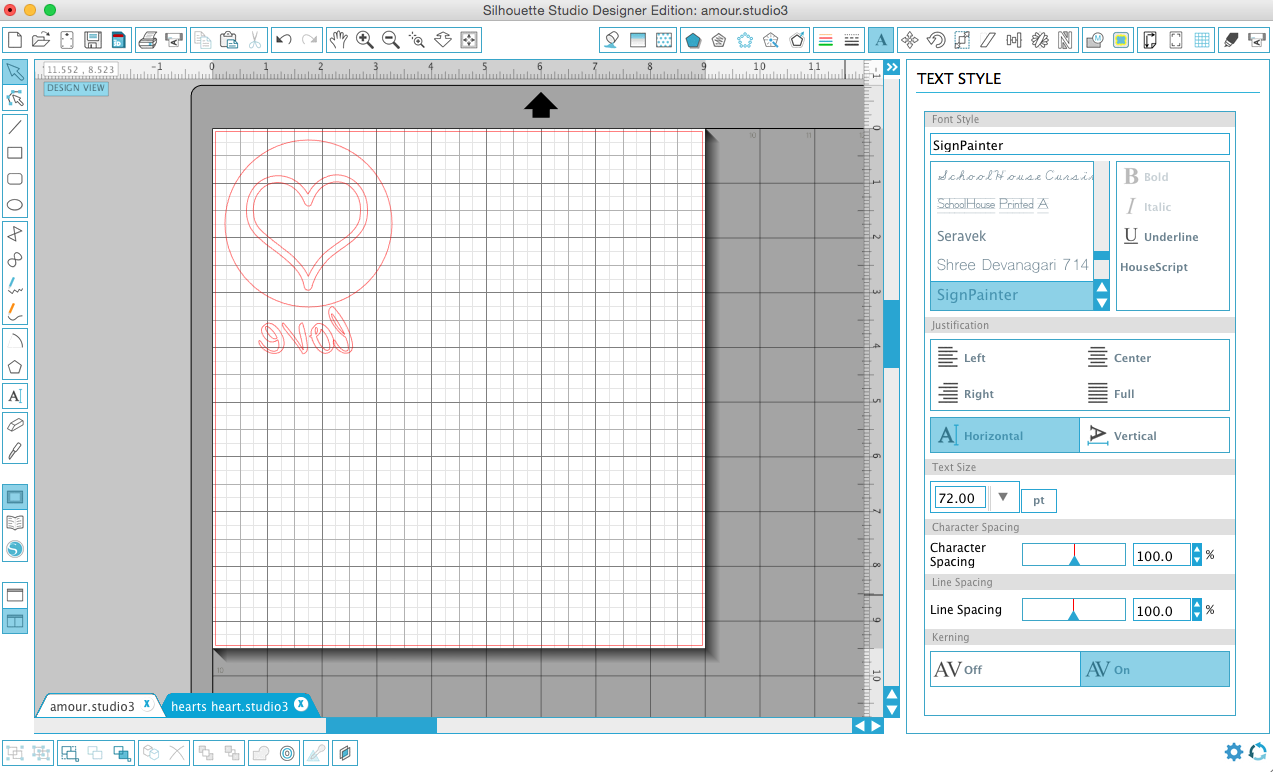 Go ahead and prewash your t-shirts while you are creating your design, this will keep the letters from puckering during future wears! I created my design using the Silhouette software. Once I had the look I was going for I made sure to MIRROR the words. With the vinyl that you will be using you want to make sure that you don’t forget this step. If you forget to mirror the words when you go to apply them to your t-shirt it won’t work. I say this because the first time I cut the words out, I forgot to mirror them! Whomp Whomp Whomp!
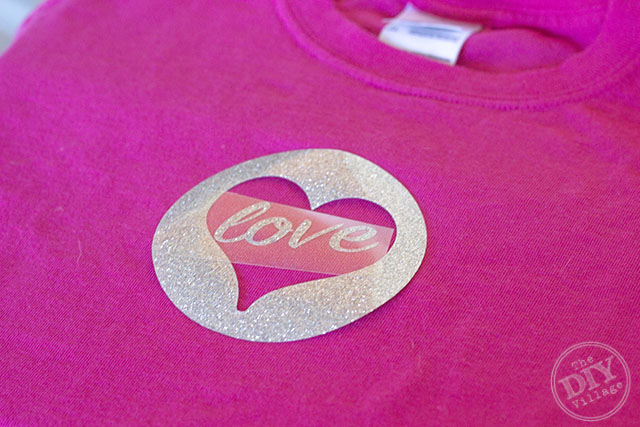 Weed away any excess vinyl around your letters.
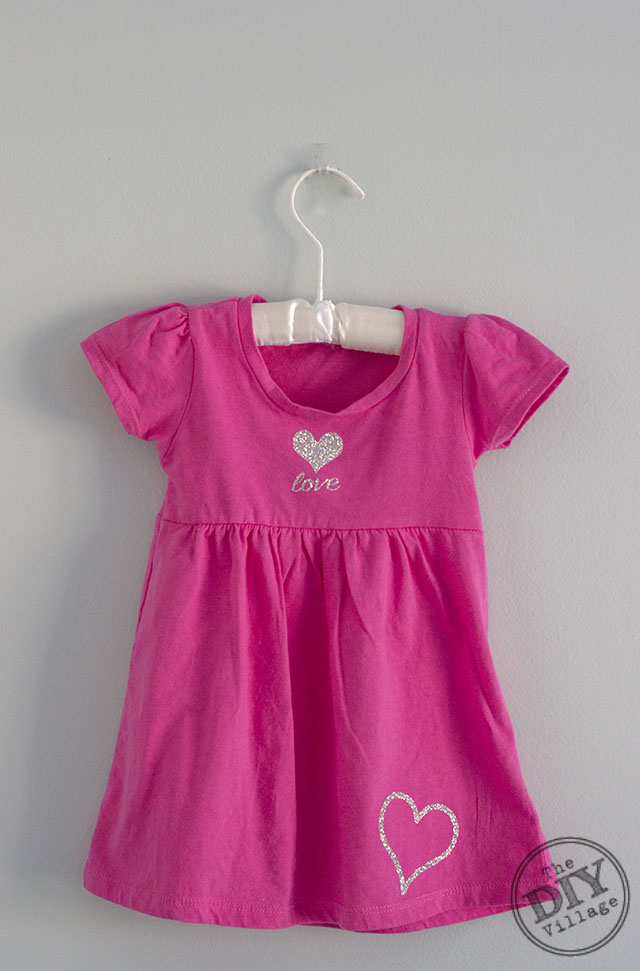
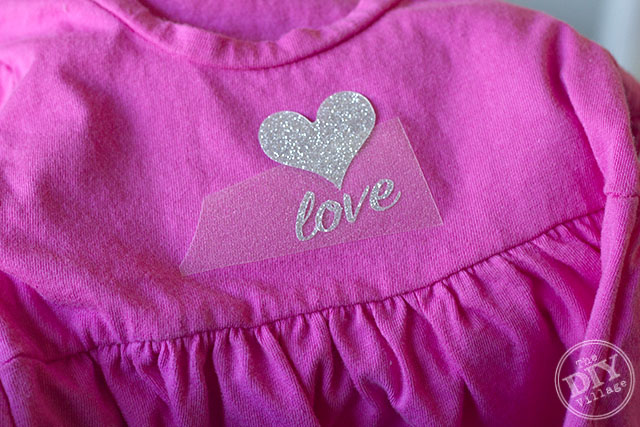 The heart shape I chose allowed me to end up with 3 different sections of heart. I used the outer portion for the big girls t-shirt and the inner most heart for Josslyns dress.
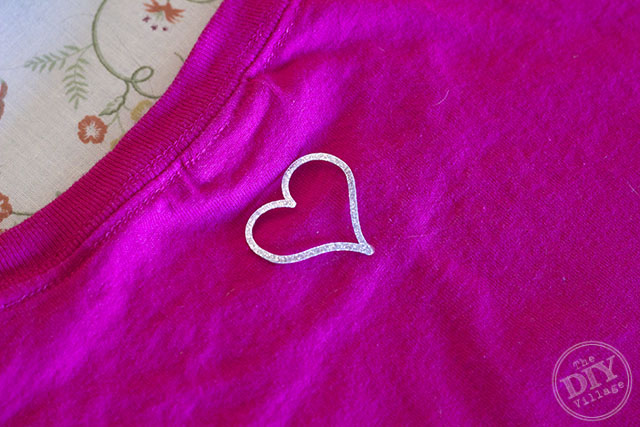 And that middle section? I used it on the back of the big girls t-shirt. How cute will that be when she pulls her hair up into a pony tail?
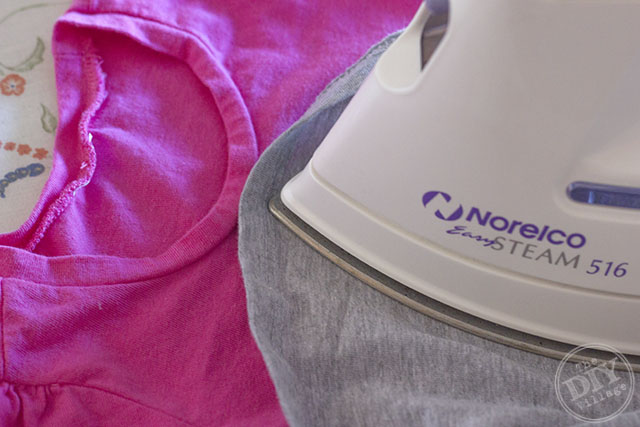 Once you have the proper placement follow the manufacturers recommendations on the glitter vinyl. Place a cloth over the design and heat for 20-30 seconds pressing firmly. Turn the shirt inside out and heat again for an additional 20-30 seconds. Once the heating process is over the protective film comes right off and you are DONE! It really could not be more simple than that!
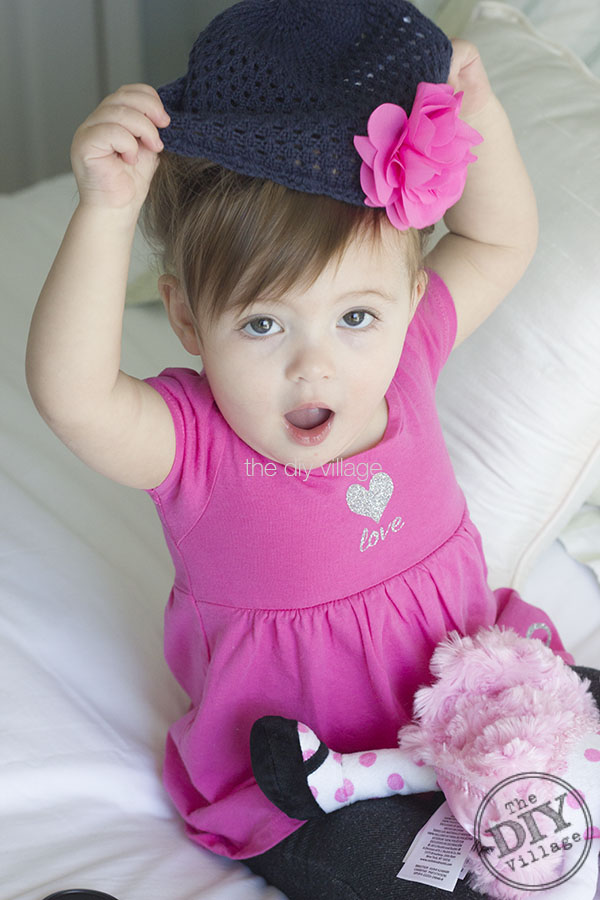 It took me far longer to come up with the design than it did for me to execute the process! I’m super excited about little bit’s new shirt dress, even if she’s more obsessed with her new hat!
 Here’s what you will need for this project (contains affiliate links)
Cricut Glitter Heat Transfer Viynl – Silver
Solid Color T-Shirt
Iron & Ironing Board
Cloth
Scissors
So darling! I wanted to personalize a set of Xmas jammies for Benjamin and had the hardest time figuring out the iron-on vinyl (mine didn’t come with instructions) – I can’t tell you how many incorrect cuts (and curse words) I made (“Benjamin” takes up a LOT of vinyl!), until I got it right. If only I’d had your tutorial to follow before Xmas!
Could Joss’ eyes be any more gorgeous? She is a stunning little peanut! Love my niece! xoxo, Jossie!
Oh no! I totally understand that problem, with other vinyl. I purchased some that came in sheets for Josslyn’s 1st birthday shirt and my goodness it was a nightmare the machine would NOT cut it, no matter how many times we tried. Matt ended up using an Xacto knife to cut it out. I highly recommend using the roll vinyl made by Cricut or Silhouette!