![]()
 Over the past few years we have done a few posts on Winterization of your home. We have even touched on some window winterization tips in Matt’s post 10 tips for winterizing your home. One thing we didn’t go over was what to do for windows that are drafty due to thickness, or lack thereof.
  The window in my office (at my day job) sits directly behind my chair. It unfortunately is a single pane window that is now recently broken. Even on the best day the draft is enough to make me wear my coat most of the day or crank up a space heater to compensate for the draft.
 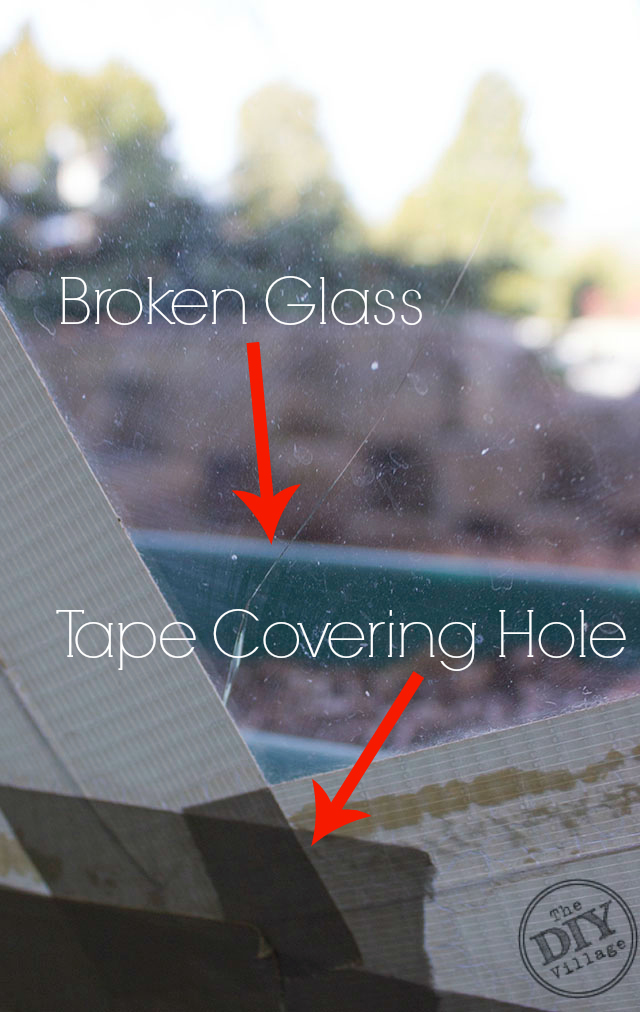 The window needs to be removed and taken to the glass cutter to get a new pane cut. Until we get a chance to get that done and while the window is removed we need something to help keep the cold weather from coming into the office. While it isn’t the most glamorous solution we went with an indoor window insulator kit. Not only are they easy to use they can be removed when you are done using them at the end of the winter season.
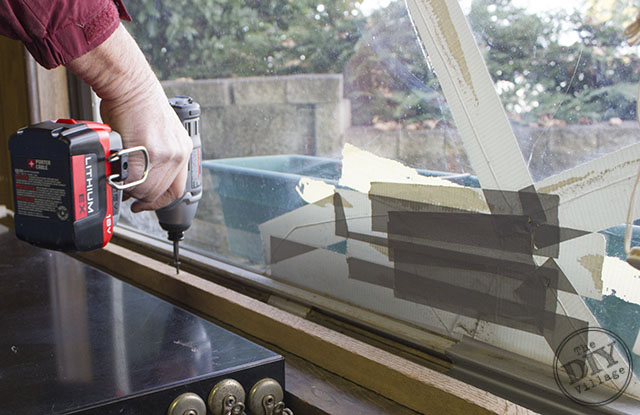 Since our window frame is not flush on all 4 sides we screwed a scrap piece of wood to the wooden threshold of the window. If you are unable or do not want to screw into your frame consider purchasing an outdoor window insulation kit.
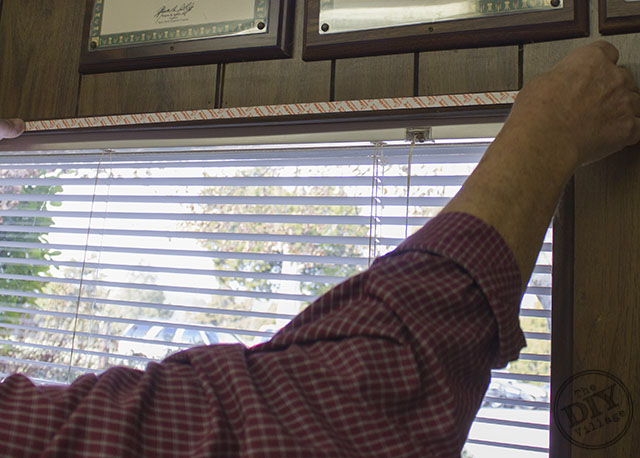 Start by cleaning the facing of the window. You want to make sure that you have a good adhesion of the tape provided in the kit to the window. The last thing you need is the plastic pulling away and having to start over. Apply the tape to the face of the window frame. Use a credit card or similar type card to rub the tape down completely.
 At this point if you don’t have a helper I would make sure you have someone with you to help with this part. You can do it alone but it is so much easier with a second set of hands! Remove the protective covering of the tape from one side of the window. I started with the top. Carefully place the plastic over the tape keeping slight tension on the plastic so it doesn’t get all bunched up. Repeat the process on the other three sides of the windows until the tape is completely covering the window frame.
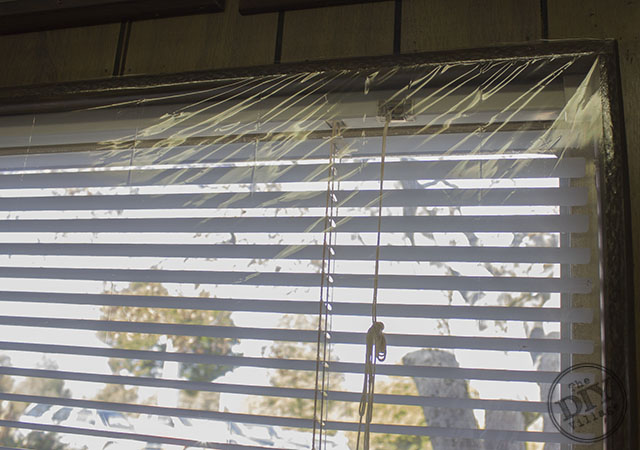 When you are done with installing the plastic you may be left with some puckering of the plastic like I was. Good news is, this is a super easy fix!
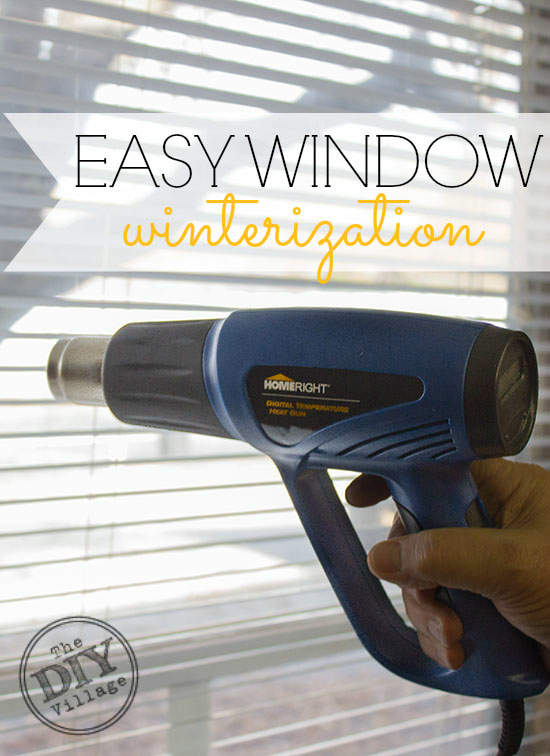
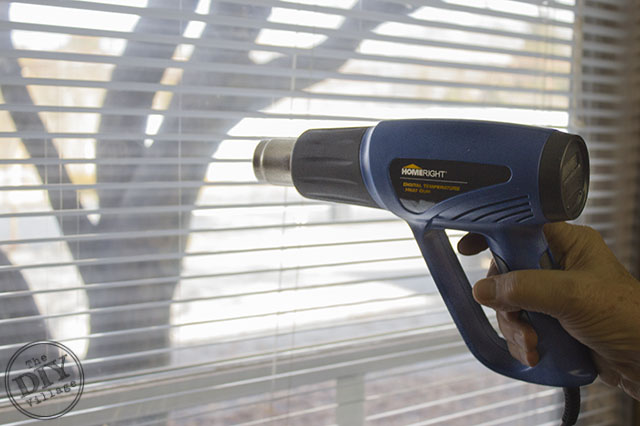 Most kits say you can use a hairdryer to smooth the plastic out but I have never had good results using this method and much prefer to use a heat gun. Heat guns can be tricky you want just the right temperature to keep from melting he plastic. This is why I am in love with the Digital Temperature Heat Gun by HomeRight.
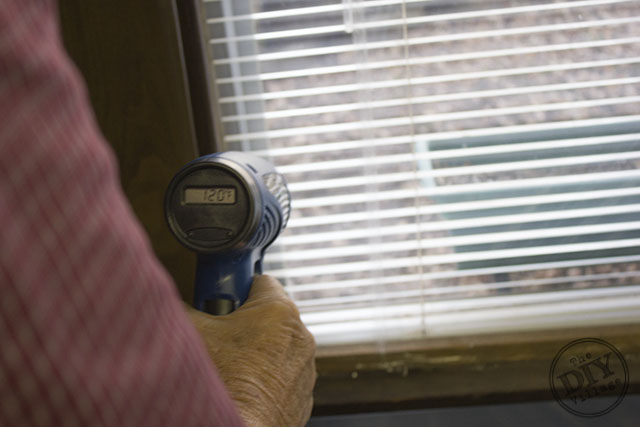 The manual has suggested settings for temperatures. The window covering recommendation was LOW. We started on low – 120 degrees and then moved up to the Medium setting and kept the temperature at 160. We needed a little extra heat due to the extremely cold temperatures outside the day we were covering the window. Once the Digital Temperature Heat Gun was ready to go we made passes over the plastic in a smooth sweeping motion, keeping sure to not stay in one place for too long. In a mater of minutes the plastic was tight and not even noticeable.
A digital temperature heat gun has so many other uses it really is something you need to add to your home tool collection. Check out this post from Stacy Risenmay – Not Just a Housewife, she uses a heat gun like I have never seen before and creates amazing ornaments! Gail over at My Repurposed Life has a great post with 25 different ways to use a heat gun! Trust me there is no shortage of inspiration there!
Still unsure about how easy this process is? Check out our video tutorial!
**GIVEAWAY COSED** In honor of all of these great heat gun projects the good folks over at HomeRight are giving us a Digital Temperature Heat Gun to giveaway! I hope you are as excited as I am! The heat gun kit contains a Digital Temperature Heat Gun, four steel plated nozzle attachments, and an all purpose scraper.
Use the Rafflecopter widget below to enter the giveaway and make sure to read the terms and conditions before entering! Be patient, sometimes it takes a minute or two to get loaded!
i could so use this heat gun right now. I would finish putting plastic on my bedroom windows.
I’ve been using the Hair dryer, but it just gave out. Thanks for the chance to win!
Oh wow! Good luck.
Our new schoolroom has 8 WINDOWS! It’s super cold in there, and I am about to go buy some window kits now. I’ve used them in the past, and you are correct; hair dryers do not work well! Would love to win the heat gun, thanks!
Holy Cow 8 windows that is awesome!
Oh wow, great giveaway! That heat gun would be so useful! I was just thinking that we needed to get winter curtains for this house; my desk is in a corner surrounded by windows on either side and it’s super cold in here. Also, I’d love a heat gun for removing some old vinyl lettering I have, and I’ve seen some super cool candle image transfer projects I’d love to try out!
Great idea for removing the vinyl lettering!
Boy do I need this. I have an old house with original windows and they all need coverings.
Thank you for this giveaway.
It really made a huge difference!
I am 64 and live in an older home and winning this heater gun would really help me put up the plastic coverings
Jacque
what a great job! I love how the plastic just disappears… too funny the blinds are trapped inside. 😉
thanks for linking to my post. I love this heat gun!
gail
Haha right? I hope I have them at the right angle so the sunlight doesn’t glare on my computer monitor 🙂
I need to put plastic on my windows also! 🙂 I’d use it for that, for starters. I’m sure there are many other things I’d use it on also.
I would use it for Shrink Wrapping, Paint Stripping and embossing. Thanks!
I would use it for stripping old paint off for refinishing furniture.
I love these guns, we use them at work to shrink wrap gift baskets.
yay for giveaways and girl, i need to start thinking about winterizing!!
Maybe it’s because I’ve always lived in Alabama or Georgia I’ve never though to winterize my house, however I’m saving these tips for if I ever move north!
I would love to try this for stripping paint!
Our house was built in 1958, so until we can replace the HUGE windows, one of these kits – and a heat gun – would be awesome to keep the cold out!
That’s awesome. I hate being cold!!!
What a great giveaway!
I have a dining room table that I would love to strip with this!
I’m refinishing an old table and this would be useful to remove the layers and layers of uneven paint already on it. Thanks for the chance to win!
I would use it to put some plastic on my basement windows, it get cold down there in MN!
I would definitely use the heat gun to do crafting projects.
I have MS and the cold weather is so hard, this would really help putting up the rest of the plastic on our windows and re-do the plastic that has come down. Oh yes, we musta put it up wrong…… Thanks for the chance.
ncjeepster@aol.com
It’s unfortunate that the crack in your window created such a large draft. It’s good that you were able to install the insulation kit, though. Like you said, it’s not the perfect solution, but until you can get the window to the glass cutter, it should be a nice solution. Thanks for sharing!
Drafts can be quite the challenge. Getting the right thickness and sealing holes are both important.
A heat gun is such a convenient tool for DIY projects, especially if you want to reach a precise temperature. Thanks for sharing!
That was very helpful guide. Thanks for sharing.