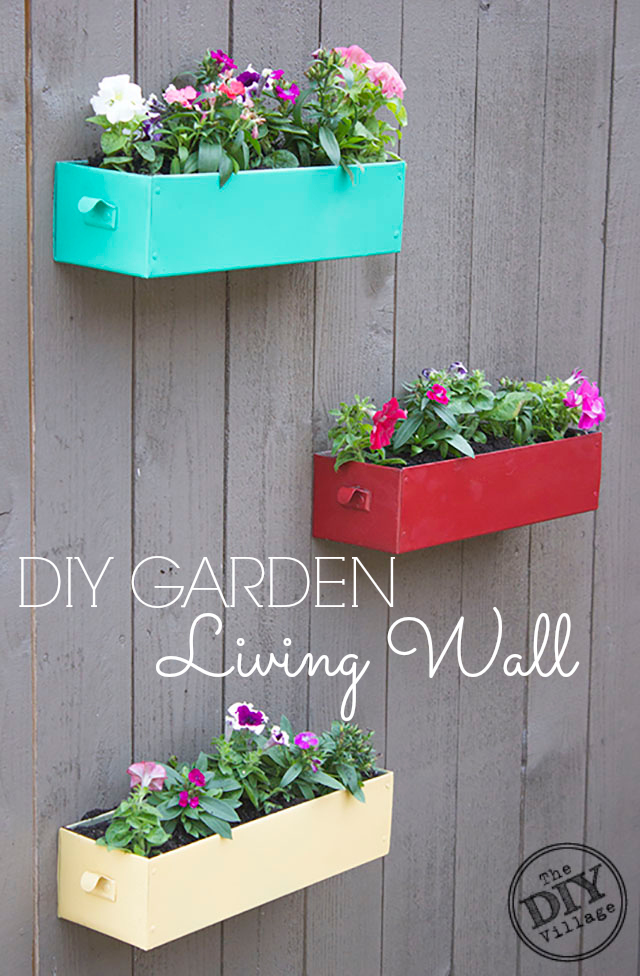
 A couple of years ago Matt came home from work with a treasure trove of goodies he found in a dumpster. At first I thought he was nuts. What in the world were we going to do with 12 old metal drawers that were clearly used in someones workshop? I ended up using a couple of them in our new kitchen pantry, but the rest have just been sitting in our garage. That was until I figured out what to do with them! My mom was talking about how she would love some drawers attached to her fence with plants or something in them. It took a while but I finally remembered the metal drawers and knew they would be prefect for turning into living wall planters.
 **Disclaimer – As a brand ambassador for Scotch Fasteners I have been compensated for this project, but as always all opinions and words are my own. No one has told me what to say! This post contains affiliate links. **
MATERIALS:
- Tape Measure (found HERE)
- Scotch Fasteners Extreme (found HERE)
- Torpedo Level (found HERE)
- Drill Bit (found HERE)
- Gravel
- Potting Soil (found HERE)
- Drawers
- Flowers
- Pencil
- Scissors (found HERE)
- Spray Paint (found HERE)
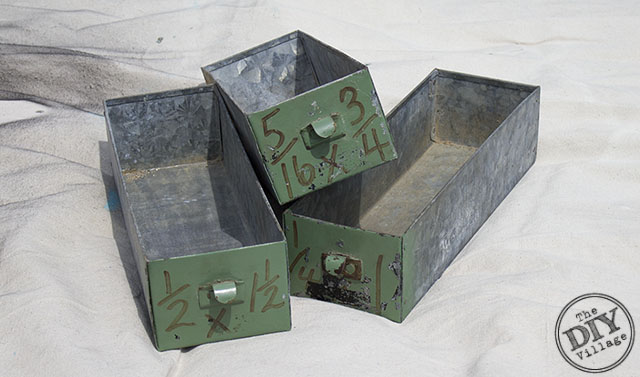 Start by cleaning your drawers. The ones I used were well loved and had a lot of character, aka peeling paint, on them.
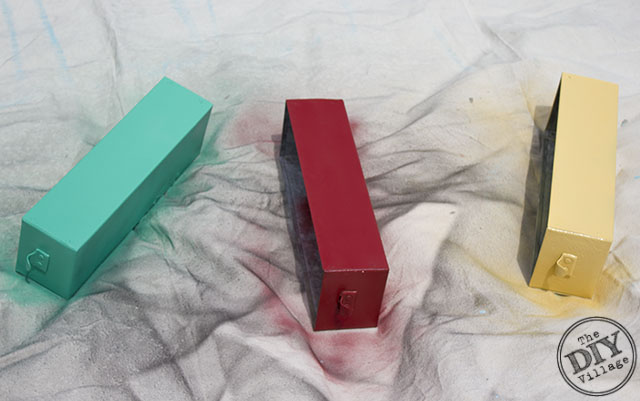 Once they are clean and dry give them a coat of paint. I chose spray paint because it will stick great to the metal and used colors already had around the house to achieve the bright look I was going for. Paint the front, back, and the side you want facing out. Don’t worry about the back side, it will be facing the fence anyway.
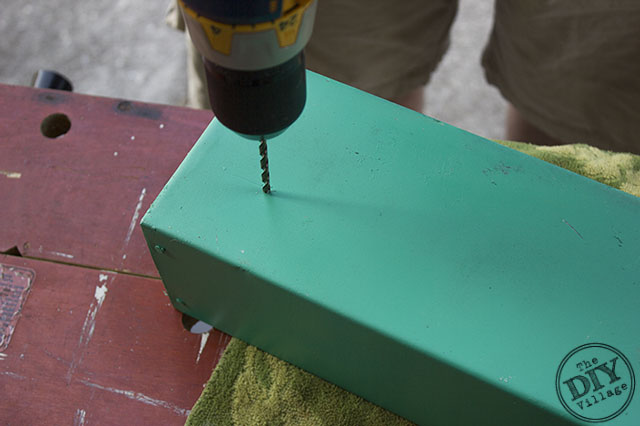 To ensure proper drainage you will need drain holes in your drawer.
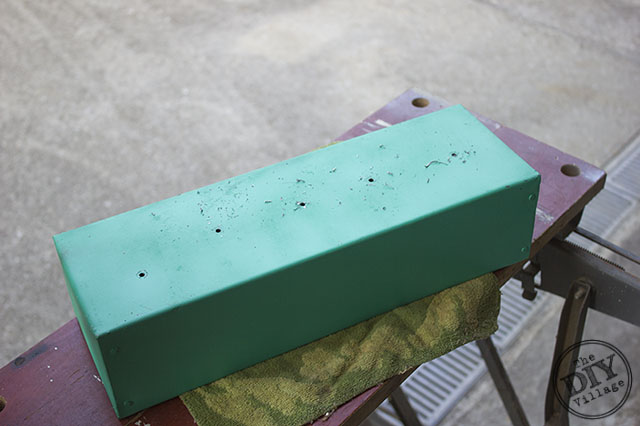 Drill 5 – 6 holes in the bottom of the living wall planter. The number needed will depend on how long you drawer is.
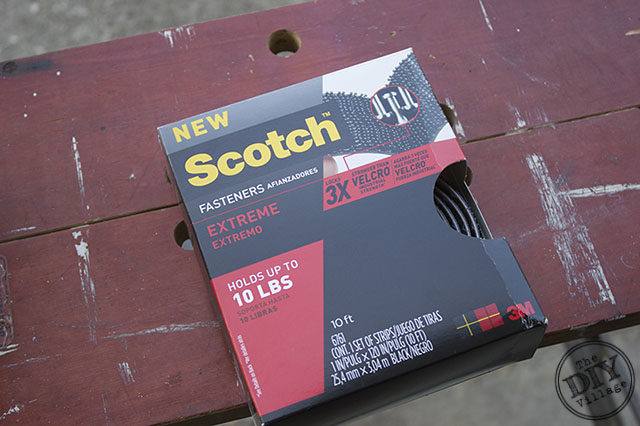 Once the sides of the drawer are dry you can add Scotch Fasteners Extreme to the back of the drawer.
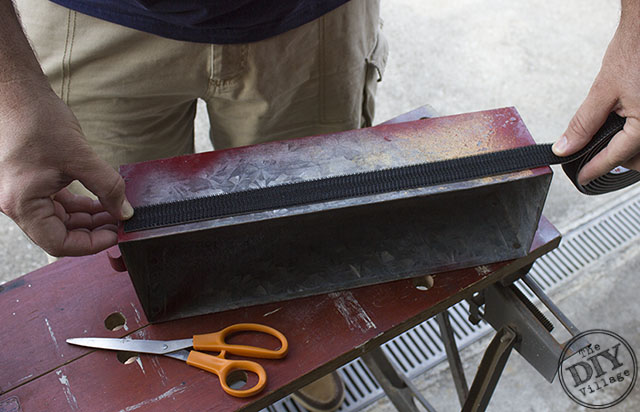 Measure and cut your Scotch Fasteners Extreme to length. I added two strips of fasteners to the back of my drawers to help keep them stable against the wall.
 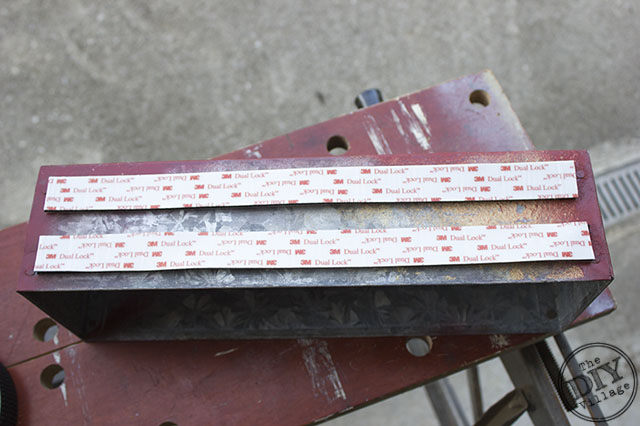 Align and connect two pieces of the Scotch Fasteners, listening for the snapping sound.
 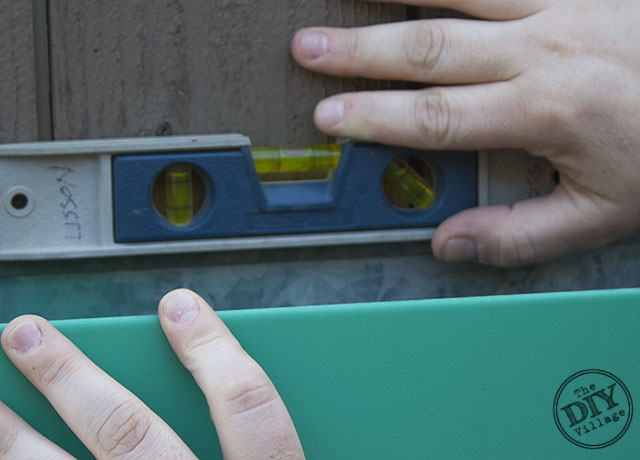 Remove liner from one side and apply fastener to item – pressing firmly assuring a good contact. Remove liner from outside fastener. Place a torpedo level on top of the drawer. Find level using the torpedo level. Press firmly onto the drawer at all of your Scotch Fastener location points. Press firmly for good adhesive contact.
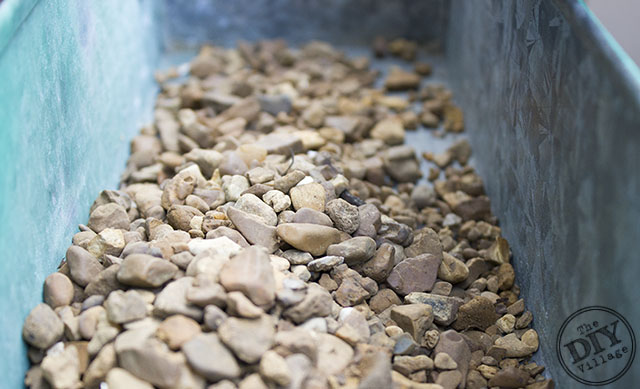 Put a thin layer of gravel in the bottom of the planter to allow for drainage.
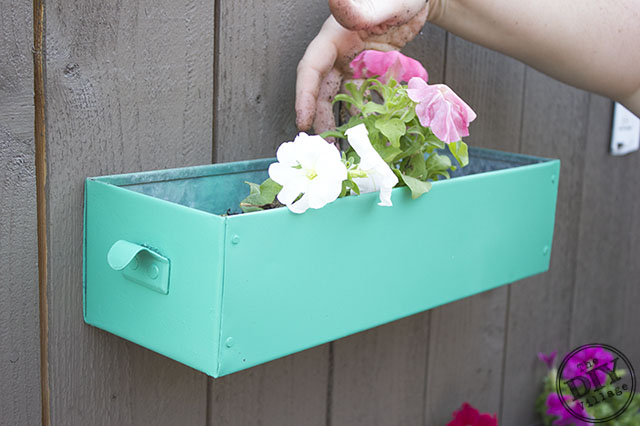
Install plants and whatever additional potting soil you might need. Water Plants in well to give them a good chance. The drawers can be removed for winter storage if desired as the Scotch Fasteners are good up to 1000 closures and are safe to use outdoors.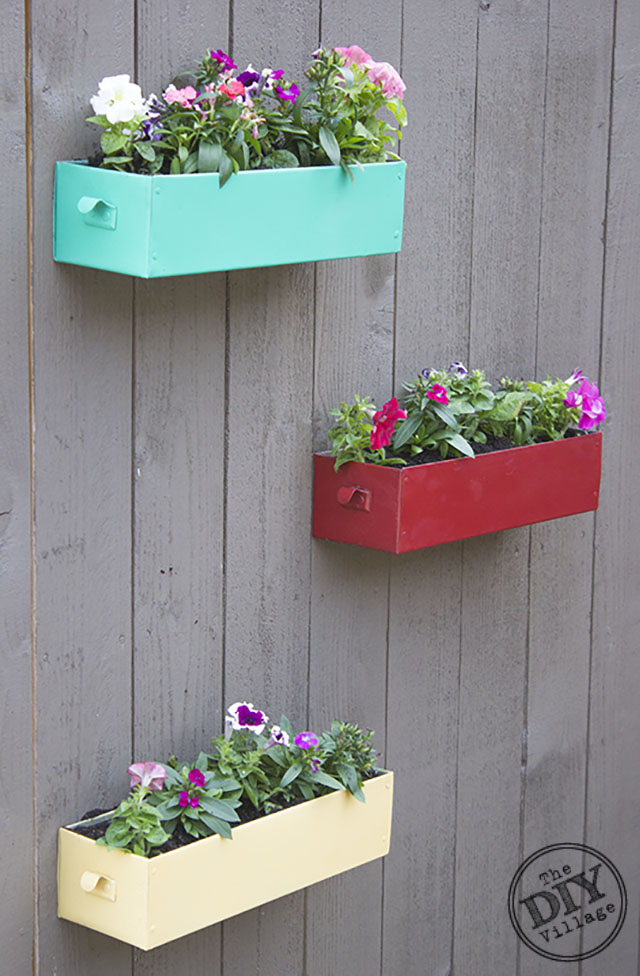
LOVE this DIY project…genius! Stumbled for others to find!
Brilliant use of Velcro ! Love the drawers!’
Great project! So great when items can be renewed to a new purpose. Would love to have you share your post at our link party #OMHGWW
http://twochicksandamom.blogspot.com/2015/07/oh-my-heartsie-girl-wordless-wednesday.html
Have a great day!
Love how you re-purposed these old drawers. And the instructions are so simple.
Very nice. Never would have thought to use Velcro. It says it holds up to 10lbs though, wouldn’t a pot with wet soil and plants weigh much more?
I would say if you filled the container all the way to the top with soil it might. Ours only have 2″ of soil with pea gravel for drainage. The containers themselves are very light and still hanging on the wall. If you plan on adding more soil than the 10lb limit for Scotch Fasteners It might be a good idea to secure them with screws.
these turned out so gorgeous, I love the colors!
Thanks girl! They are so fun and bright!
Great idea! Exactly what I need on my shed!