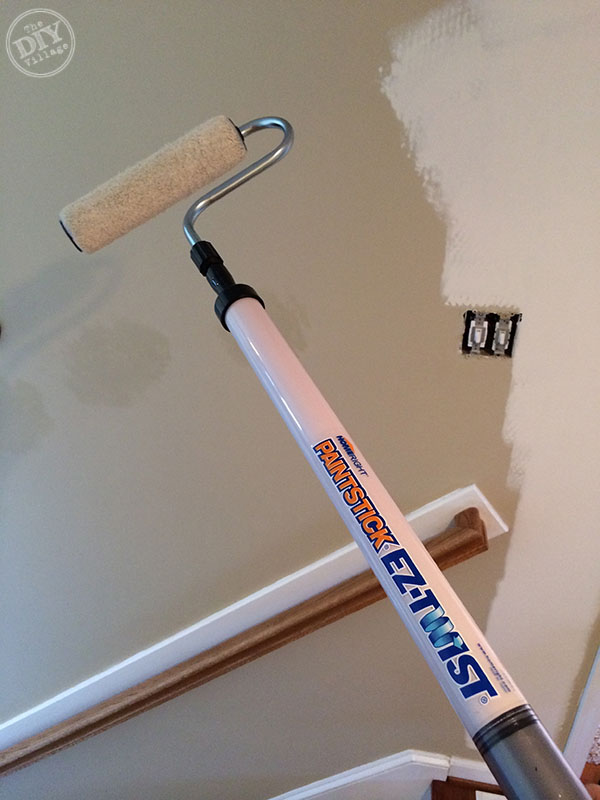
In the three years since we’ve moved into our home, we’ve managed to paint nine different rooms. Painting is always so time consuming, plus there’s always so much equipment to keep up with! Every time Jacque would assign ask me to paint another room, I’d dread having to wrangle up of my paint supplies. One thing I’ve learned through all of my painting experiences is that paint trays and dalmatians don’t mix…Yeah, you’re reading that correctly! On a few different occasions, our dalmatian, Fenway has managed to step in, spill, and track paint throughout the house, all tracing back to a paint tray! While Jacque and I were at a conference earlier this year, I saw a demonstration of a paint tool that looked to be the solution to all of my gripes. It’s called the PaintStick EZ-Twist. This paint “gadget” eliminates the need for paint trays, so no more dalmatian tracks! Plus, it has the potential to make tedious painting a quick and easier process!
The included fill tube is inserted in the paint and conveniently clips onto the side of a gallon paint bucket. 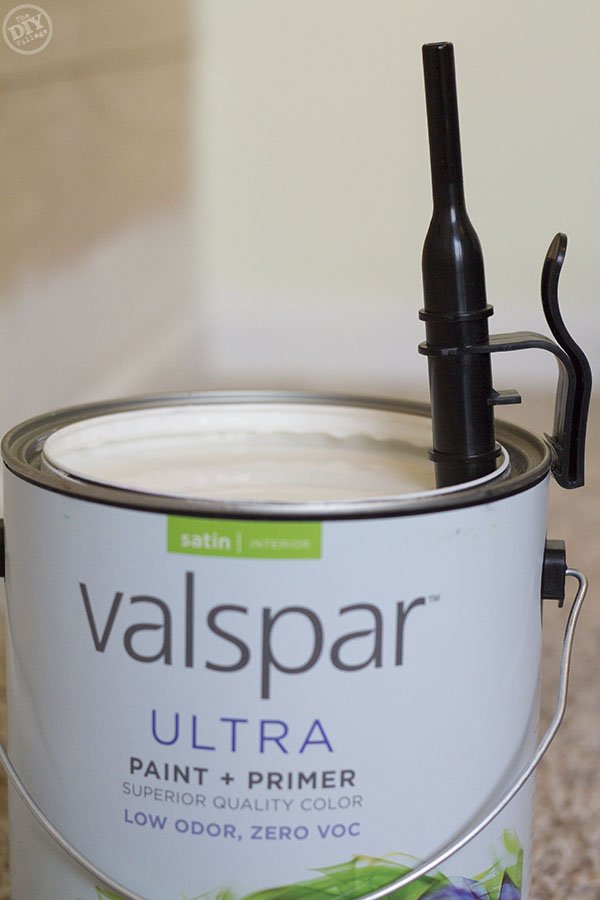
One end of the PaintStick has a small fill valve that fits over the fill tube. 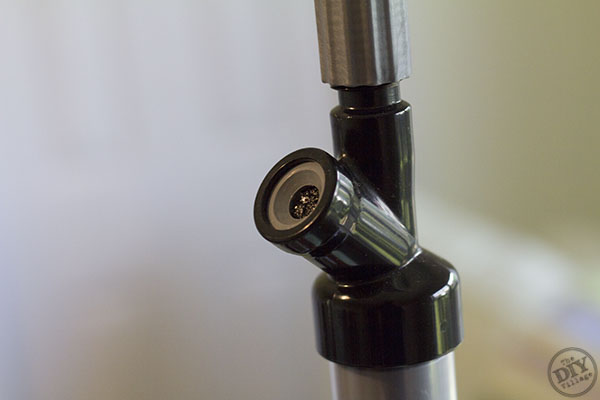
When the fill tube is snuggly in place, you’ll find a toggle switch on the handle. 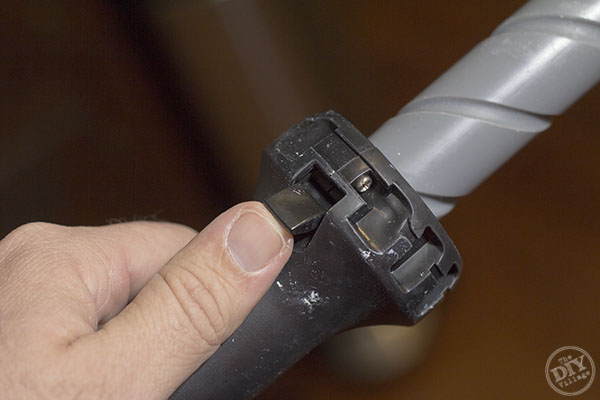
Move it to the up position which will allow you to slowly pull out on the end of the handle, creating a vacuum inside the tube and the paint begins to fill the PaintStick.
Move the toggle switch into the down position and twist the handle clockwise to advance to advance the paint into the roller cover. The first time using the PaintStick, it will take a good bit of paint to fill the roller end before you’ll begin to see paint.
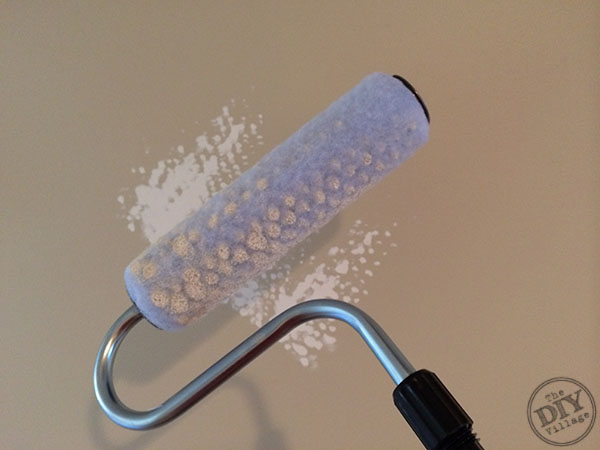
The roller cover looks the same as any other one you may have used in the past, but what you can’t see is that inner core of the roller cover is perforated to allow paint to move from the inside out.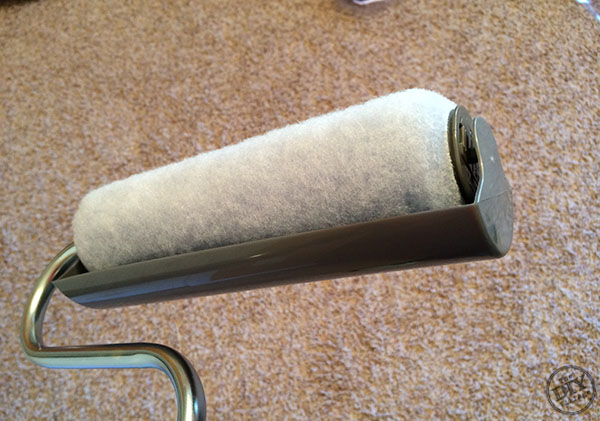
Thinking that I knew better than the product developers over at HomeRight, I chose to remove the shield from the roller. (Such a guy thing to do!) You can use the PaintStick EZ-Twist without the shield, but like with any roller you’ll definitely need to put down a drop cloth. (Learn from my mistake and leave the shield in place!)
So with the “how to’s” out of the way. I thought I’d show you how the PaintStick EZ-Twist actually worked for me and also share with you what I thought of it once I was done!
I gathered my painting equipment, which was quite a bit less than normal, and headed upstairs to the assigned hallway in need of a slight makeover.
The first time I tried drawing the paint into the handle it, I didn’t have the straw fully seated into the orifice, so I pulled more air than paint. I re-seated the straw and tried again, this time with full success!
I gave the handle a good number of twists before I saw paint beginning to saturate the roller. Then I began to roll the wall.
One thing I want to point out is that when the toggle switch on the handle is in the downward position, the only way the handle can be advanced is by twisting it clockwise. If the toggle switch is in the upward position, the handle moves freely. (So basically, having the twisting mechanism engaged prevents the user from accidentally pushing the handle in too quickly which could result in an uncontrolled, unintentional release of paint.
I was pleasantly surprised with how well the paint was covering and how quickly the painting process was going. I could see where it would be easy to actually apply too much, so I made sure to use a good amount of paint from the roller before twisting the handle for more.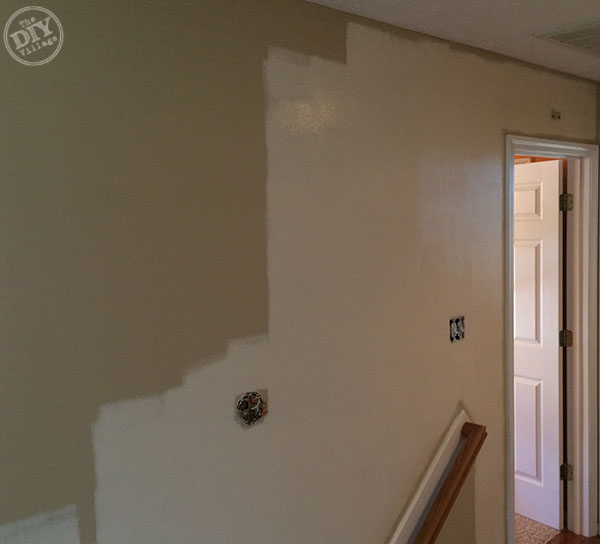
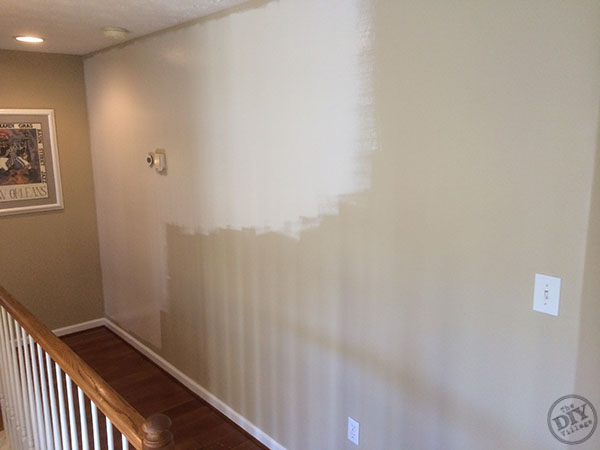
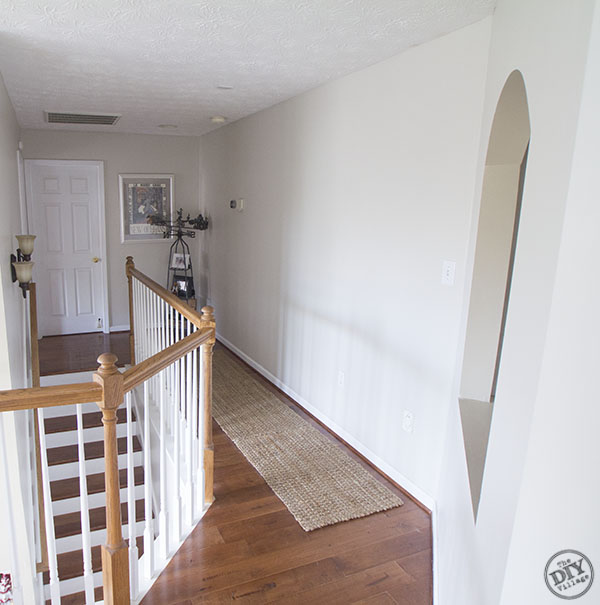
I was able to apply the first coat of paint on every wall in the hallway in less than 25 minutes. And truthfully, it looked better than any first coat, I’d ever applied!
I gave the paint plenty of time to dry than added a second coat. It took even less time than the first coat! Here’s how the hallway turned out!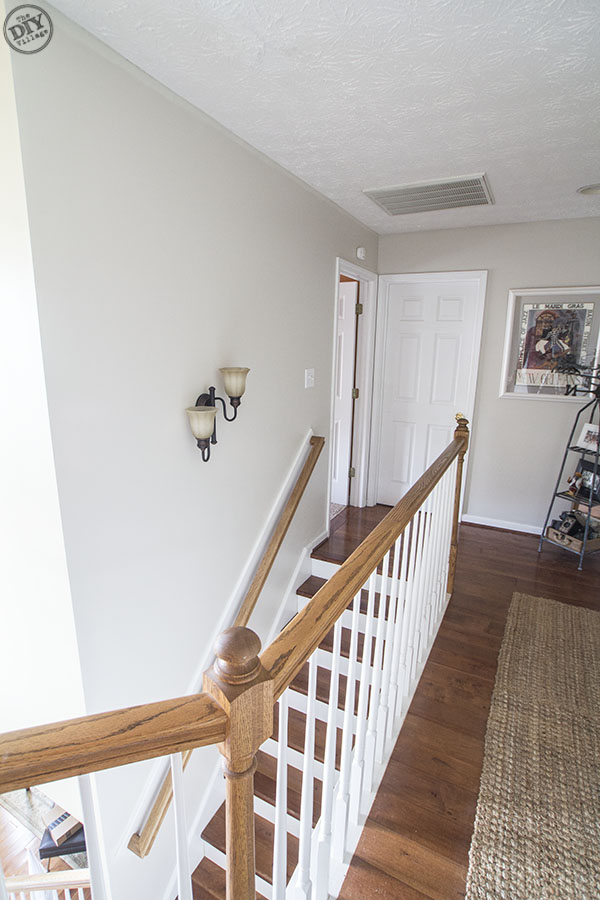
Now, I’ve read some reviews where people talk about how paint sticks waste paint, so I was a bit skeptical to see how much paint I’d be wasting. But again, I was extremely impressed with ease and effectiveness of the paint removal process, The unused paint in the handle can be put back into the paint bucket simply by reattaching the fill tube to the fill valve, but this time instead of pulling back on the handle, you push in. It allowed me to remove all of the paint from the tube and placed it back into the bucket!
Cleaning the PaintStick EZ-Twist is a simple process as well. HomeRight kindly goes through the steps for you in one of their video tutorials. You basically remove the roller cover and flush the paint stick. It only takes a few minutes. The one thing I’d say in regards to cleaning is that, like with all rollers, thoroughly cleaning them can be a bit tedious. They’ll still work well, but from a convenience stand point, since the replacement roller covers are available at Lowe’s, I’m more likely to clean the PaintStick EZ-Twist components, then just replace the roller cover.
So after having a chance to try out the PaintStick EZ-Twist, I happily give it The DIY Village seal of approval! That’s saying a lot, as I honestly only endorse products that I actually had a good experience with and that I would be willing to use in the future. I’ve seen the PaintStick EZ-Twist, it’s replacement roller covers, and even the QuickPainter Pad Edge Painter all available at Lowe’s, but don’t forget to check out the HomeRight website for their entire line of products!
Disclaimer: This is a sponsored post/review brought to you by HomeRight. However, that in no way influenced my review. The opinion found here within is my own.
Well, this might be just the ticket for my husband! He is suppose to start painting our house, but is so busy, and procrastinates. I wonder if this would help him get a move on? It sure looks like a neat product. Thanks for sharing your experience with it, the tips will help.
Debbie 🙂
That looks pretty cool! I probably would have pulled off the shield, too… just so you know it’s probably not your being a guy! haha!
I can’t wait to give this a try! This makes painting so much easier!!!
I like the painting process but I cannot get the roller off to clean it. I followed the instructions but I still cannot remove the roller.
If you haven’t already try emailing the folks at HomeRight they will be able to help you. info@homeright.com or fill out their contact form on their Contact us page on their website. They are usually very helpful.
You might have mentioned that the prep (taping, brushing borders, putting down drop cloths, etc.) is the REAL part of painting.
Rolling the paint is the easiest part of the job, with or w/out this device, which looks GREAT!