I know it has been a while since I have posted but to be honest things are NUTS around here with the early arrival of our little Pumpkin, Josslyn! Because I am so far behind I am very excited to have Jocie here with us again from One Project Closer – The Better Half.
Its been awhile since I visited you guys here, at the DIY Village. If we haven’t met, my name is Jocie (pronounced Jah-see) from One Project Closer. I love to DIY and make our house thrifty and fabulous, so in addition to sharing the best home improvement savings, I also blog about DIY decor, crafts, and recipes. You may have also met my hubby, Ethan who shares the more hard core DIY projects that usually involve a lot of power tools. We hope you’ll stop by, say hello and follow us on Facebook, Instagram, and Pinterest!
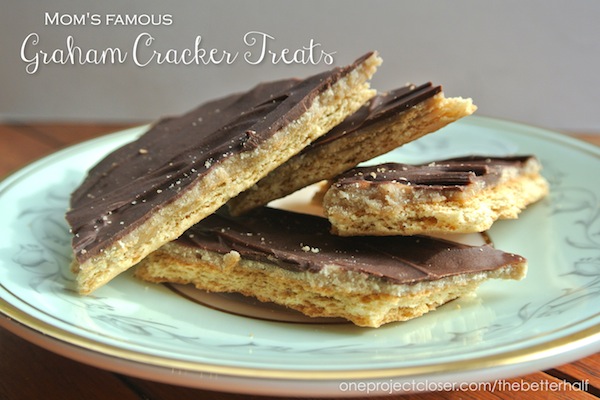
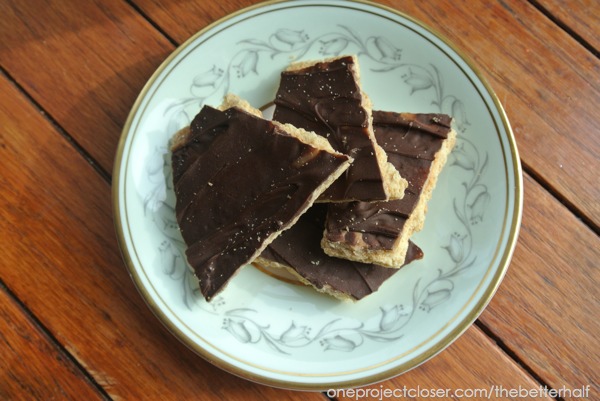
One of my all-time favorite recipes is my mother’s Graham Cracker Treats! In fact, whenever we visit, Ethan starts rummaging in their freezer in hopes of striking gold. It’s that amazing!
My mom is a pretty amazing cook and baker, and I’m making my own way but am no cooking genius. I tend to stick to the easy stuff, like box mixes and breads…you know, things that are hard to mess up. But this recipe is so simple and difficult to mess up. Its always a hit and I can whip it up on little notice with little effort.
If you make this, I dare you to try and eat just one. Let me know if you can, I know I can’t!
Graham Cracker Treat Recipe
Ingredients:
- 3/4 cup Brown Sugar
- 1 stick of butter or margarine
- 13 graham Crackers
- 6 – 8 oz Semi Sweet Chocolate Chips
Directions:
- Lay out graham crackers in jelly roll pan or 10×15 cake pan.
- Pre measure chocolate chips.
- Over medium heat, bring brown sugar and butter to a boil, constantly stirring. Once frothy and light in color, heat another 2-3 minutes.
- Remove from heat and immediately pour over graham crackers, then spread even with a knife.
- Quickly sprinkle chocolate chips over the toffee.
- Once the chips appear glassy, spread with a knife. If slow to melt, you can place under broiler on LOW for a minute.
- OPTIONAL: Top with seasonal sprinkles or nuts.
- Cool in fridge then break apart.
- Try not to eat the entire pan (I always get this step wrong).

Hope to see you again soon and thanks for reading along! Don’t forget to check One Project Closer out on Facebook and Pinterest!
Thank you again Jocie for being with us today! I can’t wait to get out and try this fabulous recipe out for myself … unless you were wanting to send some to me that is!

These look SO yummy and I love no bake treats – pinned!
Oh yum!! I know a couple little boys (and one big one!) who would go crazy for these!
Thanks so much for having me guys!!!
Those look fantastic! Yumz!
Yum! My boys would love these!!