Hey guys long time no see!
I’ve been under the weather lately but am so excited to jump right back in and get this party started again!
I’m so excited to share our special guest with you today, Jocie from OPC The Better Half.
Hi, I’m Jocie (pronounced Jah-see)from OPC’s The Better Half. Just like Matt and Jacque, I am part of husband/wife blogging power-house of awesomeness (I’m the wife part, lol). Ethan, the hubs, runs One Project Closer (OPC), a site dedicated to providing free guides to help you DIY like the pros, in addition to giving you the most up-to-date coupons from Home Depot, so you can keep on doing the projects you love. OPC’s The Better Half (since I am Ethan’s better half), is for the softer side of DIY. I know how to use the power tools but only break them out if decor in involved!
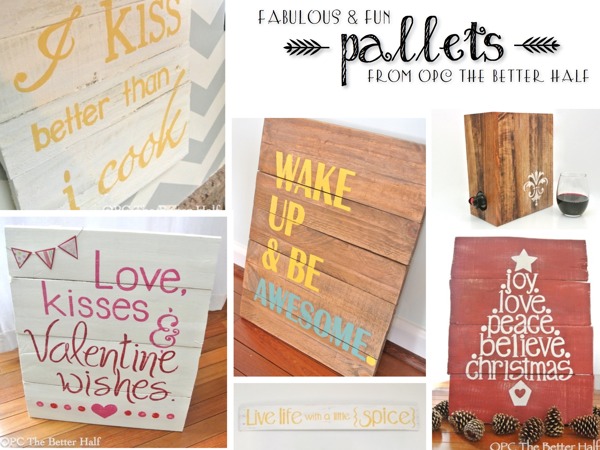
I love making pallet signs, not just because they are the trendy thing, but also because they are a super cheap way to add a lot of personality! I know it may look hard, but it is way easier than you think. Even if you aren’t into the pallet signs, pallet wood can be used for gardens, wine racks, benches, or even our OPC signature boxed wine holder.
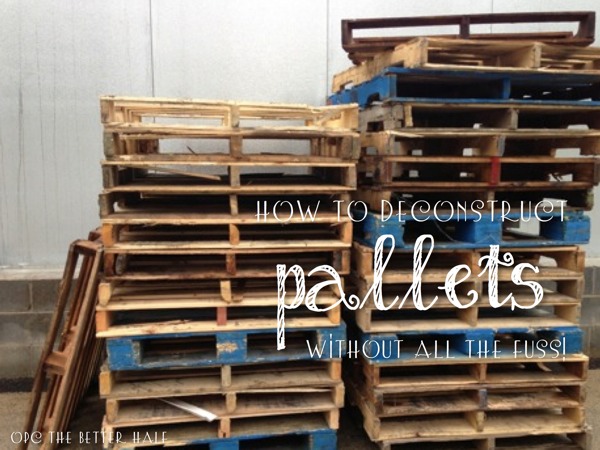
Deconstructing Wood Pallets
This goes very quickly, especially if I am cutting up several pallets at a time and storing wood, since a chunk of my time is spent setting things up and cleaning.
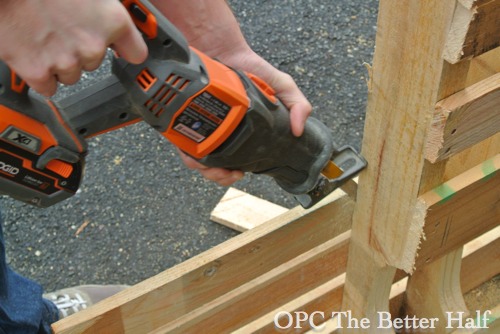
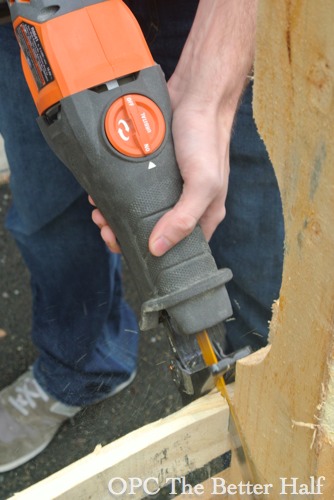
I once upon tried using a crow-bar to deconstruct pallets but that is SUPER slow. Avoid that at all costs! Instead I rock it using my reciprocating saw. The bigger the saw, the better!
There’s basically two ways to cut the wood:
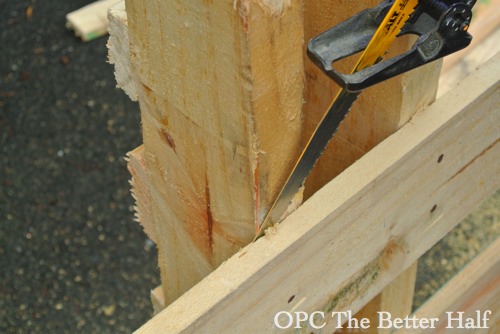
First, you can cut the nails between the support beams and the planks. It takes a little more time and effort, but the length of the wood is preserved if you want to make bigger pallets projects.
Tip: When using a reciprocating saw, make sure the shoe of the saw is pressed firmly against the wood to reduce vibration and increase control.
The second way of cutting the pallet is to cut on the insides of each of the support beams. That is SUPER and usually pieces end up about the same length.
After cutting the wood, I sometimes remove the nail heads, although sometimes I keep them in the wood for a more natural, rustic look.
Building a Pallet Sign
Materials Needed
- 2 Plywood strips the height of the pallet
- 3/4 inch Wood Screws
- Impact Driver or Drill/Driver
- Table Saw or Circular Saw
- Orbital Sander
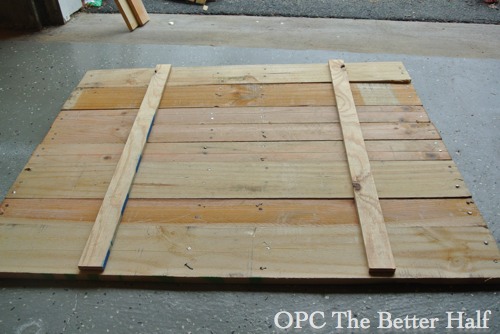
Before I do any cutting or nailing, I pick out my wood and organize it on the ground, planning out how I want my pallet sign to look. I then face the wood upside down on the ground.
Then using scrap pallet wood, I place two pieces perpendicular on the back of the wood.
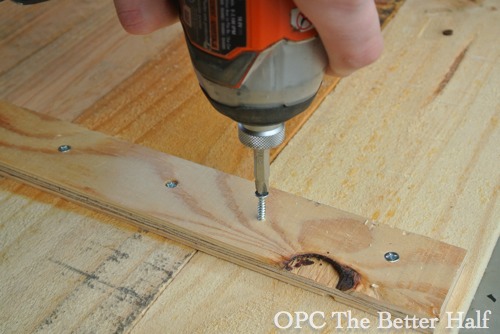
Next, sing 3/4″ wood screws and an Impact driver, I placed two screws in each plank of wood moving across the wood bracket.
It really helped to push one side of the pallet wood against a wall while I put the screws into place so that the planks were pressed tightly together.
Next, I bust out Ethan’s table saw to cut off any uneven edges. For more rustic signs, sometimes I leave the edges rough and uneven.
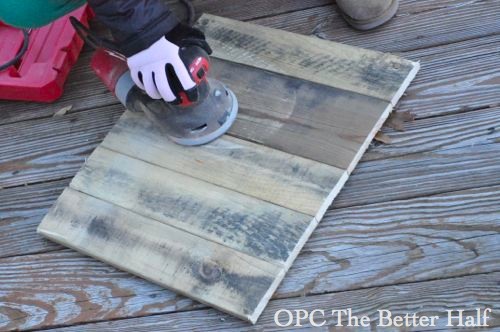
Again, this next part is optional. For a rustic pallet, I will leave the front rough and unpolished. But for a cleaner look, I use the orbital sander to clean up the pallet. I have hand-sanded in the past but it is so slow!
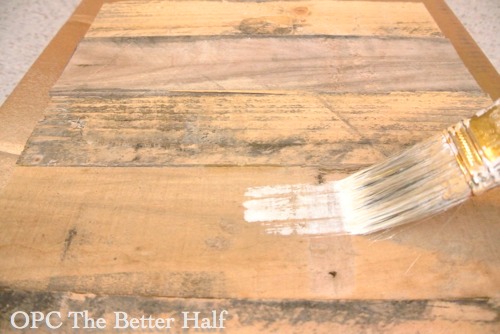
Before painting the pallet, I wipe the wood with a damp cloth to remove any dust or debris. I sometimes will leave the wood natural, and other times I have stained or painted the entire wood. All look great!
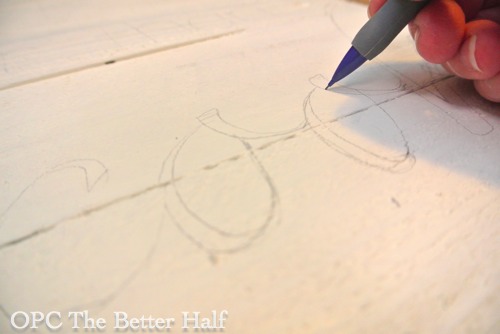
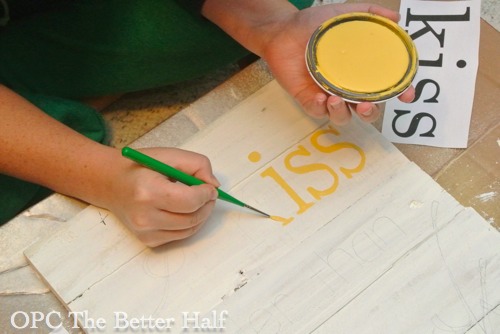
All of my signs I have free-handed because I feel like it gives me the most control and cleanest lines. I have used stencils before and not been as happy with the look. Carbon paper is a great way to reproduce a design onto the wood if you don’t feel comfortable free-handing it.
After the sign is completely dry, I use sand paper to sand the entire pallet. It’s that easy and costs almost nothing! YAY!
For more fun projects and crafts, visit me at The Better Half! You can also connect with me on Facebook and Pinterest. Hope to see you soon!
YAYY!!!
Anyone else inspired to tear into an old pallet?
I know I am, now if only I can get Matt to take them apart for me and I am in business!


While traveling recently, I saw a WHOLE tracker trailer truckload of pallets being transported…I could only laugh when my first thought was: “now, THAT is a pinterest DREAM!” Very cool 🙂
I LOVE Jocie’s pallet art. She is so talented.
Love the pallet sign! We’ve done so much with pallets but have never made a sign. Hope your feeling better!
I just LOOOVE pallet and did a couch last week, thanks for these tuto, I guess it will be usefull for a later project
Question… How did you stabilize the pallets while you were cutting them? I’m trying to cut them right now, but don’t feel like I’m doing it the safest way!!
haha good question! Certainly with a less powerful reciprocating saw, it is very hard to stabilize the pallet and there is a whole lot of shaking. I’m not gonna lie, I may have cut a piece out of our deck in the past while trying to cut pallets (don’t tell the hubby). In a pinch, I will lay it in the yard and use the ground to stabilize. But with a more powerful saw, the just hold the pallet with one hand and cut with the other. For tough spots, my hubby held the pallet while I cut (good thing we weren’t in a fight, or it would have been a temptation. lol).
love this! can’t wait to do it! what’s the paintbrush you are using? and where do you get carbon paper?
wow thanks so much. I use my Cricut to make the stencils and was looking for an easy cost effective way to make the wood.
Thanks so much