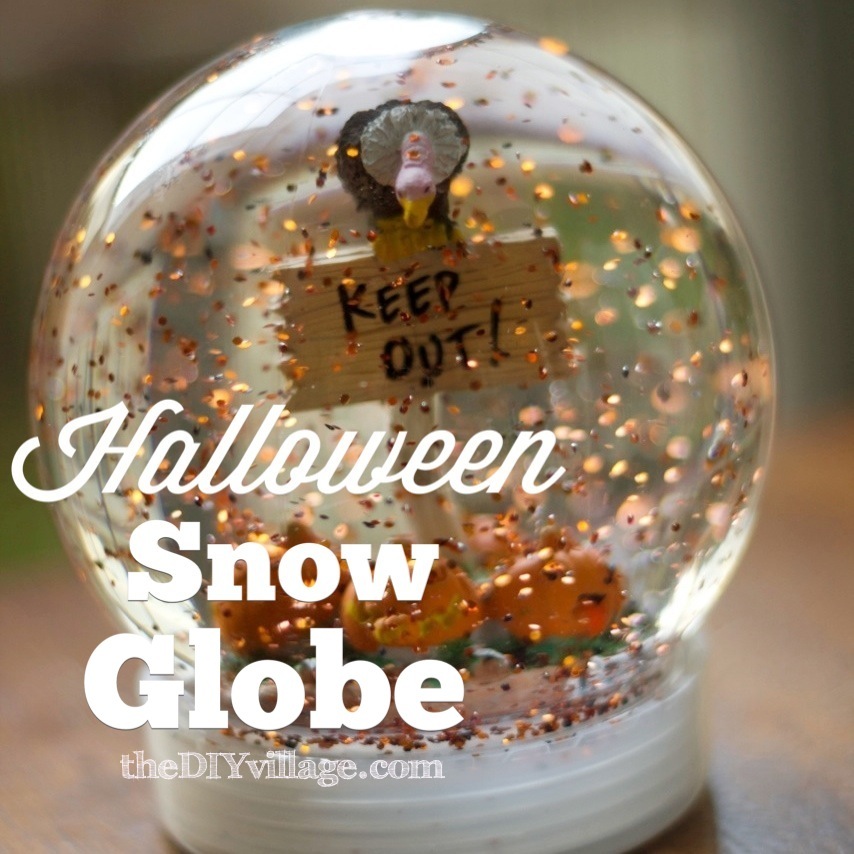
On a recent trip to TJ Maxx Matt and I came across these really cute Halloween snow globes. They were around $ 10 each and even though that may be quite less than you would pay at a department store for them I knew that we could make a snow globe much cheaper! Plus it’s a lot more fun to make your own decorations, don’t you think?
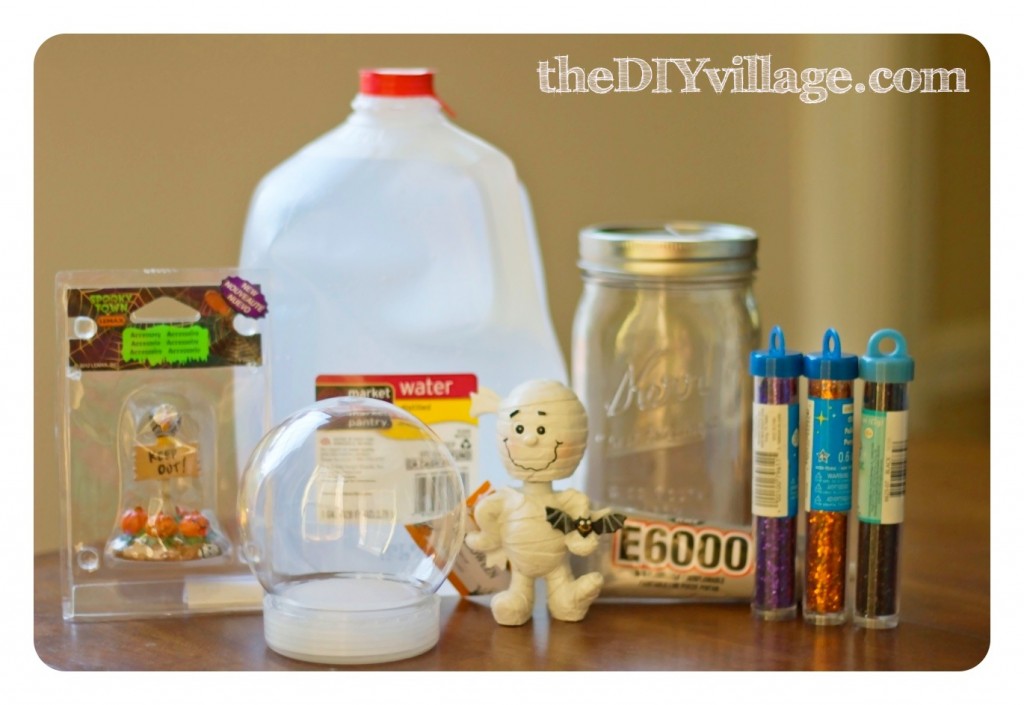
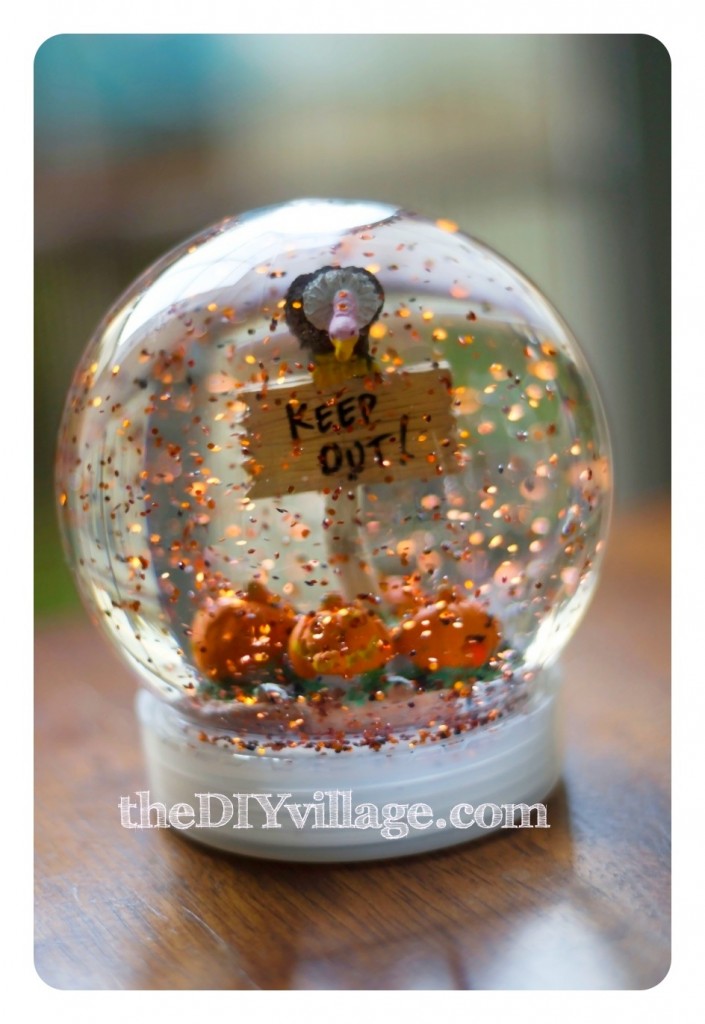
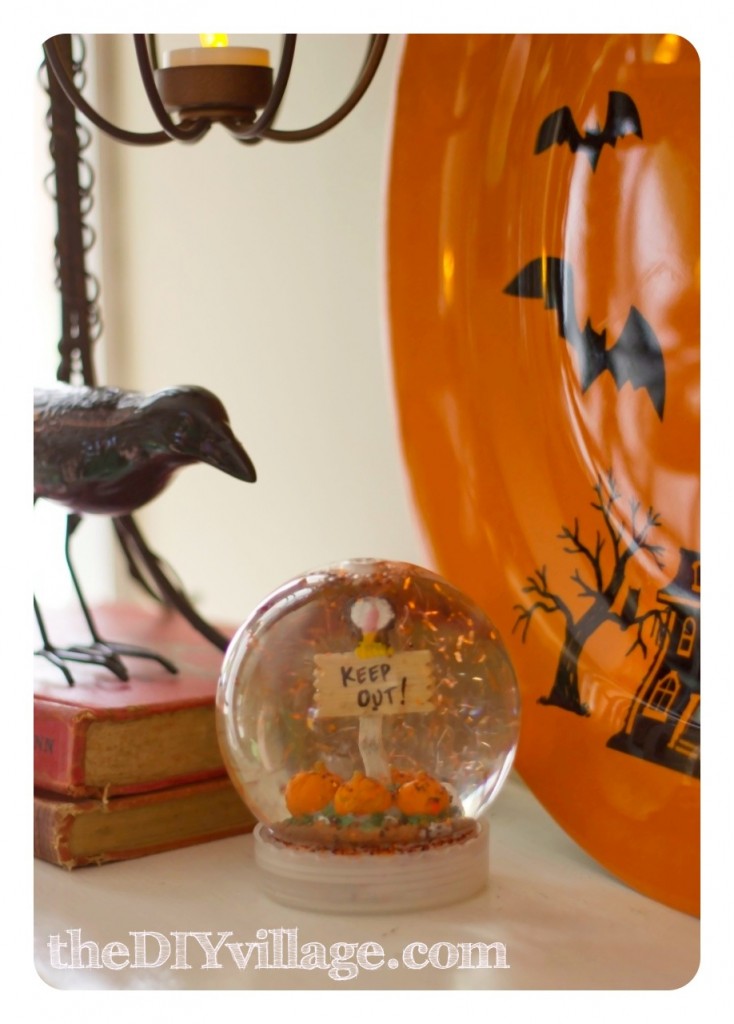
While we were at the craft store looking for a jar to use for the halloween snow globes we ran across these really cool “Shatterproof Water Globes”. So I grabbed one of those and Matt picked out a mason jar. We each picked out something we would like to put inside our snow globes (focal piece), while choosing make sure that your item will fit through the mouth of your container. Once you have that figured out gather your supplies.
-Distilled Water
-Shatterproof Globe / Jar
-Focal Piece (Resin, Plastic, or Glass avoid metal due to rusting)
-Glitter or Diamond Dust
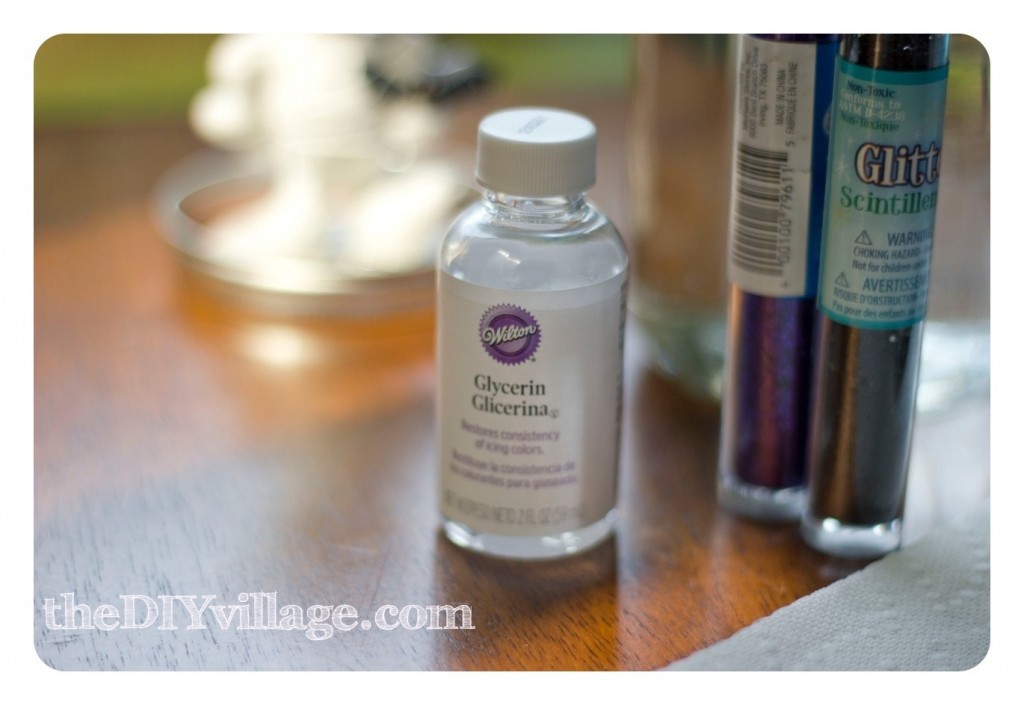
-Glycerin
-E-6000 (clear)
-Paper Towels
With your supplies gathered you are ready to make a snow globe.
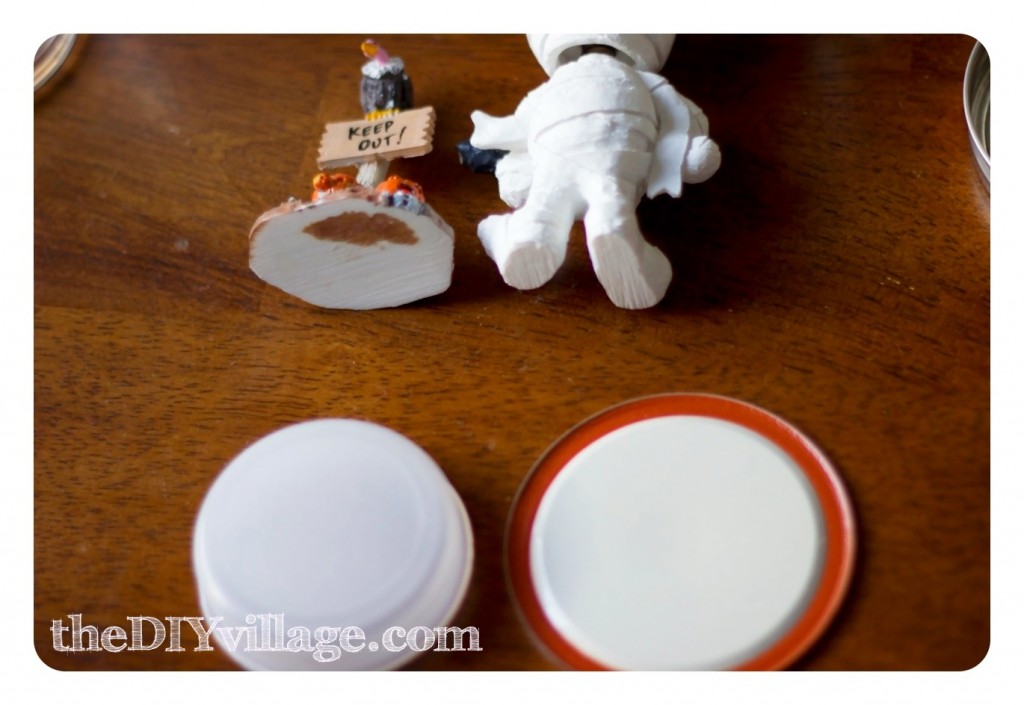
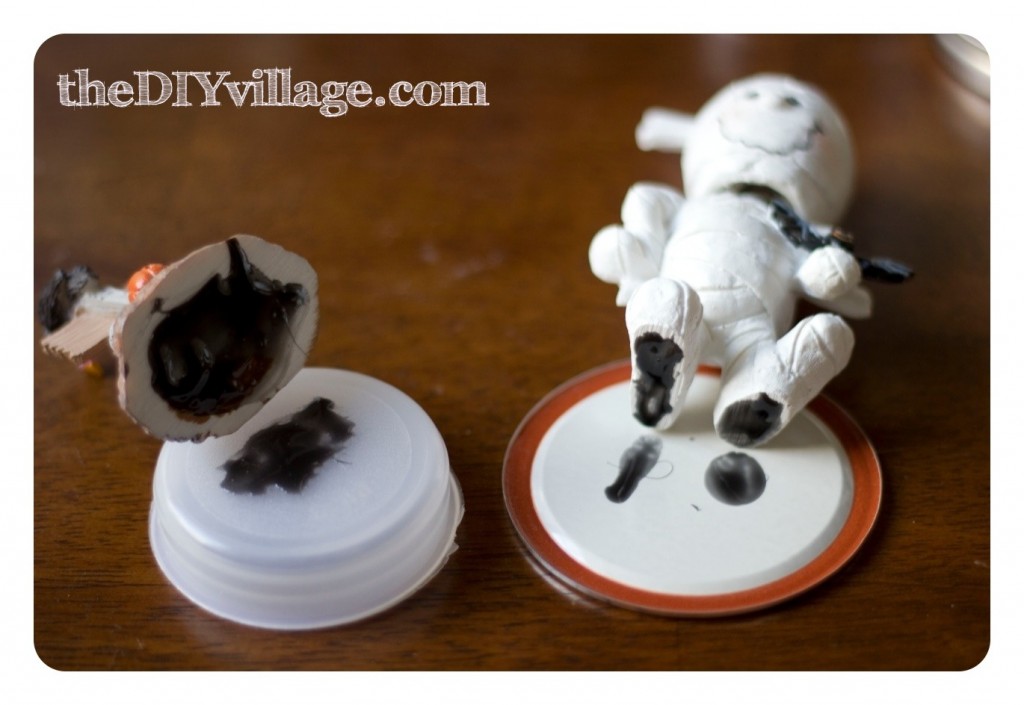
Take apart your containers and get your focal piece ready for gluing. If your surface is non porous you may need to rough up the area slightly with sand paper.
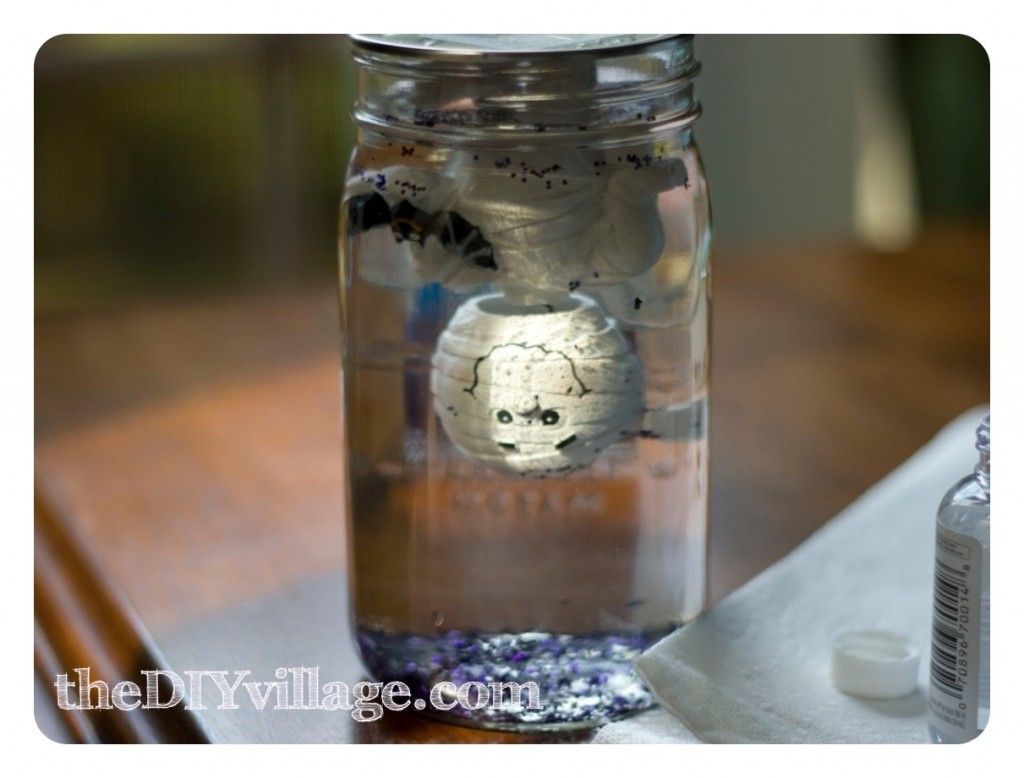
Place glue on the bottom of your piece in a thin layer, press against the base where you will want it to stick and pull it apart. Let the glue set up for about 2 minutes and re-attach the piece to the base. You can use rubber bands to hold the piece firmly to the base and let sit for 24 – 48 hours. (You will want to use CLEAR E-6000 I used black only so you could see what I was doing better)
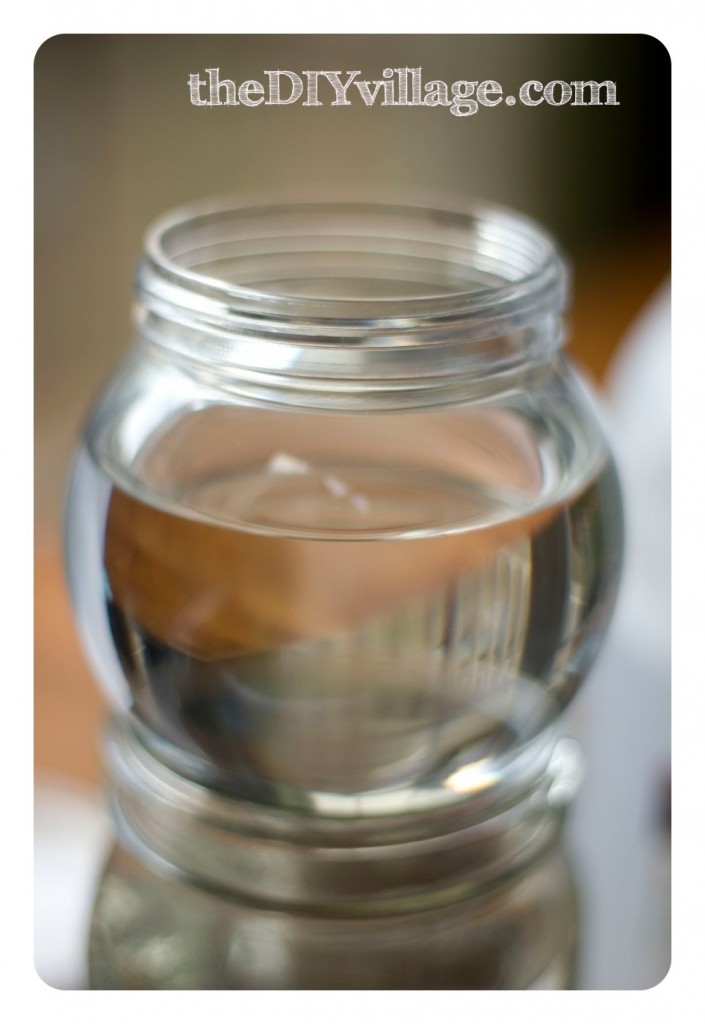
After everything has had a chance to set up go ahead and fill your jars with distilled water being careful to leave enough room for displacement of the water once you insert your focal piece.
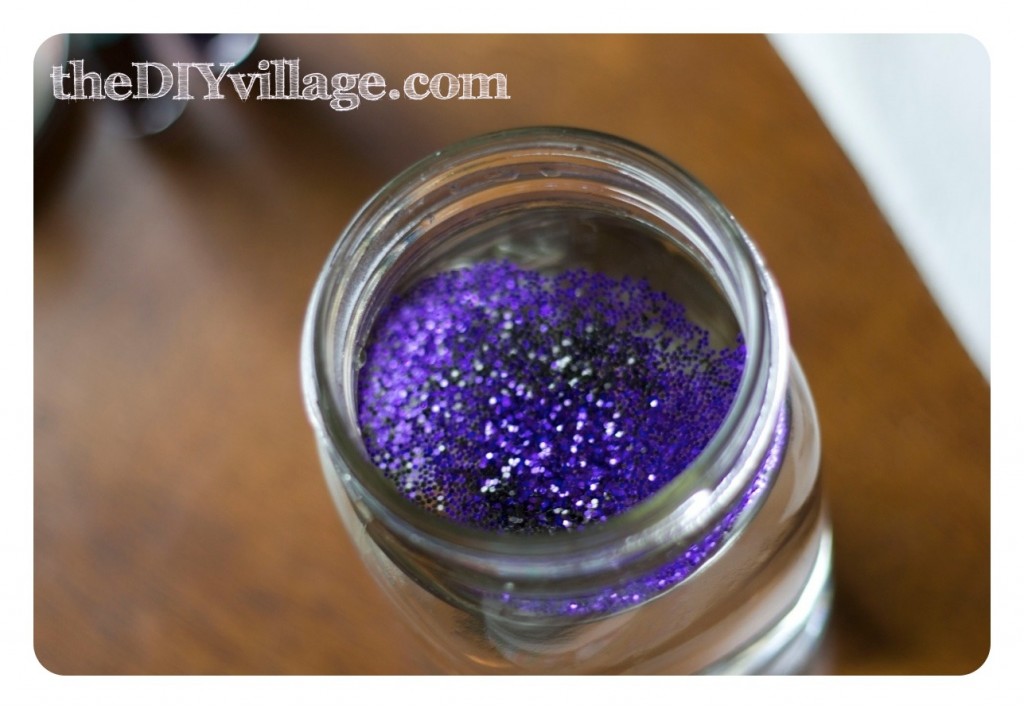
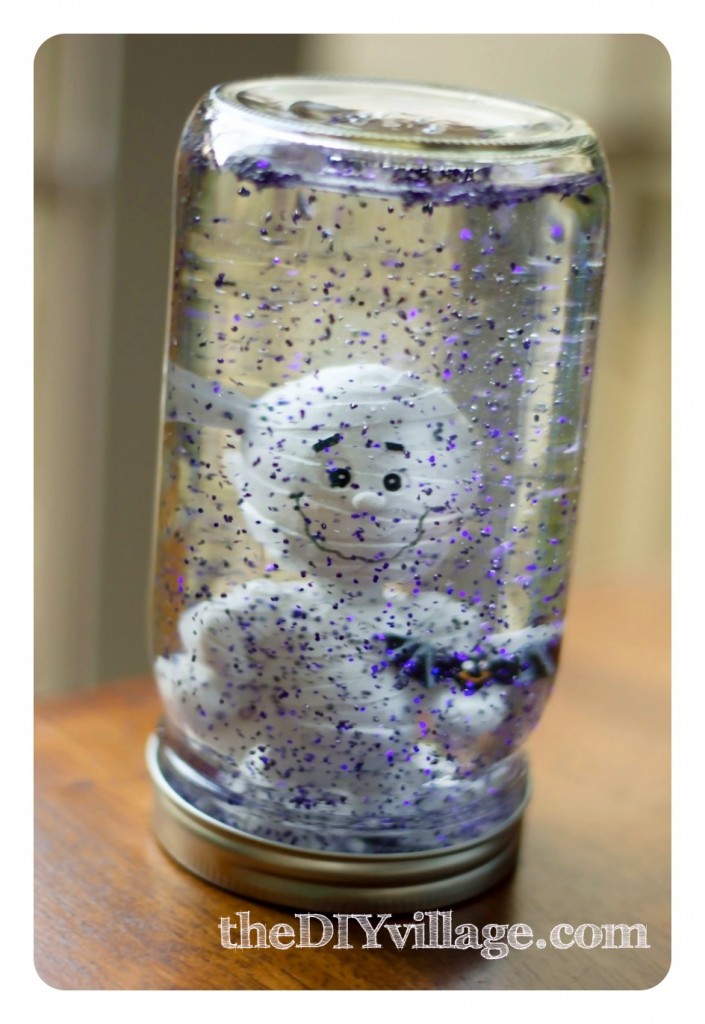
Next add your glitter or diamond dust. I started out putting in just a little bit, I figured it was much easier to add more than it is to take it out. For mine I mixed Orange and Black glitter and Matt chose Purple and Black glitter for his.
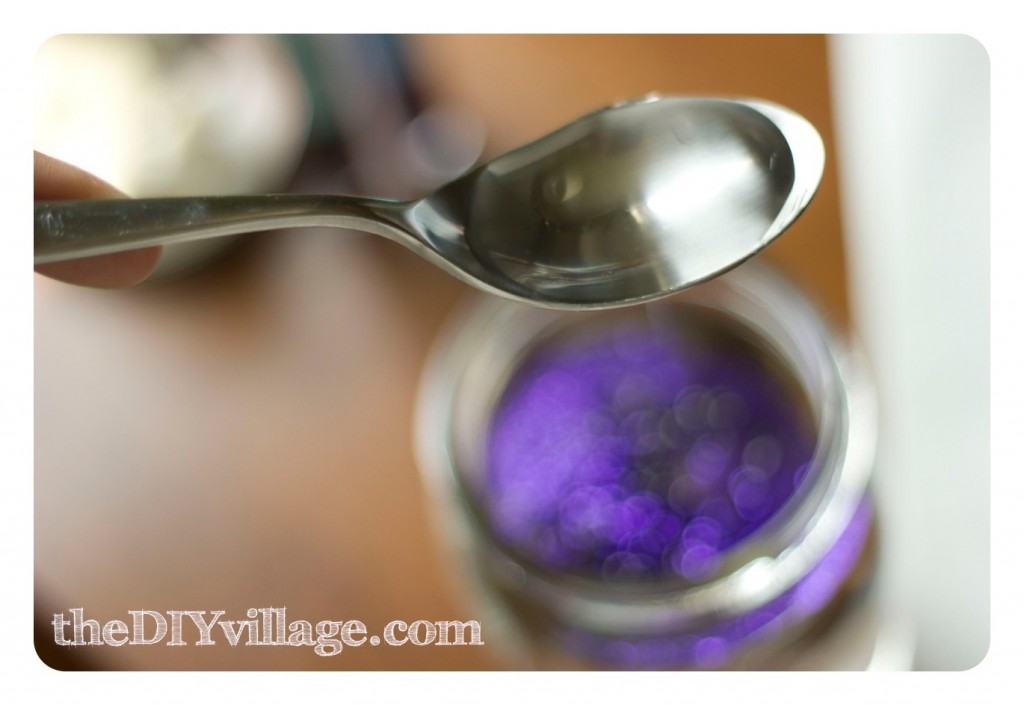
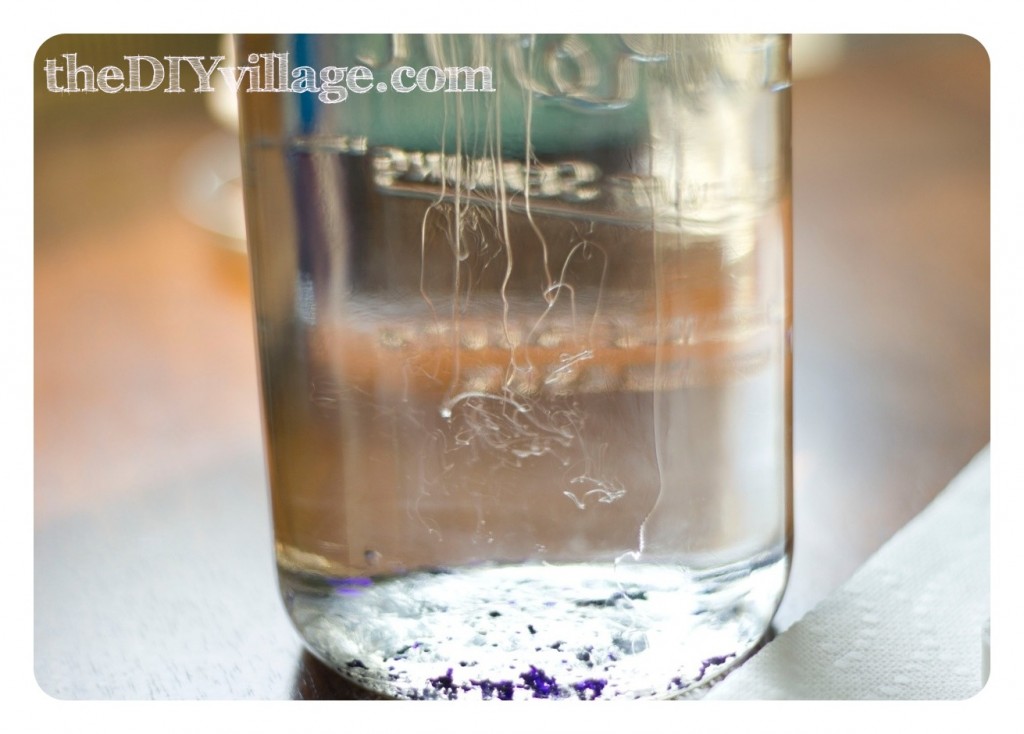
Once you have the glitter in, it’s time to add the Glycerin. The Glycerin will help your glitter to fall much more slowly. Some people have suggested using a few drops so I tried that first and nothing happened, so I tried more and ended up using 1 tablespoon in the quart jar (4cups) and 2 teaspoon in the Shatterproof Globe.
It will look really cool when you add it to the water. If you are doing this with children I can promise they will love it!
Stir your glitter and glycerin mixture and then invert your focal piece and insert it into the jar and tighten down the ring band. On the Shatterproof Globe add the screw top to the globe.
Now your snow globe is ready for shakin’! If you like you can decorate the base with a trim ribbon or even spray painting the bottom for a more finished look. If you are concerned about water leaking out you can add a thin coat of E-6000 to the base of your jar when you seal it up!
How cute are these? I loved them so much that I had to throw them up on the mantel before I could even finish the bottoms!
Easy, Right? Are you ready to try and make a snow globe for your home? Remember they don’t have to be halloween you can make one for any holiday, just change up the focal piece and glitter colors!
If you are looking for more fun Halloween projects check out our Sparky Spider Pumpkin and our Easy Halloween Wreath with Glitter Pumpkins .
Happy Halloween !!!
This is seriously the cutest little snow globe ever! Thanks for sharing your creative idea with the newbie party. Have fun:)
Thanks Debbie, they are hard to walk past without giving them a good shaking!
Those are super cute!!
PS-I love anything with GLITTER 🙂
Thanks Shannon! Good thing you love glitter because I have been obsessed with glitter this fall! <3
What a great idea! Your snow globe looks awesome!!!
Thank you Maria!
Im inspired to want to try these! I’m pinning your beautiful globe.
<3 Christina at I Gotta Create!
Wildly Original linky party is open
Thanks Christina and thanks so much for the pin!
Wow! You did a great job here…..so simple and cute….Love it
Thanks Maxie!!!
These are so cute!! I’ve pinned these so I can make something like this for Christmas. Love them.
I found your site through Pinterest, through the Saturday Social at Jaderbomb’s blog. And I’m now following you, love your site.
Debbie 🙂
So cute!! What a fun project — kids would love it! Thanks for sharing on Busy Monday.
LOVE THIS! Featuring you tonight as long as the weather cooperates ;o)
Thanks for linking up!
Stacey of Embracing Change
Thank you so much for the Feature Stacey! Hope you are safe!
OMG I love it! How fun to make your own snow globe, fabulous! Thanks for sharing at The Fun In Functional!
Thanks so much Jessi, I highly suggest trying one sometime they are so easy to make!
Jacque–Love your snow globes! Perfect for any holiday!
gail
Thank you Gail so glad you like them!!!
Hi, these are so pretty! Great idea to use for fall.
Wondering where you bought the snow globe featured in the first picture? I’ve been looking all over, and the pickings are slim for that type, it seems. But I’d love to have a true globe, along with some mason jar styles.
Yes, please share which store you bought the plastic globes from. I’m looking all over & can’t find anything that seems like it would work.
I picked the globe up at Michaels around this time last year. Hopefully they have them again! Good luck!
I really love this idea – and the result is really, really great! 🙂
Have you a hint for me where I could find a nice round globe like the one for your pumpkin scene? I really would love to try out your guide, but I prefer the traditional round shapes.
Greetings, Cassiopeia