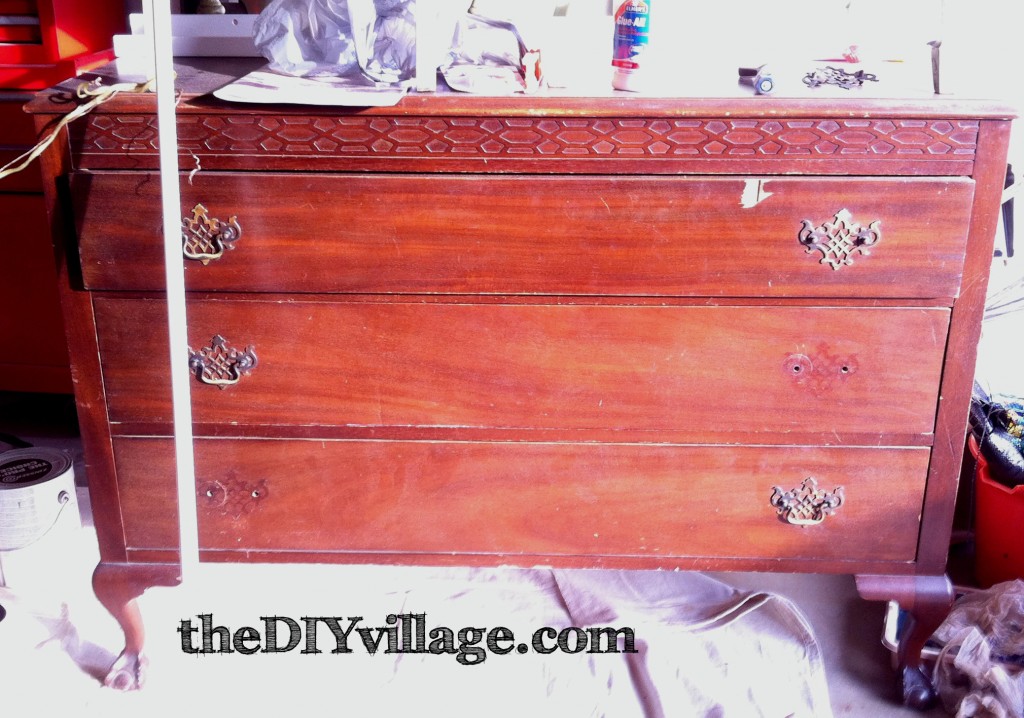
Have you ever found the perfect piece of furniture only to find that it’s not so perfect? While we were scouring Knoxville for project pieces, Jacque found a gorgeous dresser in need of some TLC. It had this beautiful honeycomb design on the face and these absolutely gorgeous claw feet…But it also had some imperfections that would need to be dealt with. The top surface looked to have what I thought my be some water damage in a small area, there were gouges, cracks, and indentations on the drawer fronts, and there were places that were in desperate need of re-gluing as well. As you may have come to learn about Jacque and I, these are exactly the pieces we look for. They’re challenging! This would take more then some sanding and a few coats of paint to restore this beauty!
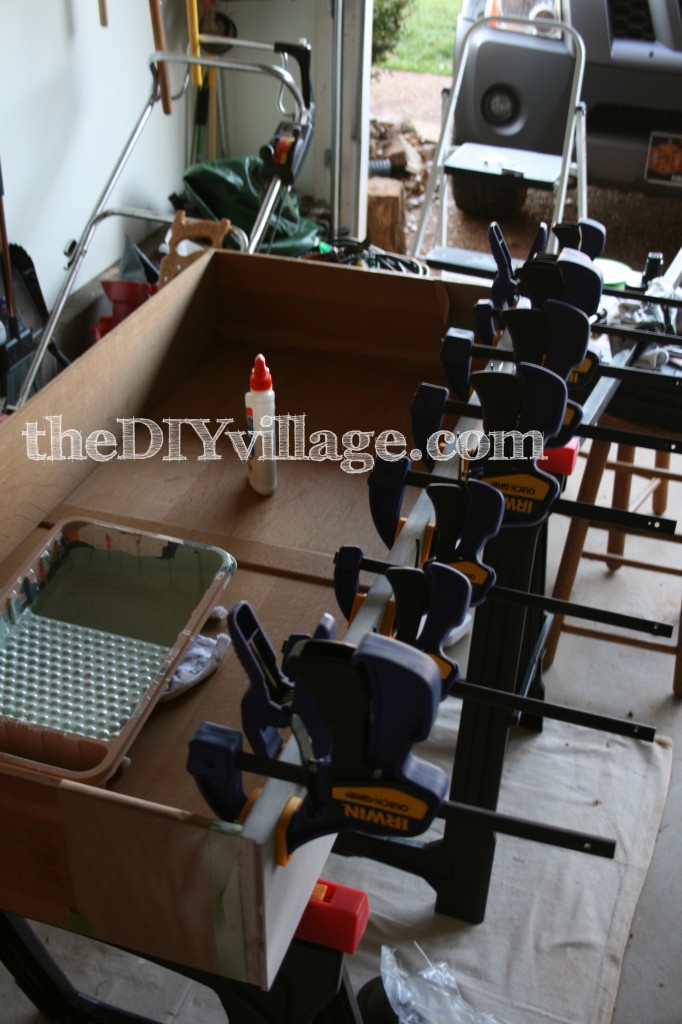
One of the first things we did was re-glue all of the drawer fronts. Not too difficult a task, but we did take some time to make sure that there was good adhesion across the entire drawer front.
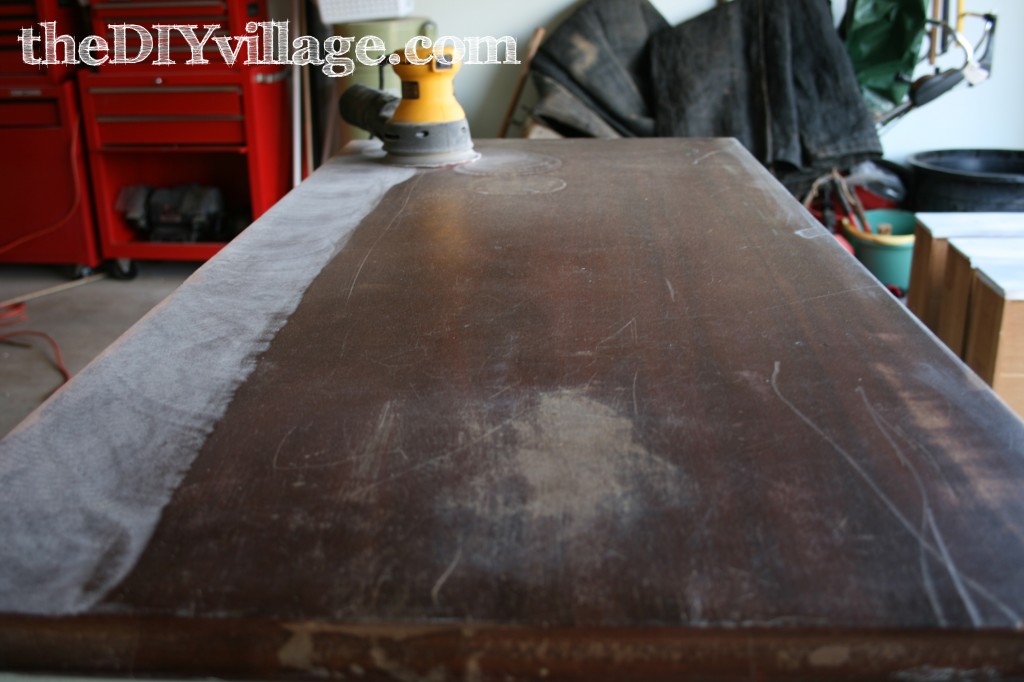
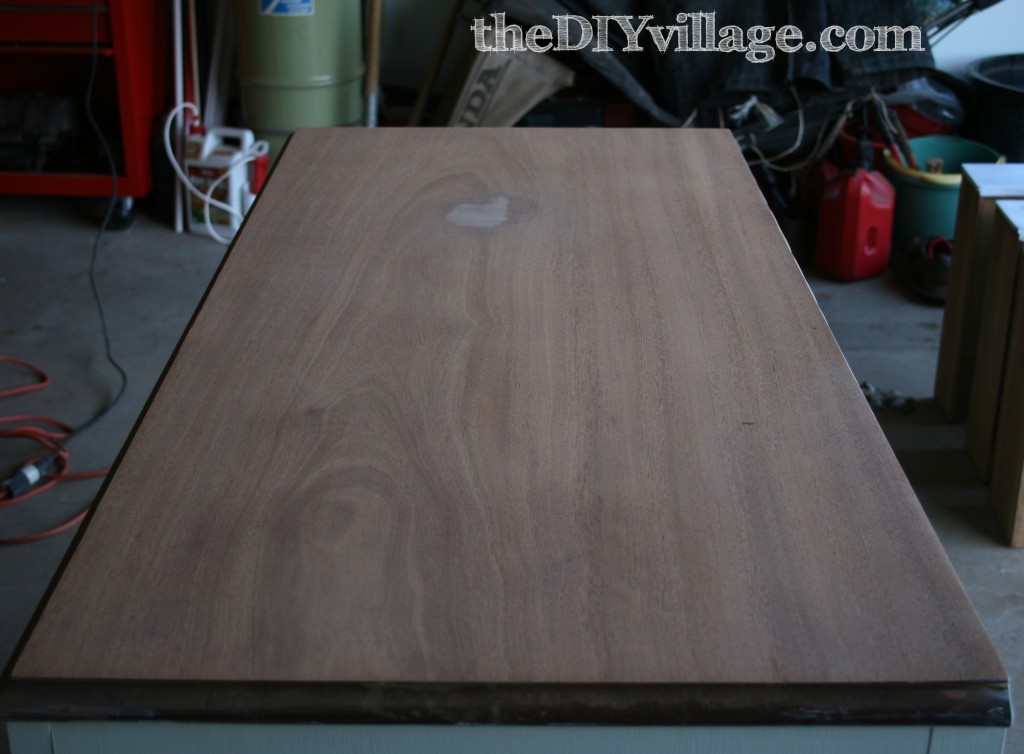
While the glue was drying, I began to work on the top of the dresser. Since I suspected water damage, I thought it best to sand everything down to bare wood and really see what we had to work with.
While sanding on what I thought to be the damaged area, I found about a 4 inch circle of very brittle wood. It wasn’t too terribly bad, but there was a noticeable depth difference in it and the rest of the dresser surface. This area would need to be filled before I did anything further on it.
Once the glue had dried on the drawer fronts, I decided to prep the imperfections on them for repair as well. After a quick sanding, I grabbed some wood filler that I had on hand and proceeded to fill the gouges and cracks with it. I’ve never been a big fan of wood filler, as I ‘ve always felt like it dries too brittle. But, it’s what I had on hand, and as far as I knew, I didn’t have any other options. I waited for the repaired areas to cure and began sanding them down flush with the surrounding surfaces. Once I was done sanding, I went to move one of the drawers and accidentally dropped it. And you’ll never guess what happened…The filler cracked and a piece broke off and fell onto the floor in front of me…Just like I said…too brittle.
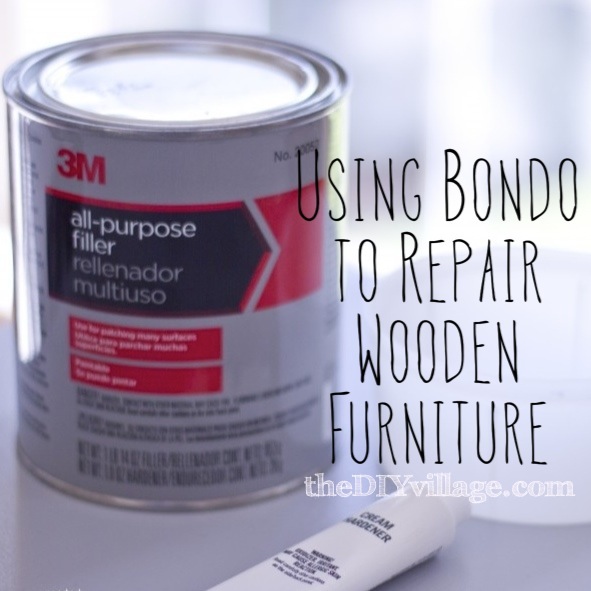
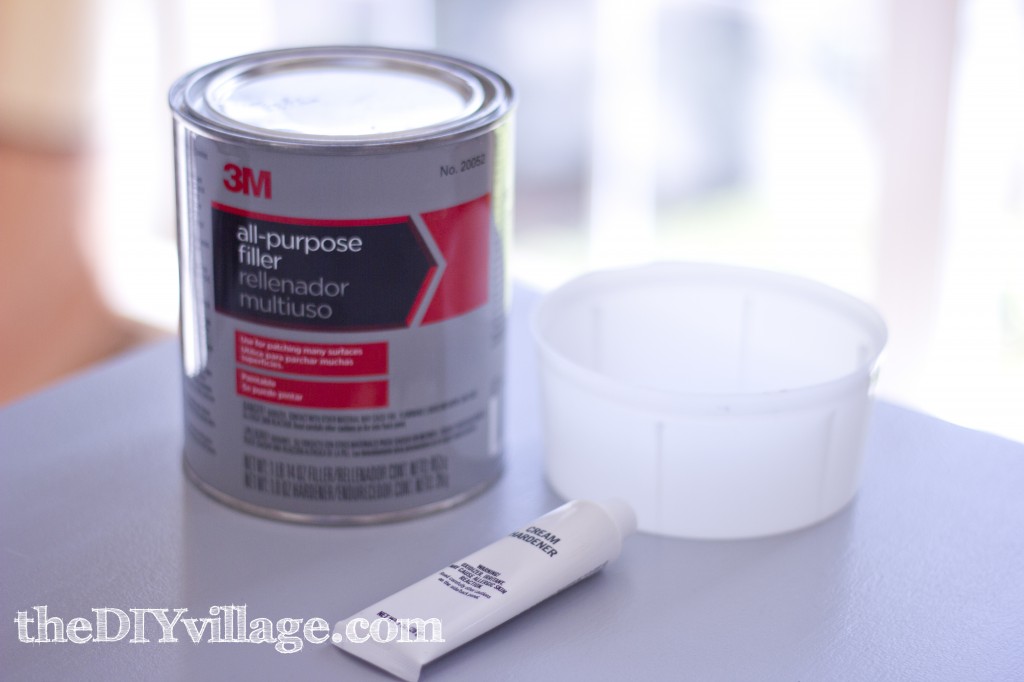
I held off on filling the top surface with the wood filler…I wanted to touch base with my father-in-law and see if he had any other ideas for what I could use that would be more durable. He suggested that I try Bondo as a filler for the surface. Of course, I’d heard of Bondo but never thought to use it as a filler. Coincidently, just a few days later, while at the Haven Conference in Atlanta, while walking through meeting some of the sponsors, we happened upon none other than the Bondo Booth. This was where I had the opportunity to find out more about the product and its uses. Thanks to Alex and the rest of the team at the Bondo booth, I returned home eager to try out their All Purpose Filler on the dresser imperfections!
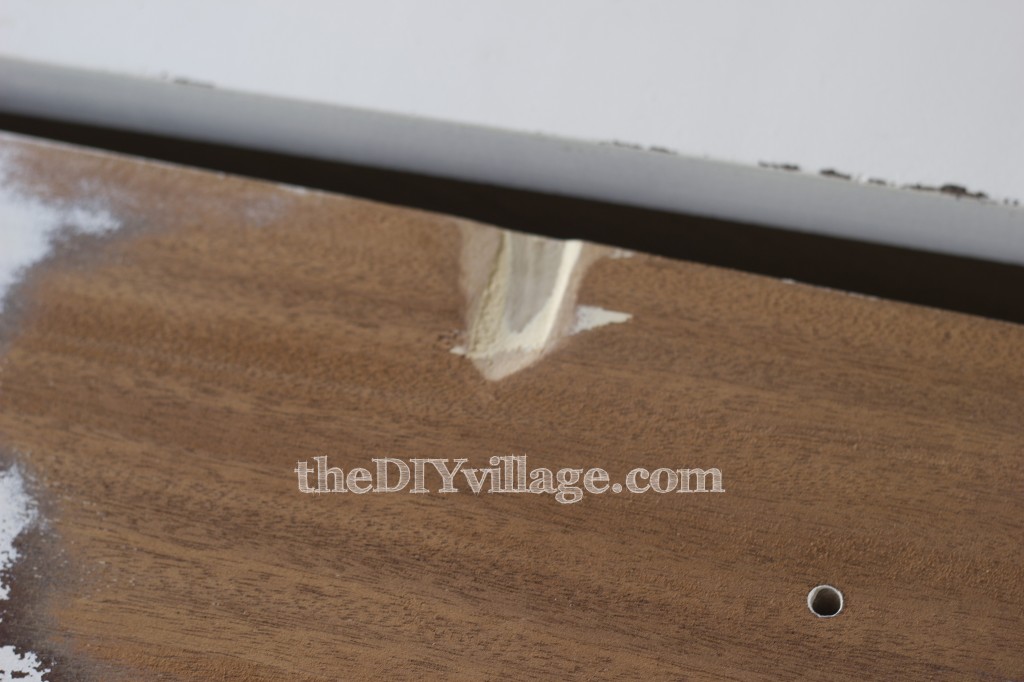
I went out to our closest home improvement store and purchased a container of the Bondo All Purpose Filler. Since this was the first time using this product, I read the directions thoroughly. Once the product is mixed you’re limited to how long you have to apply it, so wait to mix it until you are ready to use it. Once I had mixed and applied the filler, it was fully cured and ready for sanding within 30 minutes! One of the best parts about the Bondo All Purpose Filler, is that there’s no shrinkage during the curing process, so you’re not having to reapply the compound over and over again. The instructions call for using 80 grit sand paper to level the area out and then to switch to 180 grit sandpaper to feather out the edges. I did find that 180 grit didn’t give me the blended results that I wanted, so I switched up to a 320 grit sandpaper to try and perfect the blending. It turned out better than I could have expected!
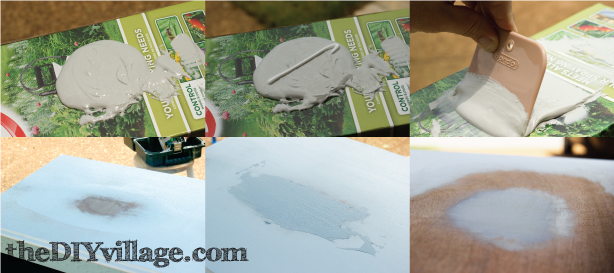
Here’s a pictorial break down of the mixing and application process on the dresser top!
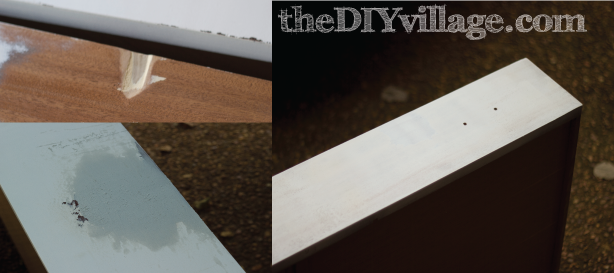
Here are a few pictures of the progression of the drawer front repairs
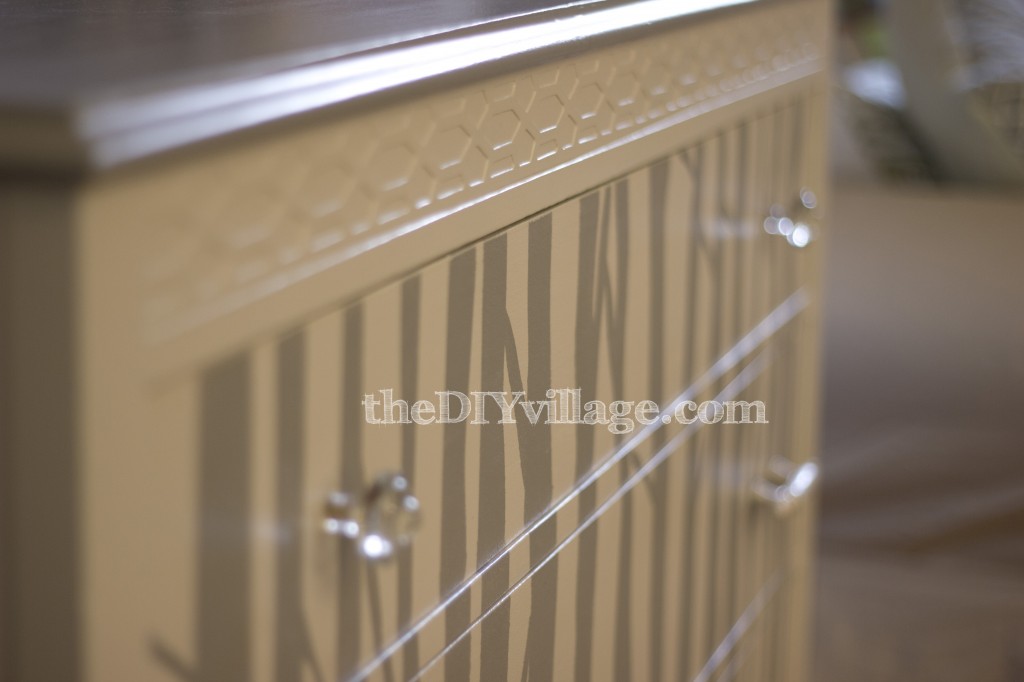
I was really surprised how easy the Bondo was to work with. This will sound silly to some people, but I actually did a “drop test” with the Bondo, to see if it help up better than the wood filler. It held perfectly and that was all the proof I needed to make me a believer! Once I primed and painted the repaired areas, I tested my workmanship and asked Jacque if she could find the filled in areas. She got down for a closer look, ran her hands over each drawer, then over the top surface, looked back at me, and said, “I have no idea, I can’t tell where the repairs are.” That’s all I needed to hear!
Here are a few pictures of the completed surfaces
Complete with a special appearance photo bomb by none other then Fenway, our Dalmatian:)
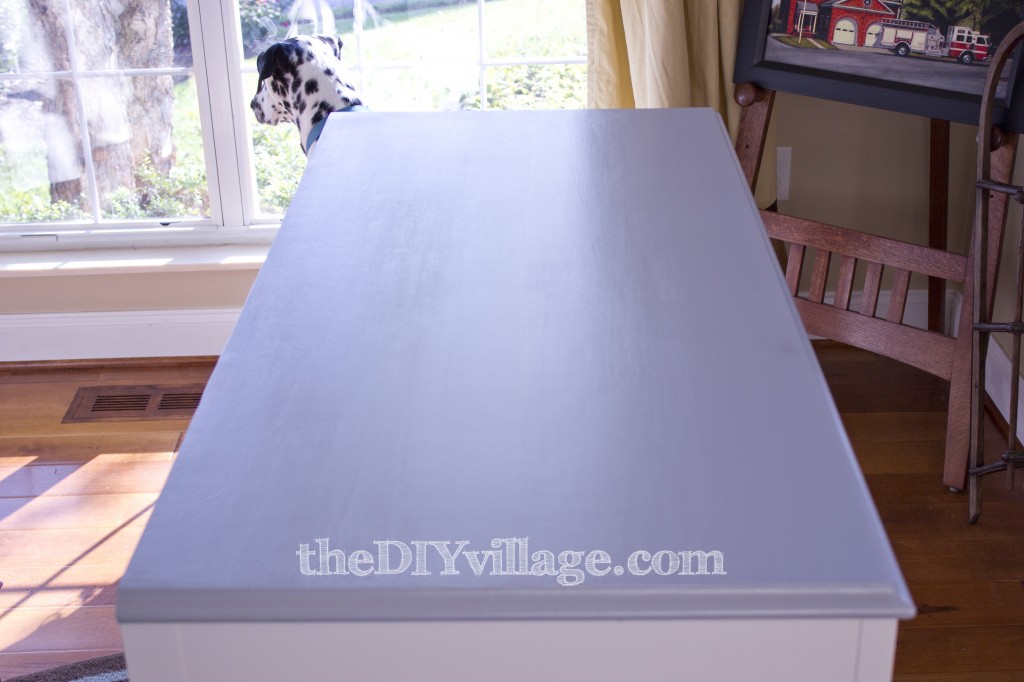
To see the complete overhaul of this dresser, take a peek here, Dresser Overhaul (Woodland Dresser)
You may not know this but, Bondo is actually a product sold by the company 3M. It’s part of the 3M Auto Care line of products. Jacque and I were lucky enough to have been invited and participate in the 3M AutoCare Bootcamp earlier this year! This was an opportunity to get hands on with some of 3M’s products and explore how to use them in our DIY projects! 3M was incredible and took care of our airfare and accomodations and even sent us some products to try out. Keep an eye out in the coming months for our take on some of these amazing products!
With that having been said, I do want to let everyone know that we are not being paid by 3M for any products reviews or sponsored posts.
I felt like after trying out the All Purpose Filler that I wanted to share my results with all of you! So if you have a project with some imperfections and aren’t sure what to use for the repairs, definitely consider using Bondo!
Hi! I wish I could read this on my iPhone, but there is an annoying “share” pop up that takes up half the reading space so I can’t read anything.
Hey Eliesa, I moved those share buttons out of the way, so they shouldn’t be hiding the post content anymore. Thanks again for bringing that to our attention!
Thanks for the information on Bondo. Great tutorial too. I have used Bondo from the Auto Supply Store for furniture repair and it worked just fine. I will be on the lookout for this 3M product.
New follower … found you on Debbiedoos.
Blessings,
Audrey Z. http://audreyzumwalt.blogspot.com/
Timeless Treasures.
http://audreyzumwalt.blogspot.com/
I’ll have to tell my hubs about Bondo, he does most of the repair work on our furniture. You provided a great tutorial too. Thanks for sharing your creative inspiration with Sunday’s Best – you helped make the party a success!
Super smart, I never would have thought to use Bondo as a filler! Glad it worked out well. Thanks for sharing at The Fun In Functional!
I too have heard of Bondo before but didn’t know anything about it. Found your post via Hometalk and am filing it away for future reference! Thanks for sharing it with us.
thanks for sharing! such a great idea…especially for those of us who are impatient and hate waiting to move on to the next step in a project!
Bondo is just one of those products that anyone interested in furniture restoration needs to have stocked in their workshop. It really can make all the difference in the world when working on a project. Also – phenomenal job on the dresser. The before and after pictures are night and day.
Restoring furniture is not easy. Thanks for sharing this idea, I will remember this DIY tips. Amazing tips you have there!
Thanks Dana! Your right, restoring furniture can be tough! Using the Bondo filler actually made it a lot easier!
Hi! I just want to offer you a big thumbs up for
the excellent info you have got here on this post.
I will be coming back to your website for more soon.
streetdirectory
Amazing overhaul. I like the woodland inspiration.
Hi ! great write up ! What about using Bondo on plastic molded kitchen chairs?? I bought some 70’s swival chairs and the plastic backs are chipped.. I can send you a pic..
Hey Mary! We’d love to take a peek at the chairs that are in need of repair, so when you get a chance, email those to me at matt@thediyvillage.com and if I can’t give you a definitive answer, I’ll reach out to the 3M Bondo team for one!
Thanks for sharing your story. This kind of info people like you share helps all of us who are still learning. I have heard of using Bondo on wood, and plastic. My son works for a company called JB Finish out of Indio. They do a lot of work for very expensive houses, and big companies. Great product to work with.