Matt and I took an impromptu trip to North Carolina this past week to visit with his sister and parents. It was a great trip and always so much fun to spend time with them, they are truly wonderful, kind, and generous people! They always seem so excited when they hear about one of our new projects. In fact my sister-in-law has even started a blog to share some of her own DIY projects! Go Sarah!
Last summer we had purchased some doormat type rugs at Southeastern Salvage for cheap I mean dirt C H E A P! I had grand visions of creating these adorable front door DIY mats for myself, his mother, and sister! We even went as far to pick out and purchase our paint colors.
Fast forward 13 months (I’m sure you are seeing a trend around our home …) the mats are still sitting in our attic. Matt thought it would be a good idea to go ahead and make something with the mats since we would all be together. We decided on a Halloween Doormat. Matt designed and cut out our stencils with vinyl.
I placed my design on the mat and did my best to smooth it out and get it to stick … no such luck. But thought I would go ahead and give it a whirl with the spray paint, ya know just see what happens it was a cheap rug after all!
About 45 seconds into spray painting we knew this was not a good idea. Not only was the vinyl curling up from the spray paint (apparently this particular vinyl was not sticky enough for this type of application) but you could hardly see the design at all.
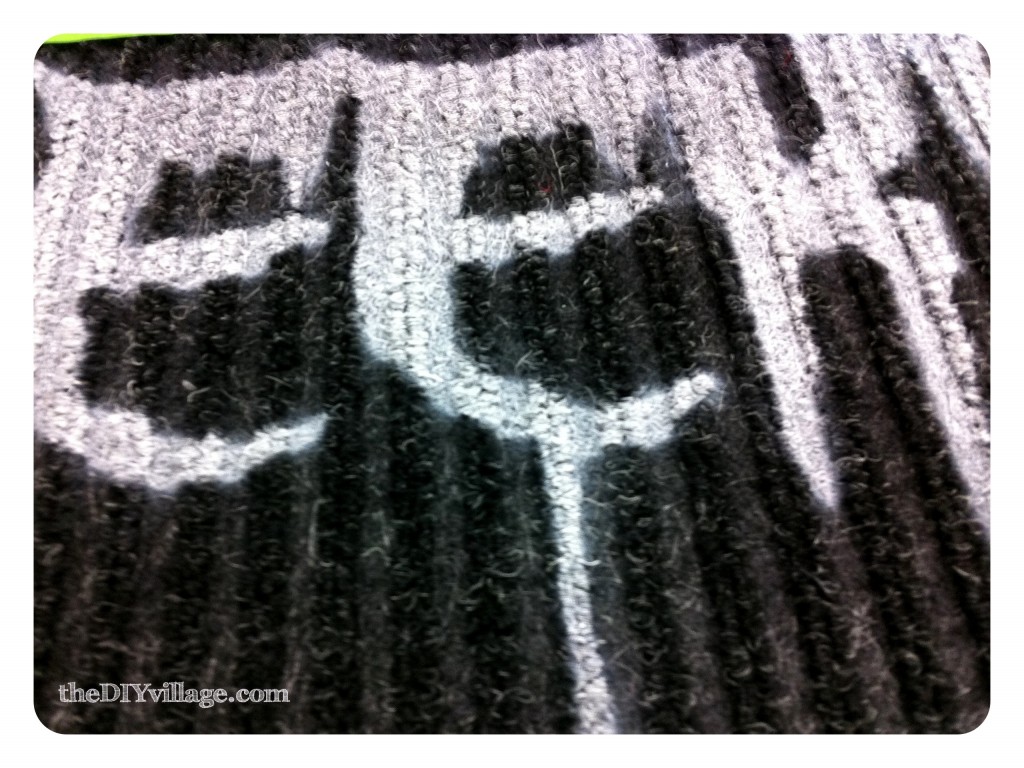
I was stumped, Matt was ready to throw in the towel on this one and mark it up as a craft fail. I wasn’t feeling the same way I felt like it could be salvaged! So Matt took the image traced it onto stencil paper (that I had stuck in as a just in case type idea) and cut out the design. We sprayed adhesive to the back and pressed down. This one was a little better the stencil stuck but not well enough to stop bleed through … whomp whomp whomp!
Still not ready to give up on these mats I decided all they needed was a border to make them cute! I settled on a diamond pattern hoping that the busyness of the pattern would distract people from seeing all the flaws hahaha. Yup the border was a distraction tactic!
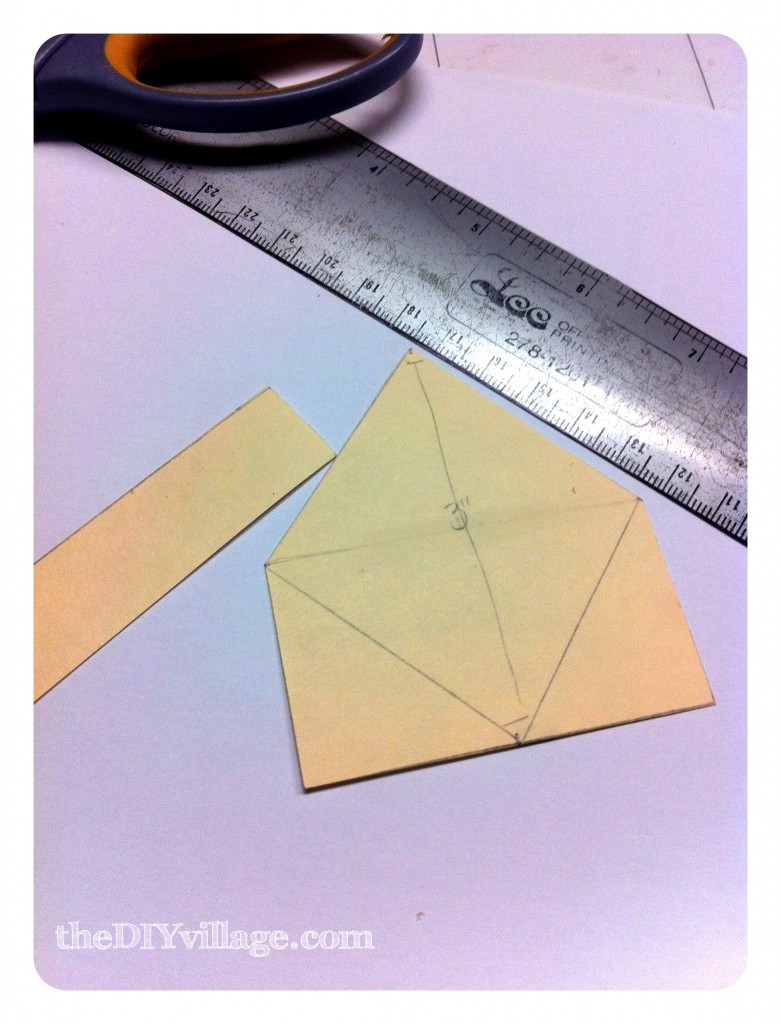
Using cardstock I cut my diamond pattern out.
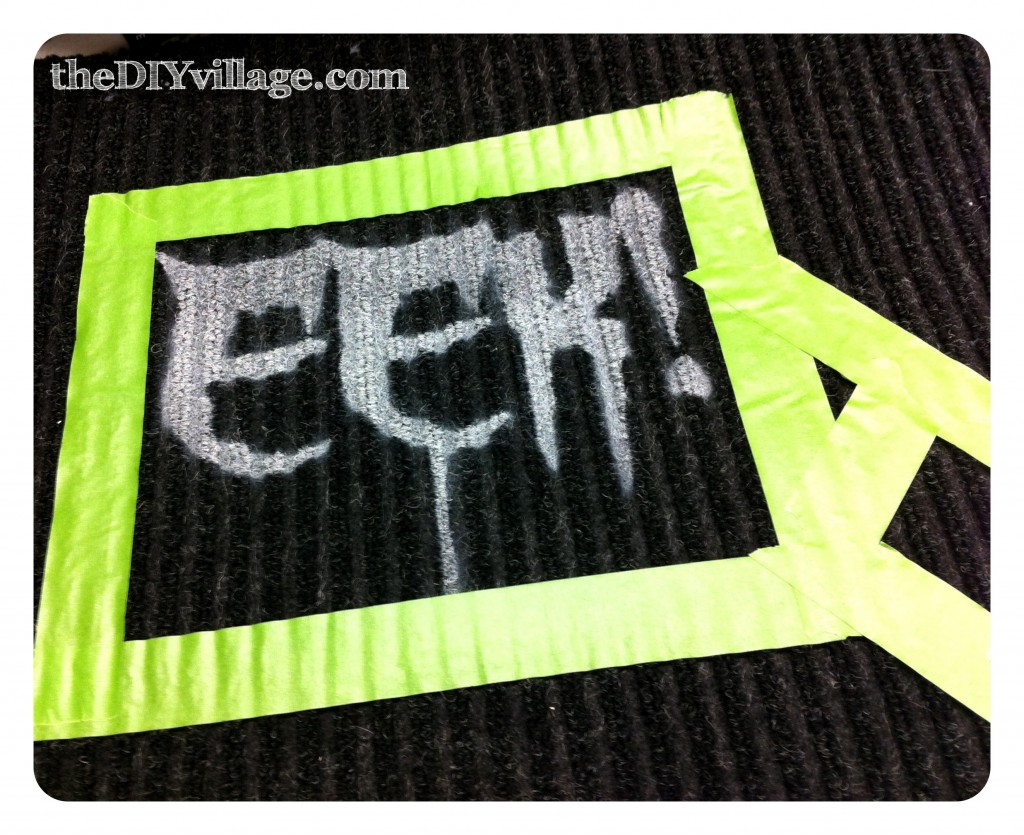
Next mask off your stenciled image in this case it’s the word EEK, with a lil dangly spider, the inside edge of the tape is as far inside you can go with your border! I am using a painters tape so that I can make sure that I get good adhesion! Plus it is really easy to work with and cut into shapes!
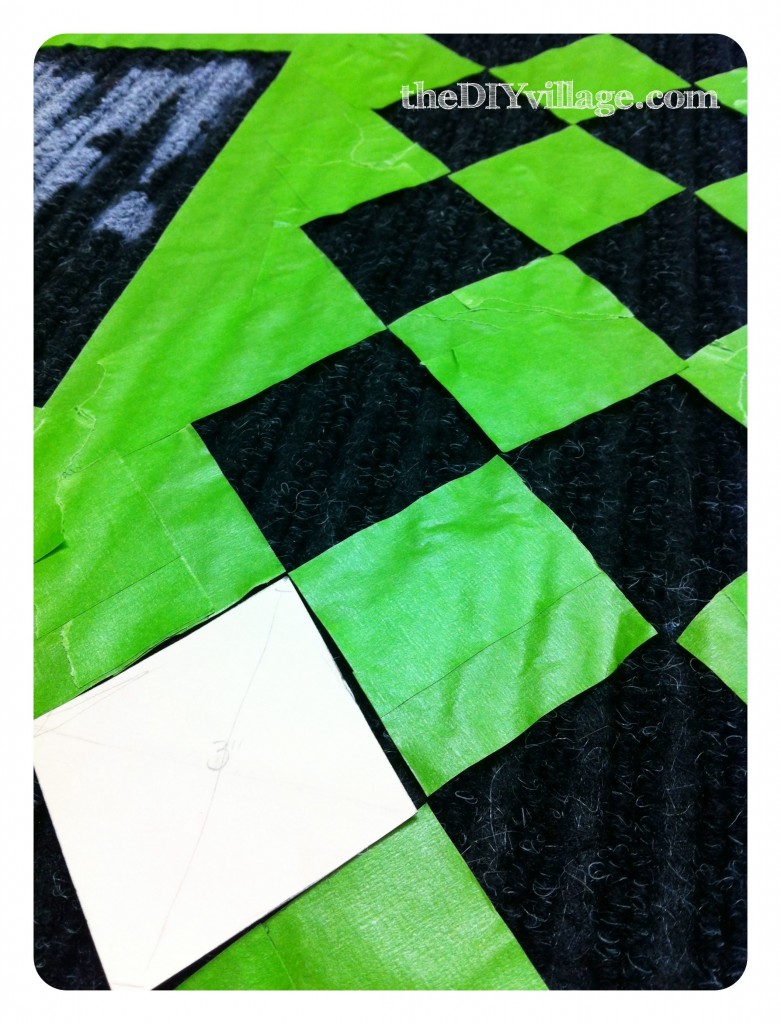
I laid two strips of tape down slightly over lapping and used my diamond stencil to trace my shape onto the tape and then cut them out using scissors.
To make sure your spacing is correct, place your diamond pattern into the open space and place your tape diamond as shown above.
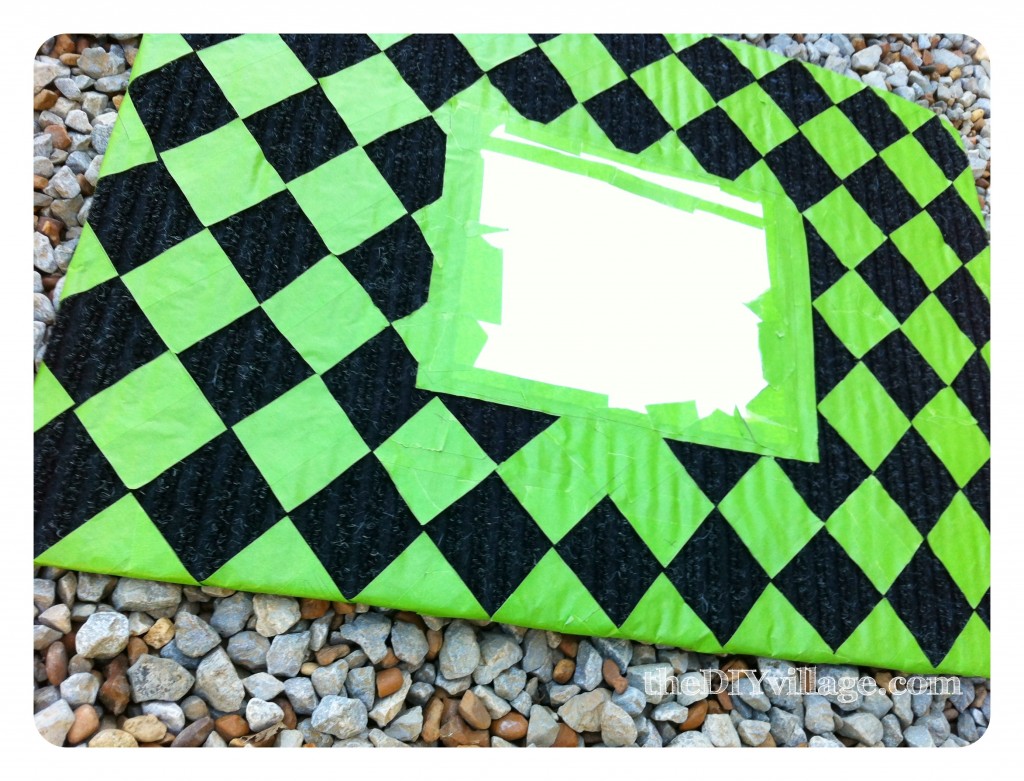
Repeat this process until your entire mat is covered! Then using paper and tape mask over your word image. You are now ready for the fun part spray paint!
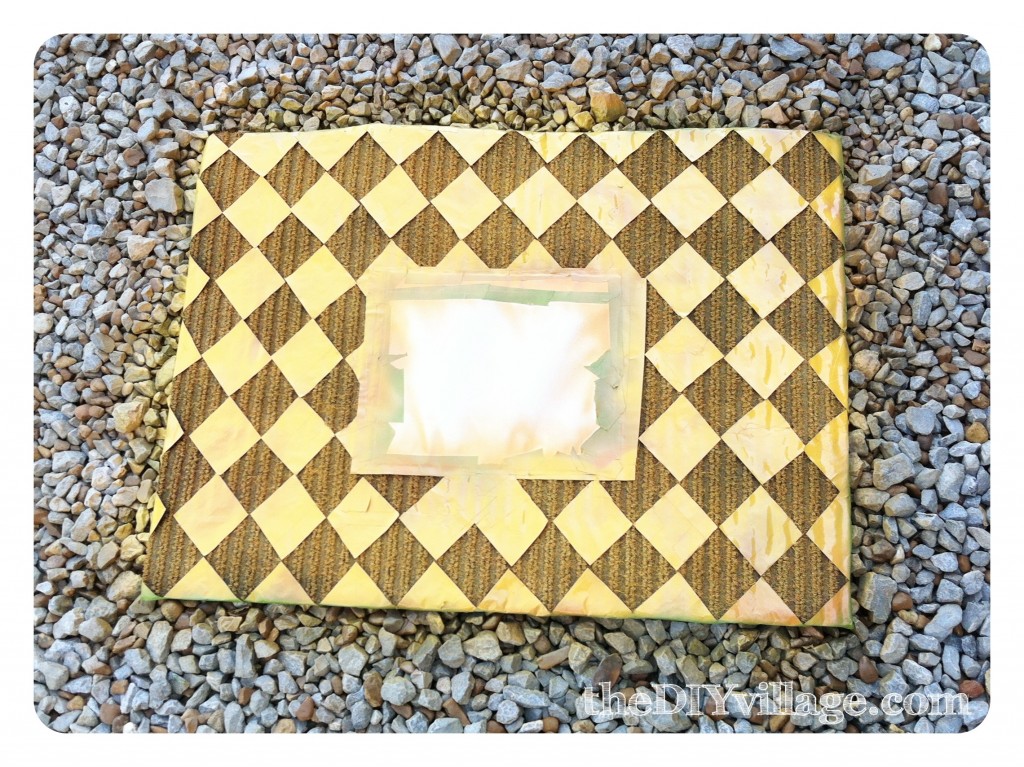
While in NC I learned something interesting about spray paint. When you are going over a dark mat, say black for example, and you are using a color that is not particularly light, let’s just say orange, in order for that color to POP on the black you must first spray the area white! Why you ask? Well because the white works as a primer and allows the true color of the paint to come out rather than a darkened muddy color!
So first things first spray your mat with WHITE!
Then move onto your top coat color! Once it is all painted give the paint a few minutes to dry on the tape and remove the tape from your mat.
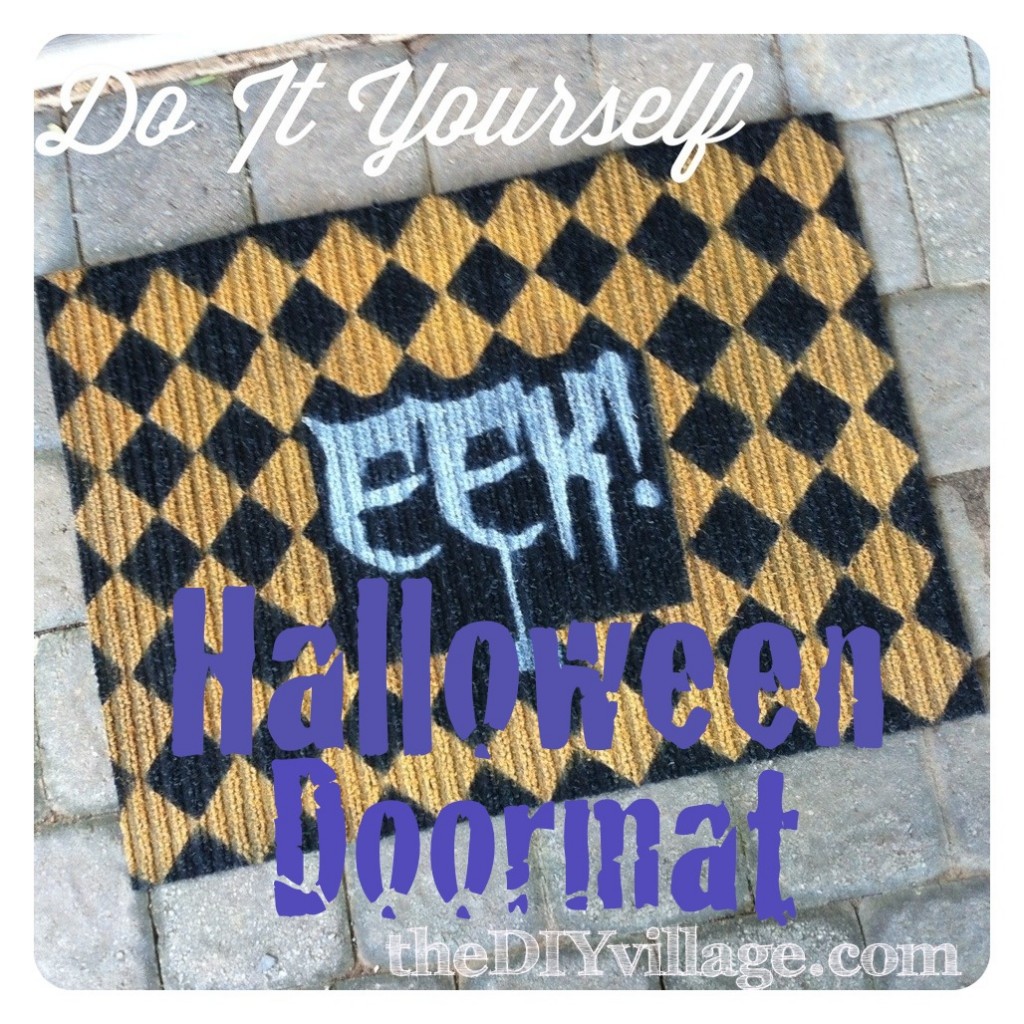
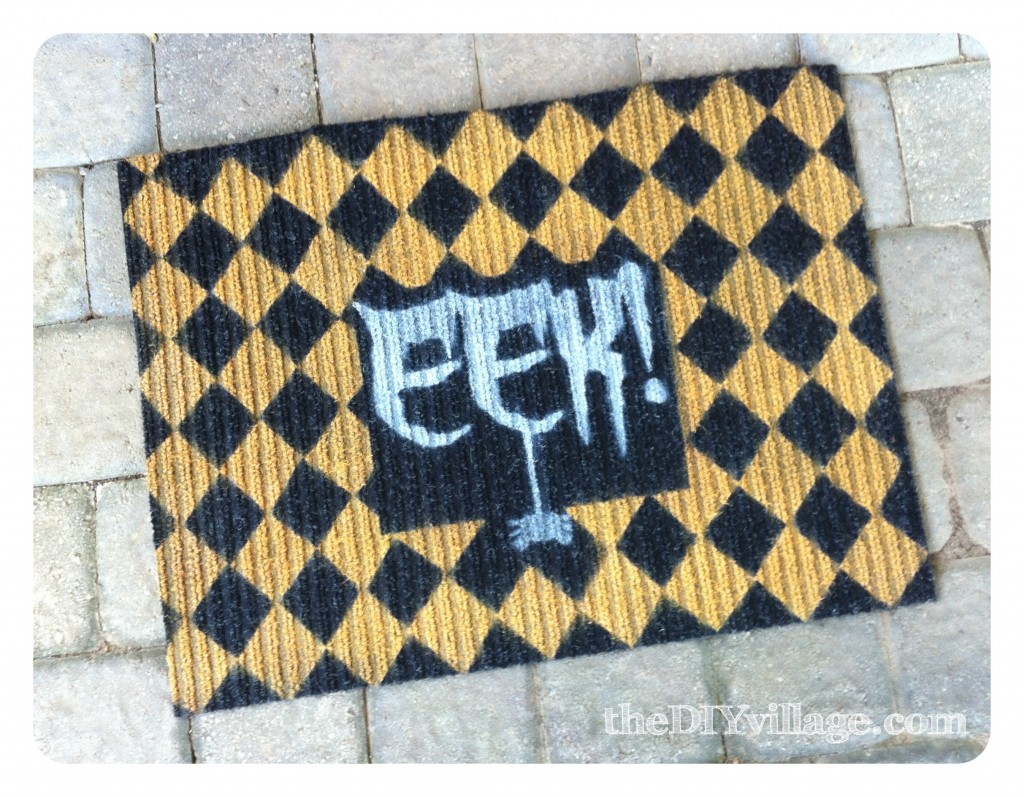
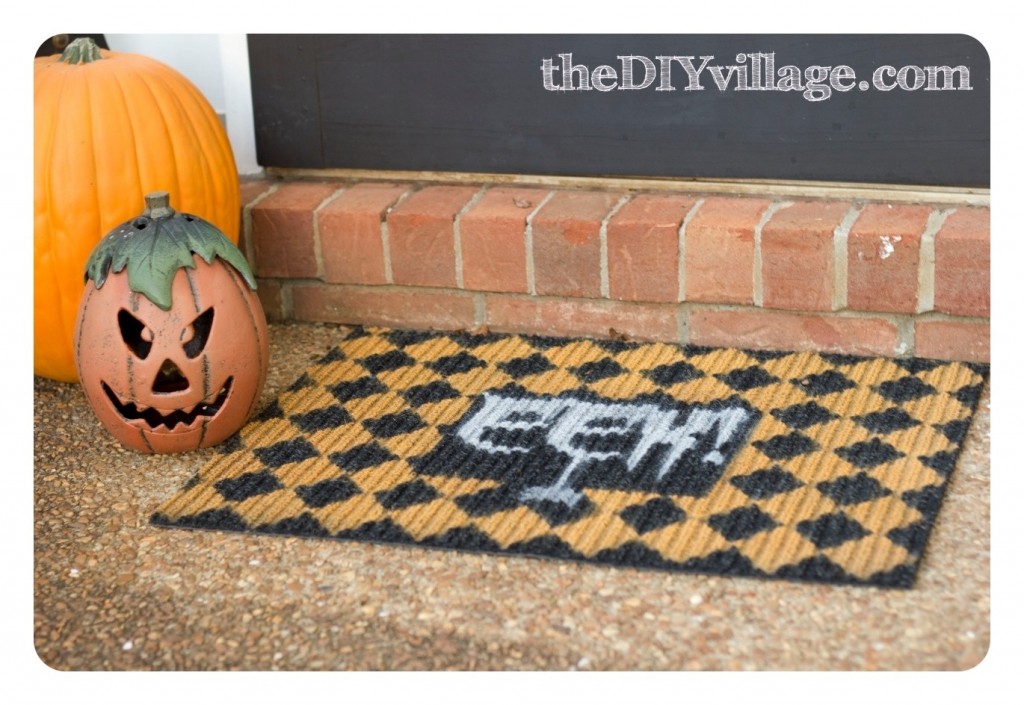
Not bad! I really feel like it looks much better than it could have and it’s not quite a craft fail … well maybe just a little bit but it’s still a cute first attempt at a DIY mat!
Now that the mat is complete there are some things that I would like to share with you so that you don’t make the same mistakes I did.
1. Make sure your mat (rug) is square!
(I thought mine was, and I was wrong so my pattern looks a lil wonky, nothing some scissors can’t correct but annoying all the same.)
2. When you place your design on the mat make sure it’s centered!
(If you don’t you end up with different parts of the diamond as a border … whoops!)
3. Use white spray paint under darker colors to make them pop!
4. Buy a mat that is as FLAT as possible.
(This lil bad boy had all sorts of texture and well basically made it a minor nightmare to complete!)
What’s your favorite project you were able to rescue from the dreaded “Craft Fail” status?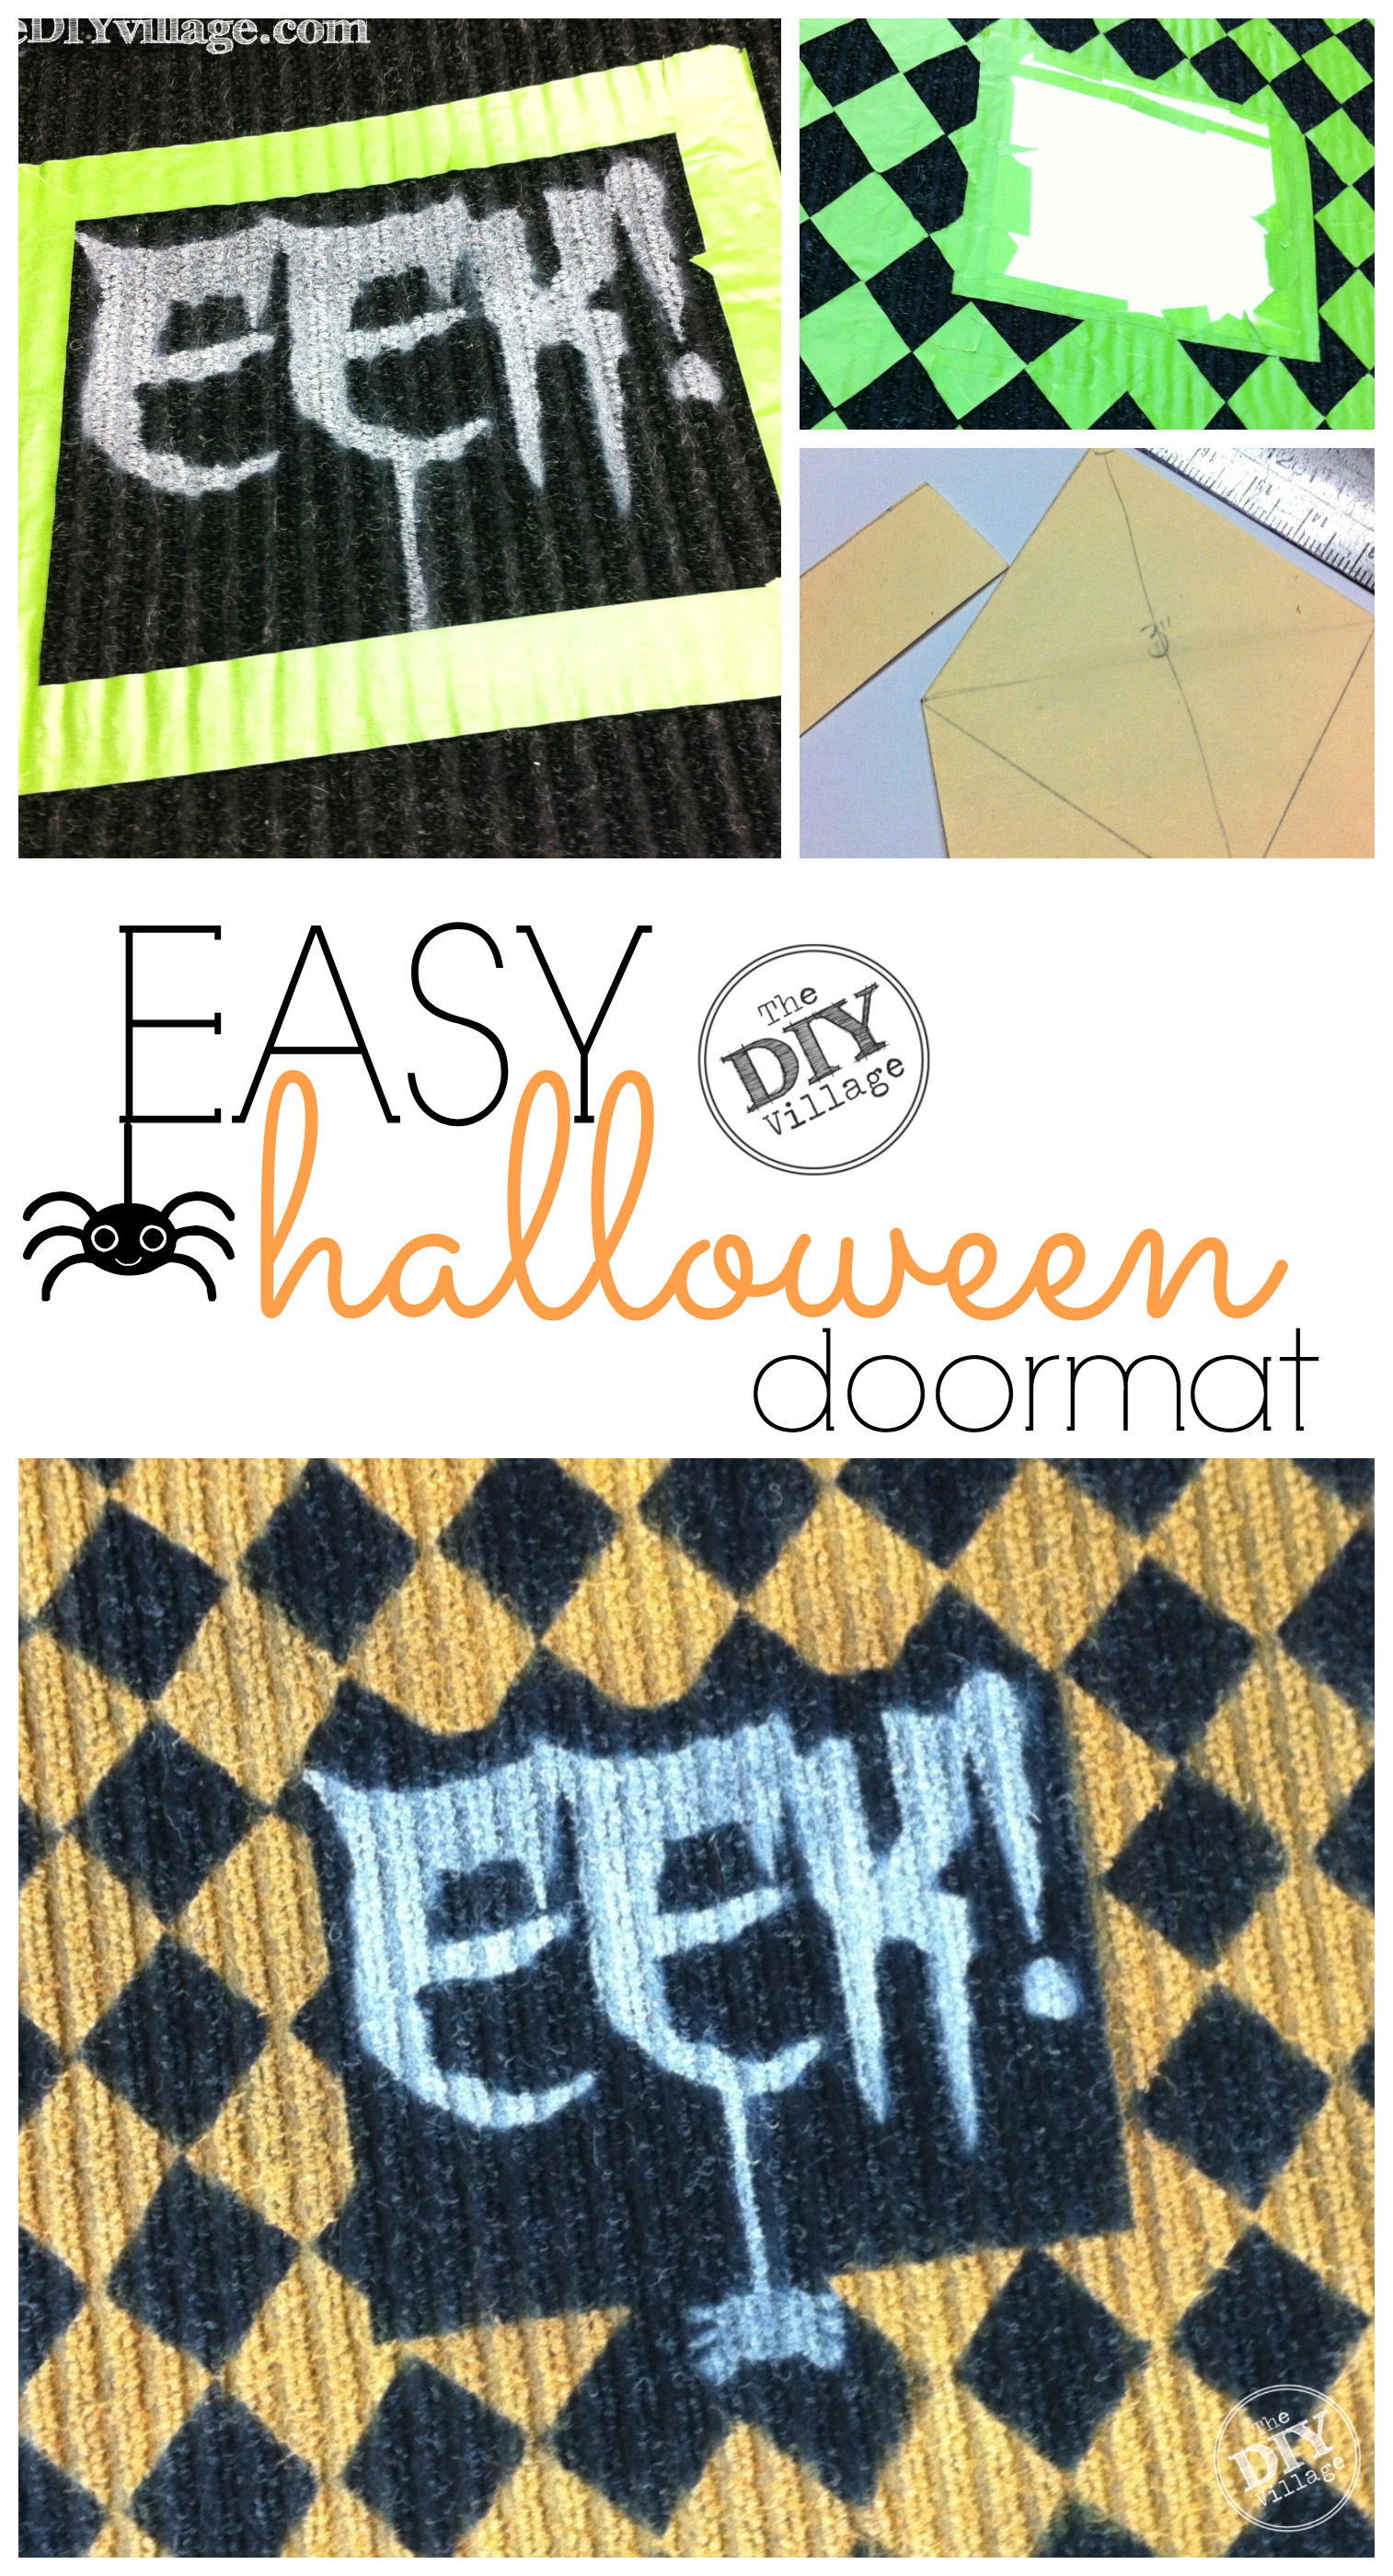
Woot! Love the shout out 🙂 I think the border helped – and, to me, it looks like the goldish color is the rug color, and you spray-painted the black on it 🙂 Mine is still sitting in the back of my car, but you’ve inspired me to doctor it up a little 🙂
Can’t wait to see what yours ends up looking like Sarah!!!
OMG I just love it! I’ve seen little spray painted mats before but this one is just so cute, now I wanna make one 🙂
Thanks for sharing at The Fun In Functional!
Thanks Jessi, so glad you like it and WOW thank you so much for Featuring it on your site!
Alright, so you stopped by before I could let you know I featured this, but seriously, I love it! That mat caught my eye immediately and I told my husband I needed to make one for the back entrance to our apartment. He wasn’t so sure, but when he edited my Features post last night he was like “Oh is that the mat you meant? That’s cute!”
LOVE LOVE LOVE and LOVE the mat!!! Very cool!! I mean scary 🙂
Thanks so much for sharing this at The DIY Dreamer.. From Dream To Reality!
Haha Thanks Christine!!! And thank you for sharing the Laundry Soap – You ROCK!
Jacque–great save! 🙂 your mat looks fabulous!
gail
I think it looks great! i love how you took the dripped paint and turned it into a spider web! not a fail at all 🙂
I love your doormat! Great job on saving it and not giving up!
OMG, this is really cute, and you did a great save. I think the border helped, and that pumpkin to the side is pretty scary! Thanks for sharing your inspiration with Sunday’s Best – you helped make the party a success!
Thanks Cathy it was really surprised how well this turned out myself. Thanks for hosting!
Persistence and a little (or a lot!) of masking tape pays! Looks great — just like you meant for it to turn out that way. Thanks so much for sharing on Busy Monday!
Thanks Charlene! With projects like these Frog Tape will never go out of business!
The mat looks awesome! Would really like to make one, hope mine turns out as well as yours did.
Awesome Jill! I would love to see it when you are done!