Let them eat cake Rainbow Layer Cake!

For all of those who love and use Pinterest I can promise you have seen at least ONE Ombre or Rainbow cake on there. They are so beautiful, who wouldn’t love to get one of those?
So this year for my sisters 41st 28th birthday I decided I would make her a cake
and thought it would be fun to ask my niece to help.
I let my niece decide if she wanted an ombre or rainbow cake. After we looked at a few pictures she opted for rainbow but thought the ombre was a great idea in red since that’s her moms favorite color (so cute). Since my sister already has an entire Pinterest board titled Yummy Rainbows
finding a cake was pretty easy.
Only issue I had was that there are tons of awesome cakes but very few recipes and most of them that are out there are from scratch.
And honestly when every 5th word out of my (7 yr old) helpers mouth was I’m Bored the last thing I wanted to be doing was double sifting my dry ingredients (thanks Martha).
This one from over at Omnomicon is pretty cool and psychedelic but also a diet cake. And a diet cake was not an option for me.
We opted for the old stand by Betty Crocker Yellow Cake (butter recipe) We used two boxes and followed the directions accordingly.
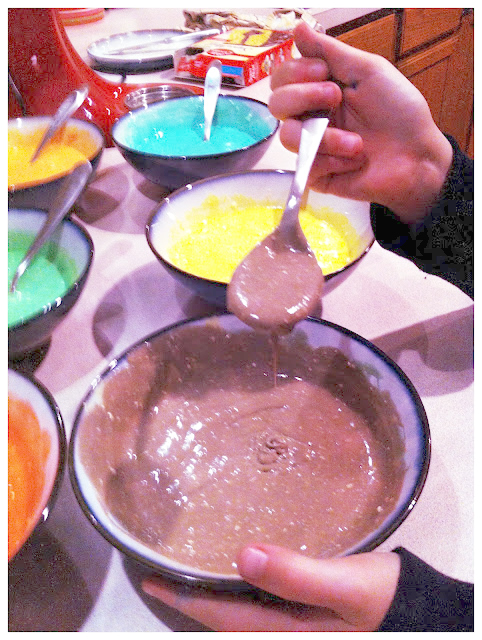
Once It was all mixed up we decided on the number of colors – 6 was the magic number.
Red, Orange, Yellow, Green, Blue, and Purple.
Trying to keep the layers equal sizes first we measured out 1 cup worth into 6 separate bowls.
I eye balled the rest and then took 1/3 cup additional into each bowl.
It worked out pretty good and even left a little for some good old fashioned bowl licking.
After the bowl licking was completed we moved on to the dying. We chose gel food coloring.
I figured this was my safest bet, least messy.
Since my helper knows how to make different colors it was up to her to mix them all.
I was ‘allowed’ to mix the blue.
Remember to start out lighter than you want to end.
You can always add but it’s nearly impossible to take color away.
The purple was the hardest it kept looking muddy and grey but it actually turned out to be a nice purple.

We lined the pans with parchment paper and used the butter wrapper to grease the sides, and filled the pans, one color to each pan.
-At this point my helper is once again licking bowls and spoons clean and has announced that,
Today is the best day EVER!
I won’t lie this made an old Aunt feel pretty good!
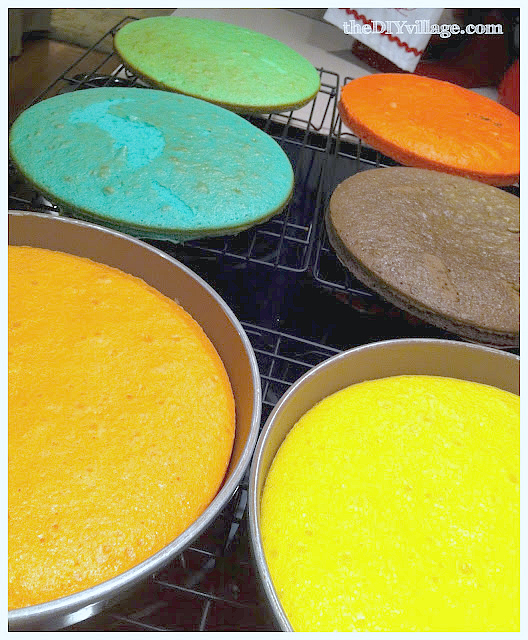
I set the oven as directed but since the layers were so thin I decided it was best to bake them like they were cupcakes and opted for 17 min.

Once they were done baking. I set them on cooling racks after 15 min I removed them from the pans and then started on baking the other colors. When they were all done baking/cooling we transferred them to the fridge to keep over night for frosting the next day.
We used cream cheese (tub) frosting for the in-between layers and then added vanilla frosting for the crumb coat. Put it back in the fridge for an hour or two and then put the final layer of frosting on.
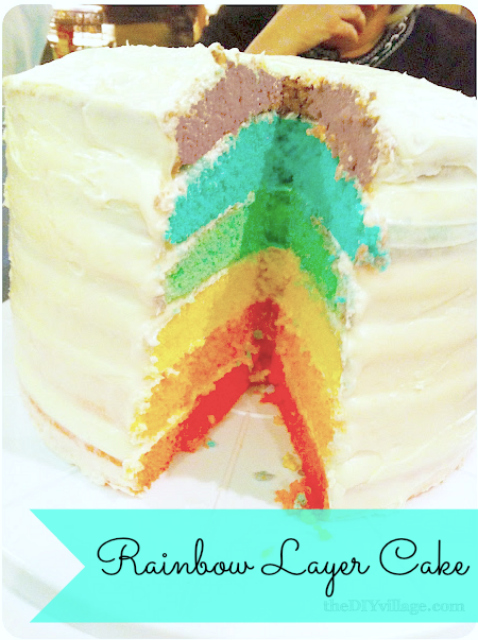
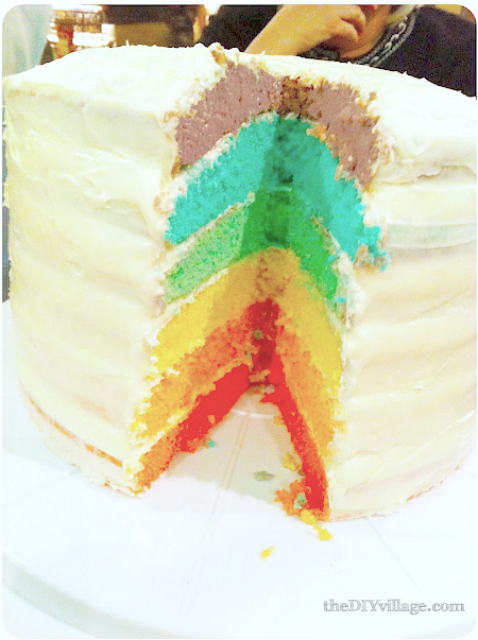
The cake turned out so cute! I can promise it tasted as good as it looks and will easily feed 20 people!

I love making cakes for people.
Just the look on their face when they see a fun or special homemade cake is just the best feeling!
I mean honestly what could be better?
What is the best cake you have ever made for someone?


What a cake! I think you and I should be friends. My birthday is in December – I mean – March.
Happy (belated) Birthday! This cake would be fun to make in March too … end of the rainbow!
This is so fun Jacque!! Love all of the All Things Creative Recipes this month too. Pinned!!