
Every year at the close of summer, I seem to run out of time to prepare for the coming fall and winter months! This year, I’ve got a jumpstart on the prep work and should be able to enjoy the changing seasons rather than worry about what’s not done. We’ve compiled a list of 10 tips for winterizing your home that should make sure that you’re household is ready for the cold season!
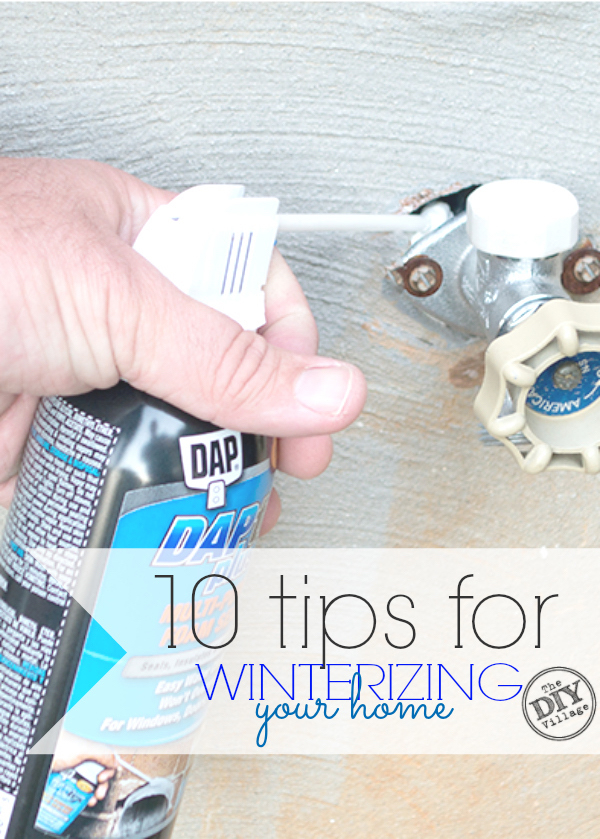
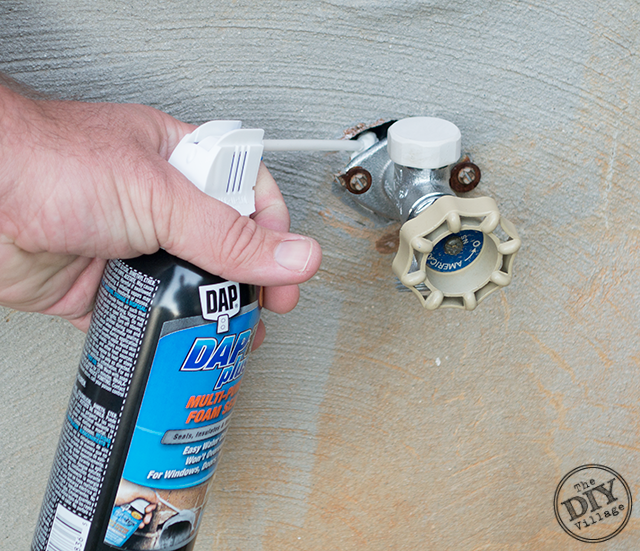
1. Fill all of the voids on the outside of your home. To help keep cold air out, find any gaps or voids on the outside of your house and fill them with properly rated expansion foam.
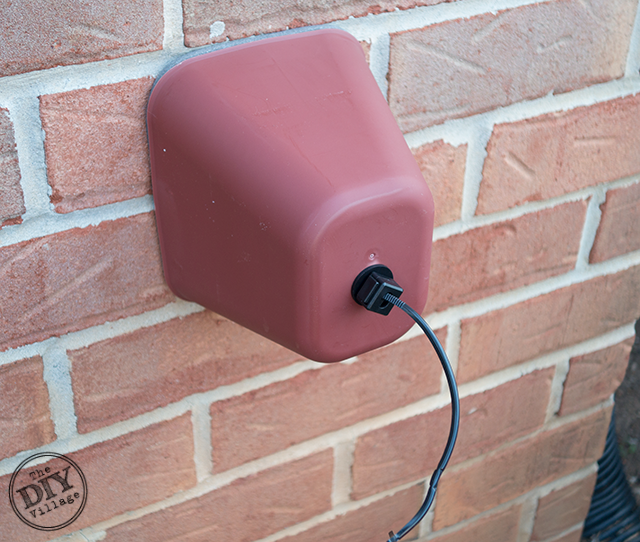
2. Insulate all of your hose spigots. Be sure to remove any connected hoses from the spigots and drain them completely of water. Unless your water lines have valves where you can shut off the supply of water to the exterior spigot, it’s important to insulate them for the winter. Personally, I’m a fan of these covers that have a hard plastic shell exterior, as they’re more durable than they’re foam only sibling.
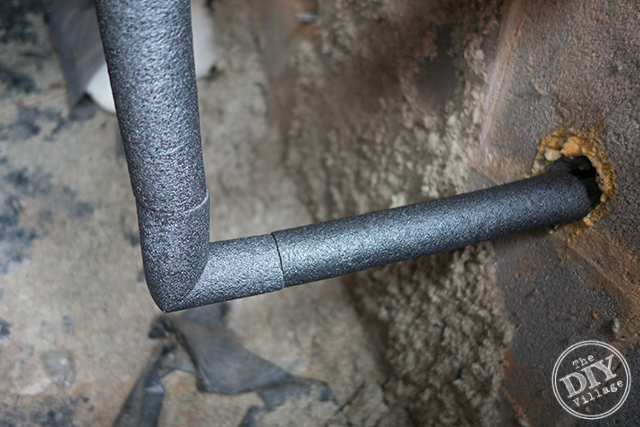
3. Insulate water lines. Many homes have water lines that are run in uninsulated areas like crawl spaces or in attics . Even though these pipes aren’t out directly in the weather, they are definitely still affected by the temperature outside! As water freezes inside a pipe, it expands, potentially causing damage to the pipe, which could lead to some serious water damage inside your home! To prevent, even the potential of this happening, wrap all of your water pipes in properly rated foam insulation!
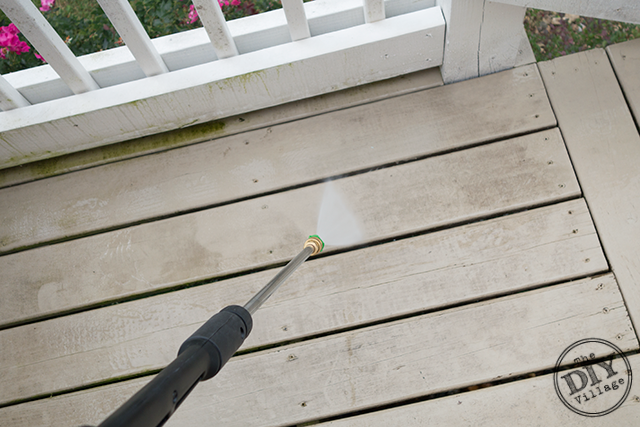
4. Clean your deck. Throughout the year, mold and mildew tend to buildup on deck surfaces which can lead to wood rot. Routine cleaning and the use of a proper sealer can help extend the life of your deck. However, the removal of the mold and mildew isn’t just to protect your deck surface, it’s also to protect you and your family. Surfaces covered in mold and mildew are slippery by themselves, but with the addition of cold weather, these surfaces can be really dangerous. Save yourself a trip to the ER and keep it clean!
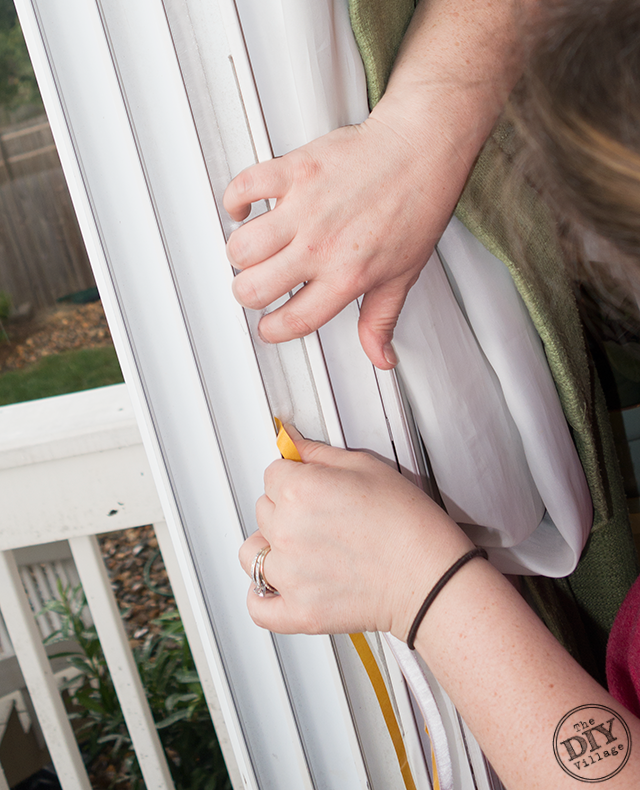
5. Check and/or replace weather stripping around sliding glass doors. The weather stripping that surrounds sliding doors tends to wear out over time. Replacement weatherstripping comes with an adhesive strip on one side, all you’ve got to do is remove the old and set the new! Bye bye breeze!
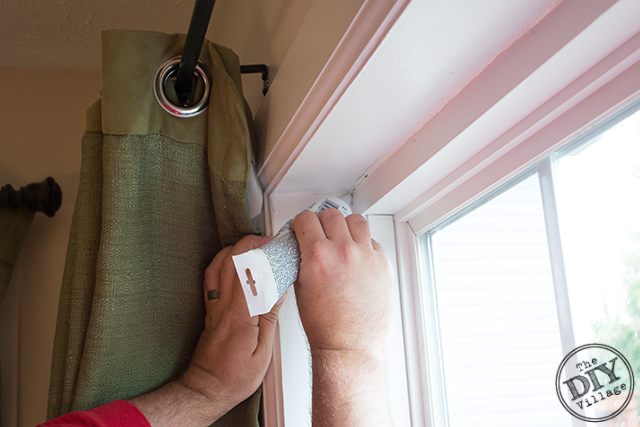
6. Seal any gaps or voids around windows and doors. Check the areas surrounding your windows and doors by using an incense stick. The small amount of smoke produced will help show you where your drafts are making their way through! Caulk those deficient areas with the proper product!
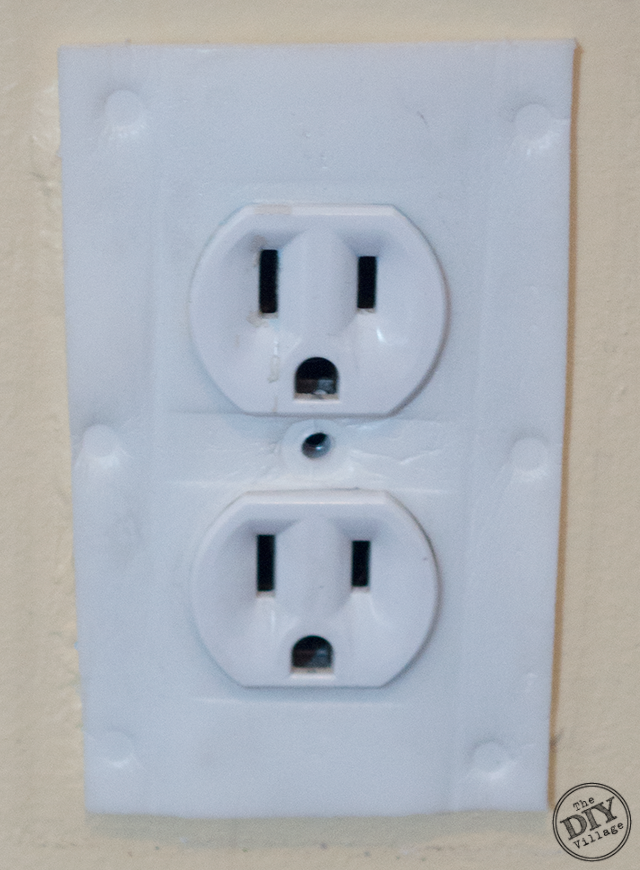
7. Insulate plugs and switches. Your walls may have the best insulation available in them, but the boxes that hold your plugs and switches don’t! Remedy that by installing foam insulation inserts. It takes minimal time, but will have maximum impact!
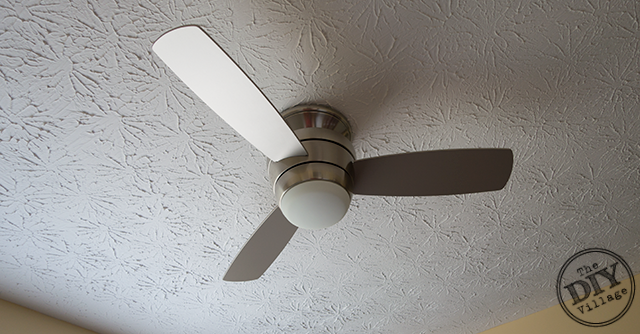
8. Switch the direction of your ceiling fans. That’s right, fans aren’t just for the warmer seasons! During cooler seasons, fans should be set to have a clockwise rotation as to help move the heated air (that rises) back down into your living space.
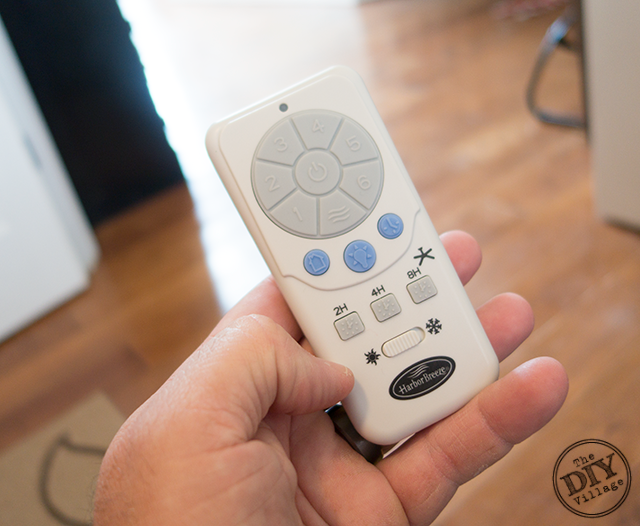
This Harbor Breeze Mazon Ceiling Fan even has a winter setting on it’s remote making it super easy to switch the fans rotation!
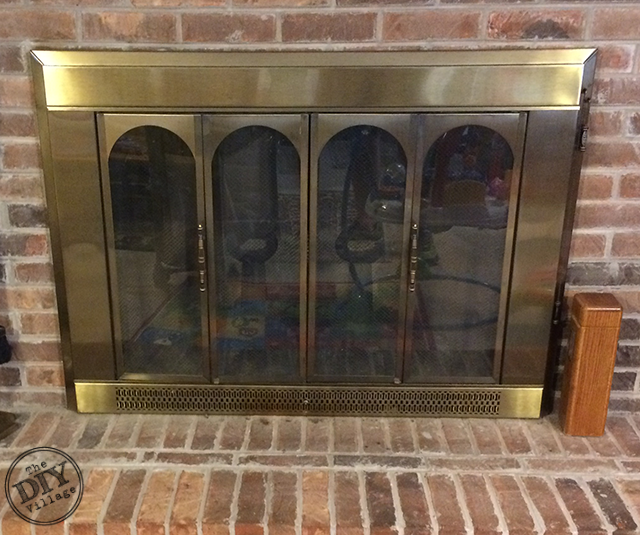
9. Install fireplace doors and keep them closed! Fireplace doors are necessary for a few different reasons. First off, you’ve got the safety aspect, where the closed doors keep embers from entering the living space. Secondly, you’ve got energy efficiency. Properly installed fireplace doors help keep the air inside your home, inside your home! Whether in the winter or summer months, having fireplace doors and keeping them closed will help the temperature in your home stay constant and save you money in the process!
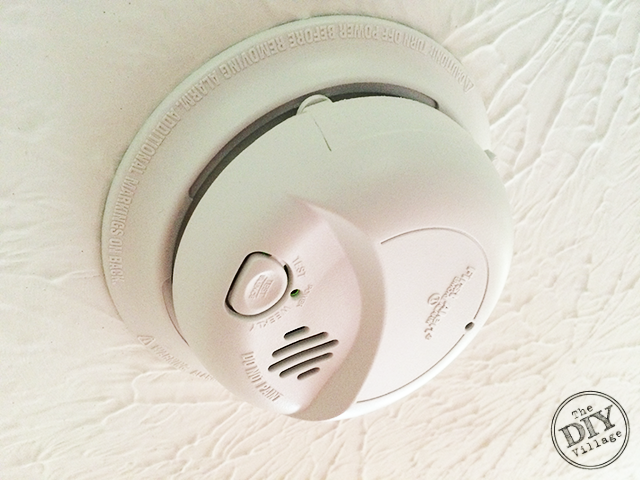
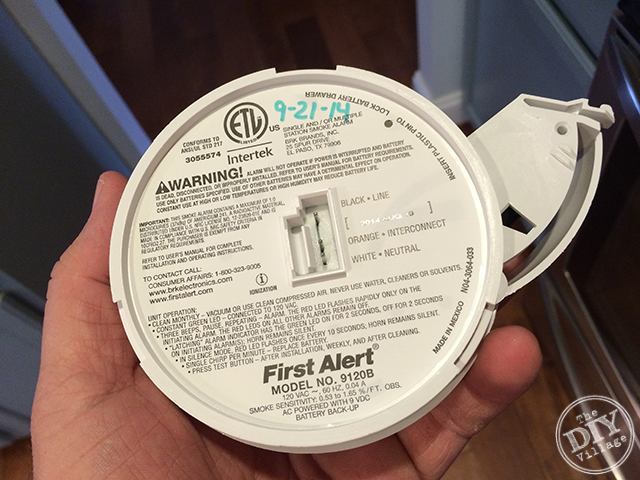
10. Test and replace any faulty smoke alarms and carbon monoxide detectors. As a career firefighter, I take this tip pretty seriously! Did you know that your smoke alarms and carbon monoxide detectors have a life expectancy? And no I’m not referring to the battery. Most smoke alarms need to be replaced every 8-10 years, while most carbon monoxide detectors have a 7 year life expectancy. Over time the components that detect the particulates begin to lose their effectiveness, so to protect your life and the lives of your loved ones, regularly test your smoke alarms and carbon monoxide detectors, and replace them when they expire! The National Fire Protection Agency provides a great resource for installing and maintaining smoke alarms!
I’d recommend writing the date you installed the smoke alarm or carbon monoxide detector on the back of the device, that way there’s no question as to when it needs to be replaced.
Check a few of these projects off your list, and you’ll have a great head start on winterizing your home! I’m sure by the end of the season, I’ll have a slew of other winterization tips to add to the list, but that will have to wait for next year!
Thanks to Lowe’s for their continued support in having us as members of their Lowe’s Creative Ideas bloggers! For more tips and inspiration for getting your home ready for the upcoming season, be sure to check out what the rest of the amazing DIY experts with the Lowe’s Creators & Influencer have come up with!
If you’re an iPad or iPhone user, be sure to download the Lowe’s Creative Ideas App to see some unique seasonal project ideas!
If you need even more inspiration, follow Lowe’s Home Improvement on Pinterest, Facebook, and Instagram
Disclosure: As a Lowe’s Creative Ideas Handyman, this post was sponsored by Lowe’s Home Improvement. I was provided a gift card to cover the cost of materials for my project, but I was not told what to write. All the ideas and words found here within are honest and my own!


I need all of those insulated things!
Great tips! I never thought to use an incense stick to check for leaks in window frames.
Honeycomb shades make a huge difference in window insulation, too!
Great point! We actually have a few sets of those blinds and I have noticed a huge difference in the winter!
Great post! Thanks for sharing