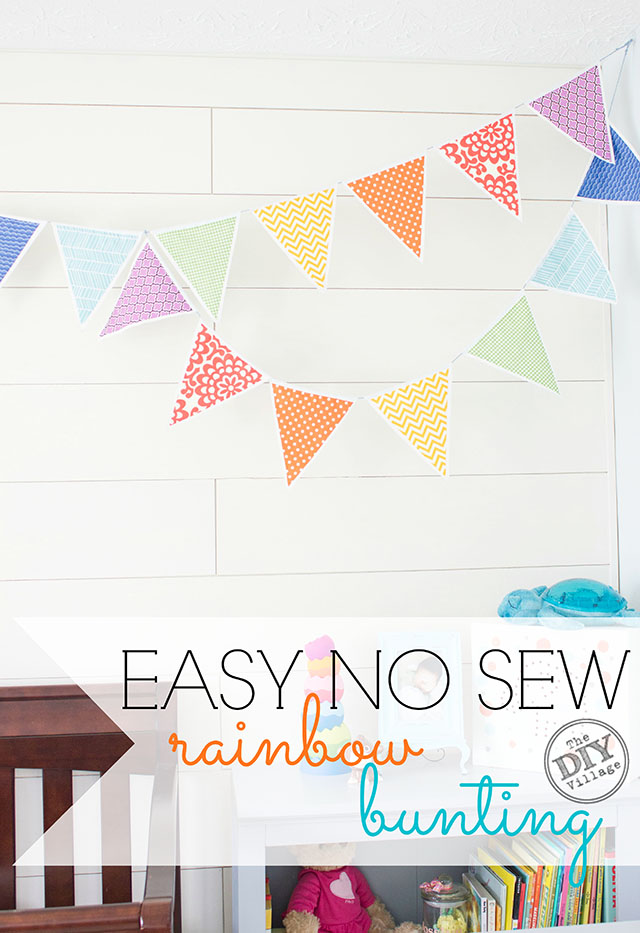
 The theme of my daughter’s first birthday was rainbows! There were rainbows everywhere, on the cake, above the table, rainbow foods, and even rainbow silverware. It was spectacular! I promise someday I will get around to showing you all of the lovely photos from her special day! One of my favorite things to create for that day was the rainbow bunting that hung above the main table at her party! I had been pining over a few for quite some time online and decided that rather than pay someone what seemed to be small fortune to make one that was going to be just okay, I wanted to make my own.
I teamed up with the great folks at OnlineFabricStore.net to create this fun rainbow bunting. And let me tell you what, picking the colors was easier said than done. They have sooo many color options it was almost overwhelming. After many many hours trying to figure out which colors I wanted I was able to narrow it down to 7 fabrics. Remember ROYGBIV (Roy G Biv, he’s a close personal friend of mine). I mean if I was going to make a rainbow bunting it was going to have all of the colors of the rainbow present, no stone left unturned I say!
Because I love you all so much and am grateful for your presence at The DIY Village I went ahead and linked up every fabric so you can get your own!
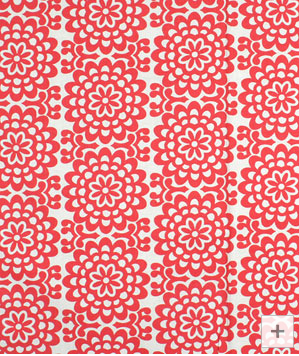 Red – Amy Butler Wall Flower Cherry Fabric
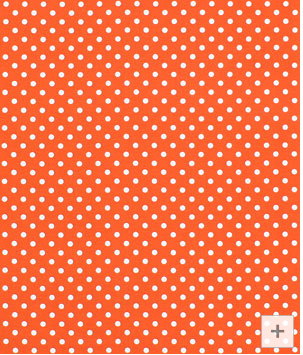 Orange – Michael Miller Dumb Dot Tangerine Fabric
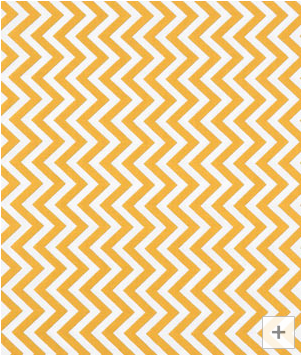 Yellow – Moda Small Zig Zag Sunshine Fabric
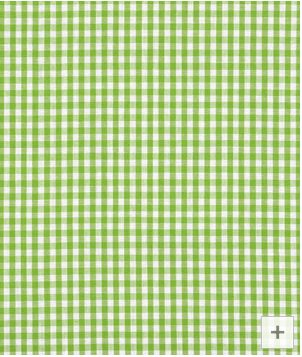 Green – 1/8″ Lime Green Gingham Fabric
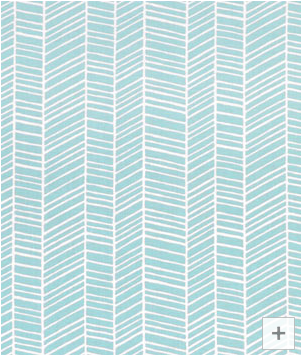 Blue – Joel Dewberry Herringbone Pond Fabric
 Indigo – Moda Low Tide Deep Water Fabric
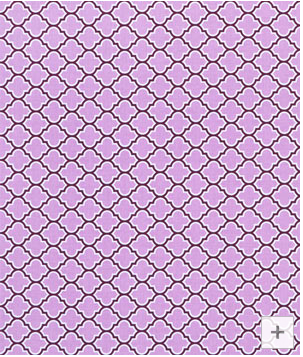 Violet – Joel Dewberry Lodge Lattice Lilac Fabric
Also for this particular project you will need twine, Dritz Fray Check, and Dritz Liquid Stitch. Remember this is a NO SEW project!
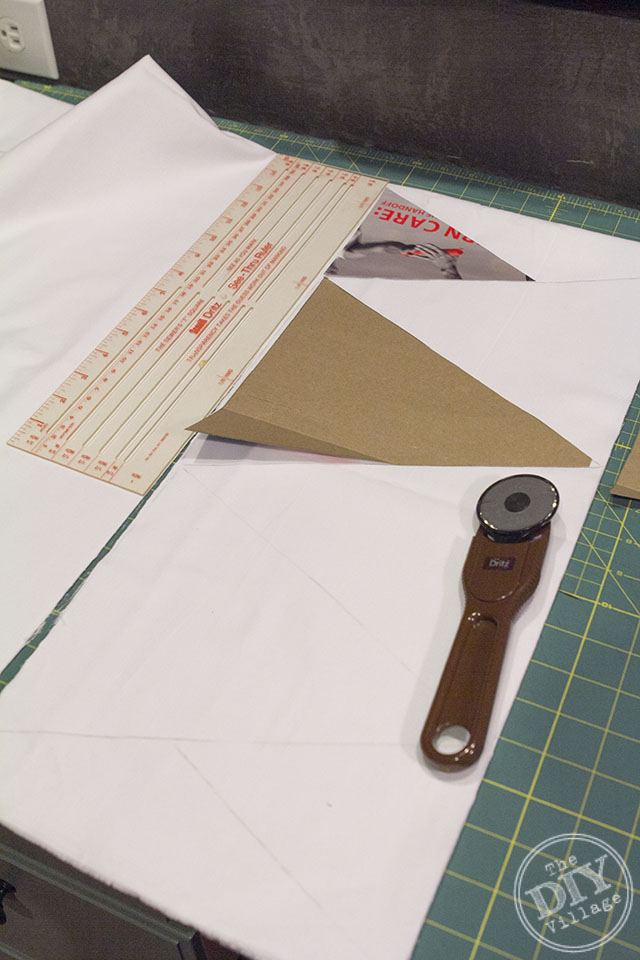 My particular bunting is one sided but I wanted my fabric to POP. Nobody put’s Baby in the corner, or wants their beautiful fabric selections to get lost on a wall. To make sure the fabric was visible I added a white backing approximately 1/2″ larger than the colored fabric triangles. I started out by finding out what size I wanted each pennant to be and create a stencil out of a Fed-Ex mailing envelope for the white backing, then created another pennant 1/2″ smaller than the white for the colored images.
 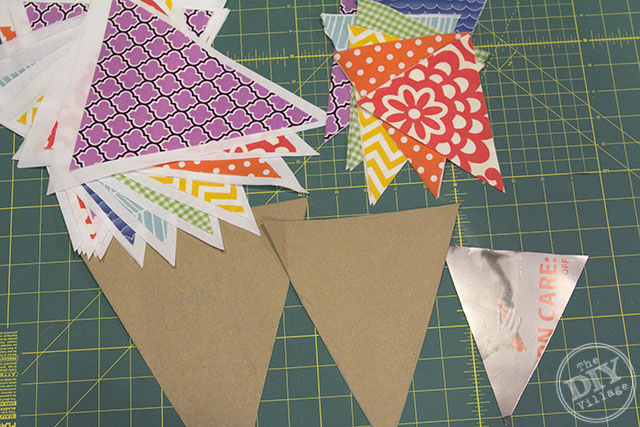 While I was tracing and cutting and what not I also created a third size (even smaller) that would be used for a rainbow bunting for Josslyn’s high chair for her cake smash! To save time I doubled over my fabric and used a rotary cutter and straight edge. The fabric was cut in no time. Before you cut make sure to keep in mind the pattern on your fabric. I was lucky but my indigo fabric was almost a flop, I wasn’t paying close attention and almost cut the waves vertical instead of horizontal … let’s just say it would not have been a good look!
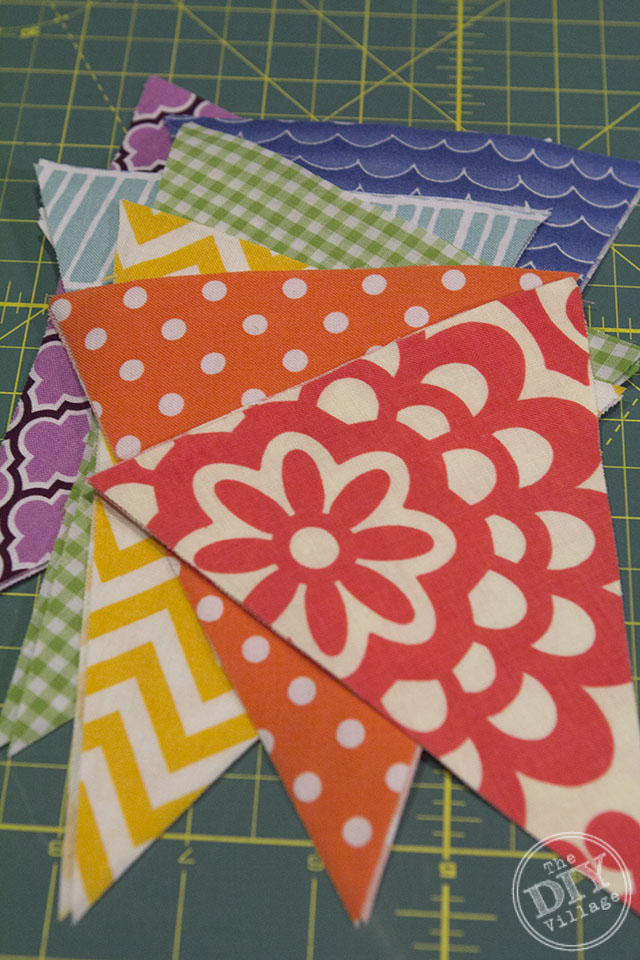 Since you won’t be sewing your bunting you will need to seal the edges. This is what you will need your Dritz Fray Check for. Each and every pennant colored and white will need Fray Check added to the edges. This part takes a little bit of time but will really get going quickly after you get the hang of it. They don’t have to be perfect you just don’t want them to fray!
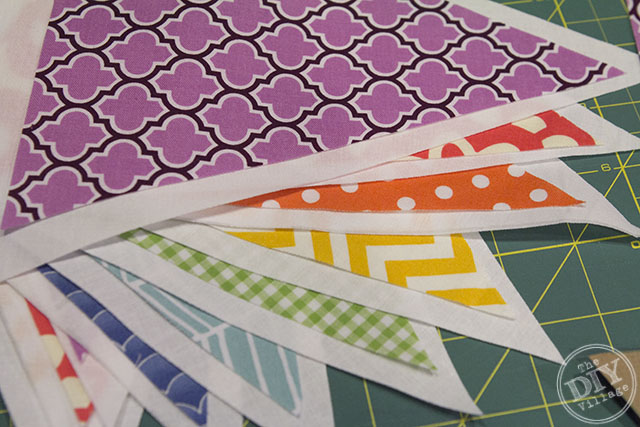 Let the Fray Check completely dry and then move onto attaching the colored fabrics to the white backers using the Dritz Liquid Stitch. This product is awesome and will create a bond between the fabrics stronger than you could ever imagine! When you are attaching your colored fabric to the white make sure and leave enough white at the top to create a fold over. Fold the top edge over to the back, this will create a pocket for you to slip the twine through.
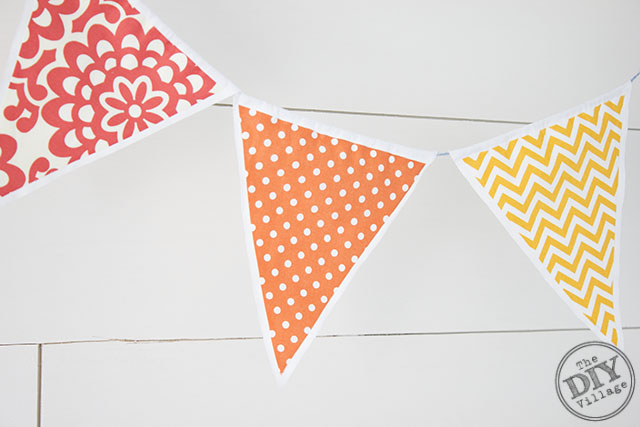 Make sure and let the Liquid Stitch dry for the manufacturers recommended time and then string your pennants. Don’t forget Roy G Biv (red, orange, yellow, green, blue, indigo, violet)!
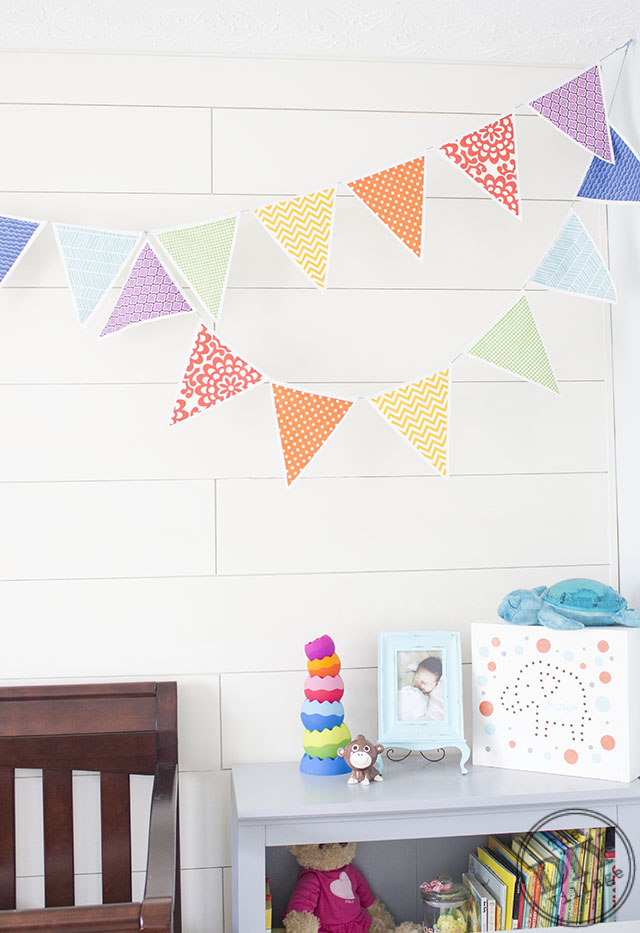
Josslyn’s rainbow bunting hung happily at her birthday party and now a few months later It has a new place of glory in her bedroom. 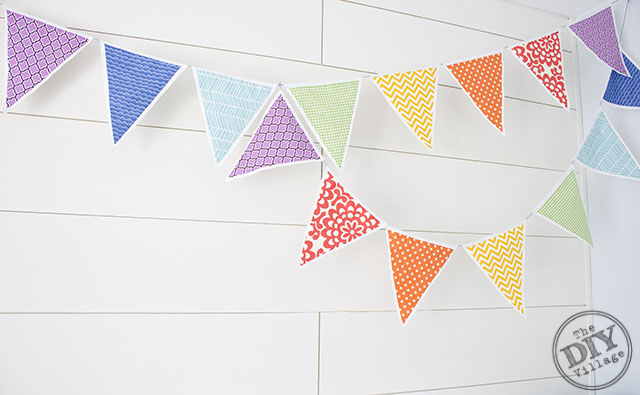 The bunting is attached to the wall directly above her crib and then angled out 10″ or so from the back wall to give the bunting some dimension in the room.
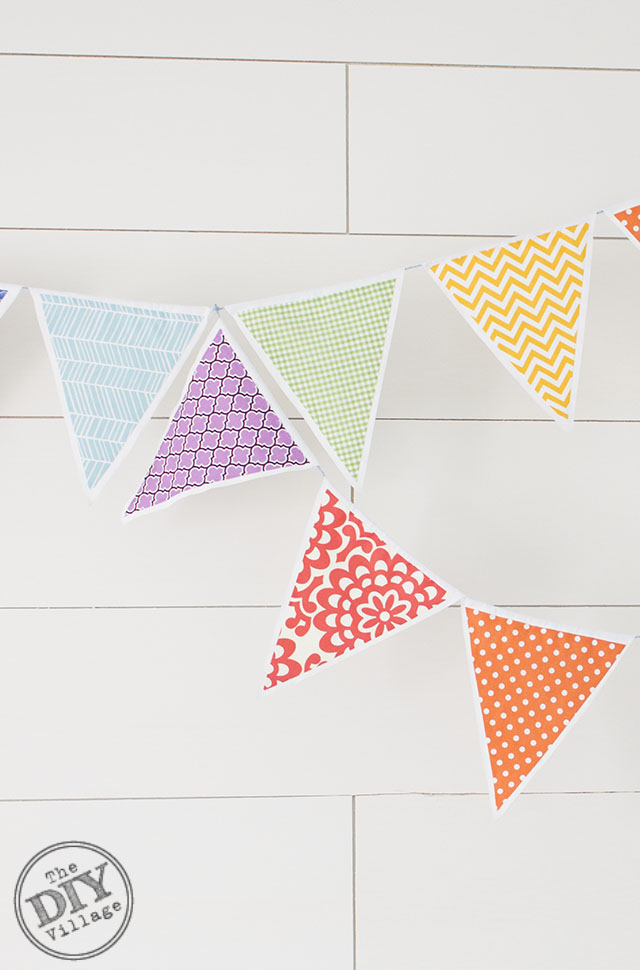 Josslyn loves the colors and I have been using them as a learning tool for her. Pointing out each color and saying each color out loud. Right now she just watches and listens, pointing and attempting words but I know it won’t be long before she will be telling me what each color is on her own!
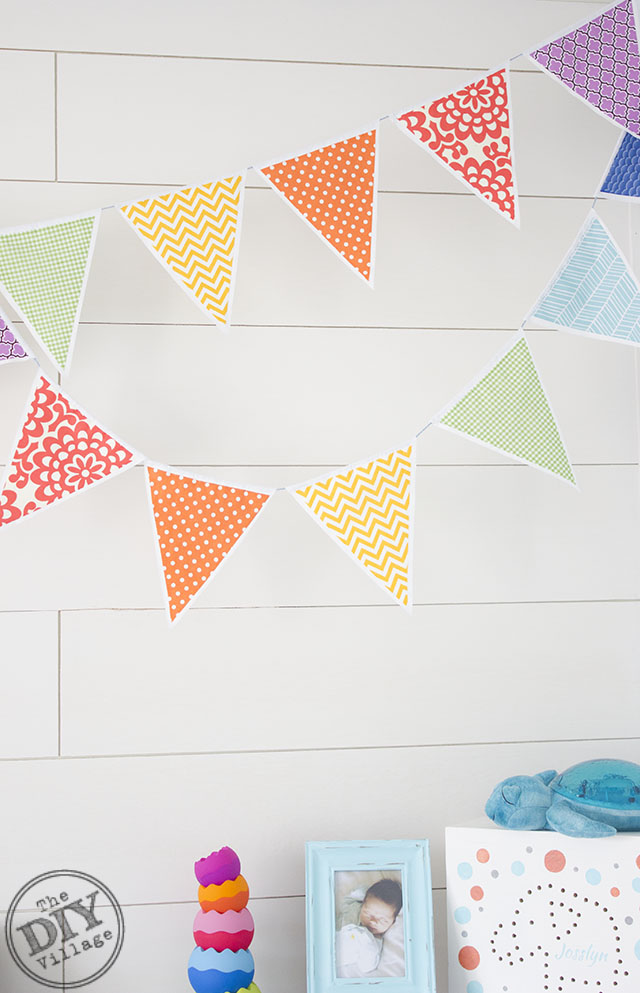 I have to admit, I am pretty excited to add another custom aspect to her room. Matt started with the plank wall, then made her the cute Little Prince wall art, then he spent hours figuring out how to create her insanely awesome elephant LED night light (which by-the-way we use E.V.E.R.Y. night), the fun birth stat art that I hope she keeps for forever, the custom black out curtains I made, and probably my favorite all time piece that Matt has ever done, the Woodland inspired dresser, turned changing station.
 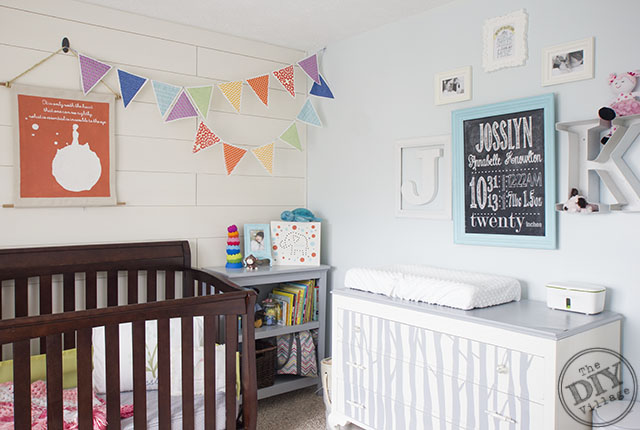 Yeah I’d say this room is pretty awesome and the best part is, we aren’t done! Then again I am almost positive by the time the room is complete it will be time to change it up for a little girl or (gasp) dare I say teenager … Baby steps mama, baby steps!
YAY for no-sew projects! I absolutely LOVE the fabrics you chose – they are so perfect for your rainbow bunting!
Thanks girl! You never know when you order fabric online but every time I order from OFS they are spot on!
So cute!! I did a bunting in Jack’s room too but I never thought to do a no-sew version! I love the white you added in too. It’s so funny, because normally I’m pretty afraid of color, but all of Jack’s Roy G Biv themed toys are always my favorites.
So absolutely adorable! Do you think she’d mind if I moved in with her? Thanks for sharing at Friday Finds, btw!
i LOVE this bunting! It’s so fun and bright and could be used for so many different purposes!
I love no sew projects and this one is great! I’d love for you to share it on my Found & Foraged Linky Party held every Saturday night at 8PM CST at http://houseofhipsters.com/
This is soooo adorable! I particularly love the planked white wall behind it. Sure makes it pop! Great work on that whole room! I love your style!
This is so cute! I love the fabrics you chose! Now I need to find a spot in my home that needs a bunting and make one myself!
Yay for rainbows! What Fun!
This bunting is sooo cute and I love your nursery! Pinned it!
Seriously so cute! I love a good no sew project and this just finishes the room perfectly! Thanks for linking up to the Creative Exchange!
This is so cute, would make for a perfect Spring Project 🙂
Thanks girl!