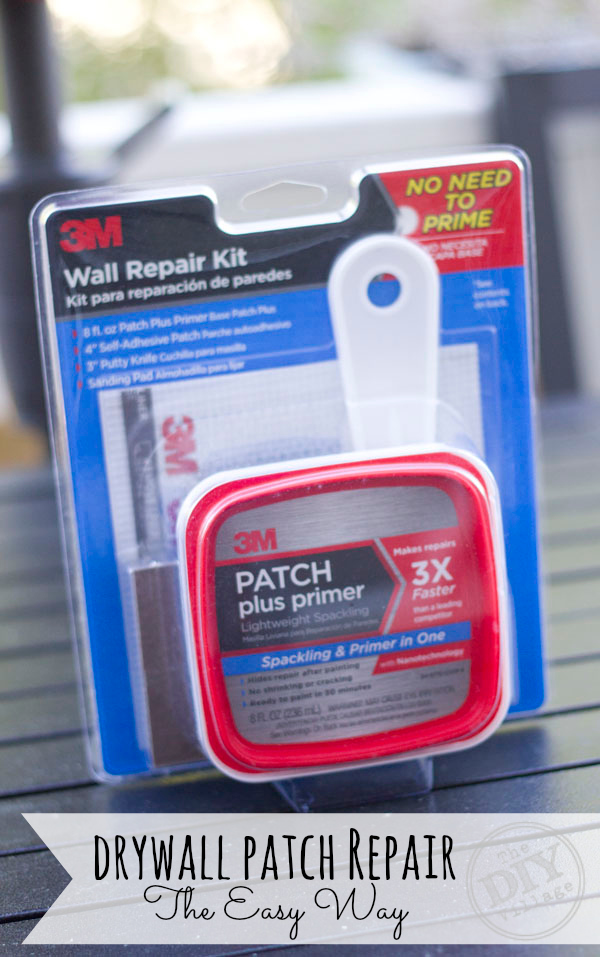
 All things considered one thing we are constantly doing in this house is patching walls. One way or another we always end up with a hole in our drywall by the end of a project, we are in constant need of drywall patch repair. This winter Matt replaced our old thermostats with new energy efficient smart technology ones. I absolutely adore them, but what I don’t adore are the holes in the drywall created in order to fish the lines to the new location of the thermostat. Fast forward 5 months and I am still looking at this.
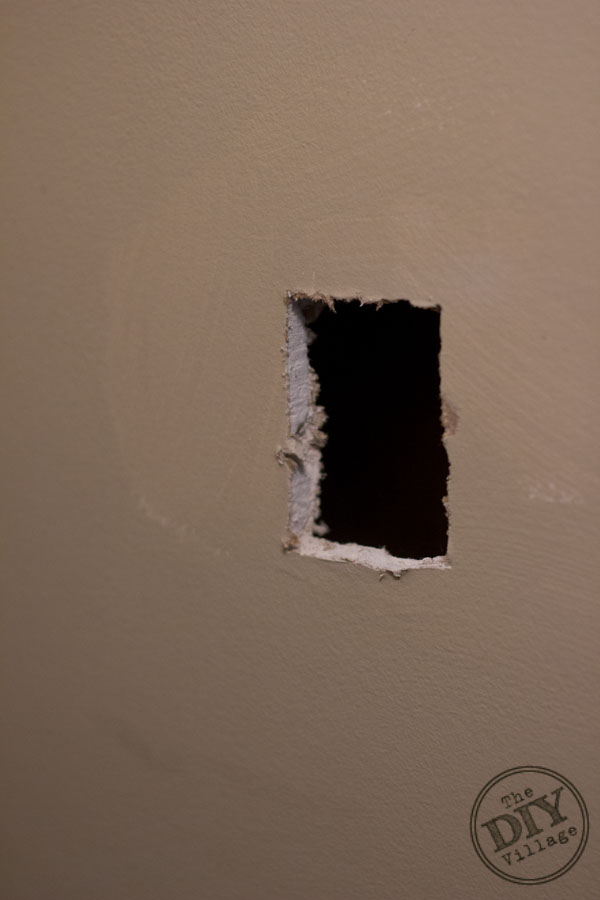 Beautiful hole in my wall! Thankfully Matt chose a spot that needed some paint work anyway but it’s time for this hole to be gone! 3M DIY was kind enough to provide us with one of their new Wall Repair Kits (Found HERE) to get the drywall patch repair done.
 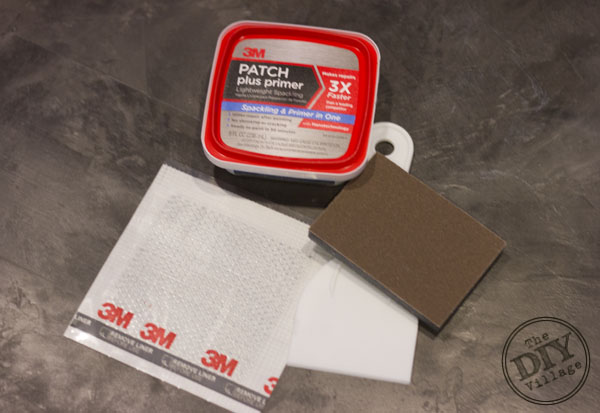 Each kit contains an 8oz tub of 3M™ Patch plus primer (if you haven’t ever used this stuff before you are missing out!), a 4″ Self-Adhesive Patch, a 3″ Putty Knife, and a Sanding pad. For this particular drywall patch repair you will also need paint and a paint brush.
MATERIALS:
Paint Brush – (found HERE)
Wall Paint
&
3M™ Wall Repair Kit – (found HERE)
or
3M™ Patch plus primer – (found HERE)
Drywall Sanding Block (found HERE)
3″ Putty Knife- (found HERE)
4″ Self-Adhesive Patch – (found HERE)
HOW TO:
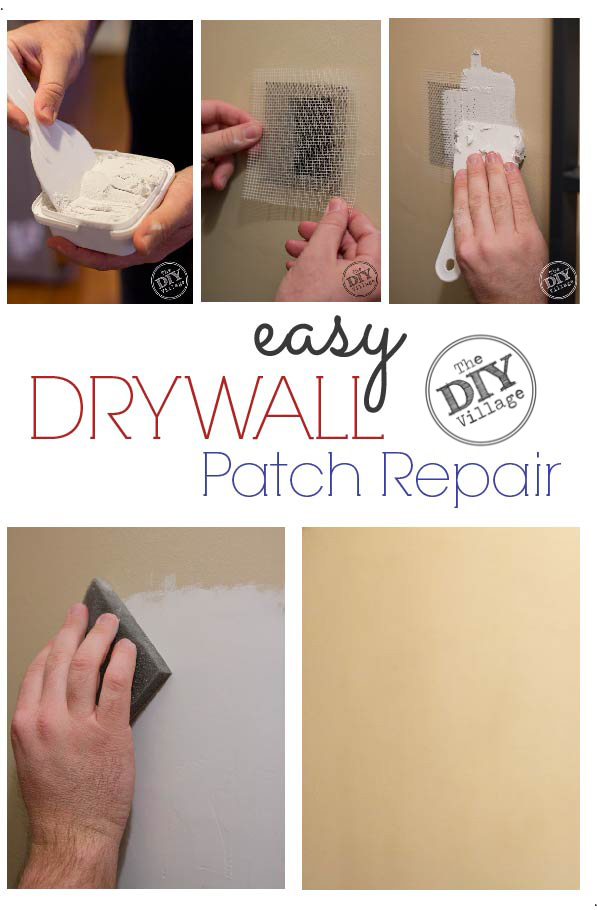
The first step to the drywall patch repair will be to clean the area up. Do this by removing any loose drywall or debris such as wallpaper. (Since our hole was created by Matt the area was already clean. We were able to skip to step 2.)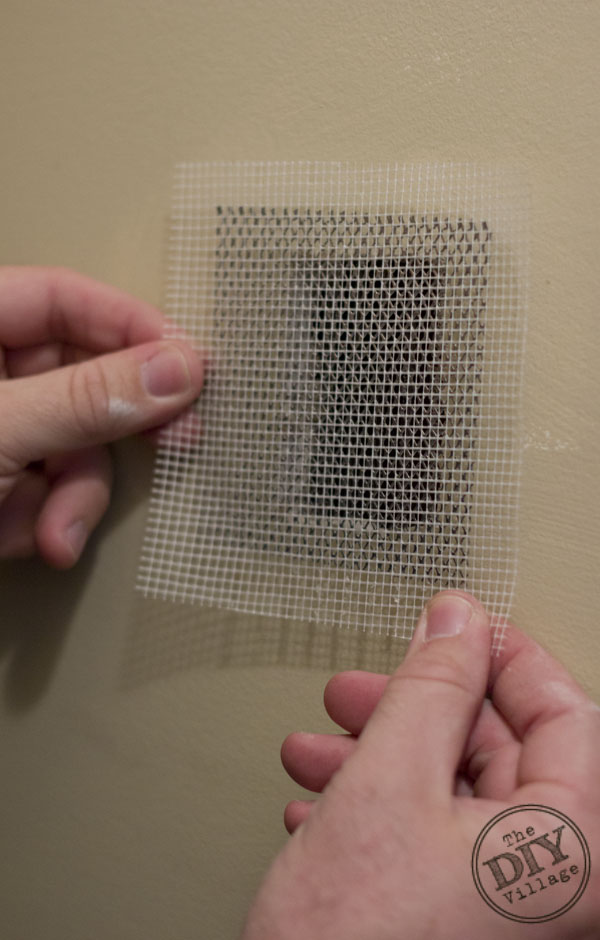 Applying the patch! Remove the paper backing from the patch making sure to cover your hole. You will feel a slight tackiness to your patch which will help hold it to the wall while your Patch Plus Primer dries.
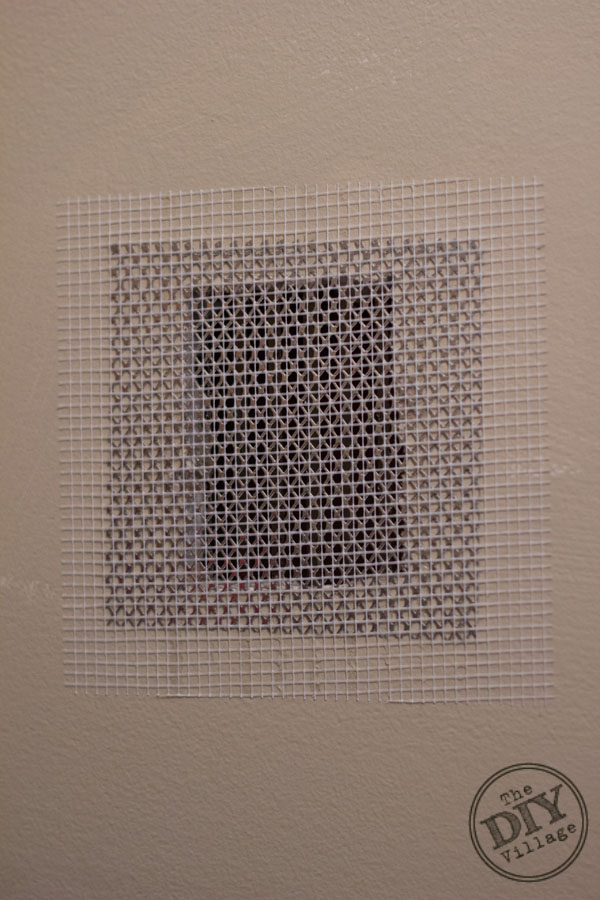 Press firmly on the patch to ensure a good bond with your wall.
 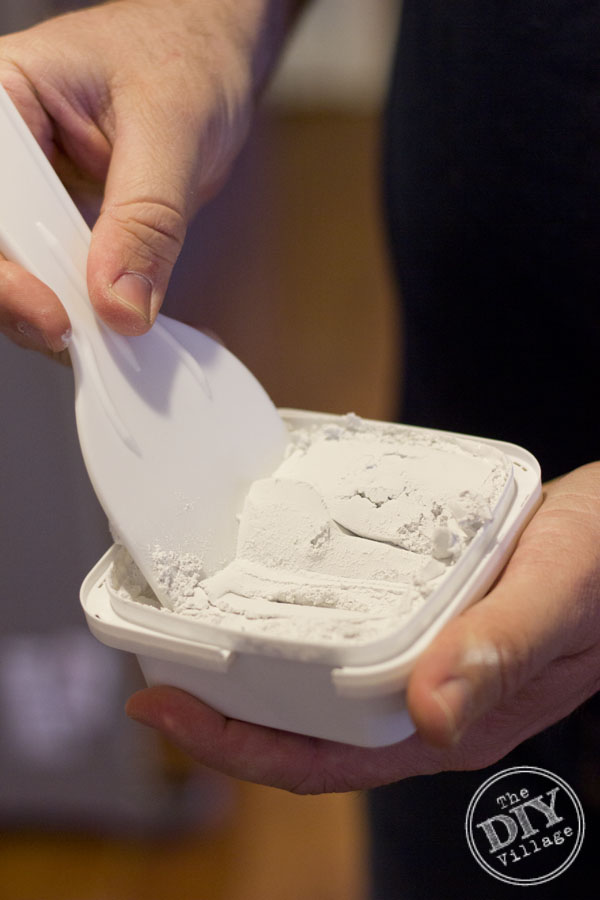 Now you are ready for your 3M™ Patch plus primer. But wait! You don’t want to jump right in you will need to give your a compound a little mix first! Matt shares his 3 drywall repair quick tips in the following video.
View this videos ad free HERE, HERE & HERE
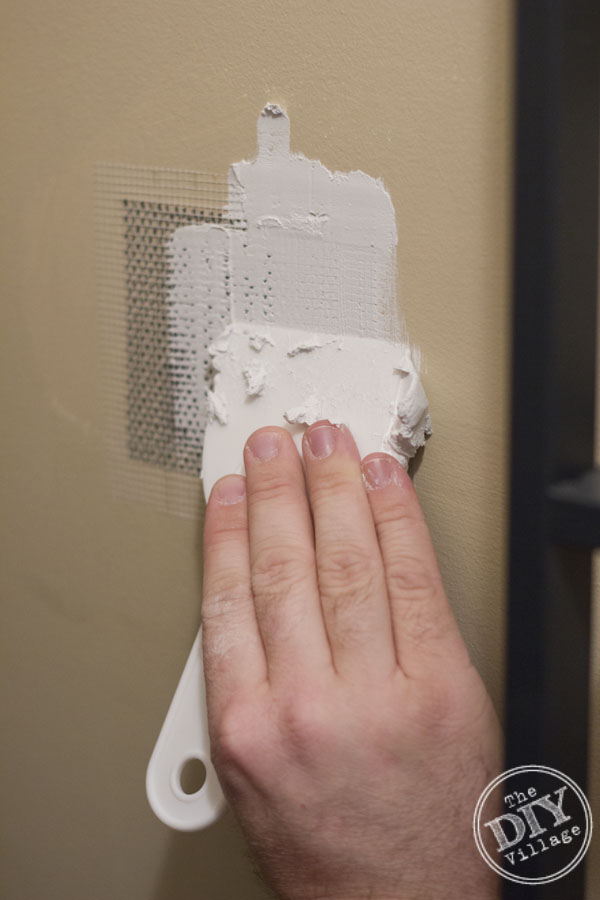 After your spackling compound has been mixed spread the 3M™ Patch plus primer spackling compound towards the outer area of your patch applying the compound thinner and thinner the further you go. Slowly blending the compound into the wall is referred to as feathering. Drywall Repair Quick Tip #2 of the video goes over this.
 Give your compound about 30 minutes to dry (yes, that fast). When the patch is completely covered and dry it is ready for sanding. Using the 3M™ Advanced Abrasives sanding pad provided in the kit sand smoothing out any bumps and imperfections in the compound. Be careful not to sand to much causing the mesh patch to show. If this happens you will need to apply more compound and start the sanding process again.
If you want to take your sanding process up a notch check out Matt’s quick tip #3 for reducing the amount of dust created while sanding using the 3M Clean Sand System (found HERE).
When the sanding is completed, the wall is ready for paint. One of my favorite things about the 3M Wall Repair Kit is the 3M™ Patch plus primer . In case you missed it before the spackling compound already contains primer which is pretty much the coolest thing ever. One thing you can never get back in this world is time, no matter how hard you try. Spending an hour waiting for primer to dry is almost as exciting as watching the grass grow. Being able to skip this step is pretty wicked awesome!
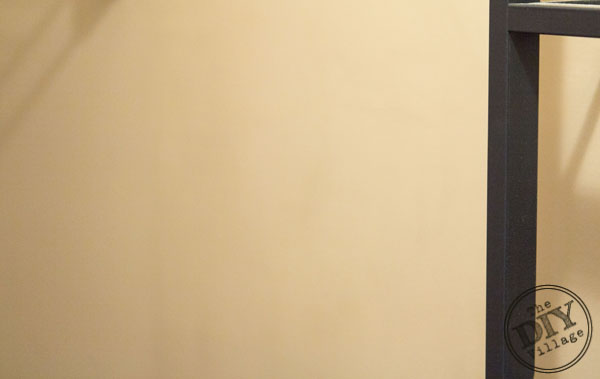 With the patch completely painted your project is complete. No more hiding the hole in the wall with a painting or just hoping no one notices. With little effort and in less than an afternoon you can repair most any holes in your drywall.
For tips on painting check out some of our favorite tutorials- Tips for Painting, Covering Red Paint, How to Paint Like a Pro
“I am proud to be a 3M- sponsored blogger. As part of my responsibilities, I get the opportunity to evaluate new products from 3M DIY. Opinions are my own and additional product used in the project were selected by me.”

Wow, you can’t even tell where the patch is! Definitely going to check out that kit!
Looks like a great product! I’ve always wanted to know how to patch up the wall easily!
Omg love this! Primer included is brilliant!!!!! Pinning!
What will they think of next?
You can’t even see where the hole used to be! That looks like a must-have product, and it looks very easy to use. Thanks for sharing!
It totally is all the way across the board!
That’s amazing – we need to repair a hole, I’m going to let my boyfriend know about this!
It really is a great product, I know our repair time was easily cut in half!
Looks easier than I am sure it would be if I tried!! I hate to do dry way. I always leave some streak or bubble, but I haven’t tried that, so I guess I better! Thanks for a great tutorial. Hopefully I don’t need to patch any holes soon!! If I do, I have a great resource here.
As a serial home renter I am so pleased to find out about this product! I always hate hanging photos because I know they will leave holes when we leave. So I don’t even consider shelves or other larger decorative pieces. This just opened up a whole new world!
I love the patch plus primer and the sanding system kit! It’s so versatile! great job on the videos!
This product looks as if it works great. What about wall texture?
What do you recommend if the hole is slightly larger than the patch provided in yhe kit?
I had 2 door knob sized drywall holes to repair, so I purchased this product and began the process as instucted in this tutorial. I followed these simple instructions to a “T,” I’m very happy with the outcome. Let the painting begin!
Anybody know a round ant Bruce on these kits?
What do you use to get the same texture on the patched portion like you have on the rest of the wall? Otherwise, you would have a flat spot on your wall whereby the rest of the wall is textured.
Our walls are not textured. Any texture would come from the paint roller, so that is fairly easy to replicate.
I’ve had a square hole in my family room wall for, well, 15 years! I’ve cleverly covered it with a picture. I’ve been listening to promises to repair it for, well,15 YEARS! After watching your videos and reading your story, I tried it myself. I can’t thank you enough for sharing this. It was easy and looks great. Now, maybe when my family begs me to make my famous coconut cake, I’ll make them wait 15 years. lol
Does this work for drywall paper tears? Or is it just for holes?
Just holes.
Wow! looks cool!