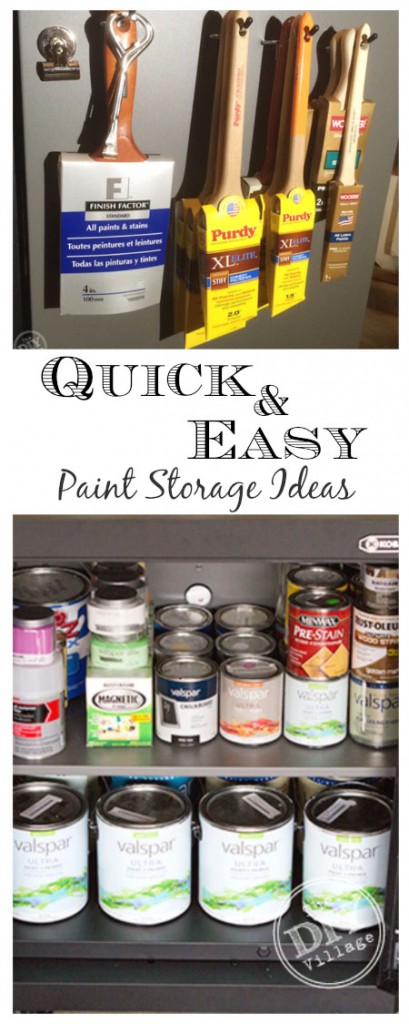
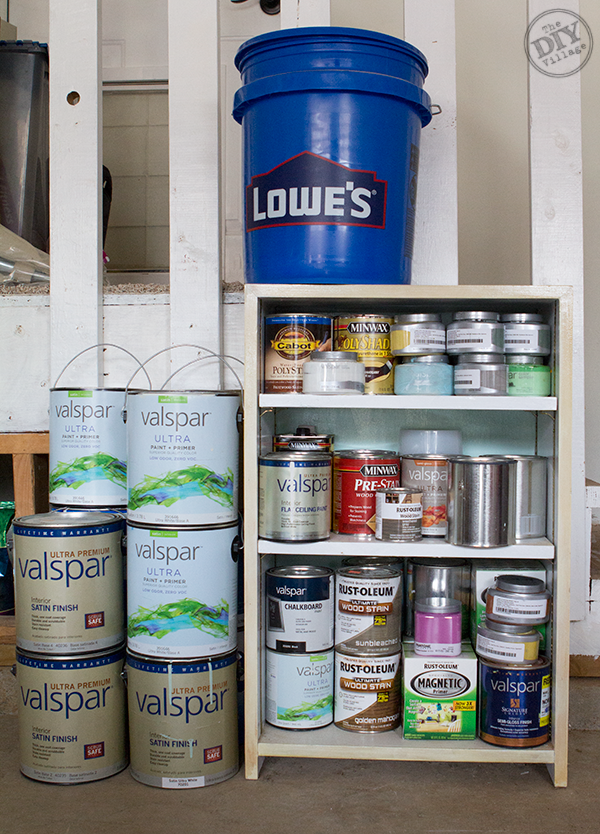
 We’ve got a small bookshelf out in the garage that we’ve used to house our collection of paint samples and discounted mis-tints. After we made our workshop chalkboard and updated our garage wall storage with the Kobalt K-rail System, I’ve been itching to replace this out of place, overfilled bookshelf!
My first thought was to build a custom cabinet, after all, I am a handyman! But, I didn’t want this project to turn into an all weekend ordeal. So I decided that I’d go a completely different route and buy something instead. It’s hard for me to say, but I’m actually admitting that sometimes it’s better to buy than it is to build.
On a trip to Lowe’s, I ran across this Kobalt multipurpose cabinet and knew I had found the quick and easy paint storage solution I was looking for! I’ve eyed these cabinets probably a hundred different times before, so I was pretty excited when I finally put one in my cart.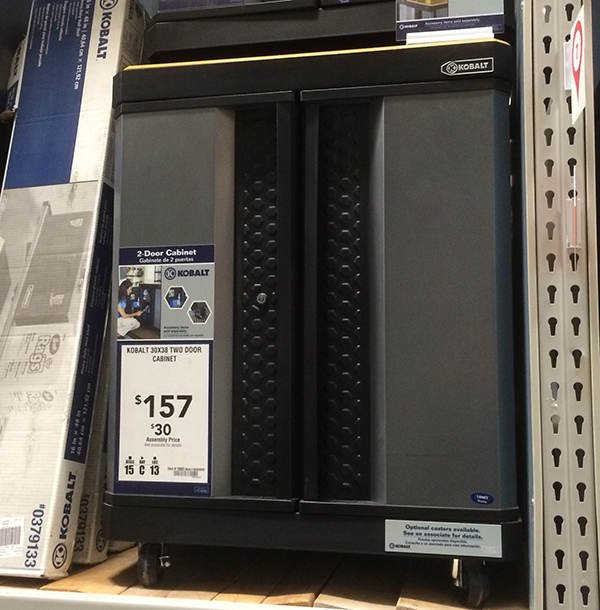
As I stood there looking at the cabinet display, I came up with another idea. What if I installed a few “add-ons” to the existing cabinet? Right next to the cabinet display was a rack full of pegboard accessories. I could mount a few of them to the side of the cabinet and have a place to store paintbrushes and any other miscellaneous paint supplies!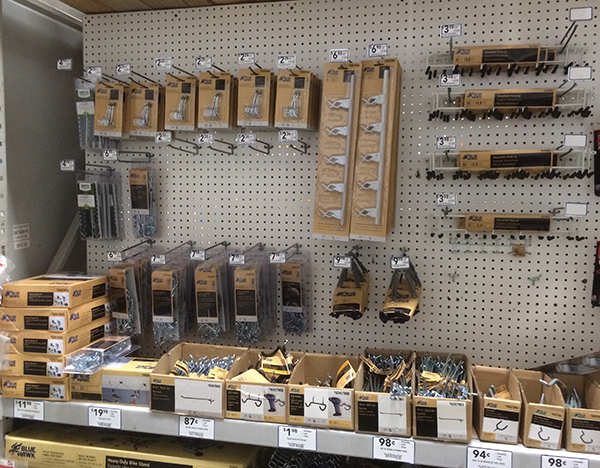
Before I left, I grabbed a set of the Kobalt Casters for the bottom of the cabinet to make the storage unit easily movable!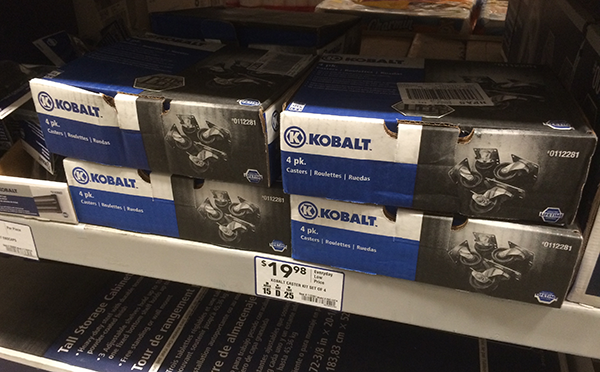
When I got home, the assembly was a simple process that took less than 30 minutes. Probably my quickest “build” ever!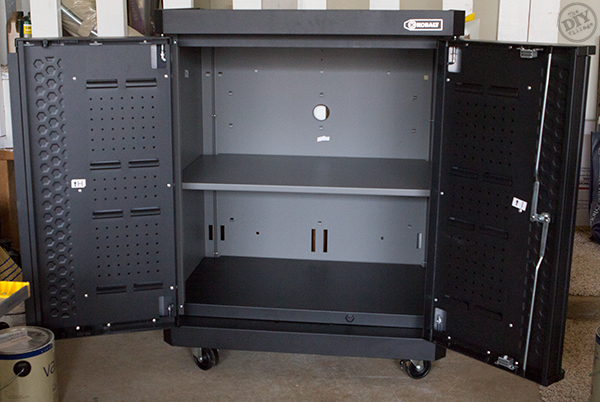
I took the pegboard hooks and using a drill bit gauge, was able to figure out what size pilot holes I needed to drill. To give myself, a little room for play, I drilled the holes one size bigger than the actual hardware. (For those keeping track, I used a 5/32″ drill bit.)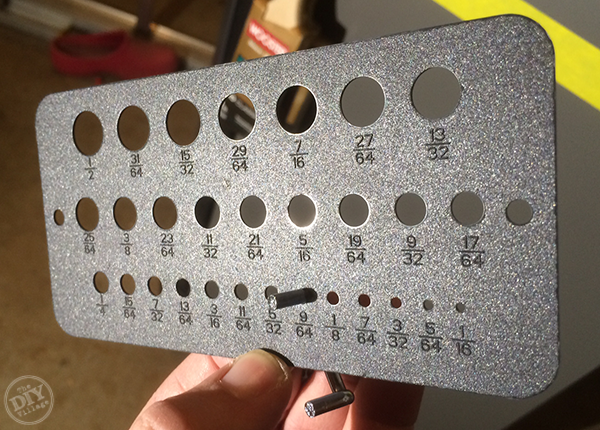
As to not make the pilot hole marks on the metal, I put down a piece of tape to mark on instead. With the necessary marks in place, the next step was to drill holes into the side of the cabinet to allow for the installation of the pegboard hooks. 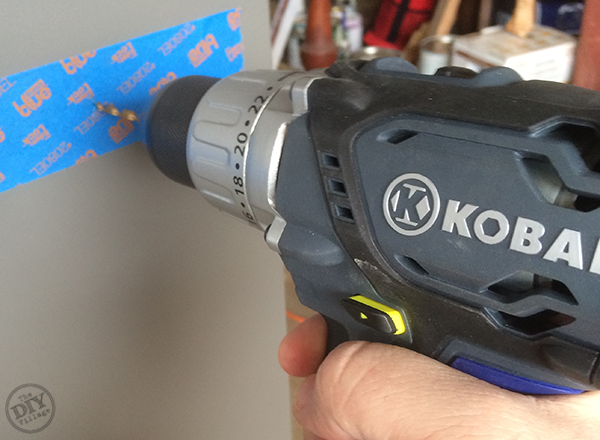
Once all of the pilot holes were drilled, I slide the hooks in place and just like that, the paint brushes finally had a home! (I also added a magnetic clip just for good measure)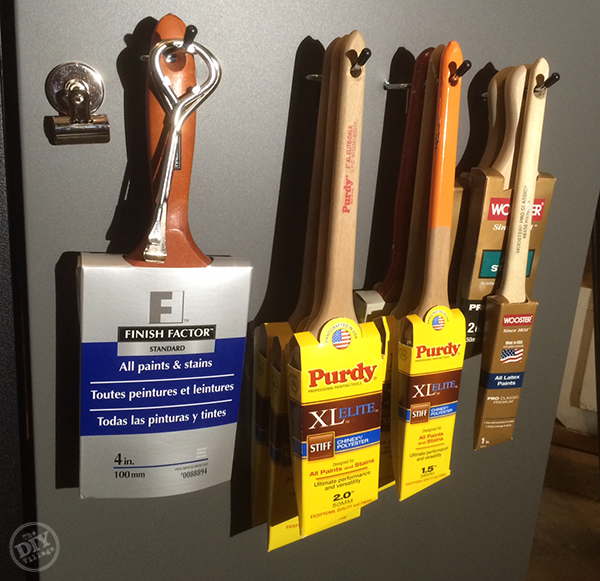
Now the only thing left to do was to pile in the paint! 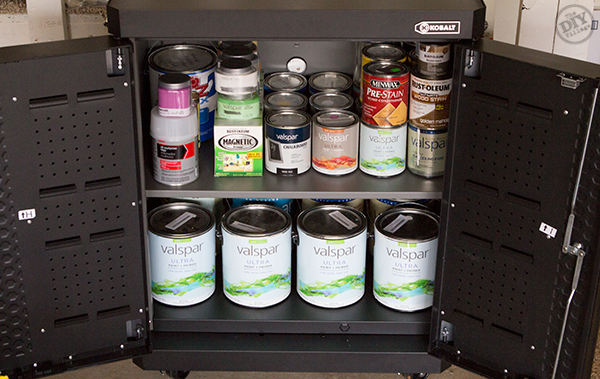
Our personal inventory of paint and stain finally has a designated and organized storage area and thanks to the doors on the cabinet, I don’t have to look at it every time I walk through the garage! 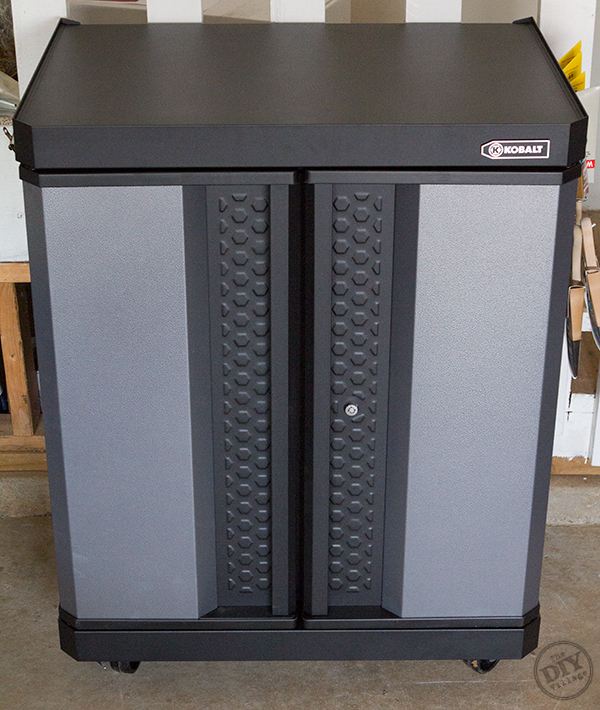
This isn’t one of our bigger, flashy projects, but it is one of the most useful and practical ones. Including the trip to pick up the cabinet and supplies, the whole project took less than an hour and a half! So this could be the perfect solution for the weekend DIY’er who has limited time, but needs a quality and functional storage solution!
Looking for more great storage ideas? Be sure to check out the rest of the amazing Lowe’s Creators & Influencers!
If you’re an iPad or iPhone user, be sure to download the Lowe’s Creative Ideas App to see some unique seasonal project ideas!
And if you need even more inspiration, follow Lowe’s Home Improvement on Pinterest, Facebook, and Instagram
Disclosure: As a Lowe’s Creative Ideas Handyman, I was provided a gift card to cover the cost of materials for my project, but I was not told what to write. All the ideas and words found here within are honest and my own
I love Valspar paint! Great storage solution idea.
so much more organized than our paint stuff…much to ethan’s chagrin!
I so need to implement something like this! My stacking-paintcans-in-the-corner system is becoming quite impractical!
Oooo, my little workshop really needs something like this! Great motivation to get that space organized, too!
Great idea, just remember to check the paint tins if you don’t use them for a while as the bases can rust out of the tins if left dormant for to long. Keep the tips coming!
I was wondering what type of drill bit did you use to drill into the metal?
Christal, we used a Turbomax drill bit made by Irwin Tools. They recommend them for drilling through sheet metal! Here’s a link that I find useful when trying to find which bits will work with different materials! http://www.irwin.com/uploads/documents/51_2013_Metal_eBook.pdf
Thank you so much for the link! This is gonna be extremely helpful in the near future!
Do you find that leaving paint in the garage alters the paint? With the shifts in temperature, hot and cold. Or the humidity?