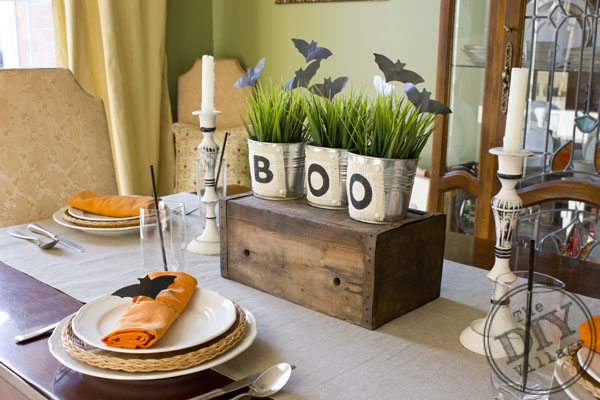
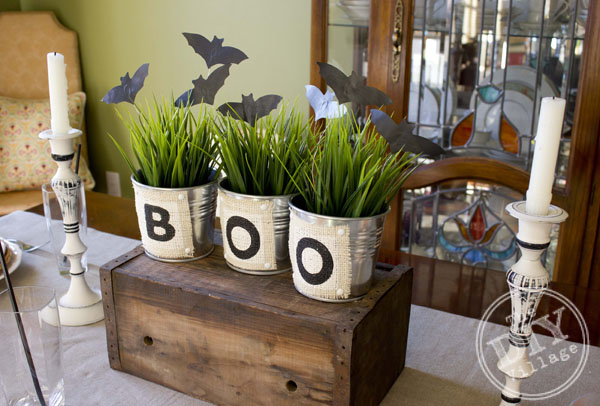
Yay! I’m so excited Halloween is getting closer and that means we are getting even closer to our little one being here with us! I cannot believe how quickly the time has gone by! I decided it was time to liven up my dining room table decor; DIY halloween style. With a little help from ScotchBlue™ I was able to accomplish this in no time flat. I really stepped out of the box here folks but I can promise anyone can make these!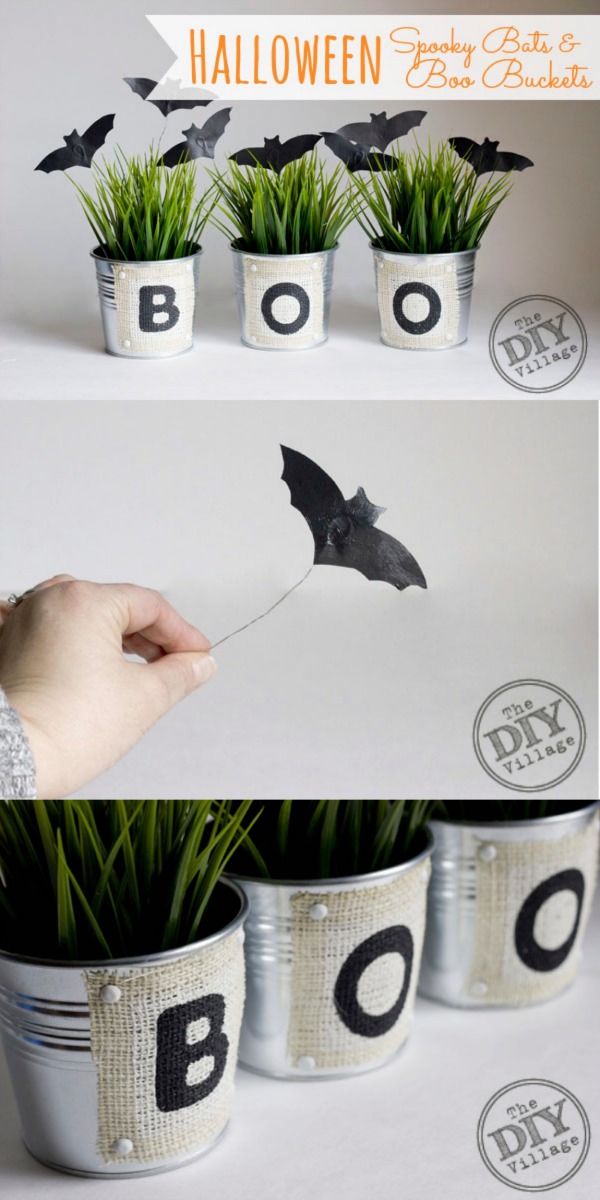
Before I get down to the step by step lets take a look at what you will need to make your BOO Buckets!
BOO Bucket Materials-
ScotchBlue™ Painter’s Tape 1.88″
Metal Buckets (3)
Burlap
Alphabet Cookie Cutters
Craft Paint (white and black)
Paint Brush
Spray Adhesive (3M Super 77)
Paper Brads (optional)
Drill with metal bit (optional)
Step 1:
Cut burlap into 3- 3″ squares (I forgot to take a picture of this but I’m pretty sure you are all smart enough to figure this one out)
Step 2:
Mask off a 1/2 – 3/4″ border using ScotchBlue™ tape.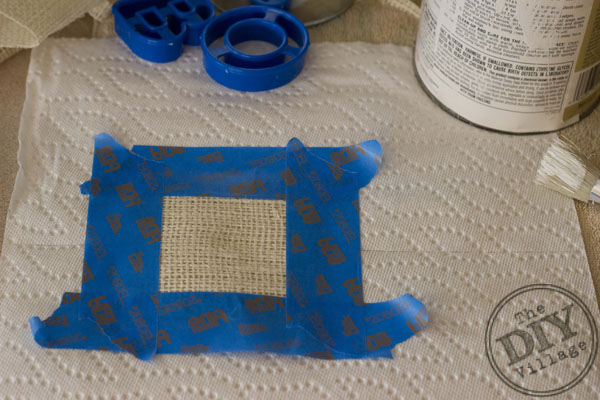
Step 3:
Paint the burlap that is inside the ScotchBlue™ area with white crafters paint.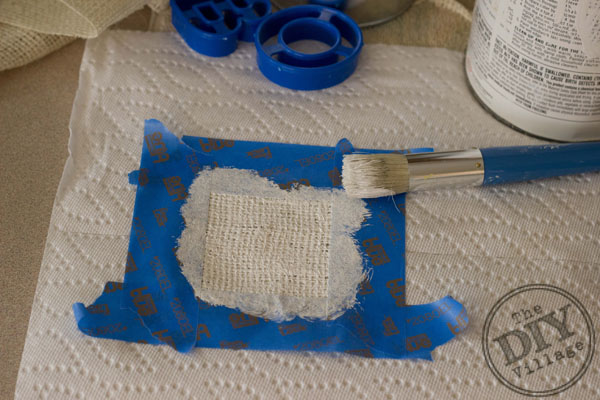
Step 4:
When your paint is dry leave the ScotchBlue™ tape in place and dip your alphabet cookie cutters into your black crafters paint. Center the cutter in your square and press down firmly. Remove cookie cutter and paint inside the lines.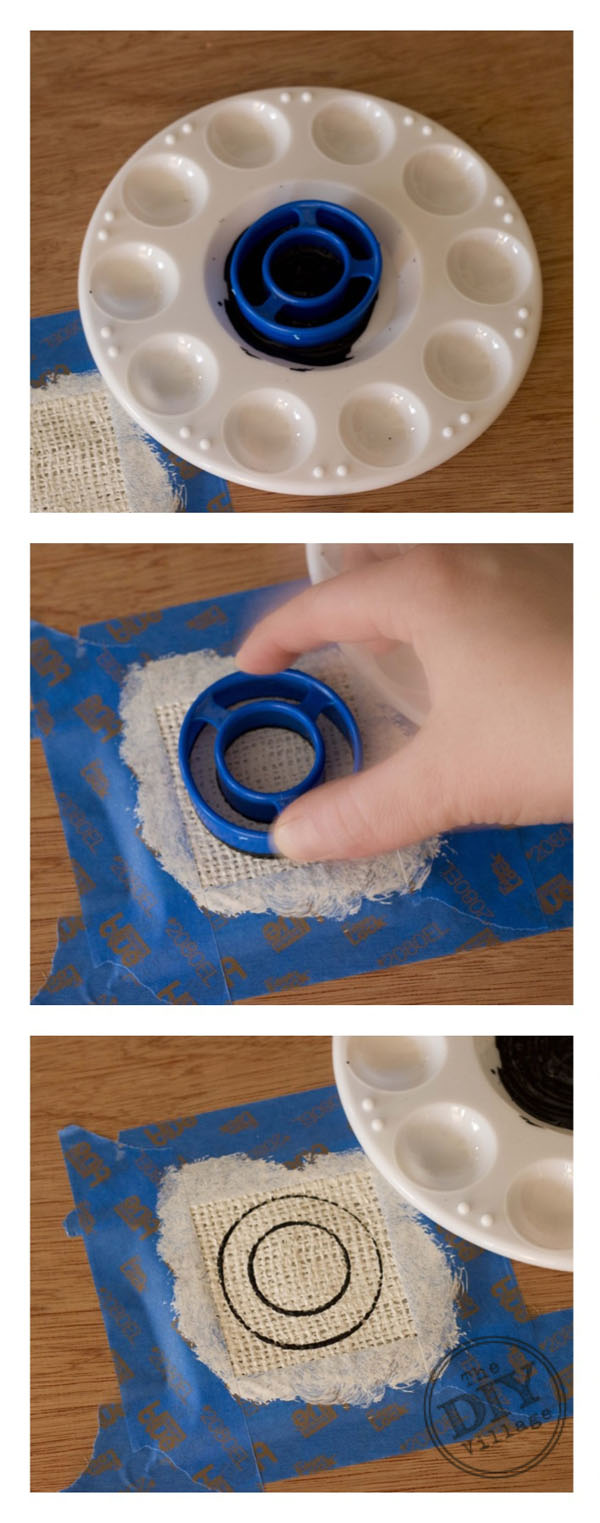
Step 5:
Wait for your paint to dry and remove the ScotchBlue™ tape and apply spray adhesive to the back of the burlap and press onto buckets. (For a more finished look you can drill holes in your buckets and use paper brads to hold the burlap in place.)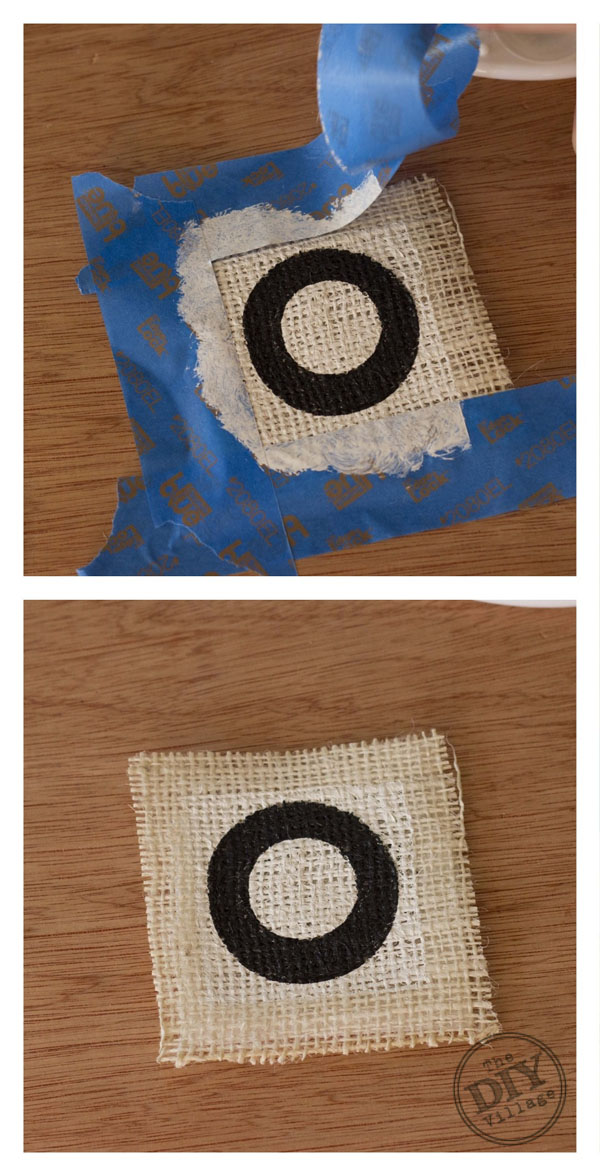
Bat Materials –
ScotchBlue™ Painter’s Tape 1.88″ width
Craft Wire (cut into 16 – 18″ lengths)
Craft Paint (Black)
Paint Brush
Marker
Scissors
Greenery (real or faux, mine is from IKEA)
Bat Silhouette (cut out of paper)
Napkin (optional)
Step 1:
Take an 8″ strip of ScotchBlue™ tape and fold it in half over itself.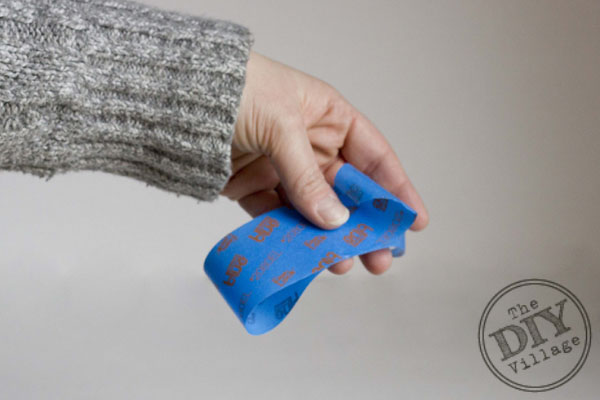
Step2:
Trace outline of bat onto ScotchBlue™ tape and then cut out.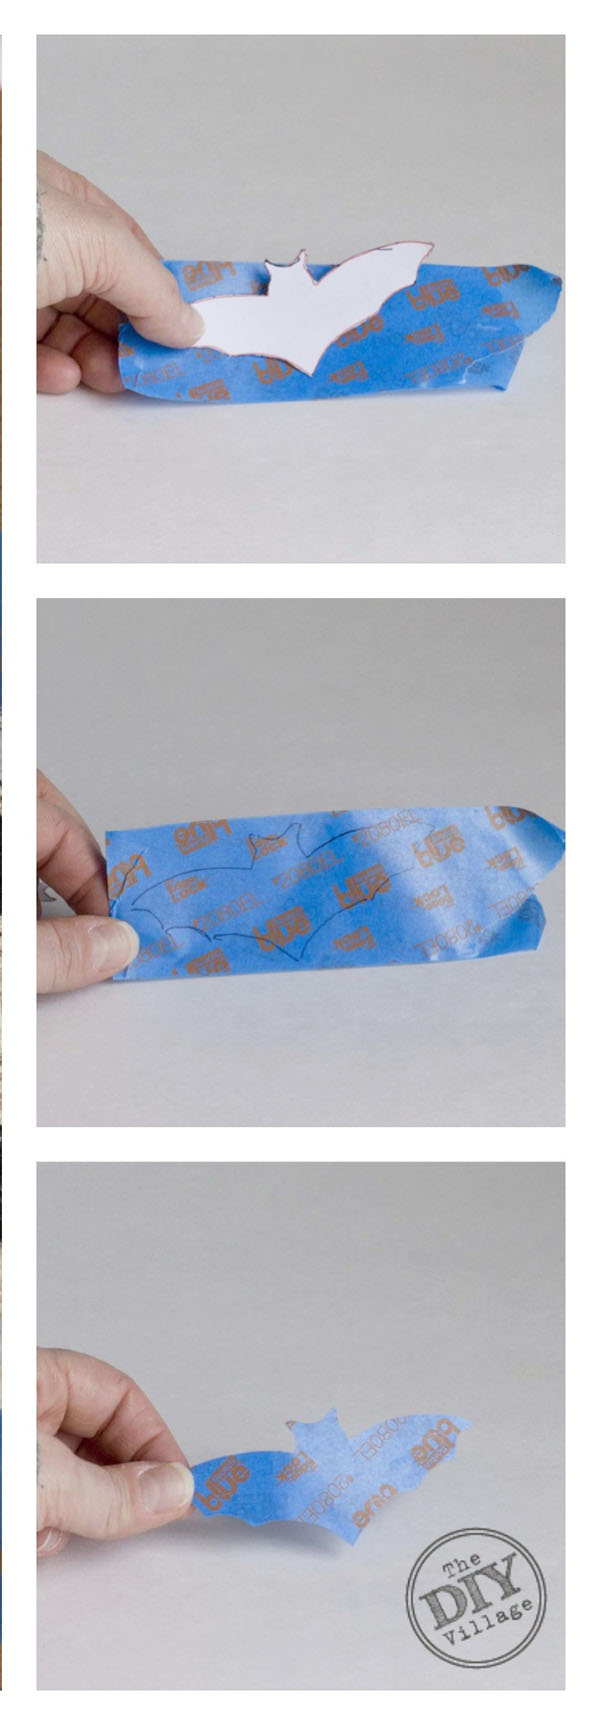
Step 3:
Take one length of wire fold it in half and twist the wire onto itself leaving a small loop at the top.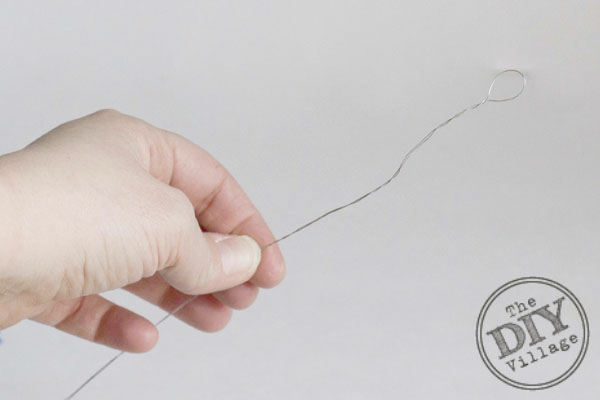
Step 4:
Attach the wire to the back of your bat cut out using a small piece of ScotchBlue™ tape.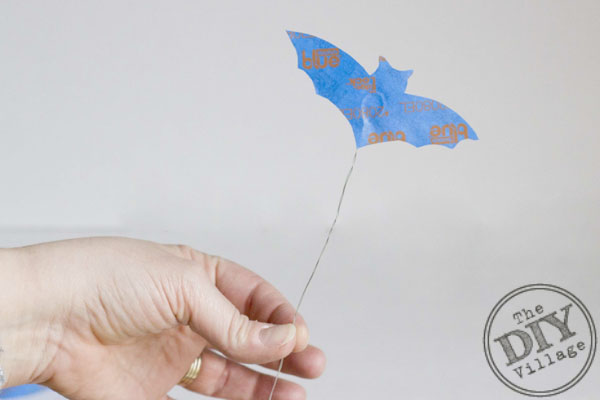
Step 5:
Paint bat’s using black craft paint.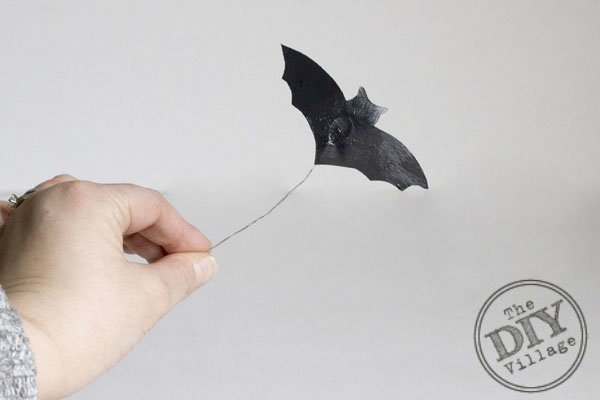
Step 6:
Add bats to your greenery or wrap them around a napkin as a fun halloween napkin ring.
This post is a collaboration with ScotchBlue™ Painter’s Tape. To join the creative community, visit www.facebook.com/ScotchBlue.
You can also keep up by liking the ScotchBlue™ Painter’s Tape Facebook Page, following the ScotchBlue™ Painter’s Tape Twitter Page, subscribing to ScotchBlue™ Painter’s Tape YouTube Page, or following the ScotchBlue™ Painter’s Tape Pinterest Page.
Check out more Halloween Tricks & Treats below!
Sharing With:
Home Stories AtoZ, DIY Show Off, Under the Table & Dreaming, Uncommon Designs
Not Just a Housewife, SNAP Creativity, Savvy Southern Style, Stone Gable
Practically Functional, One Project Closer -The Better Half, The Shabby Creek Cottage
My Repurposed Life, The Frugal Girls, Funky Junk Interiors
i Heart Naptime, Tater Tots & Jello, I Should Be Mopping the Floors
Thrifty Decor Chick
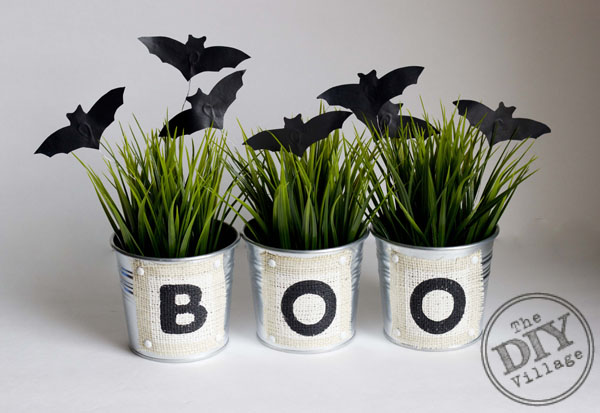
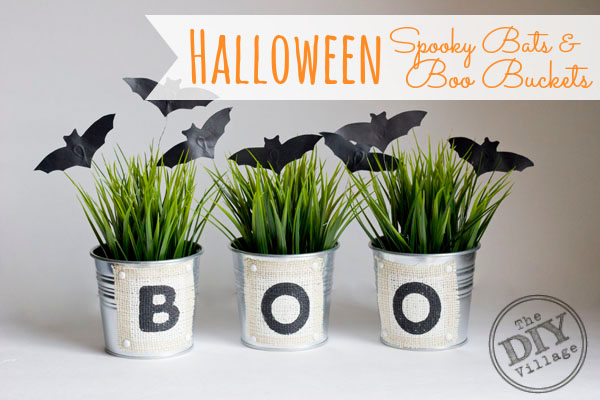

This is so cute, I can’t believe how you made the bats and the cookie cutter was genius!
This is adorable!!! What great tricks! Totally pinning!
This is adorable!!! What great tricks! Totally pinning!
Jacque these are SO SO cute!! Perfect for a kid friendly Halloween. Pinning!
I totally love that you used tape to make those guys! How fun!!!
THESE ARE TOO CUTE!!!!!!!! I’m so in love with those little bats, how adorable! Pinning this for sure!
By the way, I featured this on my blog today! You can check it out here, and grab a Featured button if you don’t already have one: http://practicallyfunctional.com/20-halloween-crafts-recipes/
Shut up! This is so stinkin’ cute and I don’t even like Halloween! Adorable 🙂
Brilliant! I love the idea and the overall look of the buckets is really cute. It totally looks like something you would buy at a store. I wish my DIY decor turned out like that!
Totally loving the boo buckets. They are adorbs. Cute tablescape too.
I love all of this! Over the top cute and so different! The tutorial is great too! Thanks!
These are so cute! Awesome idea and love the Halloween table! Pinning this!!
Love the use of burlap, and the fact that you created those bats from Scotch Blue tape is genius! Thanks for the tutorial!
Oh, these are so cute. I love that you added burlap in with them. Great job.
I love your spooky bats and the fresh green grass that they fly over! 🙂
The entire project is adorable but the bats are genius! Pinning!
Very cute! I love how it turned out!
super cute project Jacque! Pinning & Tweeting!
gail
Super cute and innovative idea!! I love that you used the tape to make the bats.
Those look so cute! Perfect for a centerpiece!
Super cute ~ love those buckets!
These are adorable! I think my cats would go batty over them. First time here & a new follower. Thanks for sharing how to!
Tht is really cute table setting and I love the BOO planters!! Great idea for the bats!
This is adorable! Pinning right now!!
So adorable – very clever way to make the bats!
I love these! Wonderful centerpiece and just a great simple display to have out. I love non-scary decor! Thank you for sharing!
Such a cute idea! I’d love if you’d link up to The DIY’ers. http://homecomingmn.blogspot.com/2013/10/diyers-32-and-marathon-weekend.html