October is National Headlight Safety Awareness Month, so what better time to try out 3M’s Lens Renewal Kit? Back in August, Jacque and I took a trip up to the 3M headquarters to take part in their 3M Auto BootCamp. While there, we were introduced to some innovative 3M products, one of those being the 3M Lens Renewal Kit. What we learned was that over time, the materials that headlights are made of lose their clarity over time. They begin to dull, discolor, and haze over, making them less effective. The 3M team demonstrated how their Lens Renewal Kit offers a cost effective DIY remedy to an otherwise expensive alternative.
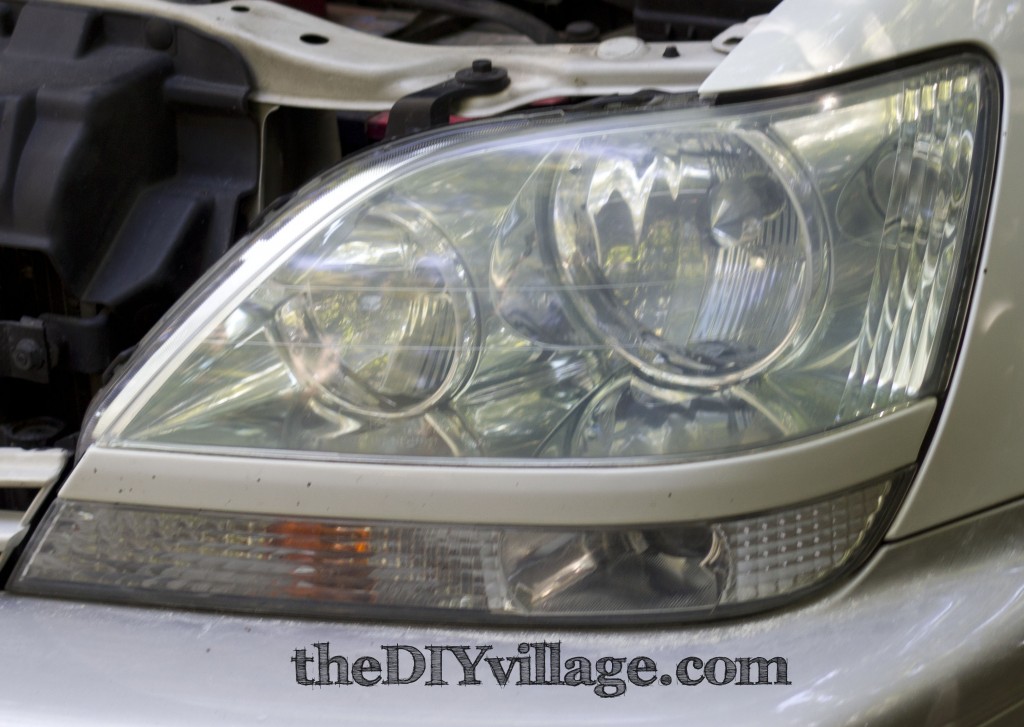
Here’s a peek at one of the headlights that had been partially restored by the 3M team.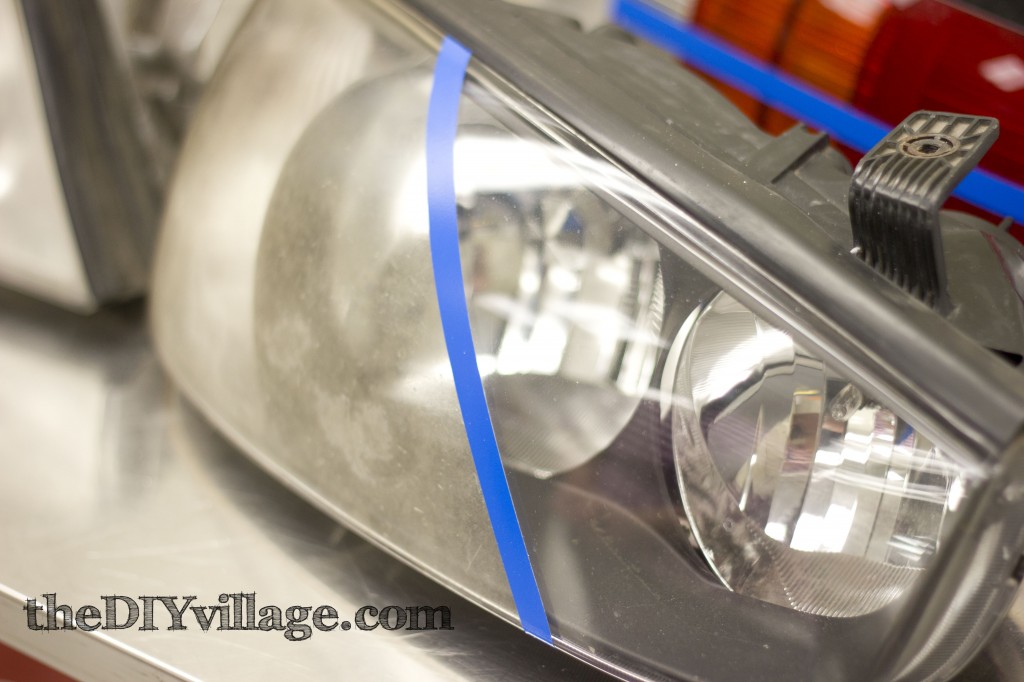
When Jacque and I returned home, I was eager to get my hands on one of these kits! Unfortunately, neither my car or Jacque’s car was in need of headlight restoration…It felt kind of funny to be let down that my headlights were in too good a condition to need restoration! While telling my Dad about our trip to the 3M Headquarters, I found out that he had tried using a generic headlight restoration kit. He explained that he was unimpressed as the restored quality of his headlights lasted only about two months. I asked him if he’d be willing to test out the 3M kit on his headlights…Not surprisingly, he agreed:)
So while we were in Cary, NC staying with my sister, Sarah (Of Biddle Bits) this last weekend, attending the Southern Bloggers Conference 2012, we planned to meet up with my Dad and Step-Mom for an opportunity to put 3M’s Lens Renewal Kit to the test!
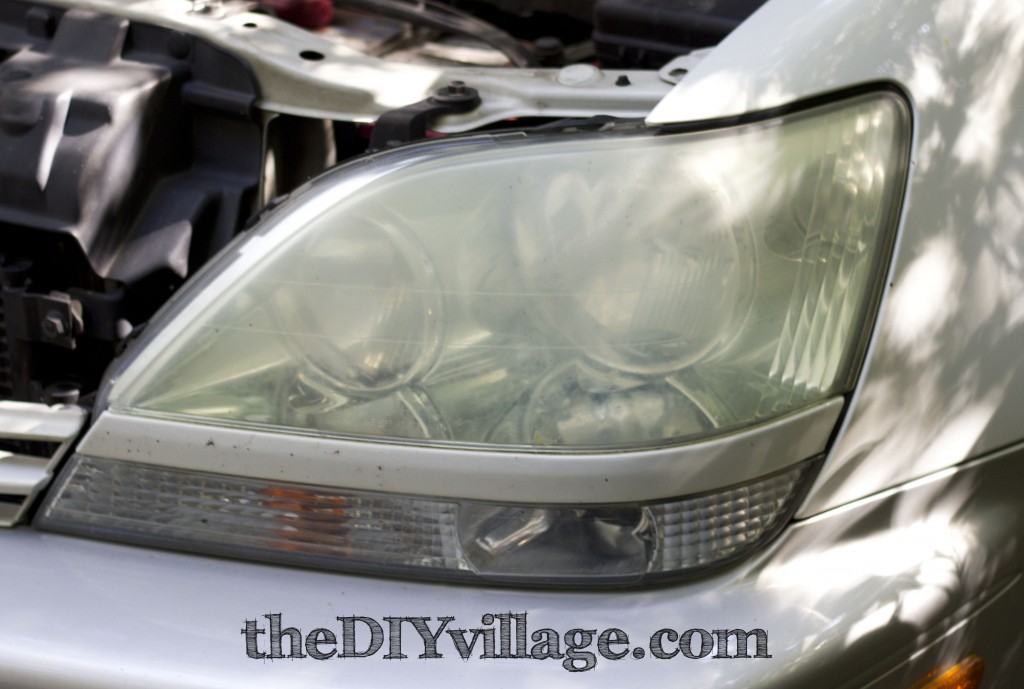
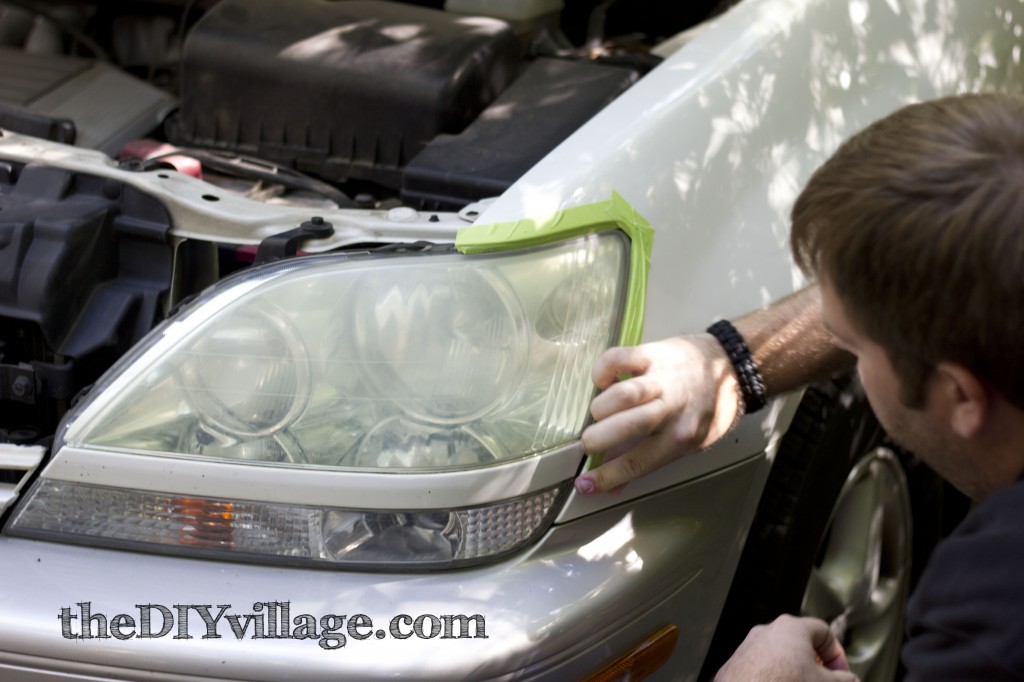
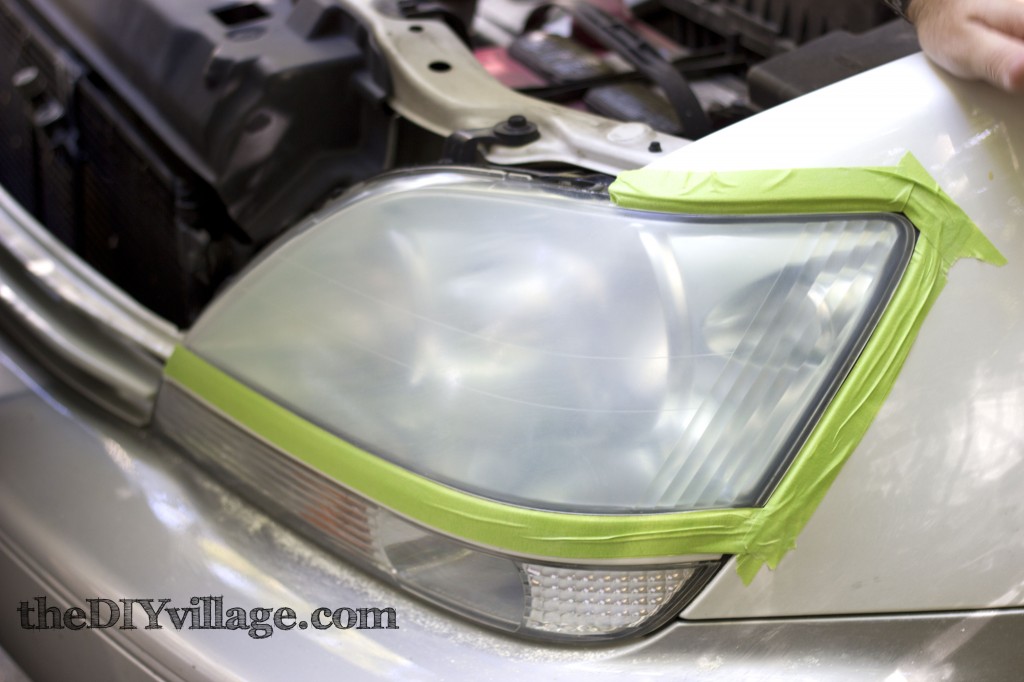
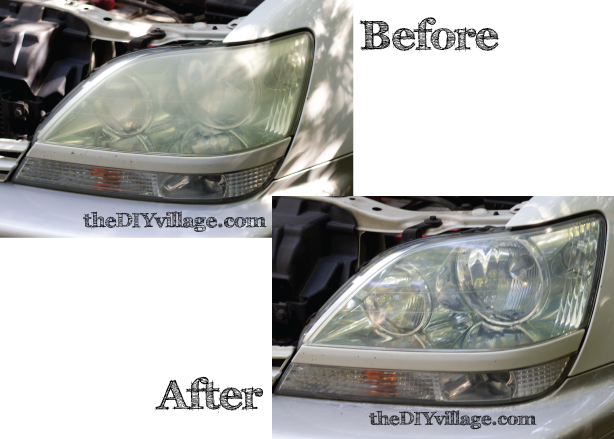
Here’s what we started off with…Dulled out, hazy headlights.
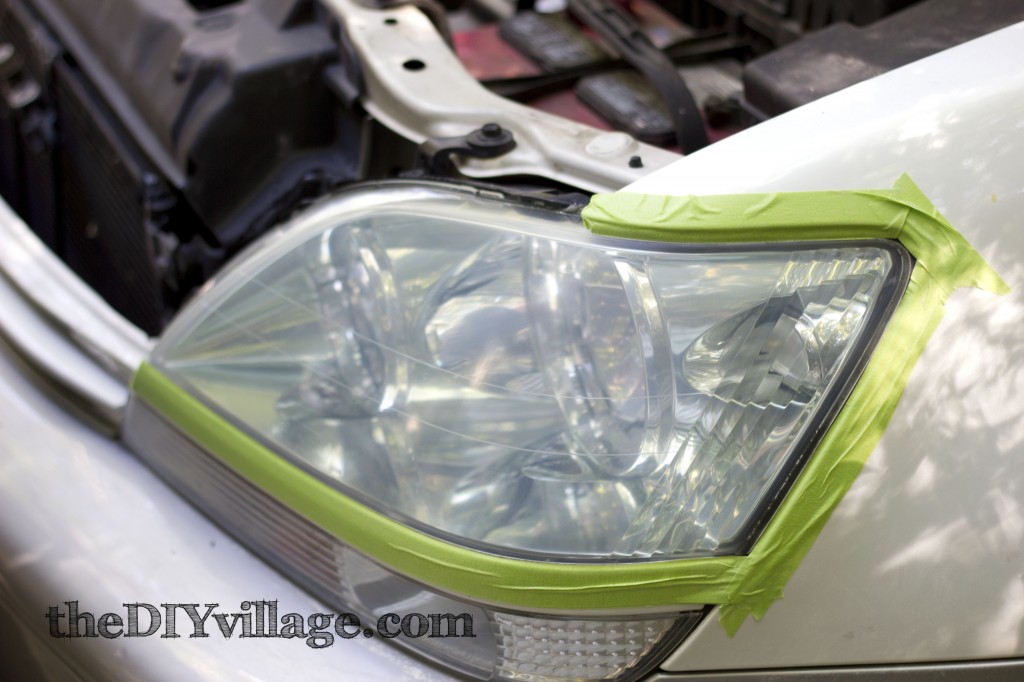
The kit comes with a roll of tape to mask off the area around the headlights. The instructions recommend putting down two layers of tape to protect the paint.
Jacque pointed out that on this particular car, if we left the hood up, we wouldn’t need to tape off the area closer to the middle of the car. Leave it to her to make my task easier!
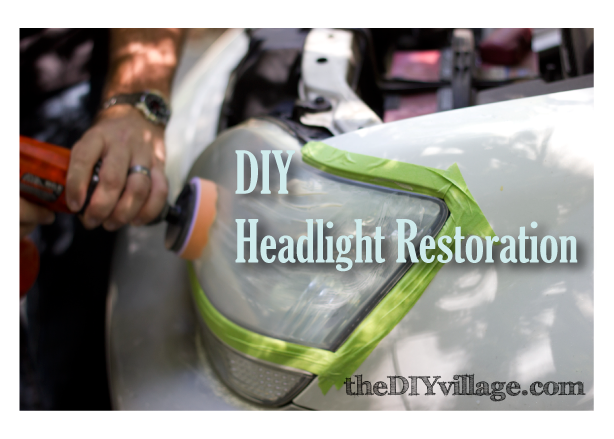
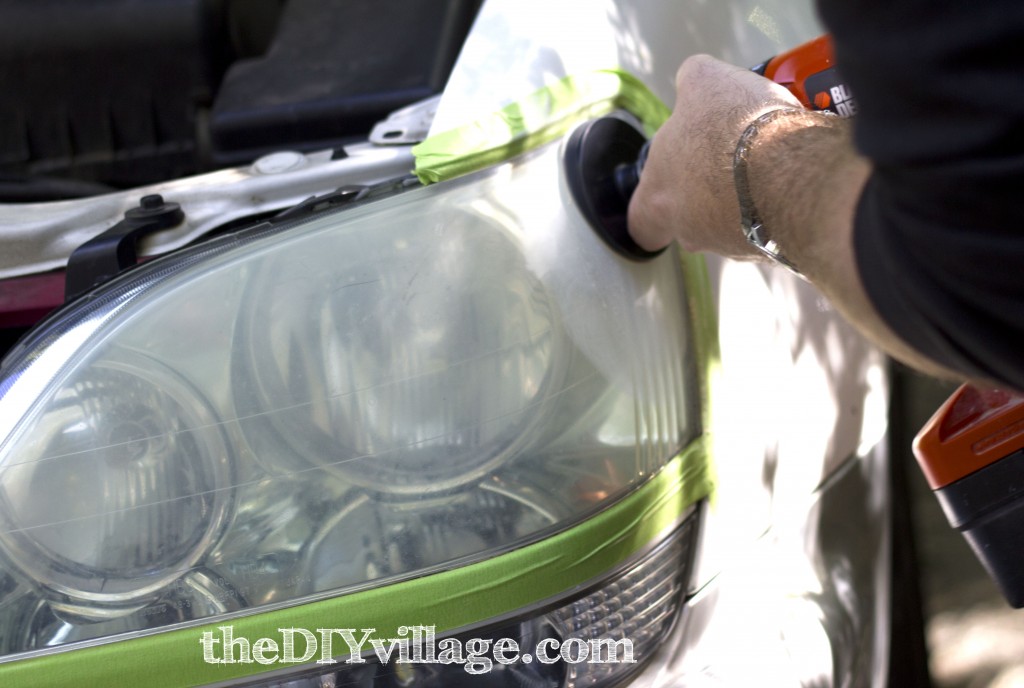
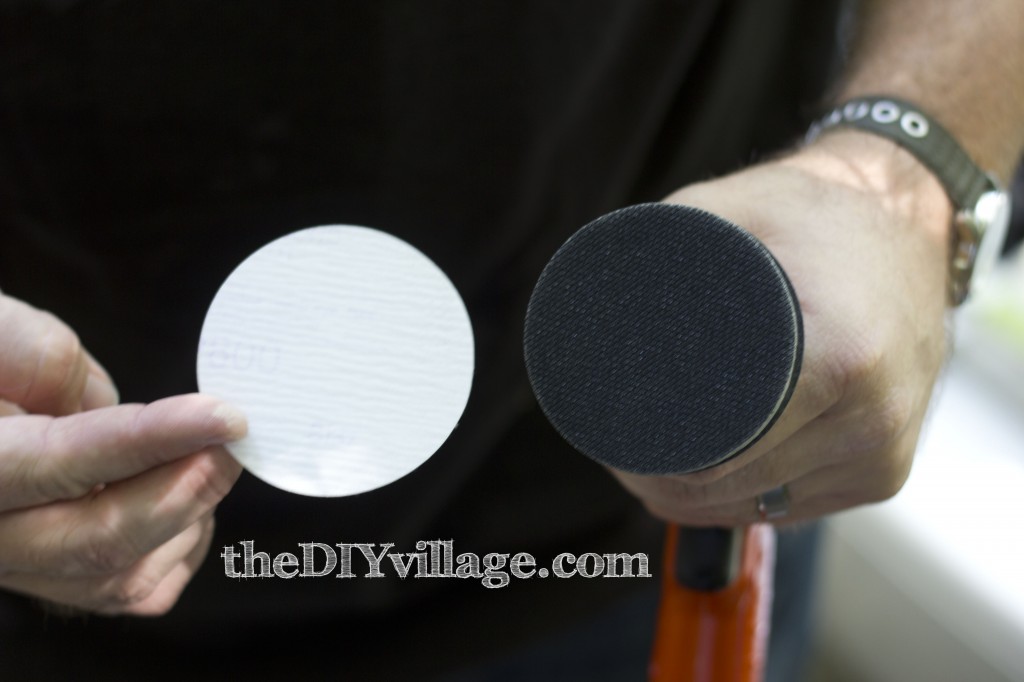
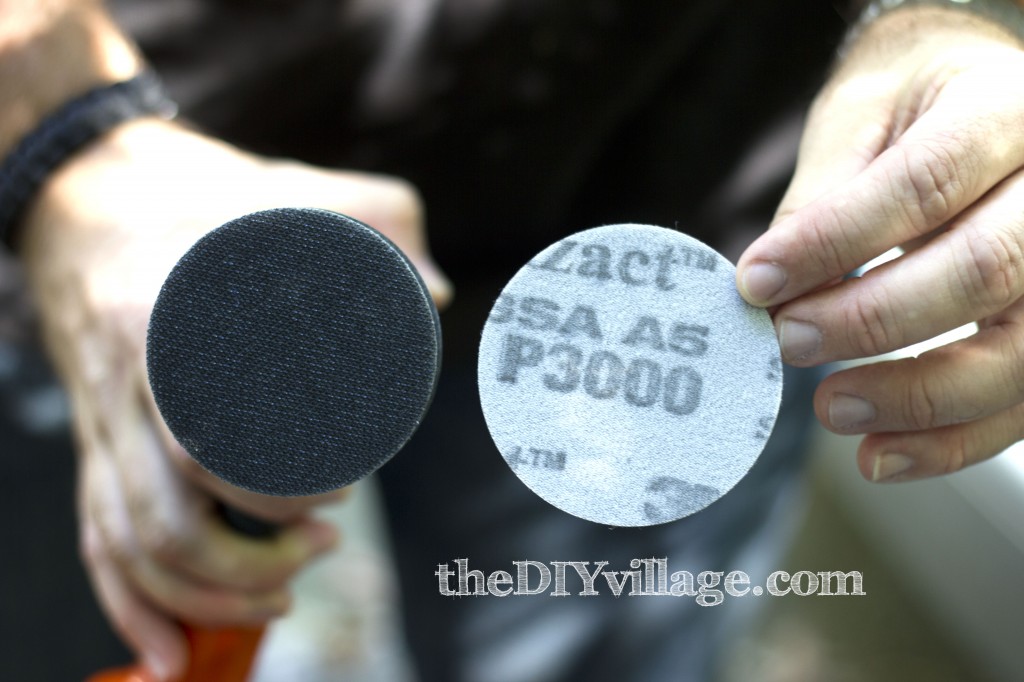
The really cool thing about this kit is that it comes with an adapter that allows the user to attach the sanding disc to a drill. This makes the sanding process a lot easier! The adapter is attached to the drill like any other bit. The sanding discs attach to the adapter with a velcro like material.
After a quick look at the instructions, I was ready to begin the lens renewal process!
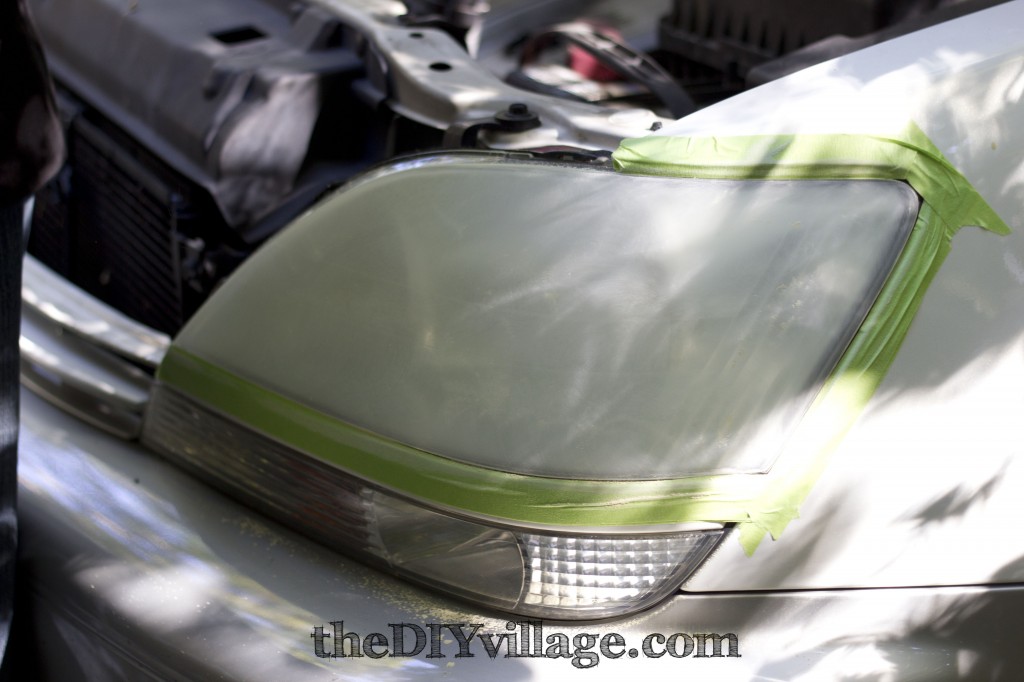
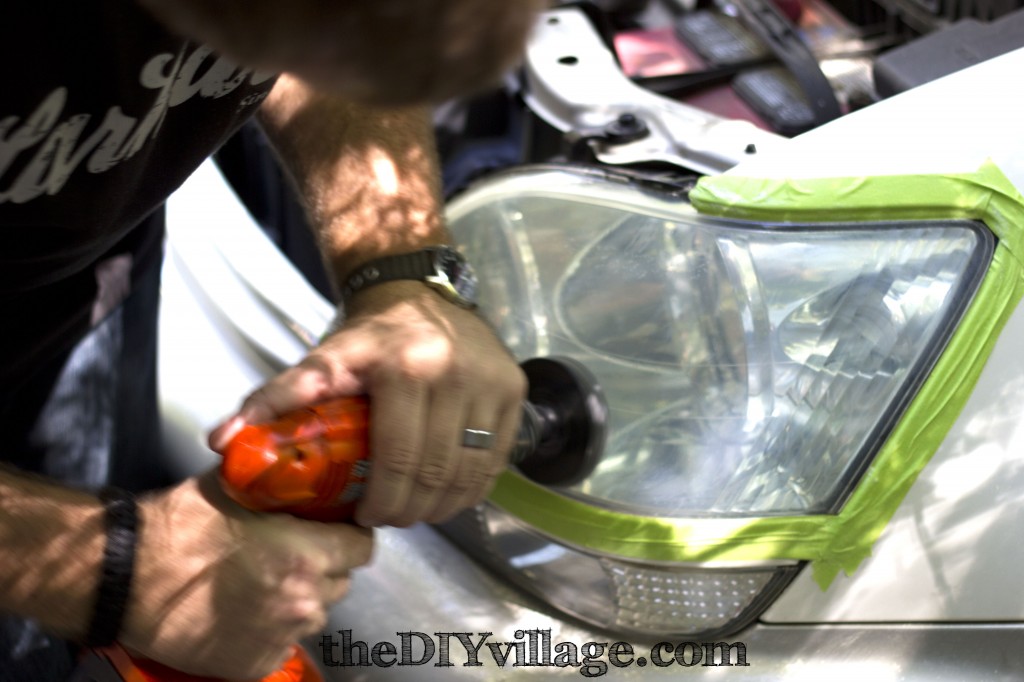
After the first bit of sanding, the headlight took on an even more frosted appearance. What’s actually happening is the more abrasive sanding discs remove the layers of oxidized build-up, leaving a more rough appearance on the exterior.
By swapping out the original sanding discs with a less abrasive one, we began to restore clarity to the rough, frosted appearance. So next, it was time to swap out the sanding disc from a 500 grit to a 800 grit disc.
Here’s the result after the second sanding process. The surface of the headlight was remarkably more smooth, but we still had an additional sanding process to complete.
The next step was to swap the 800 grit sanding pad for the 3000 grit Trizact sanding disc.
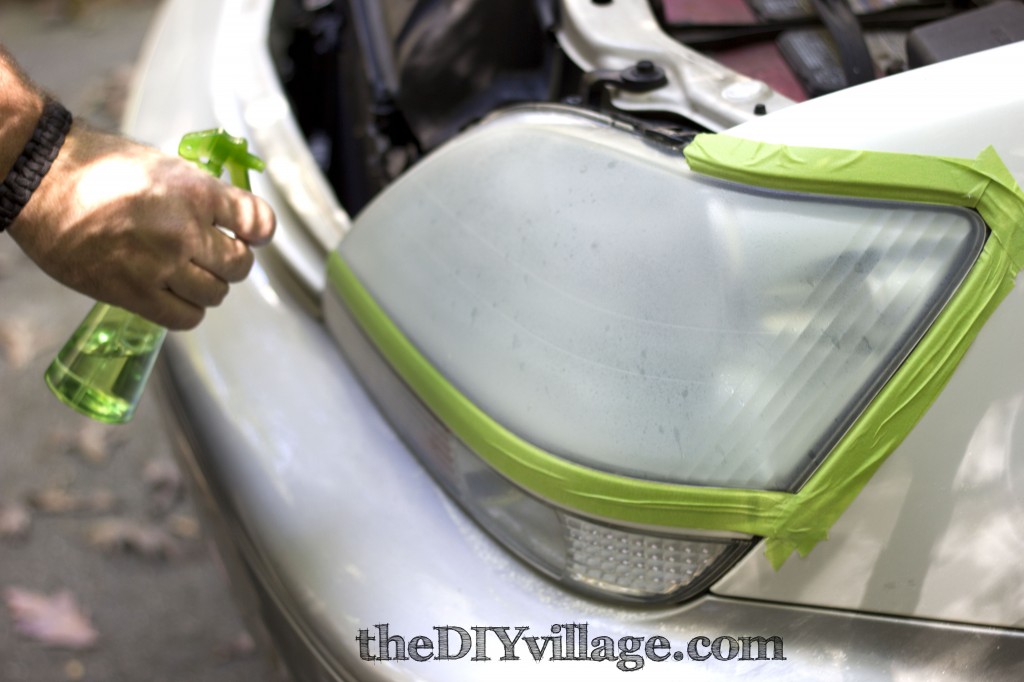
It’s important to wet the surface of the headlight before beginning to use the trizact sanding disc.
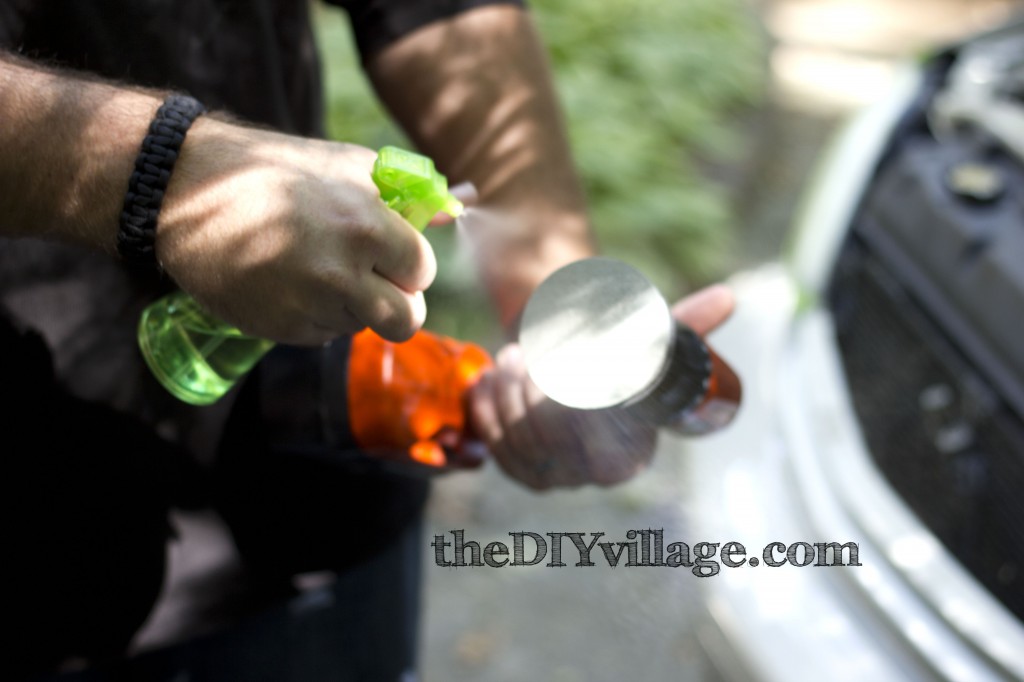
The instructions also call for wetting down the trizact sanding disc before beginning the sanding process.
While sanding with such a smooth grit sanding disc, the scratches on the headlight surface became really hard to see, which made it easier to see that the restoration was working!
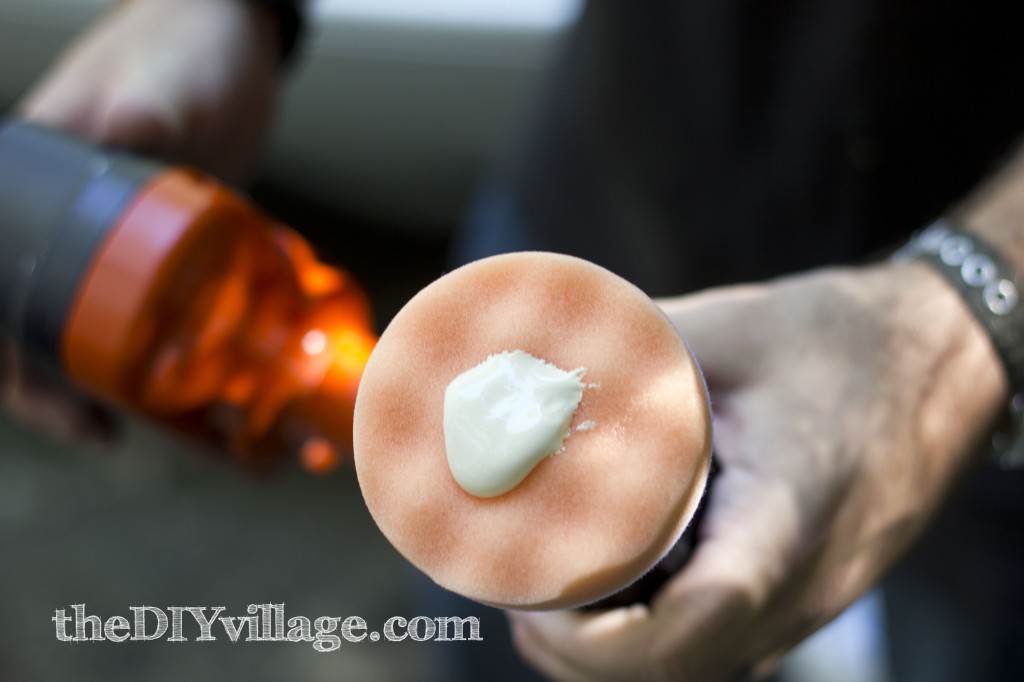
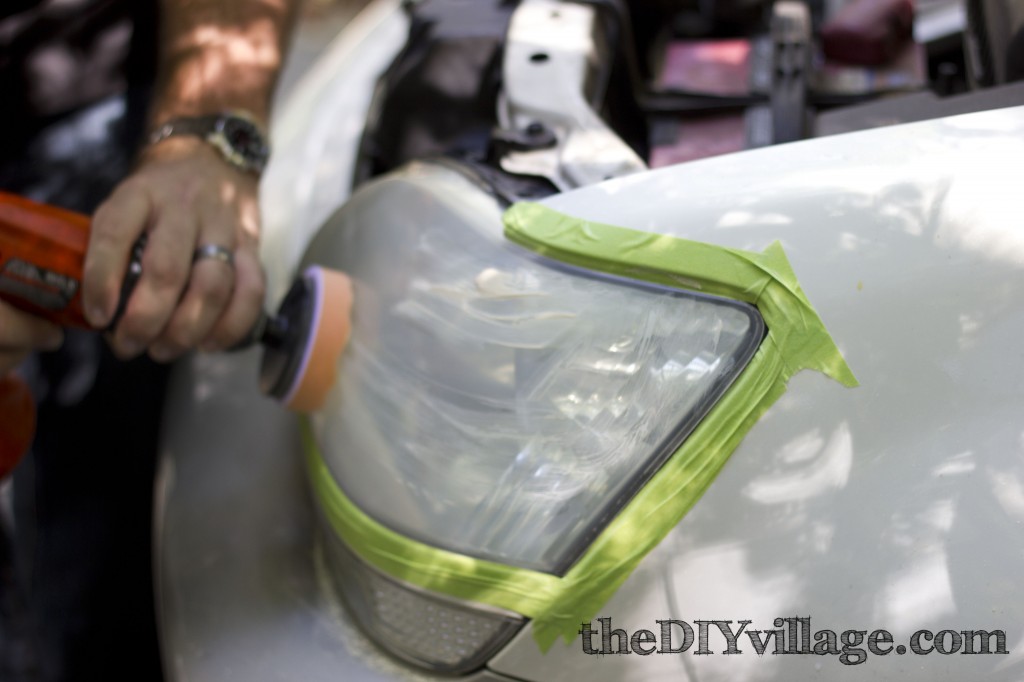
The next step was to remove the trizact sanding disc and replace it with the orange buffing pad. I applied a dime sized amount of rubbing compound to the buffing pad.
Before using the drill to apply the rubbing compound, the instructions say to smear the rubbing compound around on the headlight surface, to reduce flinging the compound onto other surfaces.
Once the rubbing compound had been applied, I could see an amazing difference from when we started the restoration! The cloudy haze and yellow tint was gone!
The last step in the restoration process was to put a coat of protectant onto the headlight. I applied the protectant with a cloth, covered the headlight surface, then buffed it off with a microfiber cloth, leaving me with a brilliantly restored headlight!
So, after the restoration was done, I asked my Dad how the transformation compared to his generic brand attempt. He said that the generic kit he had tried in the past, was only a single stage sanding restoration…And after witnessing the 3M restoration, he felt like it was a much higher quality result that looked to have a much longer impact. He actually called us on the way home later that night just to tell us that he could see an impressive increase in the effectiveness of his headlights! I plan on checking back in a few months and write a follow up to this entry, detailing how the restoration has held up.
I want to point out that this restoration only took me about fifteen minutes and was very easy to use. This kit is currently being sold for $31.99 plus tax, a much more cost effective alternative than having a professional do it at a cost of $110.
This is not a sponsored post, 3M was kind enough to supply the Lens Renewal Kit with Protectant for us to try out, but the opinions written here are my own, I was not told what to write.
This looks great! I’m totally going to have to give it a try on the lil red car!!
Stephanie, it’s totally worth it! I tried to get Jacque to restore the 2nd headlight…She told me that although she felt confident that she could do it, it looked like I was having too much fun to take that away from me…You may want to try that tact with Mr G!
I saw this transformation in-person – it was quick, pretty easy, and had great results! Way to go, Mattie 🙂 I only wish I knew about this 3M product when I had my old Jetta…Good ol’ “Ruby” had some yelllllow headlights!
Sarah, now that you know about it, you can become a headlight restoring fool! Thanks to you and Mr B for letting me commandeer your driveway and tools!
Wow, that worked super well! I can’t even believe it. Thanks for linking this up to The Fun In Functional!
Jessi, thanks for taking the time to say so! We love linking up the the Fun in Fuctional!
I will have to show this to my husband who restores old cars. Thanks for sharing.
It’s definitely worthwhile Kim! I priced out new headlights and couldn’t believe how much they’d be! So, I’m glad to have found out that the restoration kit works!