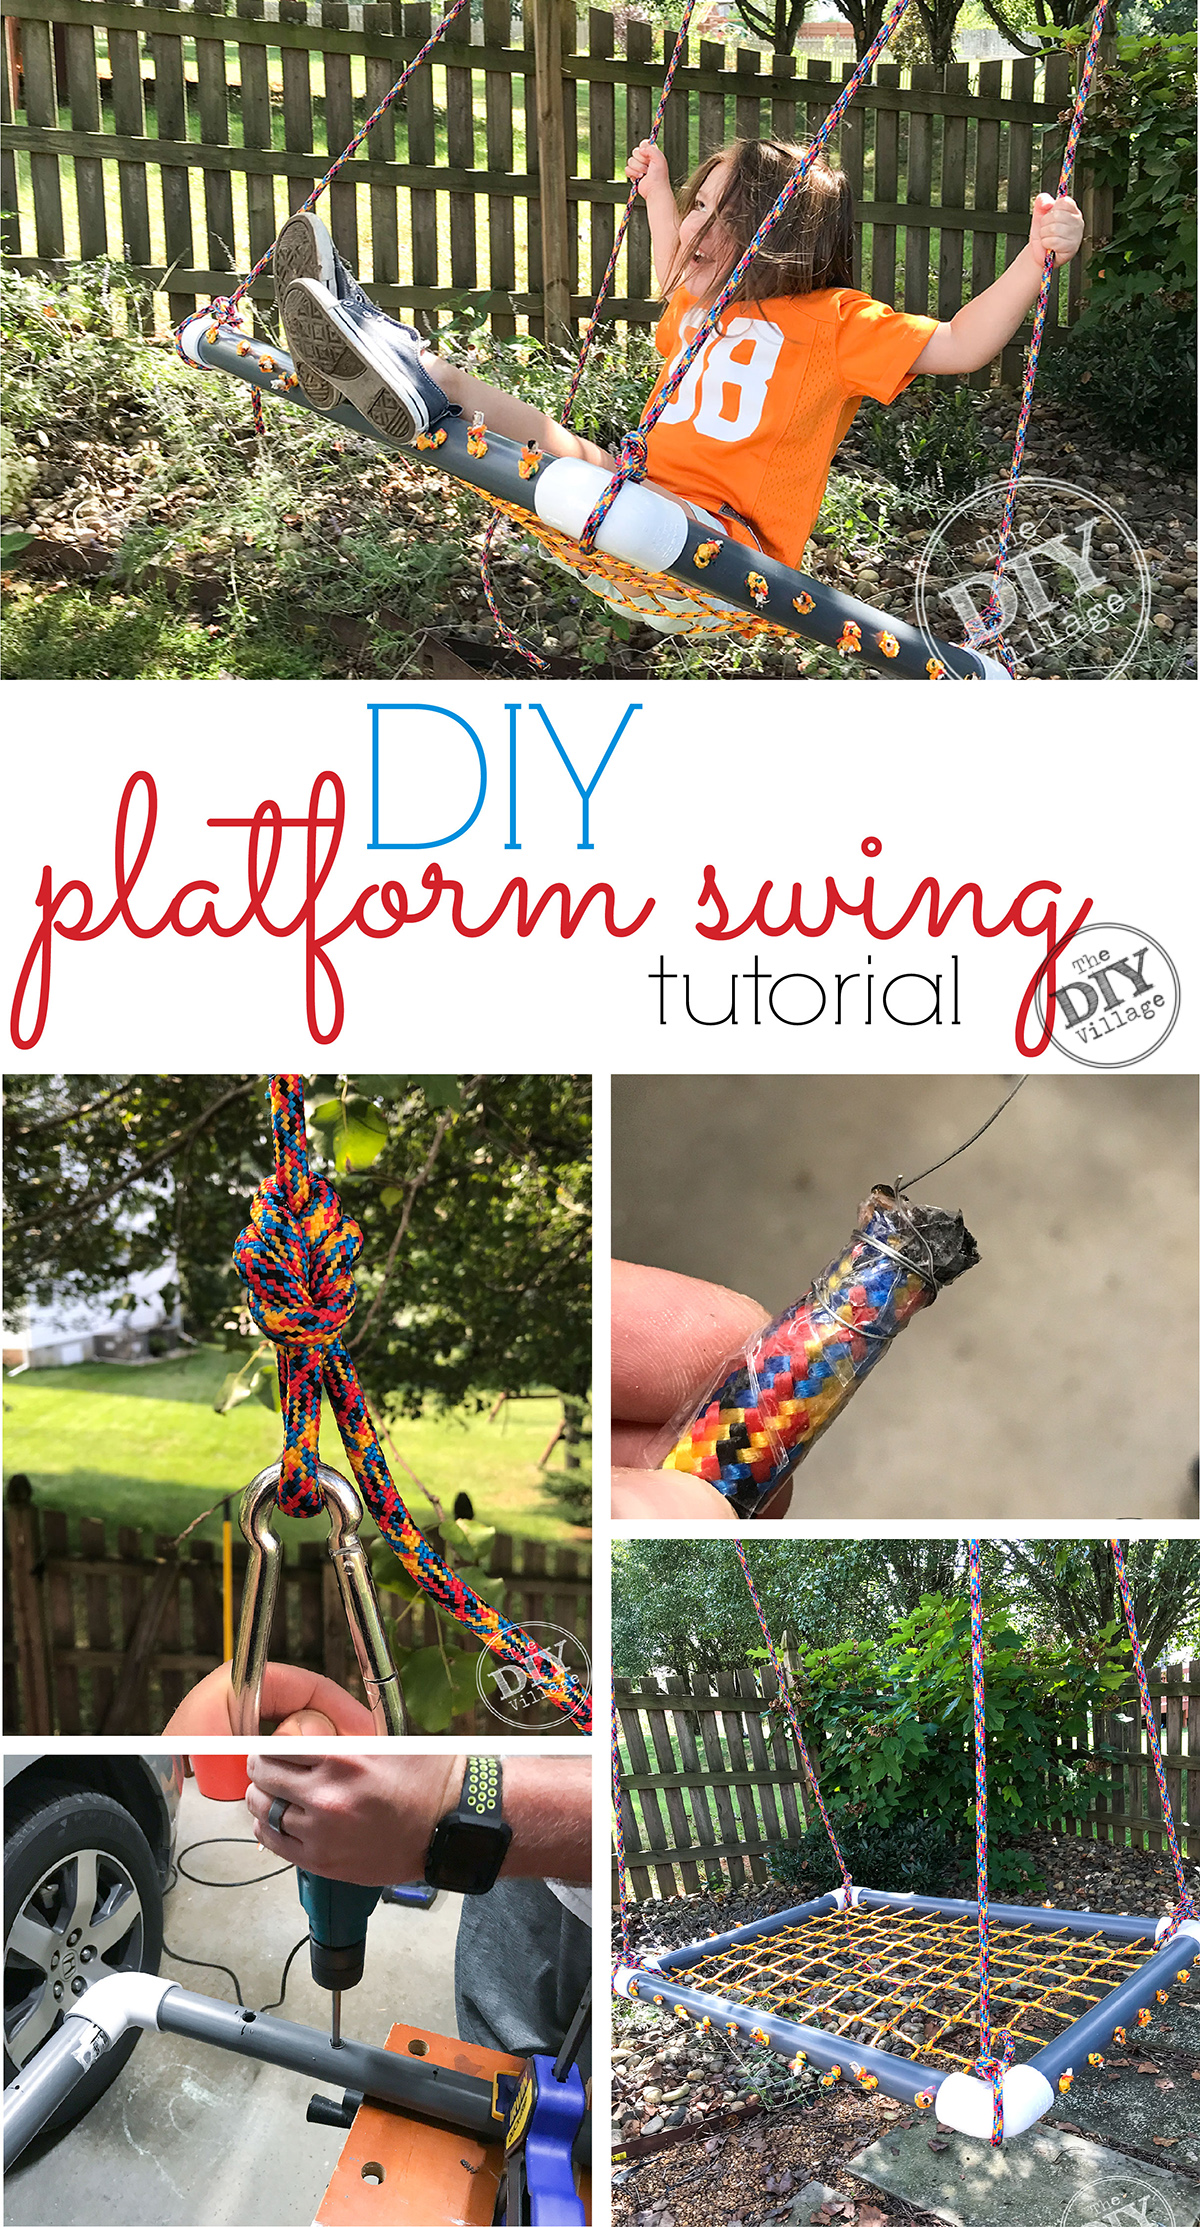

Have you ever spotted something online, looked at the price and thought, “I can make that cheaper myself”? Unfortunately I do this all too often and most recently said that exact thing when I saw the price tag on a platform swing online. Not to be outdone by some major manufacturer I figured it out myself and am happy be sharing my platform swing tutorial with all of you.
MATERIALS:
2″ Conduit – 7′ (cut into 2-24″ lengths & 2-18″ lengths)
2″sch40 90’s SxS Elbow – 2 (found HERE)
3/8″ Rope – 1 100′ bundles (found HERE)
1/4″ Rope – 1 50′ bundle (found HERE)
Spring Links – 2 (found HERE)
Lighter (found HERE)
Reciprocating Saw (found HERE)
Electric Drill (found HERE)
PLATFORM SWING TUTORIAL:
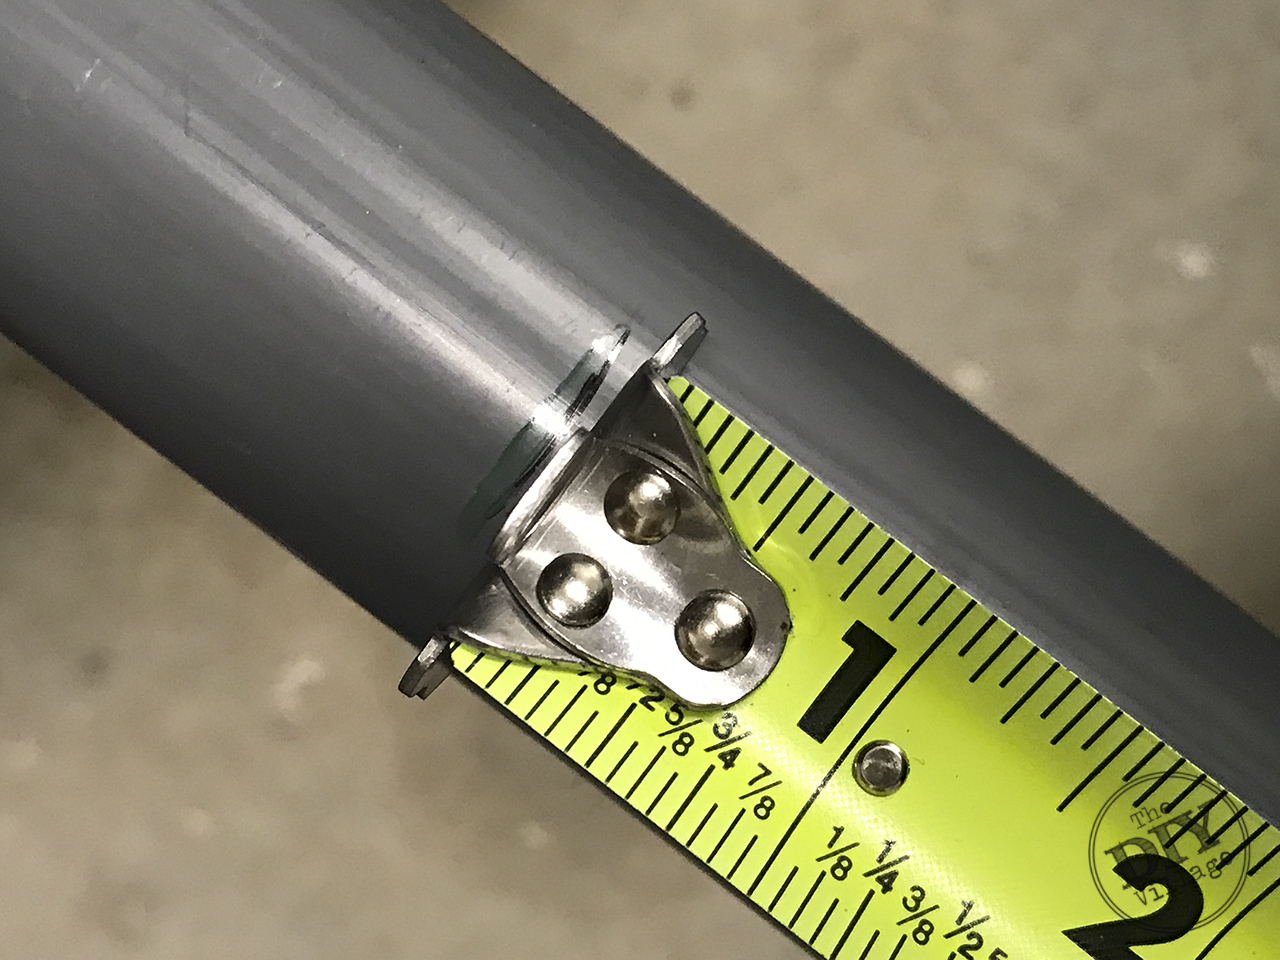 Start by measuring 2 -24″ lengths and 2 – 18″ lengths of 2″ conduit piping.
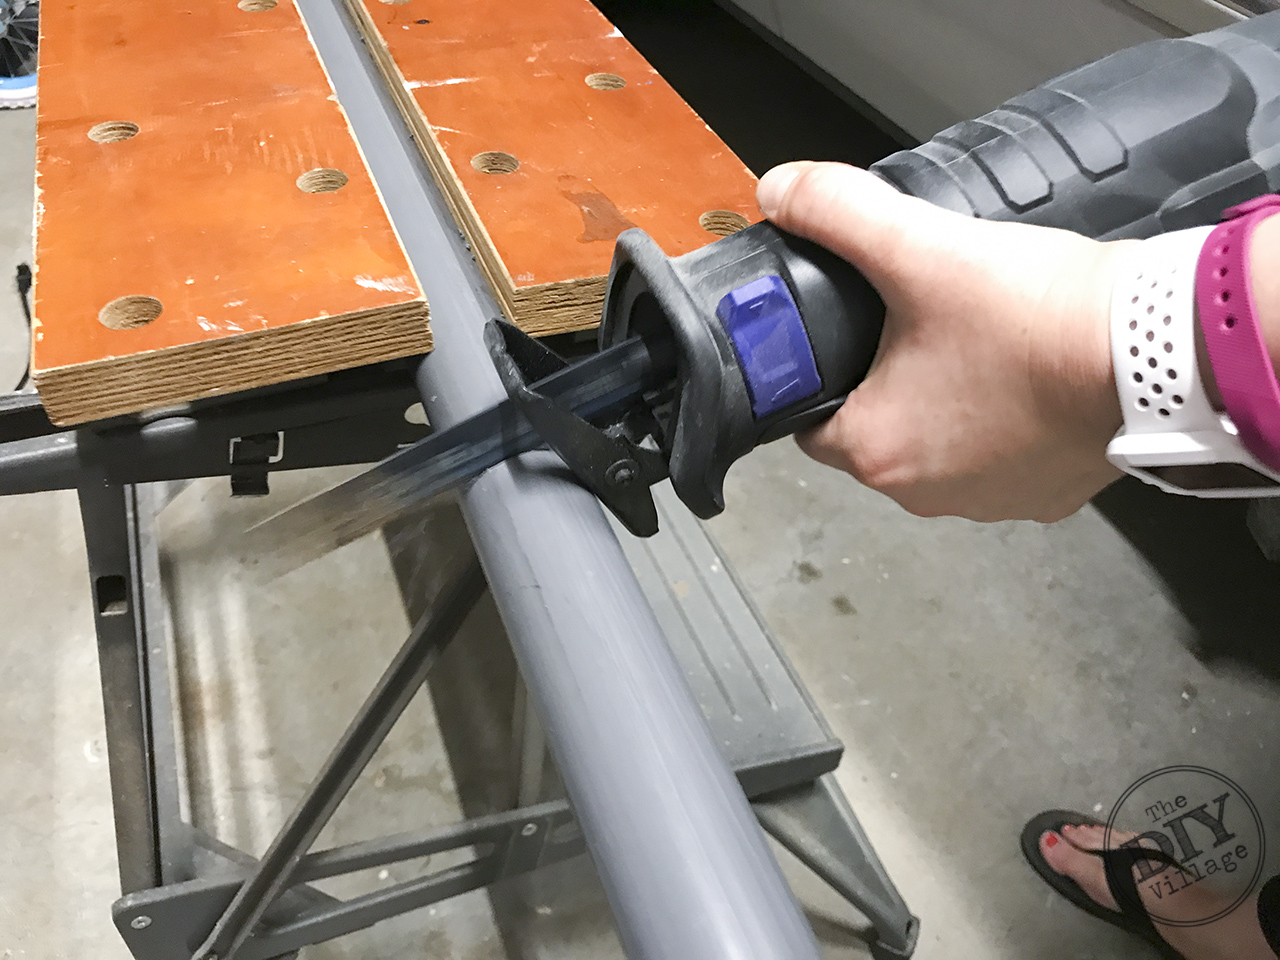 Using the reciprocating saw cut the pipe to length. You can also use a manual pipe cutter but the reciprocating saw will go a lot faster with minimal effort.
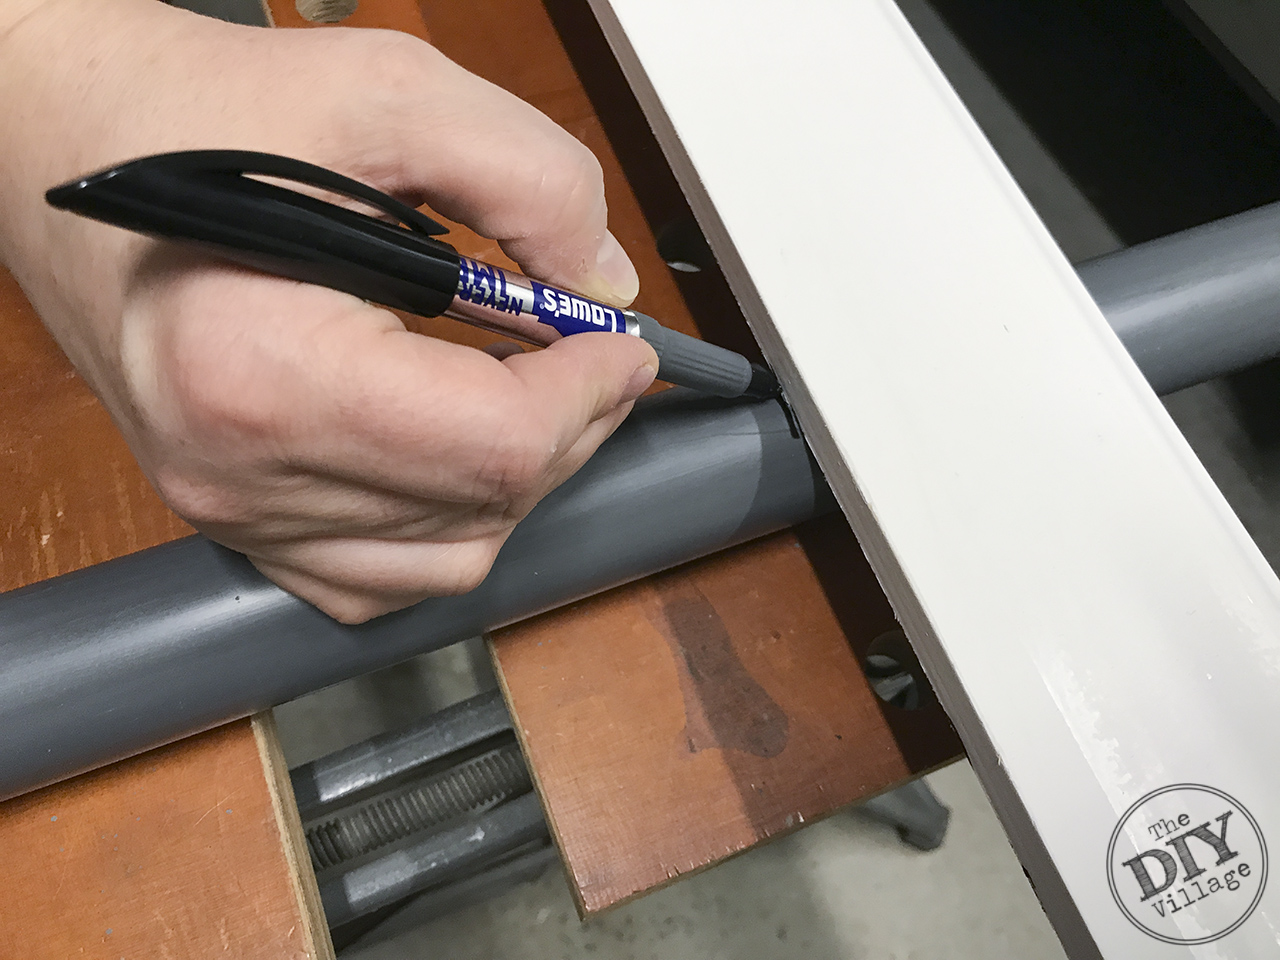 Decide the distance you will want your platform net ropes to be apart and mark. We chose 2.5″ for our distance and used a piece of baseboard molding to make our marks exact.
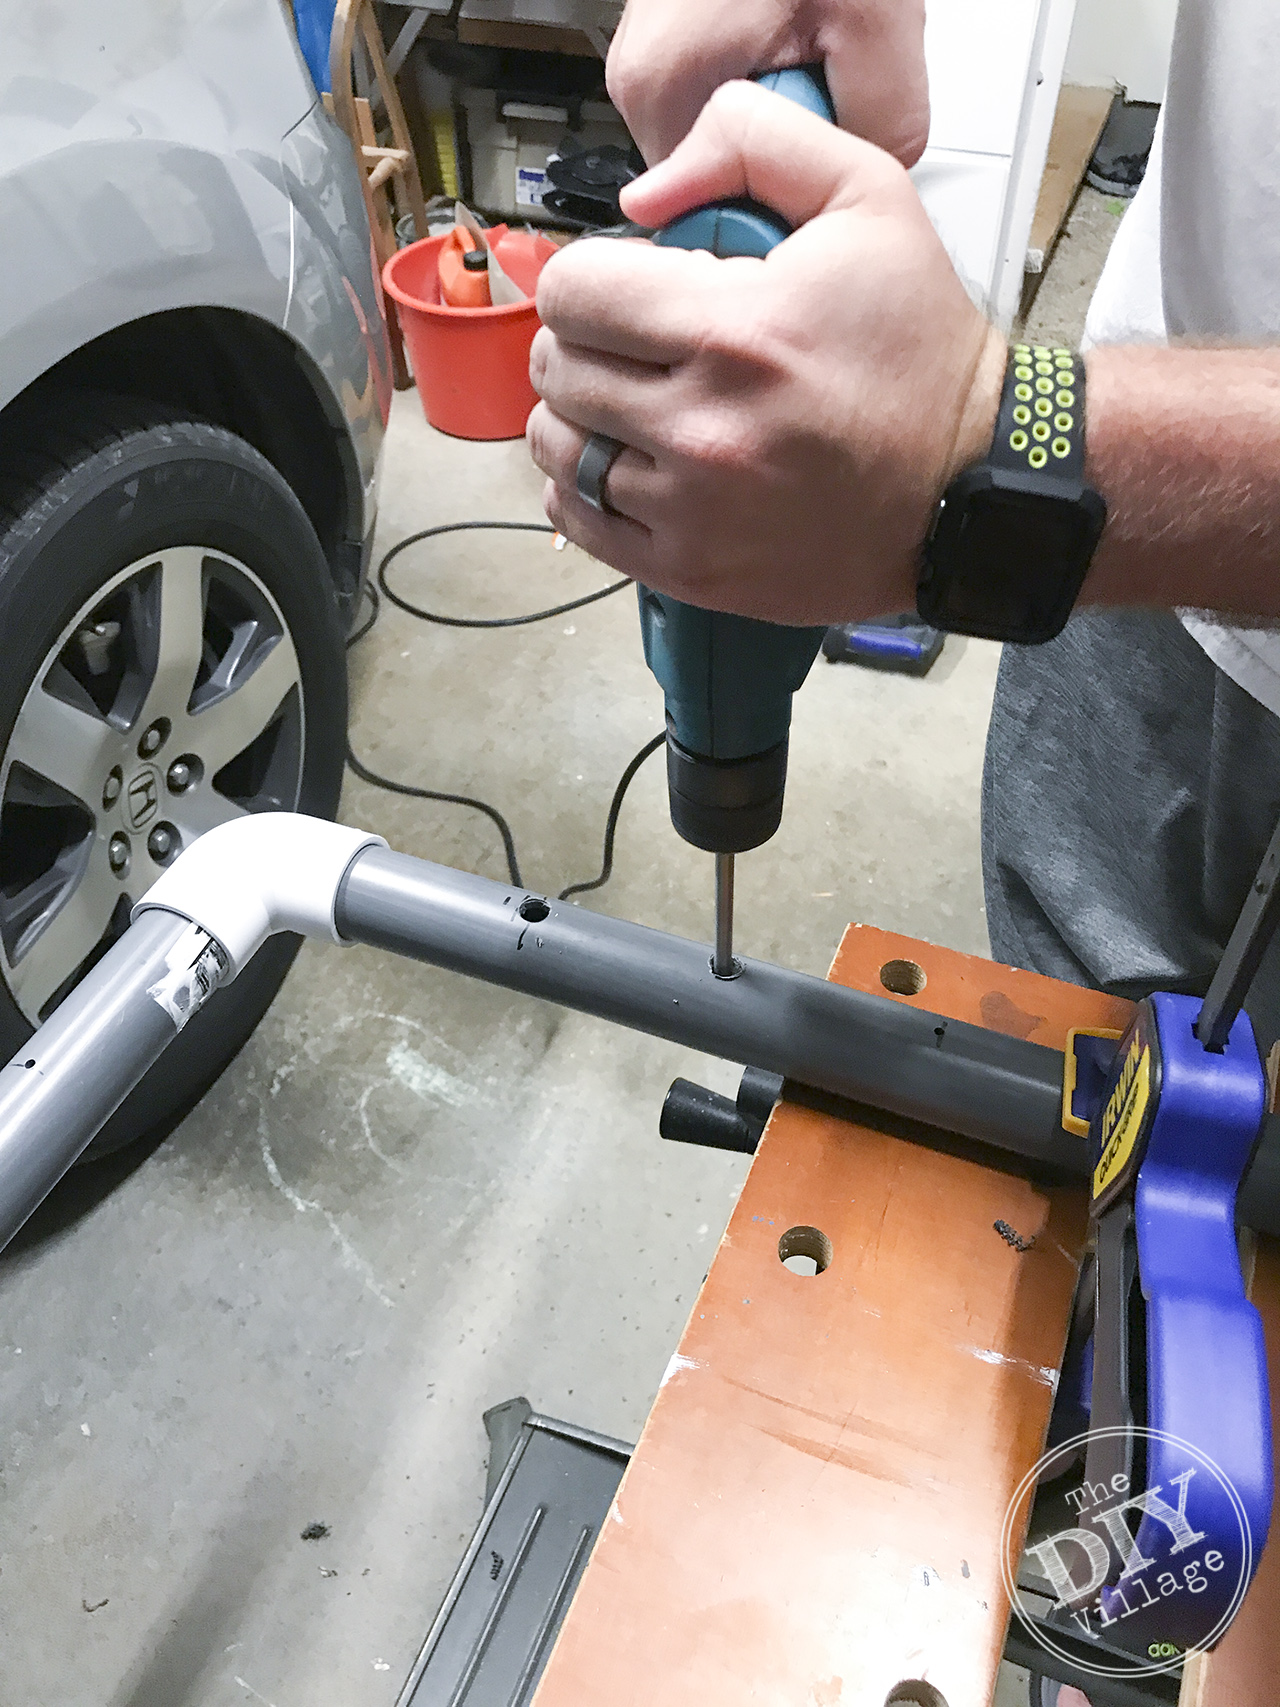 Clamp the conduit securely to a surface. Drill holes large enough for the 1/4″ rope to fit through. One hole at every mark on the conduit. Do this to all 4 pieces. Assemble conduit into the 2″ 90’s make sure that the holes are parallel to the ground and facing the inside and outside edges of the platform. Glue the sections to the elbows using PVC glue. If you chose not to glue the joints make sure to check the swing before each use.
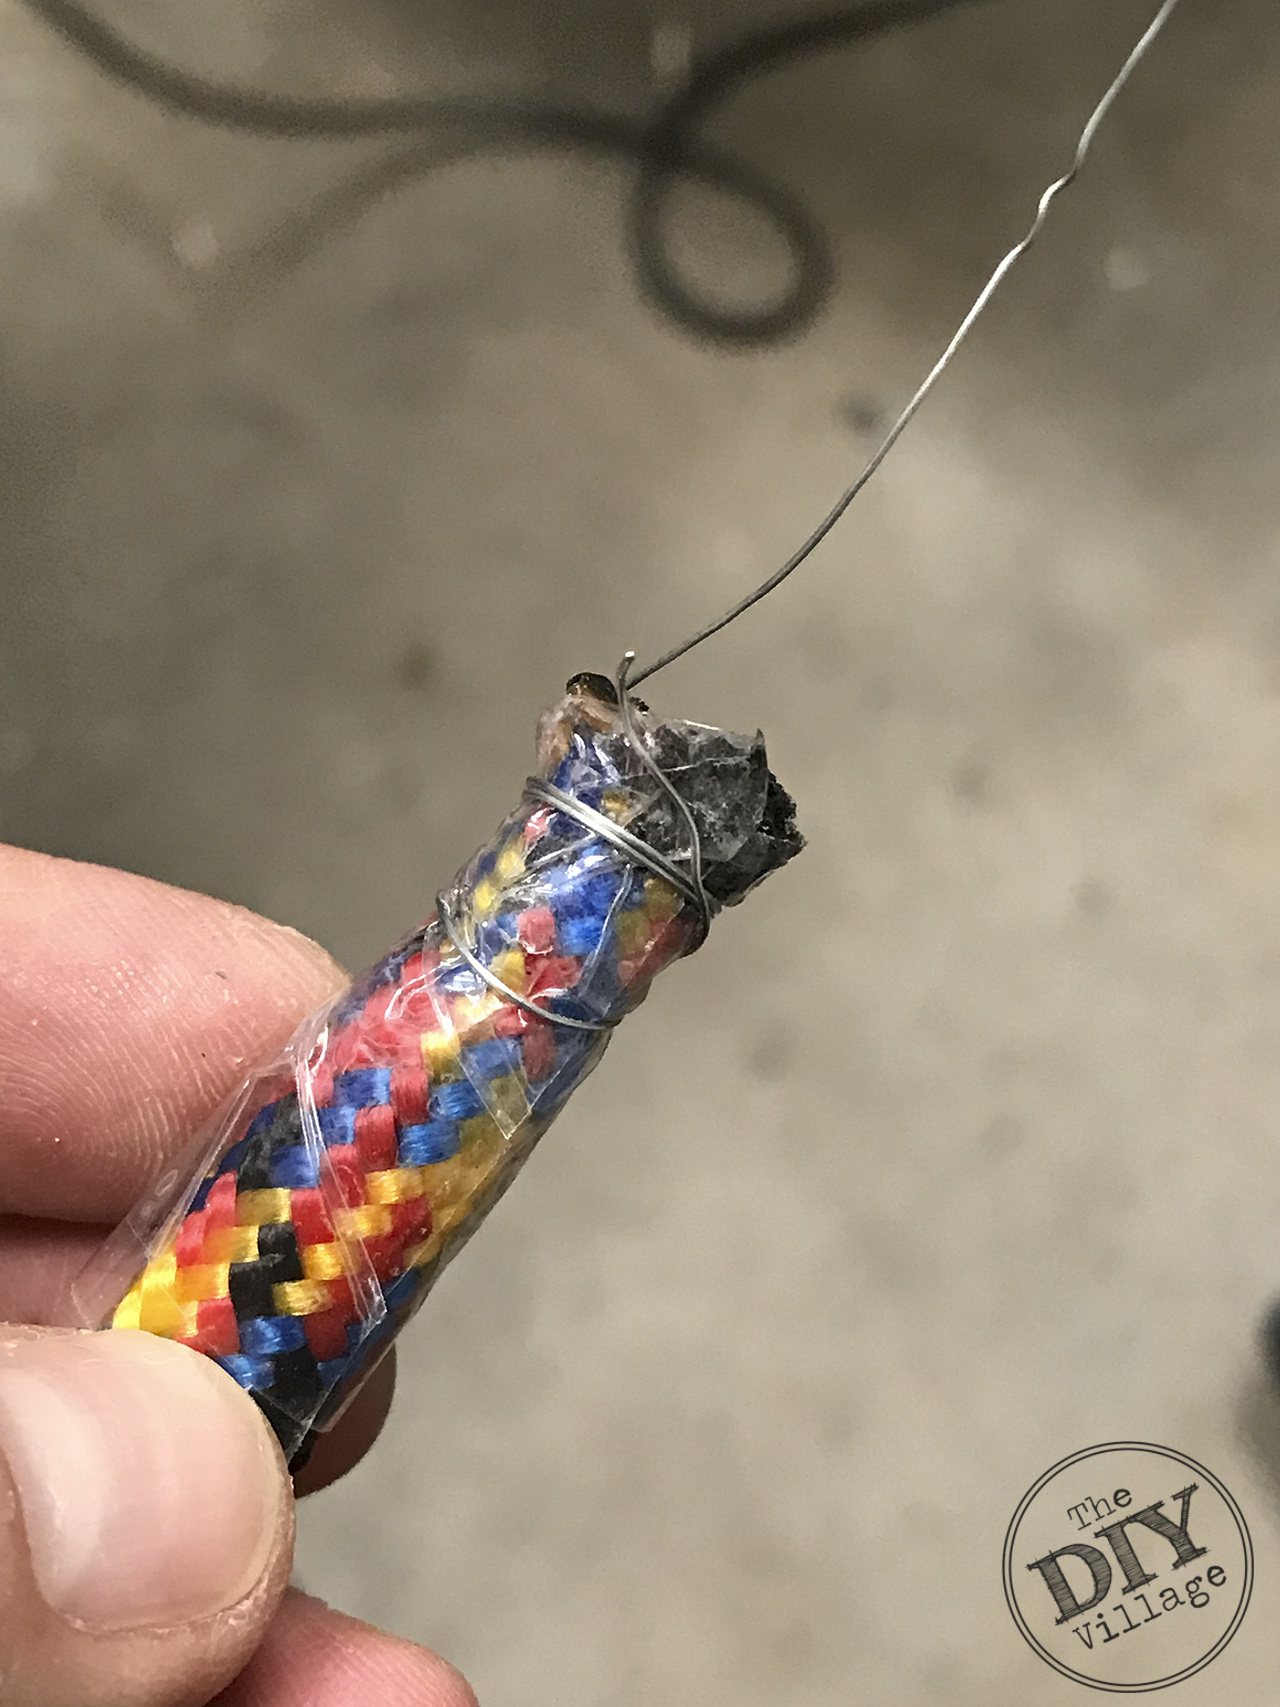 Cut the rope into equal lengths (we used 17 lengths). To start the rope through the holes burn the end, wrap with packing tape (duct tape will work as well). Insert a guide wire into the rope.
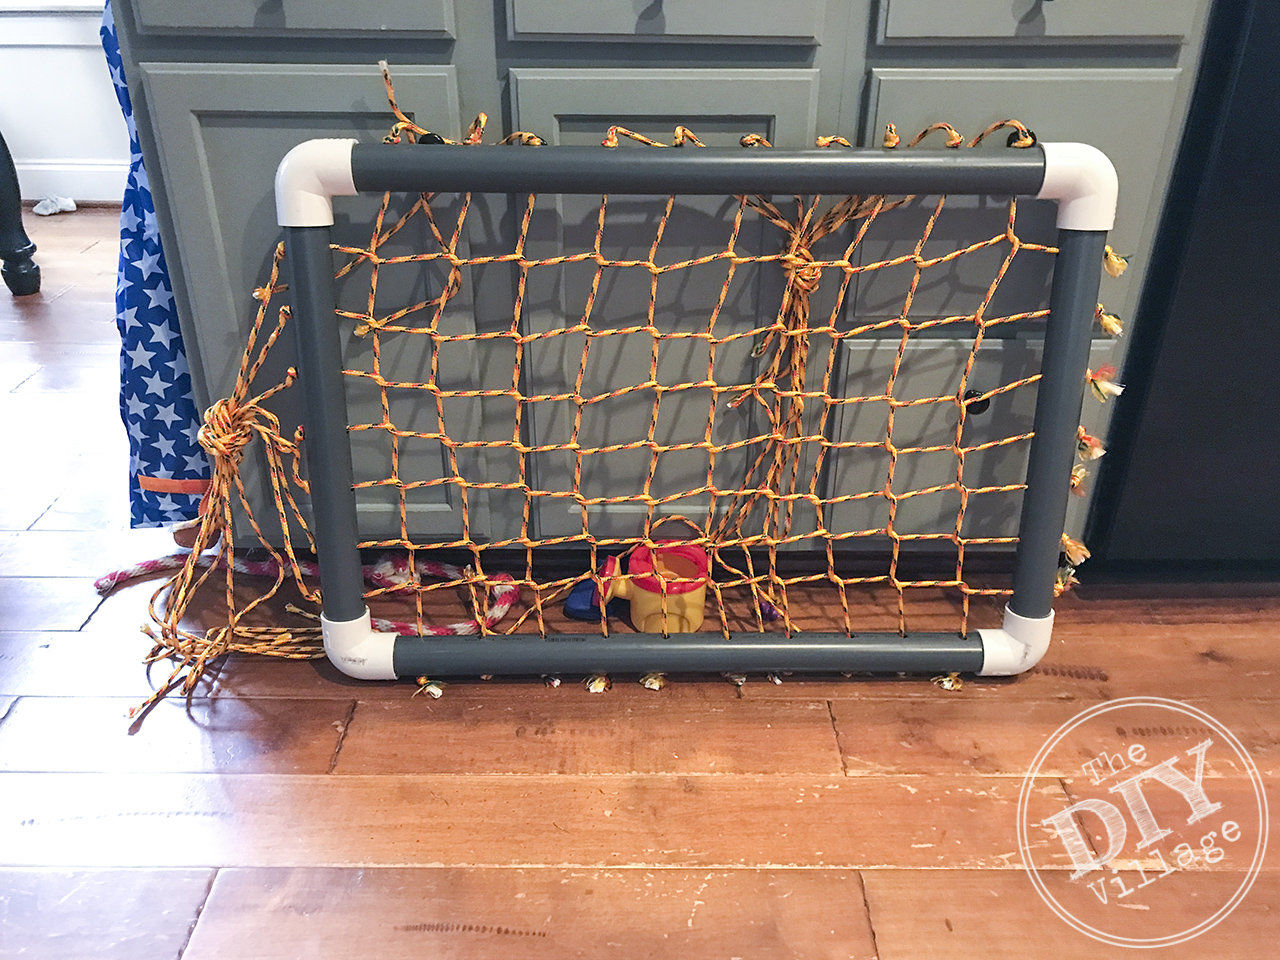 The guide wire into the holes pulling the rope through. Tie a not in one end and pull tight. Complete sides of the platform have rope knotted off. You are now ready to weave a knotless interlocking weave. You can learn more about that HERE. After the entire platform is woven and knotted off, burn the ends of the rope to help prevent further fraying.
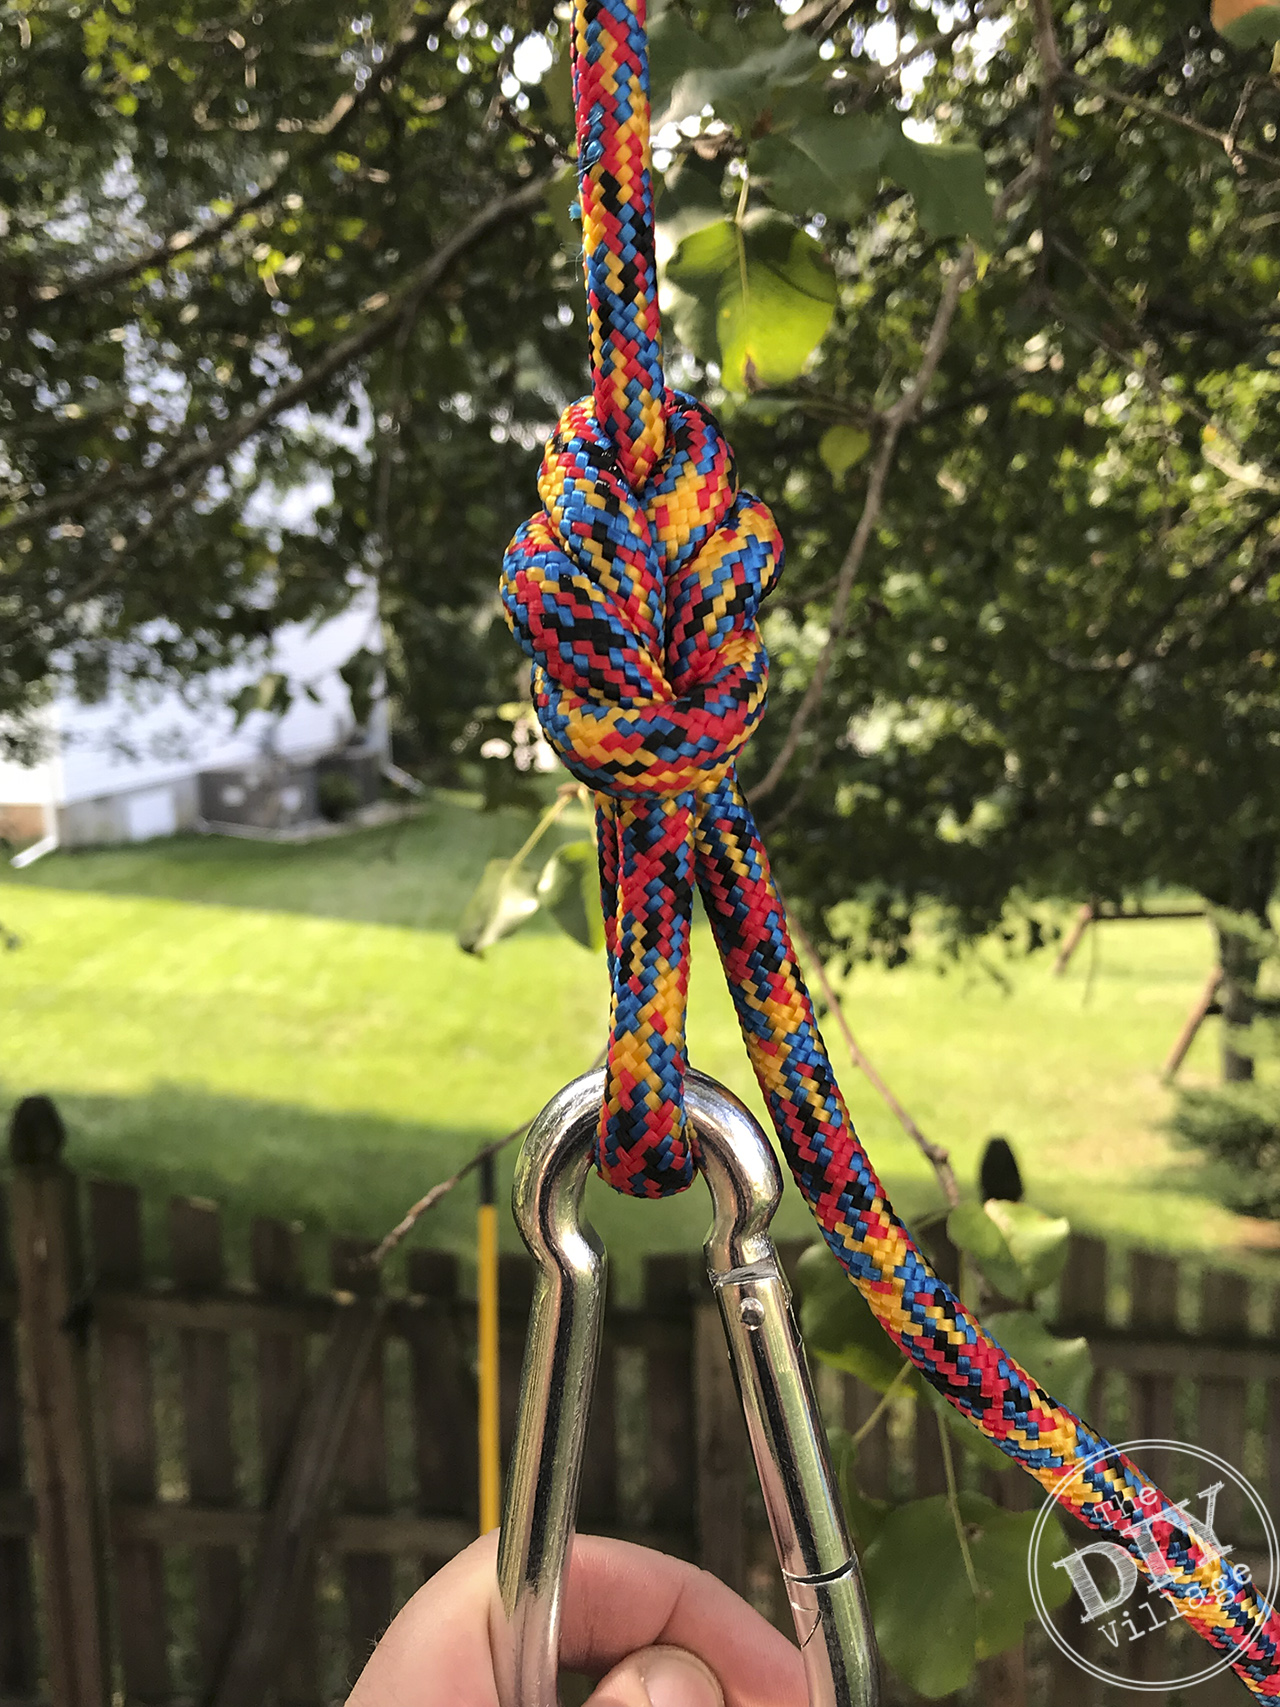 If you followed the platform swing tutorial you are now ready to hang your swing using the 3/8″ rope and spring links.
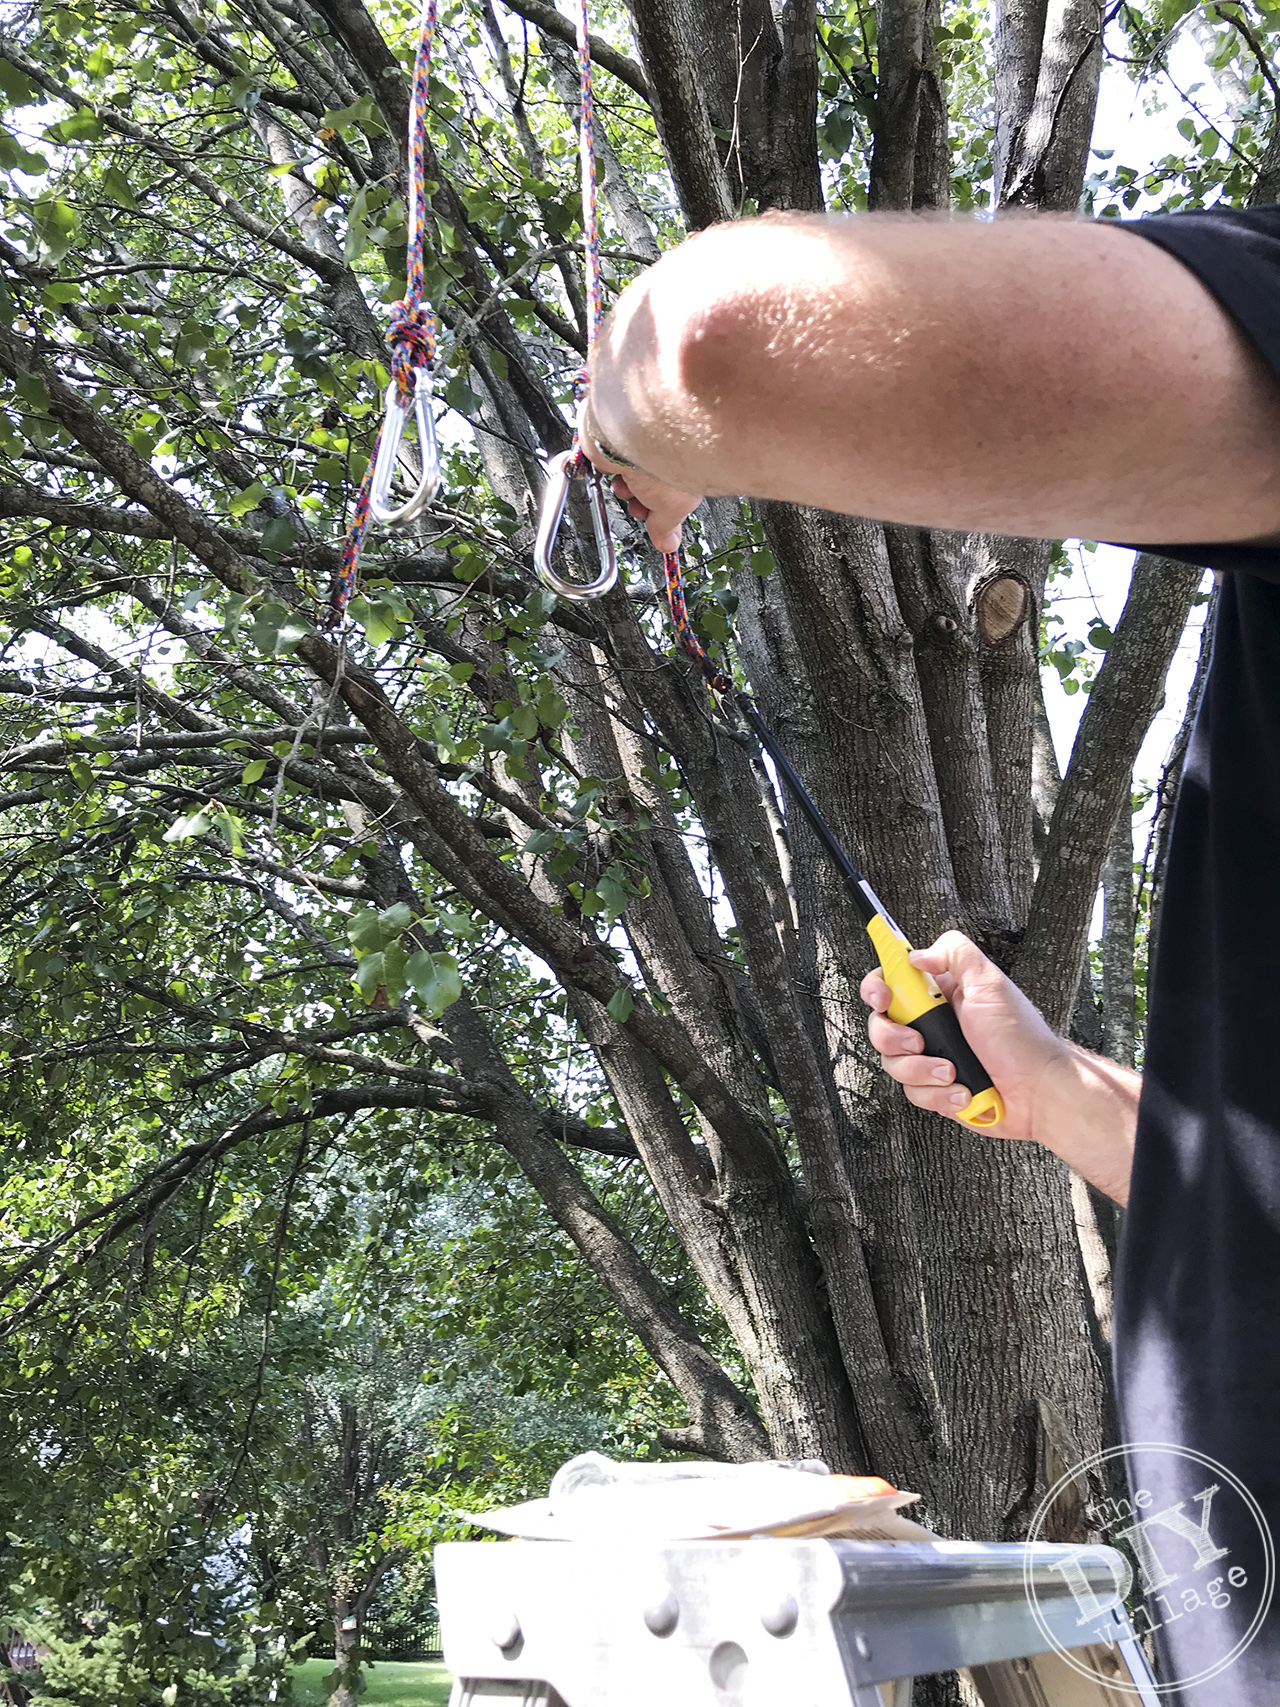 Attach the platform swing to a sturdy tree branch. Make sure to chose a safe location for your swing with plenty of room, it will get a lot of use.
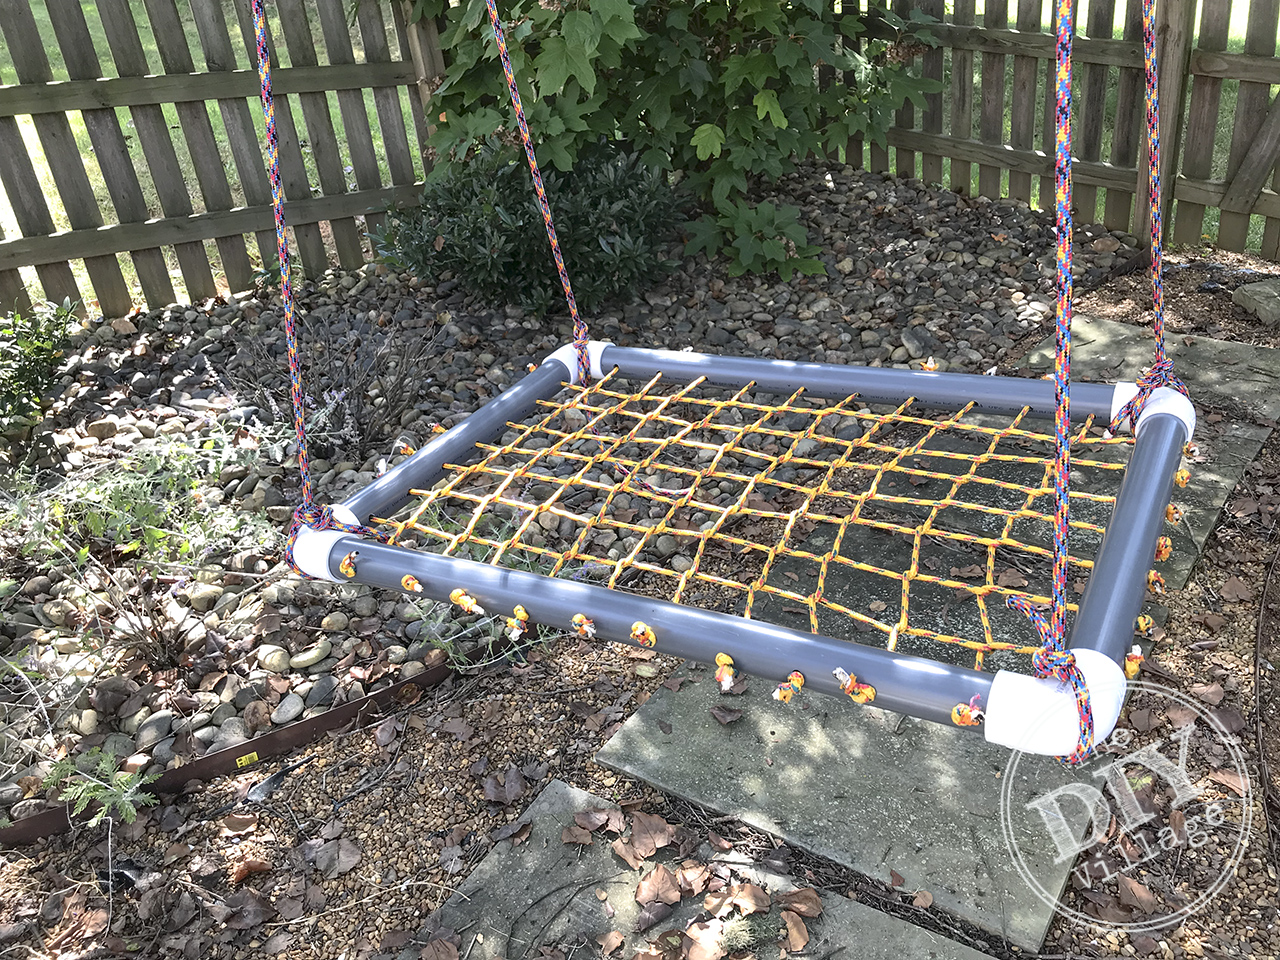 Tie two lengths of rope to the 2″ 90′ elbows using a knot. Clip the swing into the spring links and let your kids go wild!
 We have had our platform swing for about a year now and I can tell you that it has been a big hit from the first day we hung it from our tree.
 Our oldest has found creative ways to use the platform swing, including adding a pillow and taking a quick nap.
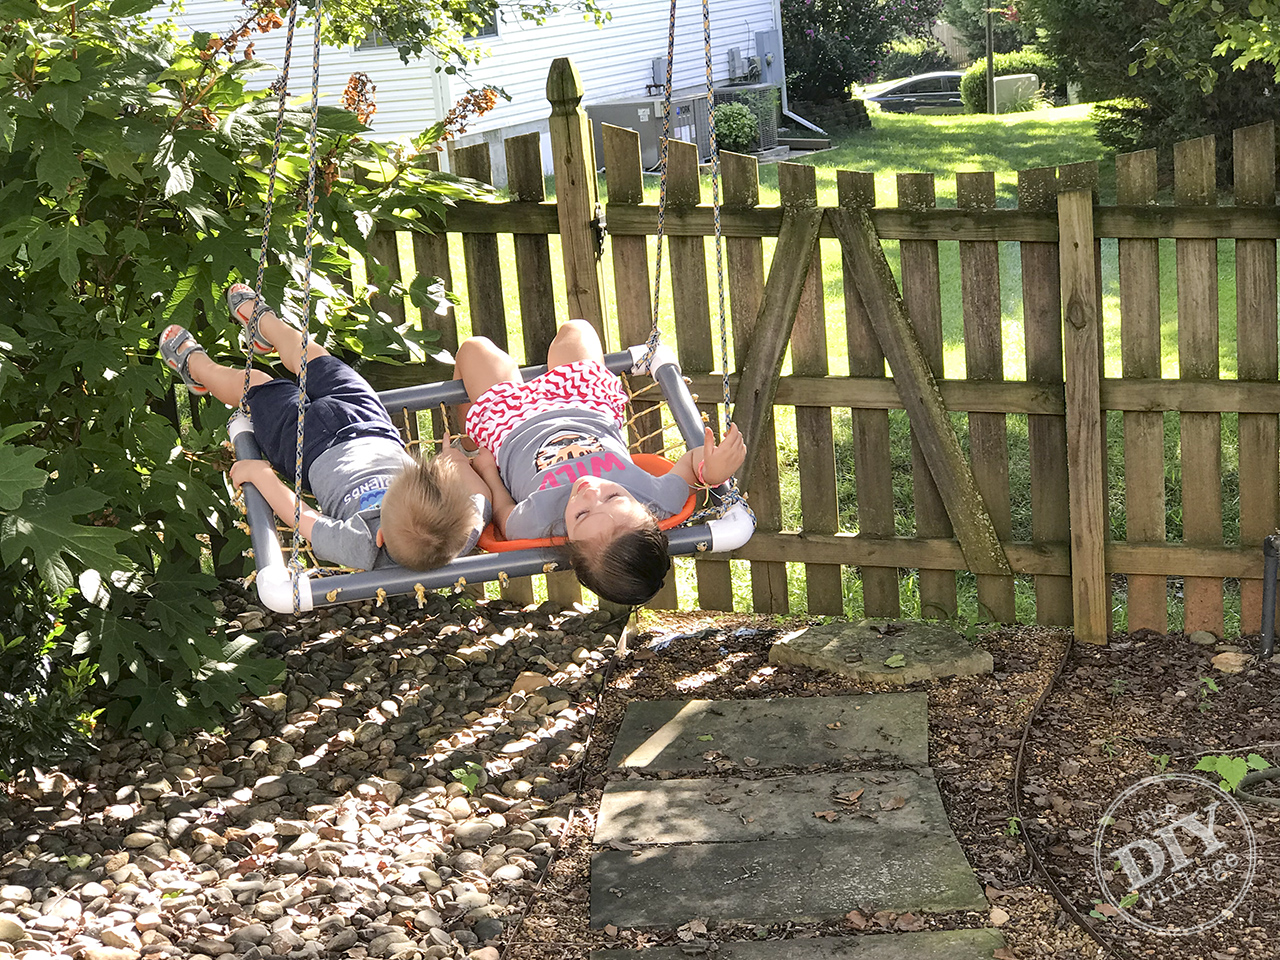 This platform swing tutorial will make a swing large enough for two kids to share. Now we only have fighting over who gets to push who first. I can handle those kinds of sibling squabbles!
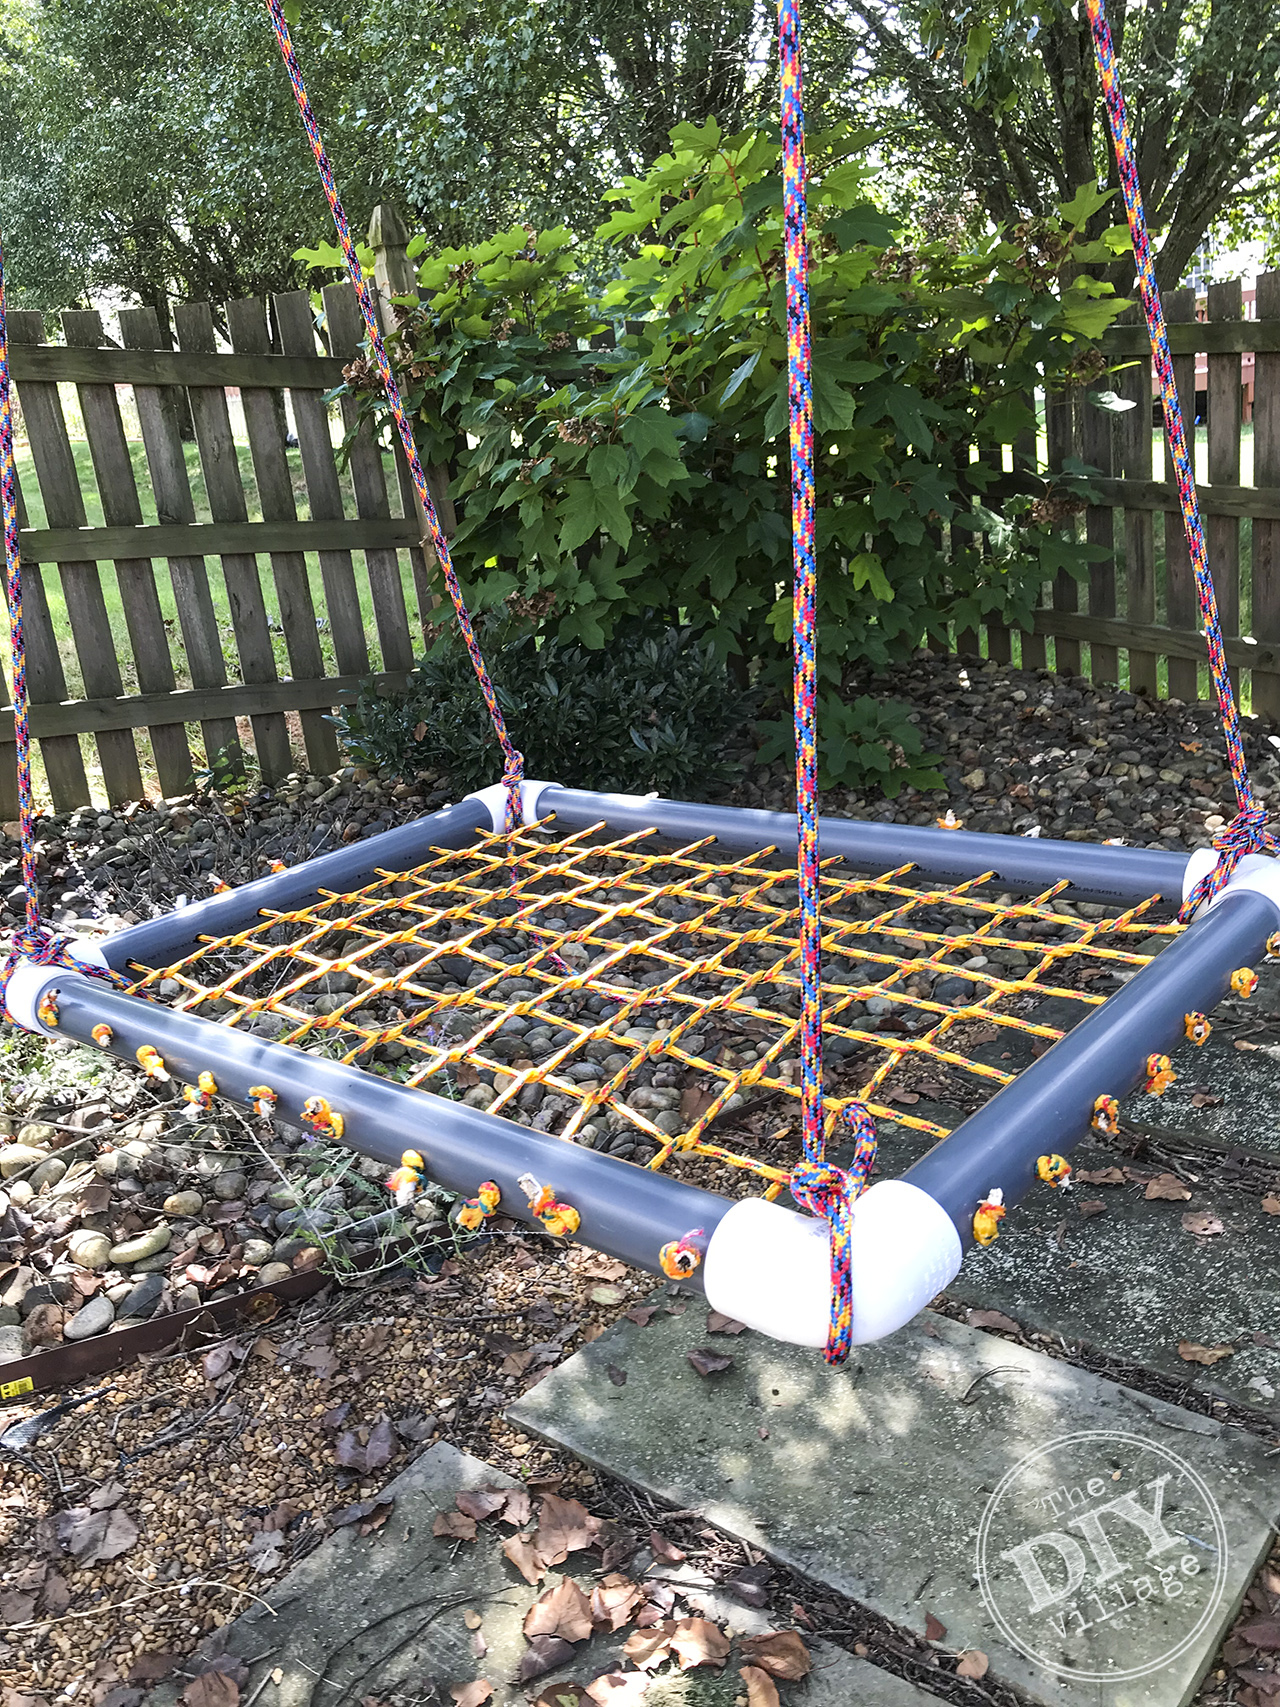
What a fun thing to make for your kids. I’m sure that they will enjoy this for many more years to come. Our neighbor has a round one and I’ve been tempted to try it out. 🙂
The kids are obsessed. I made this one last fall, it has held up great. I forgot to put it up last winter and it has definitely stood the test of time.
This is such a great idea! My son would love this, and we have a giant walnut tree to hang it from!
Do it! You won’t regret it!
This is such a fun idea!!! Swings are the best! I wish we had a large tree for something like this!
OMG This looks like so much fun! I’d love an adult sized version of this for me! Super creative… pinned!
I will make one, but i’ll use thicker cotton rope and paint the conduit and pvc hot pink for my nieces. I will also make sure there are pine straw on ground in case they fall off.;)