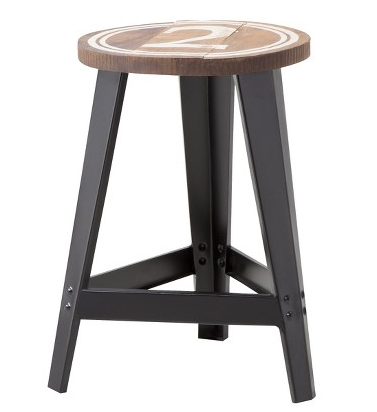
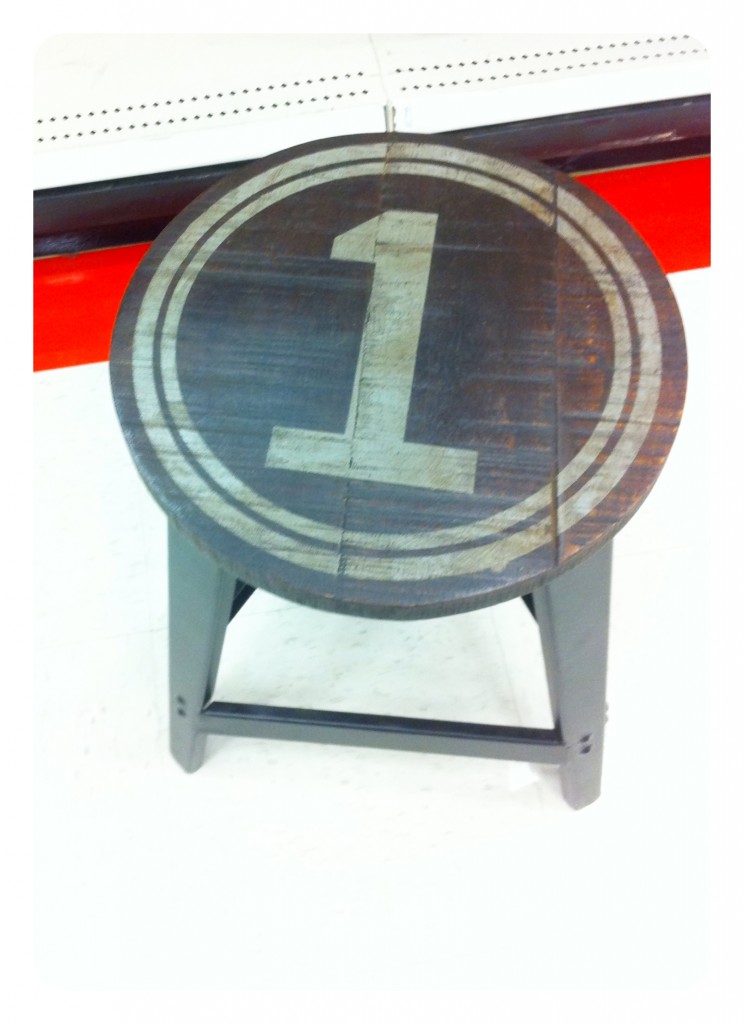
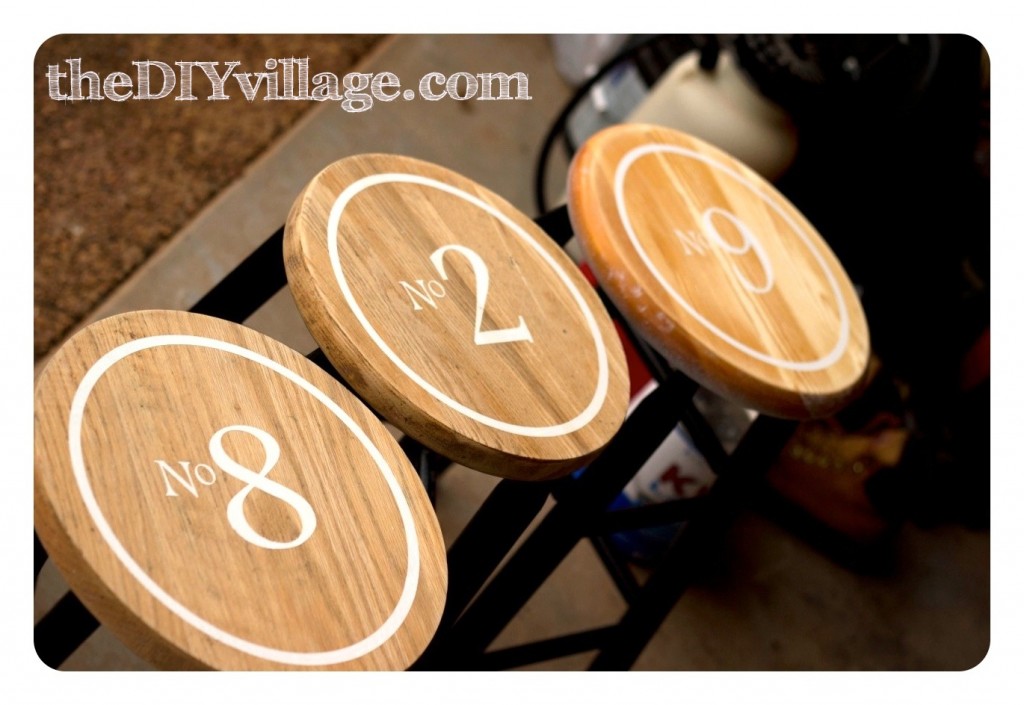
I am so excited to be sharing this project with all of you. Most of the time when I pick up a piece of furniture to refinish I have no clue what I am going to do with them. That was the case for three oak bar stools that I picked up the same day I bought my vintage chair and the buffet that would become our woodland themed dresser. I was so excited to have more stools for our kitchen bar. And then I got them home only to find out that they were too short GAH! I forged on and decided to go ahead and refinish them after I fell in love with these cool vintage industrial style bar stools at Target.
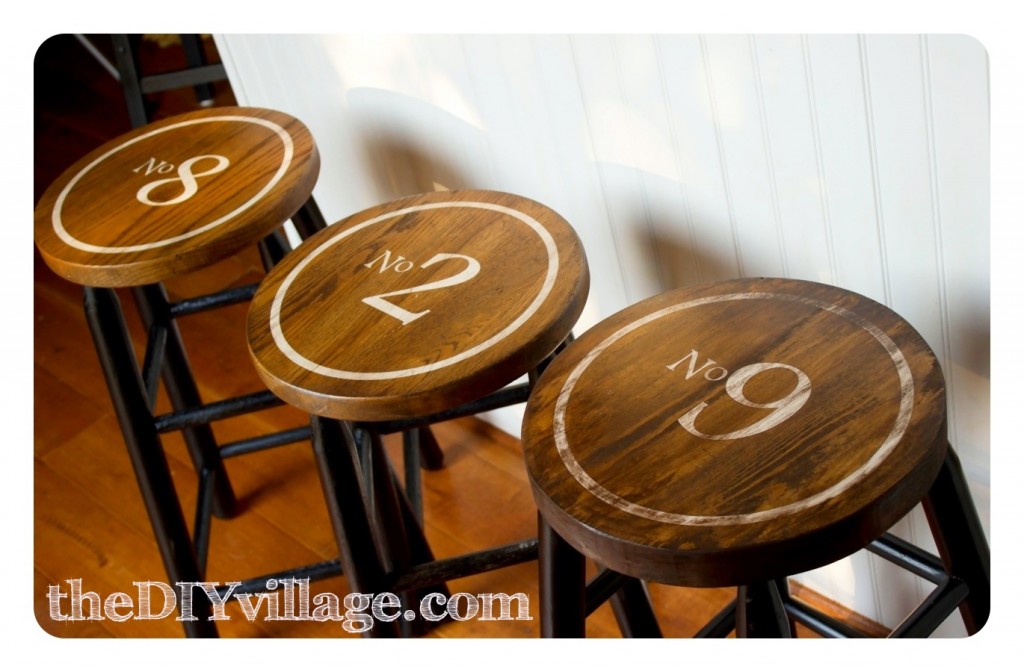
My original plan had been to number them 1 , 2 , 3. I worked up a design on Adobe Illustrator and showed my best friend Mrs. G. She fell in love too and since they were the perfect height for her kitchen bar asked if she could get them from me when I was done. Once I knew who was going to be the owner of them I my mind started churning again and I consulted my best bloggy friend Rachel at Thrifty Inspirations. What if instead of doing 1, 2, 3 I did something more custom, something very personal, like say an anniversary date? Rachel loved the idea and we both are keeping our fingers crossed that Mrs. G does too!
Before I do the reveal I want to teach you how to do this yourself!
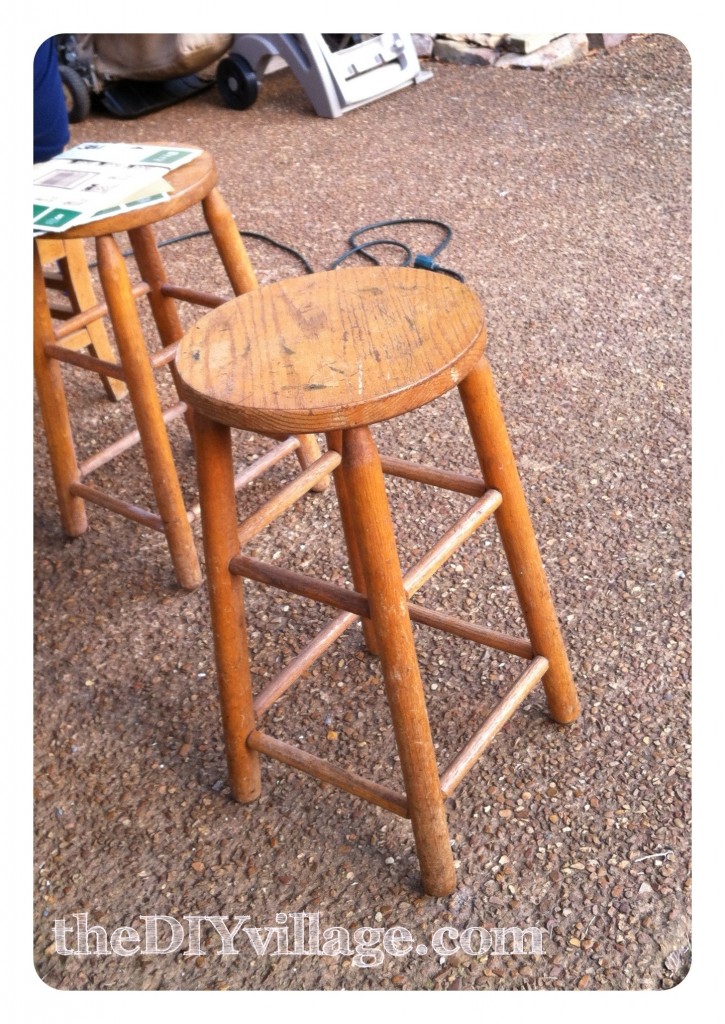
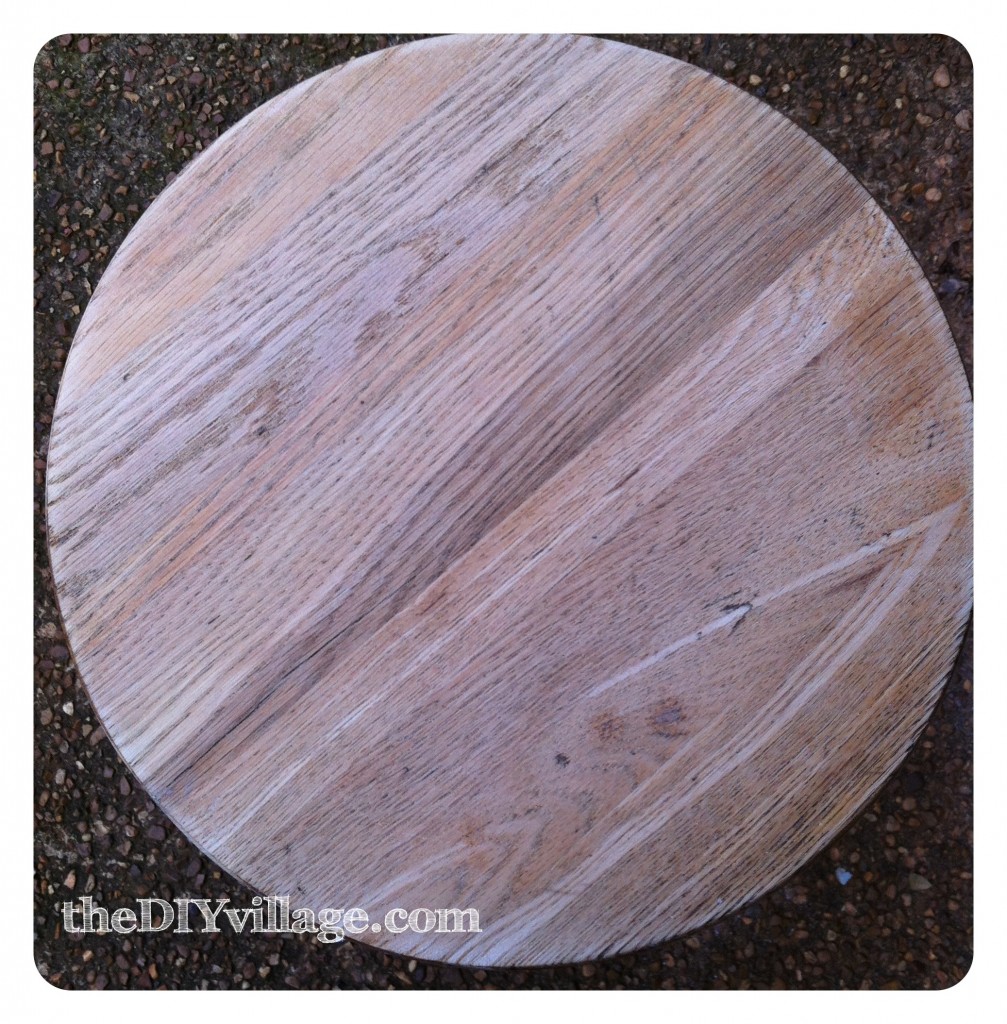
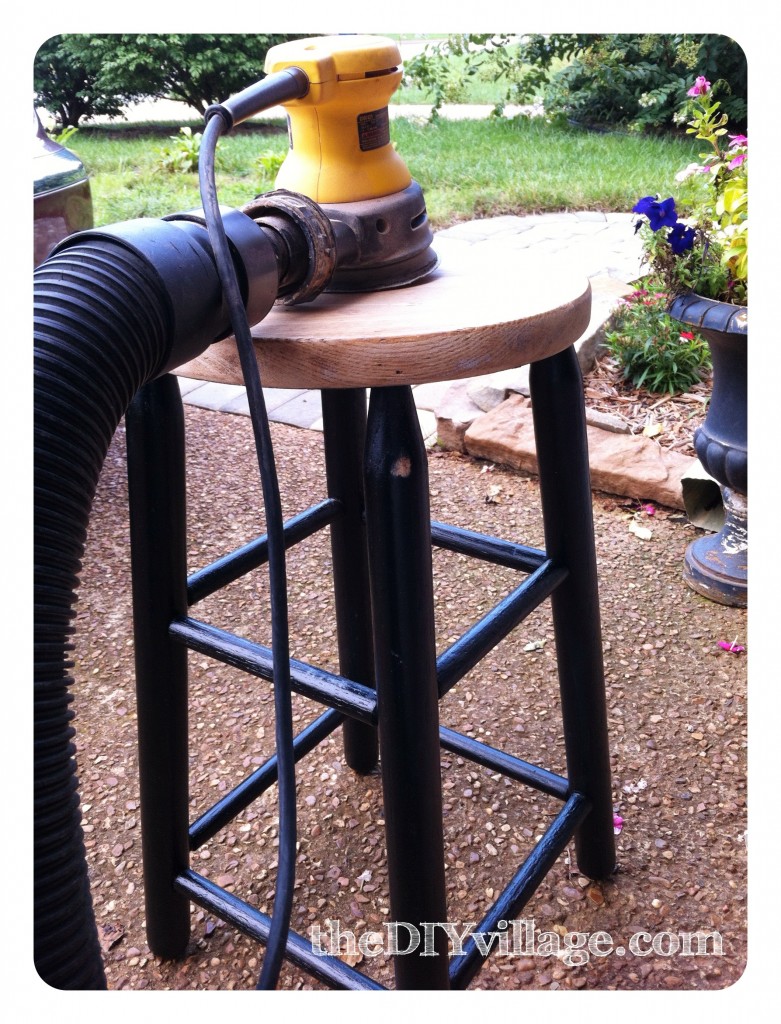
Step 1: Prep your surfaces! (You are going to want to sand, sand, sand, and then sand some more till you have your surface ready for paint and stain! Seriously make sure you are completely done sanding your bar stools…)
Step 2: Tape off the top of the bar stools with paper and paint the base! (After you spend all the time sanding you don’t want to ruin it by accidentally getting paint on it!) I had to go back and do some sanding because I did not do enough in Step 1 and ended up sanding some of the paint on the bar stools legs … Booo!
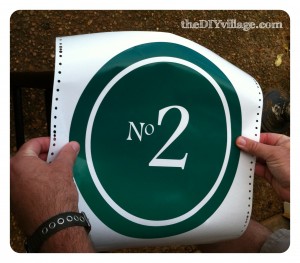
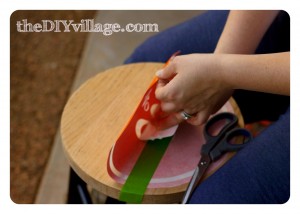
Step 3: Create your design, cut it out, and apply transfer tape! (You can use any kind of stencil cutter. We have a large Roland GX-24 it’s a big daddy!)
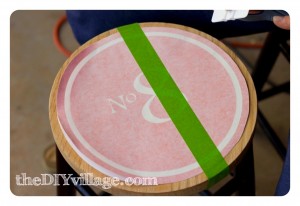
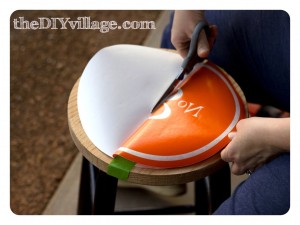
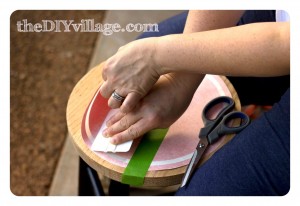
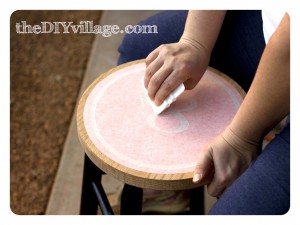
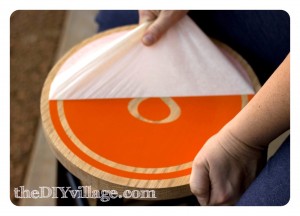
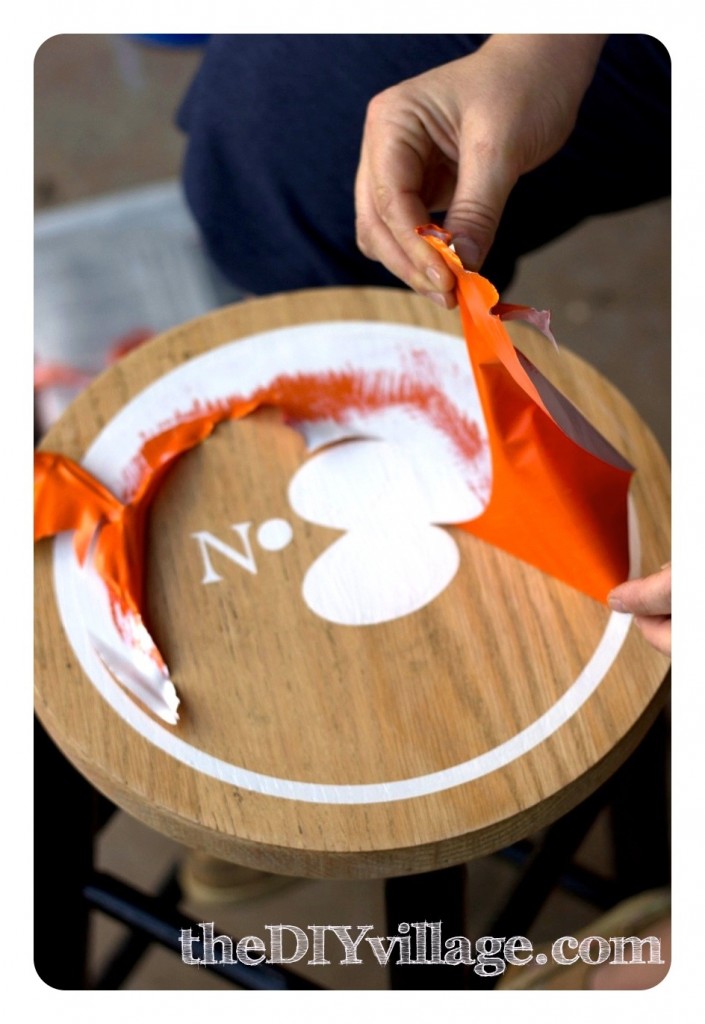
Step 4: Apply stencil to the top of the bar stools. (Tape just off set of the middle, remove paper backing, rub smooth with a squeegee. Remove paper from other side squeegee, and CAREFULLY remove transfer tape)
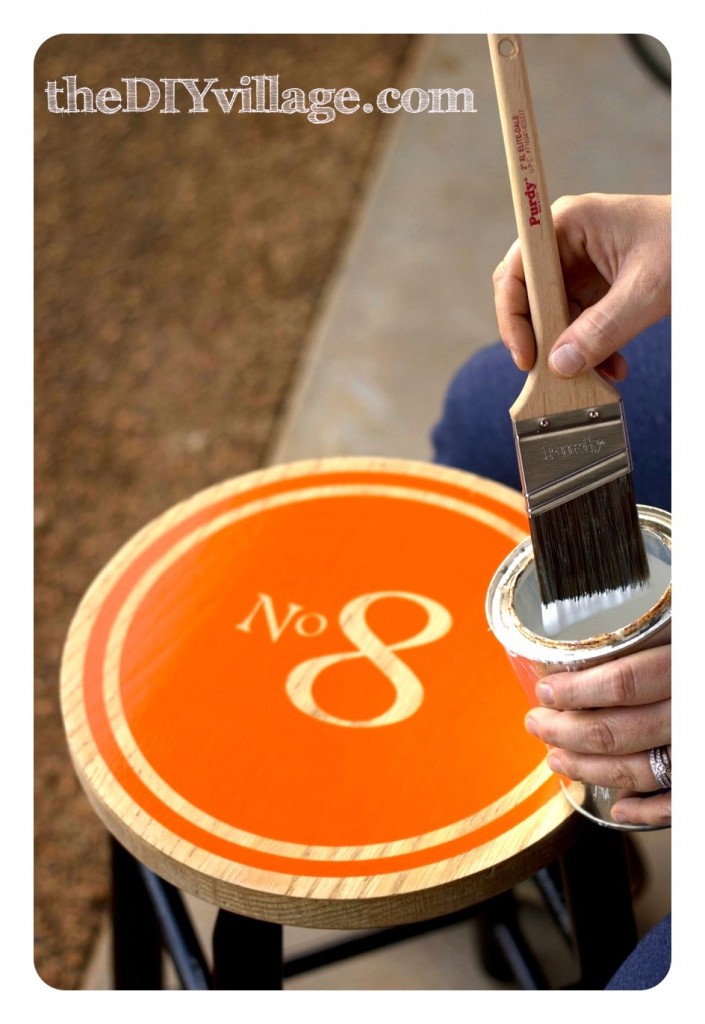
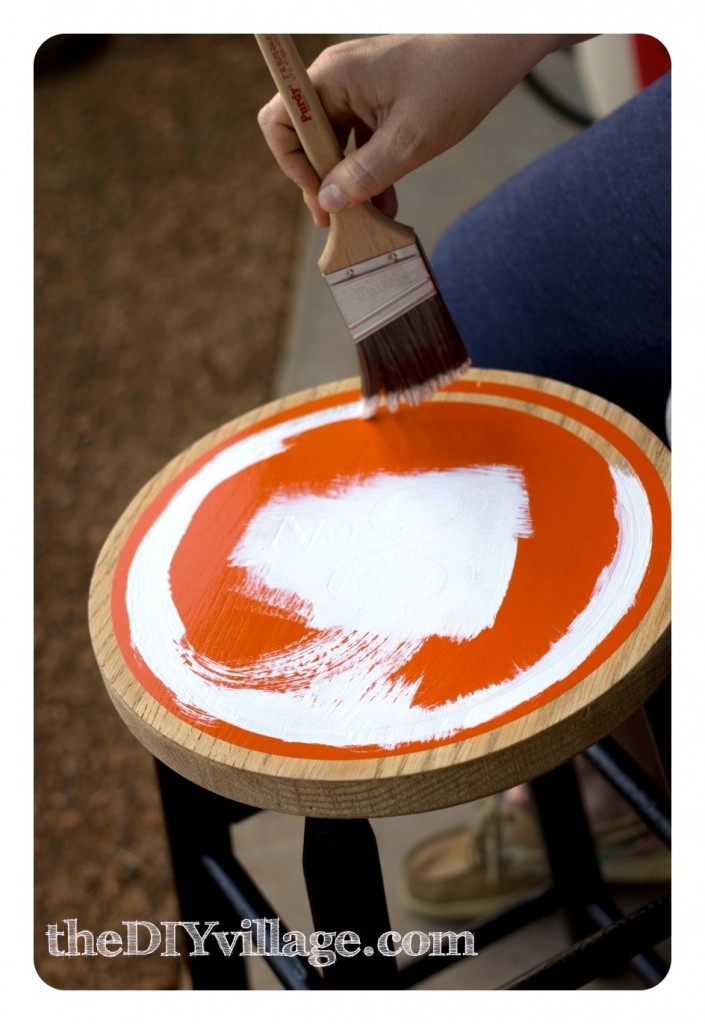
Step 5: PAINT (be careful to stay within the constraints of your stencil or you will be sanding your bar stools again), Remove the Stencil and let the paint cure for at least 24 hours.
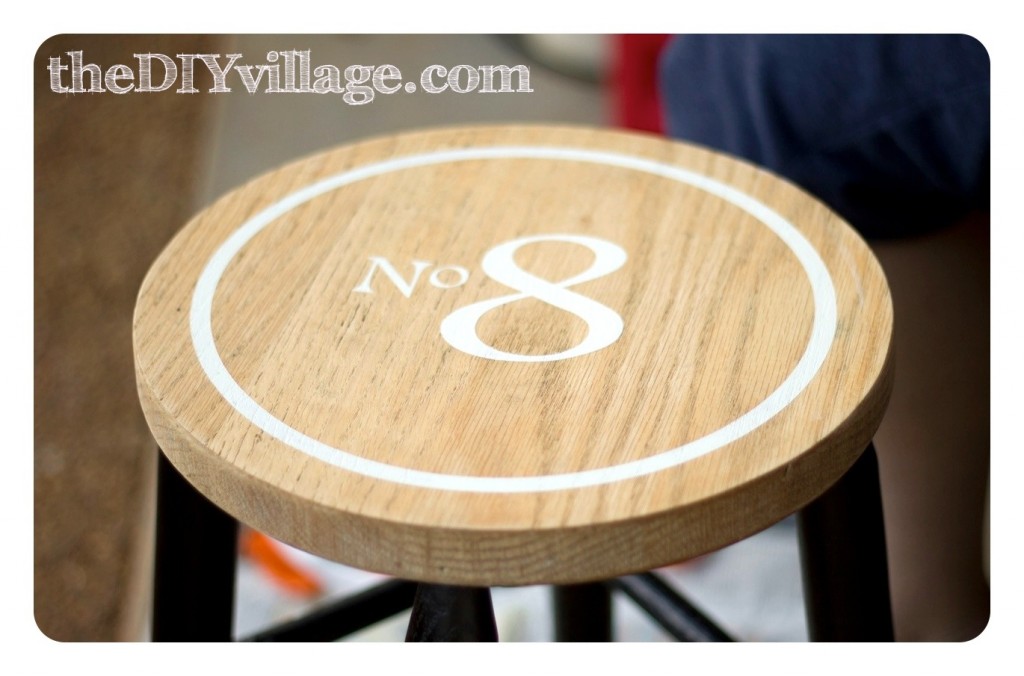
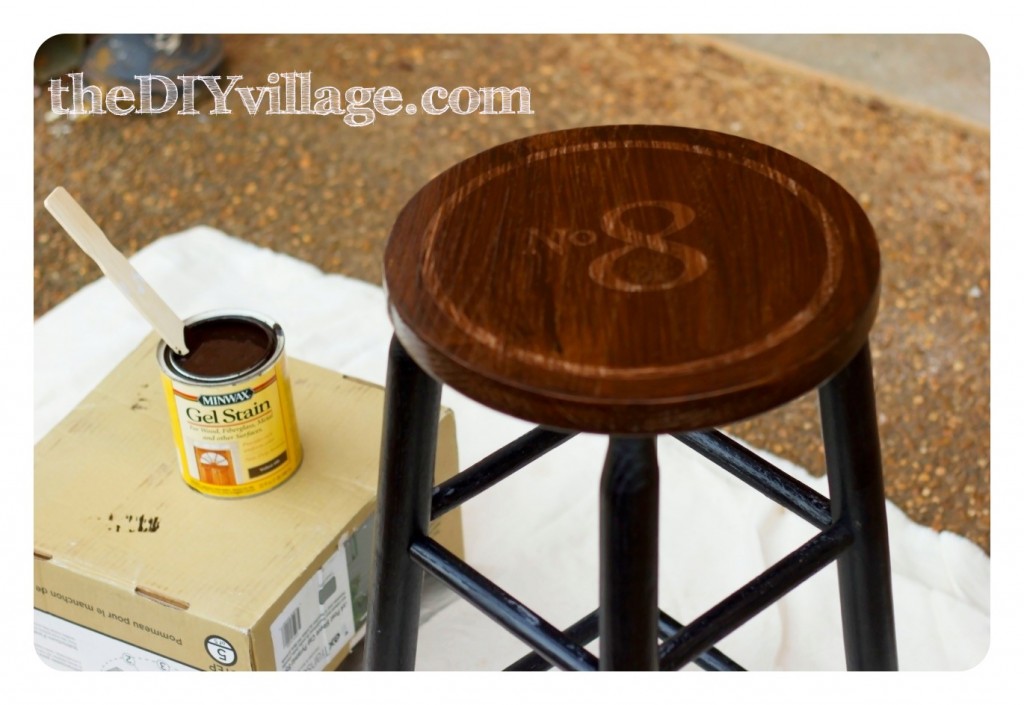
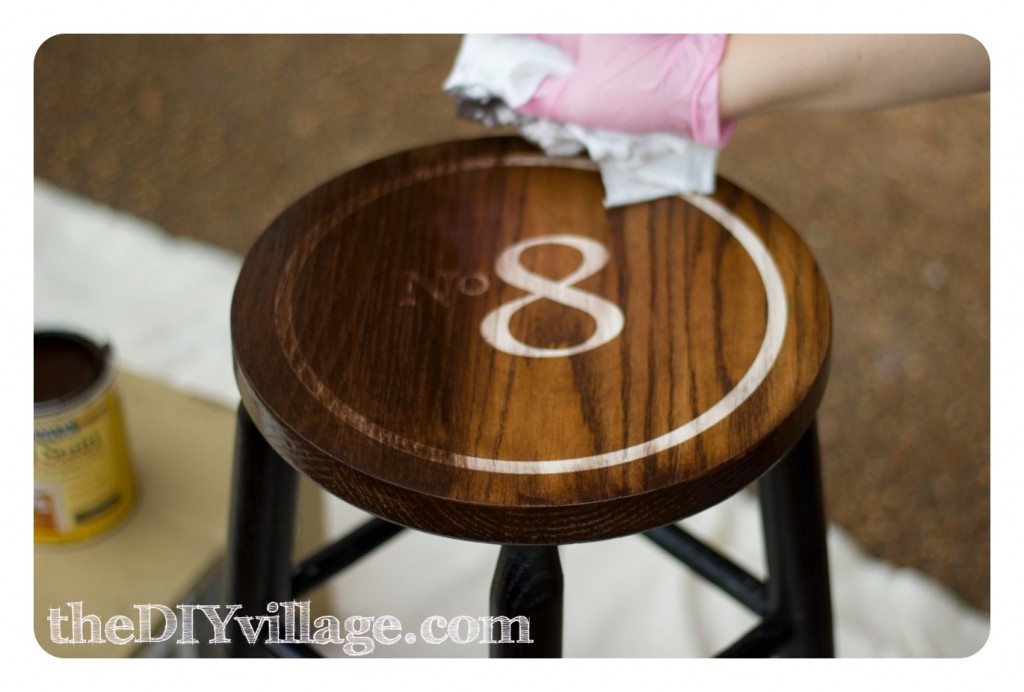
Step 6: STAIN!!! (I used Minwax Gel Stain – Walnut so it would stick to the vertical surfaces of the bar stools without dripping off. This stuff worked wonders!) Paint the stain on wait 3 minutes and Wipe off. It’s that easy!!
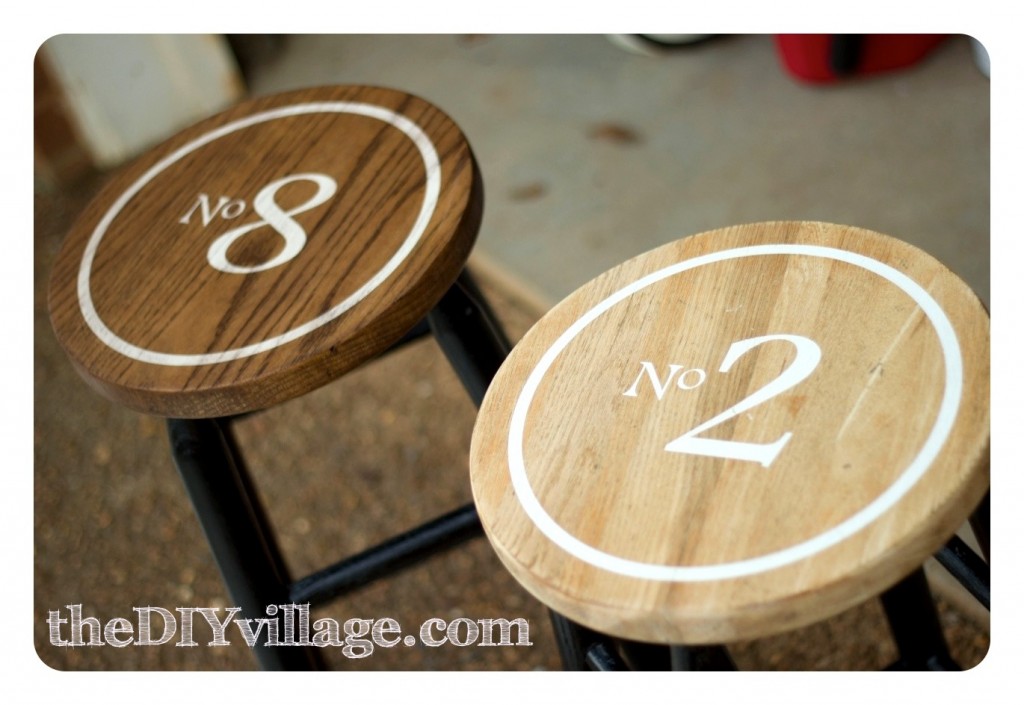
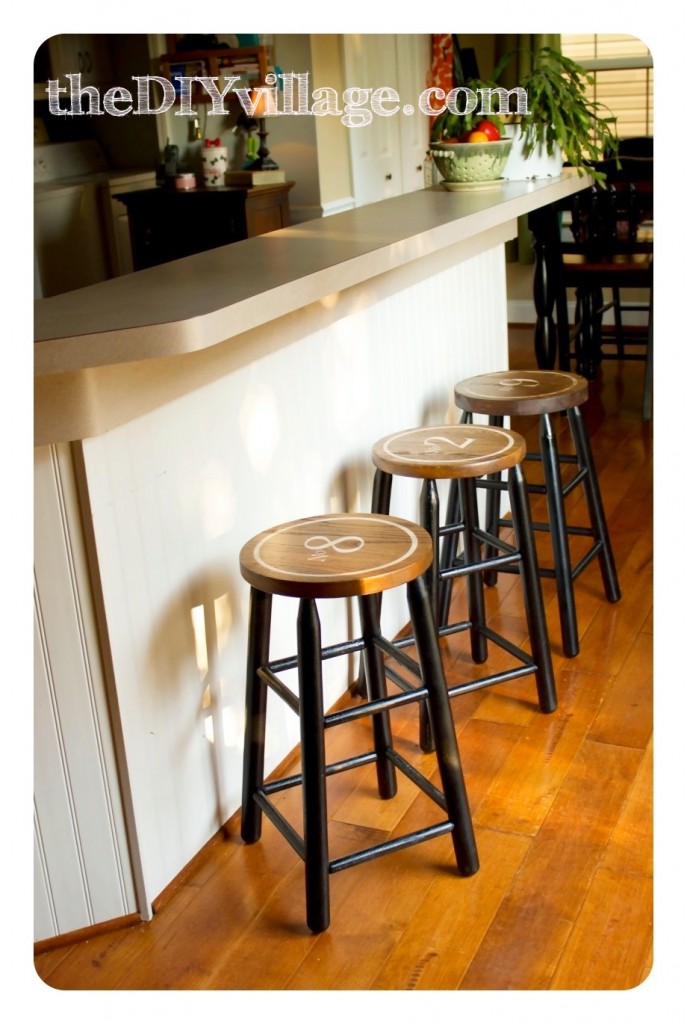
How awesome do these bar stools look?!?!
Step 7: POLY! Wait the specified amount of time listed on your stain and then apply a few coats of Polycrylic. Since your fanny is going to be sitting here a lot you want to make sure it stands up!)
Though this is a multi step process the hardest part by far was painting the base of bar stools. Even with spray paint it took 4 cans to cover all 3 bar stools! YESH thats a lot of spray paint, but it was all well worth it! As soon as I can find a set that is tall enough for our kitchen bar we will have our own set!
For now they will wait for Mrs. G to come pick them up and take them to their forever home!
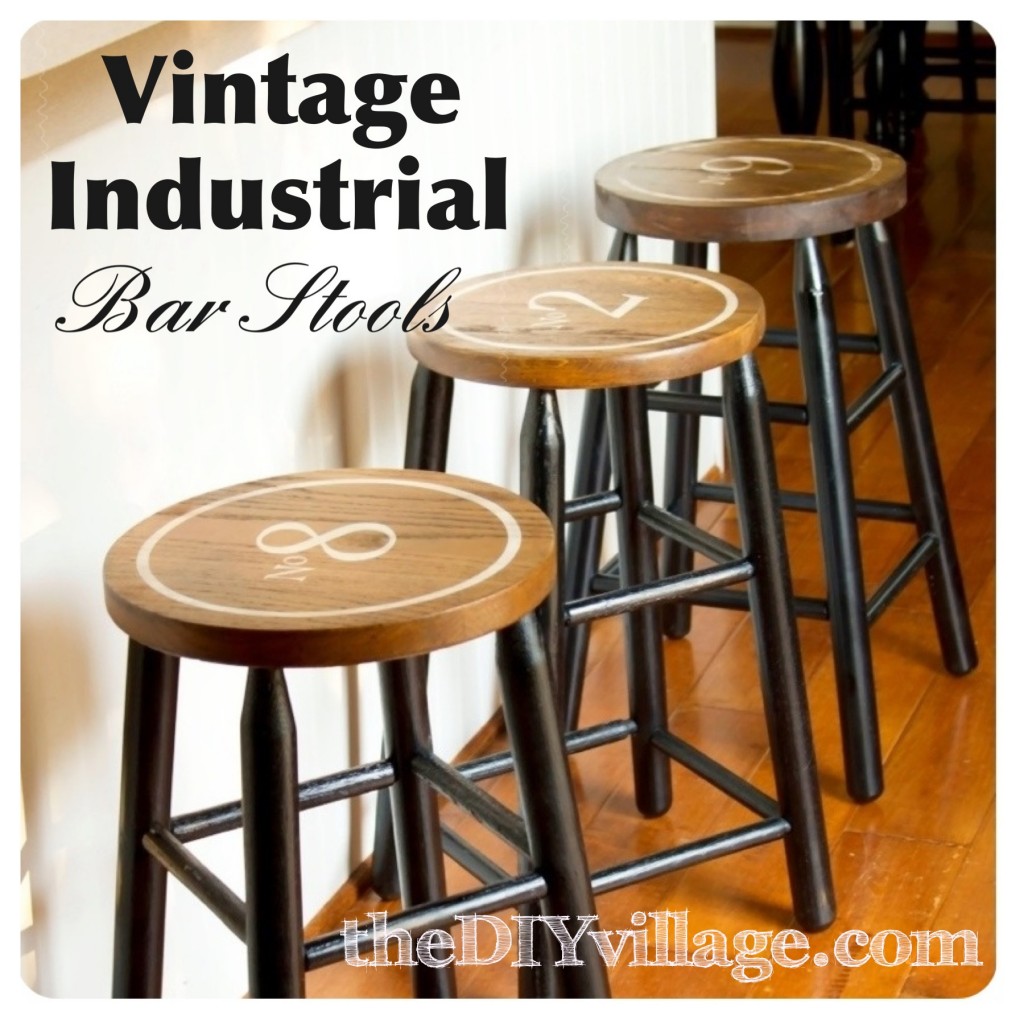
Even though there isn’t any metal on these bar stools they are so vintage industrial it isn’t even funny!
Have you ever tried to re-create a particular look using something unexpected?
If you are looking for more ways to incorporate bar stools into your home check out this post by Infarrantly Creative on 5 ways to get a Bright Farmhouse Kitchen.
You just had Mrs. G in tears at work over these stools! I love them!! Not only are they just flat out great looking, but the thought that you put into them just makes my heart swell! How did I get so lucky?!?!
YEahhhh!!! I’m so glad you love them, they are going to look fabulous in your home!
These are gorgeous! This is a fantastic project! Would you consider linking this up at my Pinworthy Projects Party? I hope to see you there!
Thanks Shannah!
Jacque!!! You have got to stop showing me previews of your projects because I get so excited to see the post I’m wearing myself out! I freaking love them!! Eeeee! They are so perfect. I love that you stained after you painted so that you got a nice worn look to them. I think Mrs. G will love these forever 🙂
XOXO,
Rachel
Hahaha, okay no more previews lol! Thanks for your help on this one :o)
found you on not just a housewife. love, love, love, these barstools.
Thanks you Candy! And thanks for popping by to check them out!
They are beautiful! You did a great job.
Thank you Joselyn!!!
WOW, you have to be totally smitten with this project, because I sure am. Thanks for sharing with the newbie party.
OMG I actually started thinking of ways I could create a platform to elevate them up so they would be the right height. Probably for the best that they have someone else’s anniversary date on them!
LOVE these!! Great job!
Susan
Thanks Susan!!!
Those are sweet! I have 2 just like them sitting in the basement waiting for just the right inspiration!
Thanks!
Kelly
Awesome Kelly! Shoot us an email after you finish them we would love to see them!
I love your stools, you have to be in love with them cause I sure am! I want them, where do you live? Thanks for showing us how! Thanks for sharing your creative inspiration with Sunday’s Best – you helped make the party a success!
Forgot to tell you I’m following on Facebook. I still want these!
LOVE THE STOOLS, THEY TURNED OUT TERRIFIC. I WOULD LOVE TO FEATURE THEM, IF THAT WOULD BE OK DROP ME A EMAIL,
THANKS
LAUREN
Wow I love it! Those stools look great! Thanks for sharing at The Fun In Functional!
these turned out awesome – great job!!!
What a cute idea. They look fabulous!
Another great project by DIY Village!!!! Again, I’m so impressed by your creativity!! LOVE!!
I am in love with these babies and will be featuring them tonight!
Awesome job! LOVE THEM!
Thanks for linking up!
Stacey of Embracing Change
I love your stools. They are so fun!
Seriously. These bar stools are amazing!
Oh my gosh these are so cute! I’ve got a couple of old Target stools I have this this to. Thanks for the detailed tutorial 🙂
In researching stools for some friends, I came across this project. You did a great job transforming a super-plain stool into something interesting and fun!
These are so darn cute! Glad I stopped over from your top 2012 posts to check them out!
Allison
Thanks so much Allison, I LOVE your site. So glad to have you here!
They look fabulous!! I love the font you chose and that extra ring around the whole thing really makes it pop!
<3 Christina @ I Gotta Create!
Wildly Original link party is open.
What a great idea! I’m a new follower 😉
Thanks Jamie & Welcome!
Oh how I ADORE how these turned out. Great job!
BTW- my hubs is a fire chief here in our area. So nice to find other bloggers who are tied to the fire svc too. 🙂
Yay! So glad you popped over to check out our stools! I was just over at your blog, WOW what incredible photography, just beautiful!
Totally cute!
I need some stools for my bar and would love to do something like this. You did a great job. I love the idea of putting something personal on them.
That looks so awesome! This would look great in my house!
~Chelsea @ Married Filing Jointly
They do look awesome! What a great team you make! Great tutorials too 🙂
Awww thanks Karen, that was so sweet of you to say. Thanks so much for stopping by today!
So pretty!! Love them now…they are lovely!
I love the mix up of the traditional 1, 2, 3 numbers. They are absolutely beautiful!
I clearly need to start using my Cricut more. This gave me a great idea for the chair at my desk!!!
I’ve admired these stools for so long but I’m finally pinning them! Little Bit from http://www.DecorateWithaLittleBit.com
What a great project, Jacque. Nice, even coverage with the Minwax Gel Stain. The color looks great with the black stool base too.
-Bruce
Thanks Bruce! This is one of my favorite projects to date. The Gel Stain is a wonderful product!
Love these! They’re just perfect. Stop by my Friday’s Five Features this week and link up this post (and others)! diy-vintage-chic.blogspot.com
Hey there! I just love these!! I’m going to use your concept to make a guitar stool for my husband with his favorite band’s logo. I know you mentioned spray paint for the legs, but what kind of paint did you use for the white? Thank you so much for the inspiration!
Do you have a template of your design that you care to share? 🙂
Unfortunately I do not. At the time I didn’t think to save the files 🙁
This is exactly the tutorial I needed for a big stencilling project I’m planning. I love how professional it looks and how crisp the lettering is. Thank you! Sue #AllThingsCreative